4 Days D.I.Y. Trip to Istanbul,Türkiye

Istanbul was the last stop of my Silk Road 2026 trip (Central Asia – Moscow – Caucasus Region). Blogs for each city I visited are all posted on the main page (click here).

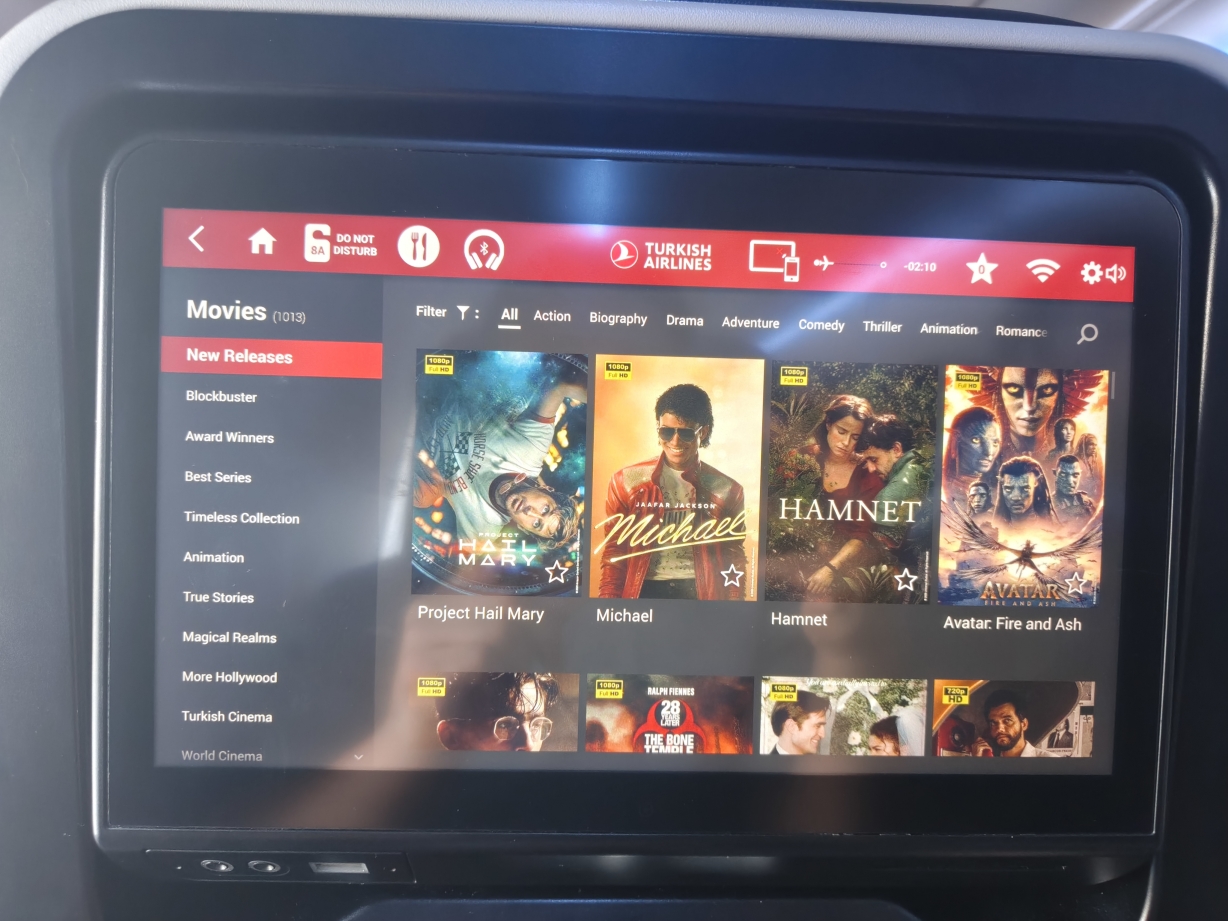
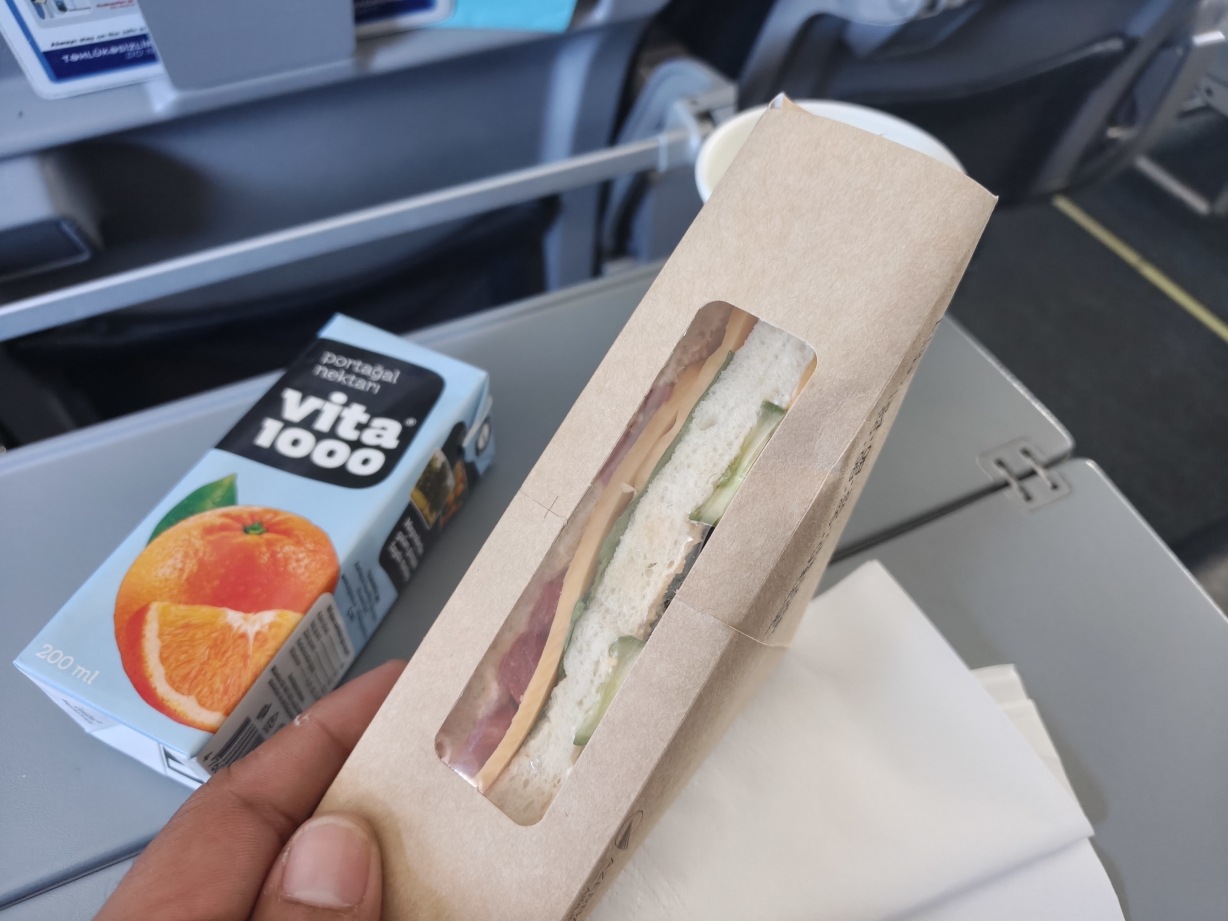
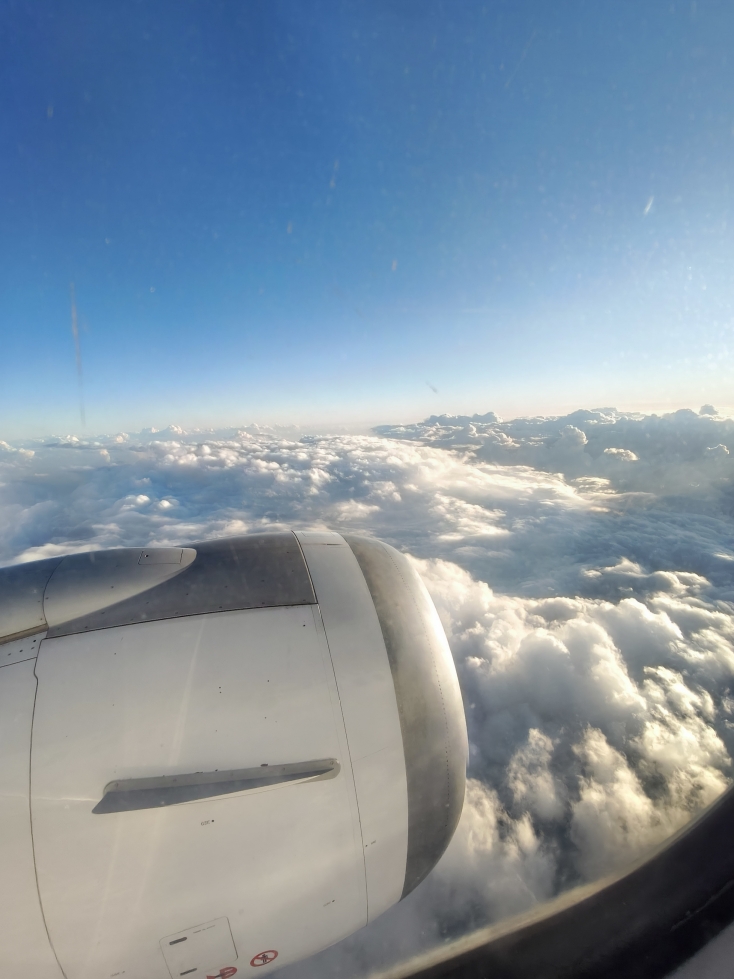
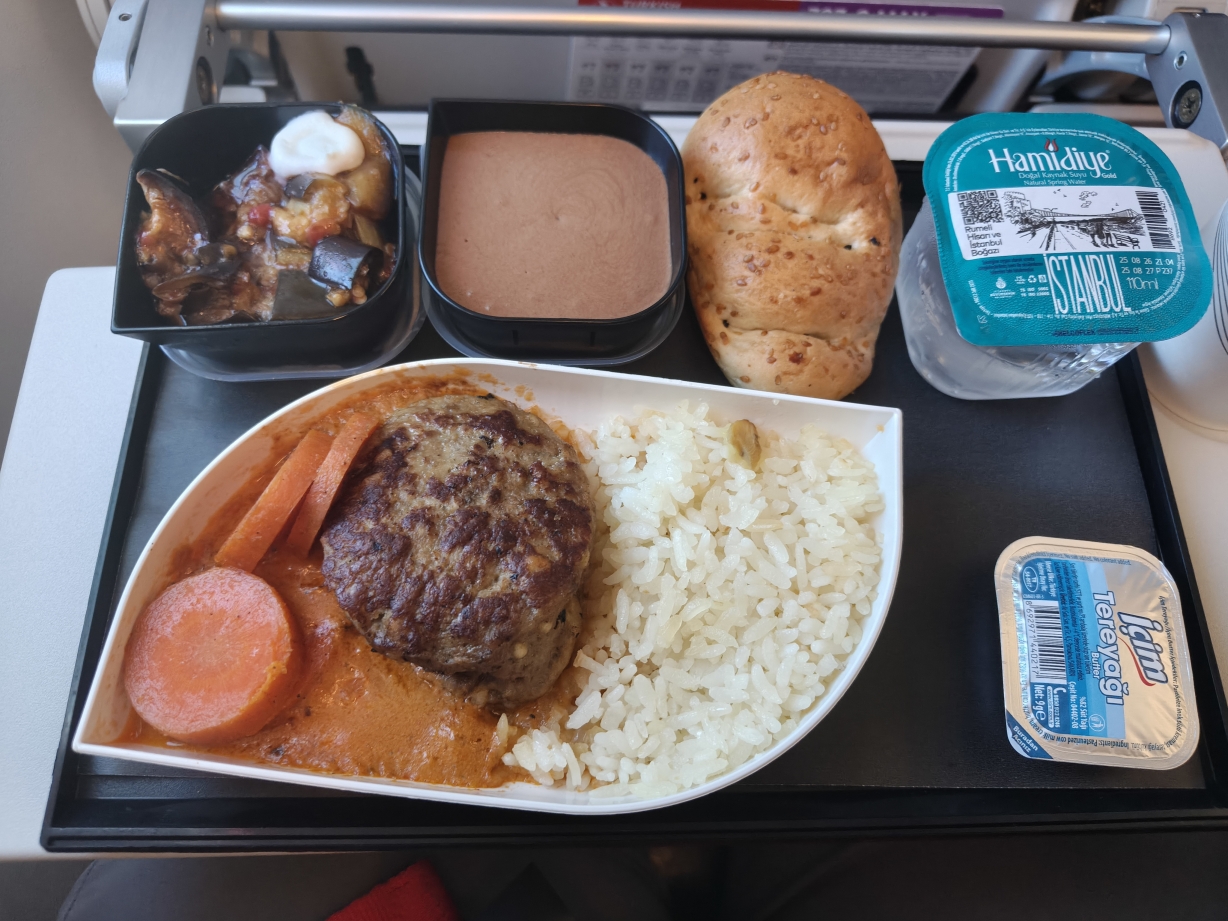
Highlights of Istanbul. From Tbilisi,Georgia, I flew to Istanbul via Turkish Airlines, which was my first time with the brand. I have always been curious of TK Air. And indeed, the airline did not disappoint. Entertainment was updated with latest Hollywood hits. And the meal was great. They served beef patty in curry sauce and sides. The warm bread was a plus for me. Not all airlines heat the bread prior to serving. Complimentary beverages and wine were also offered on board.
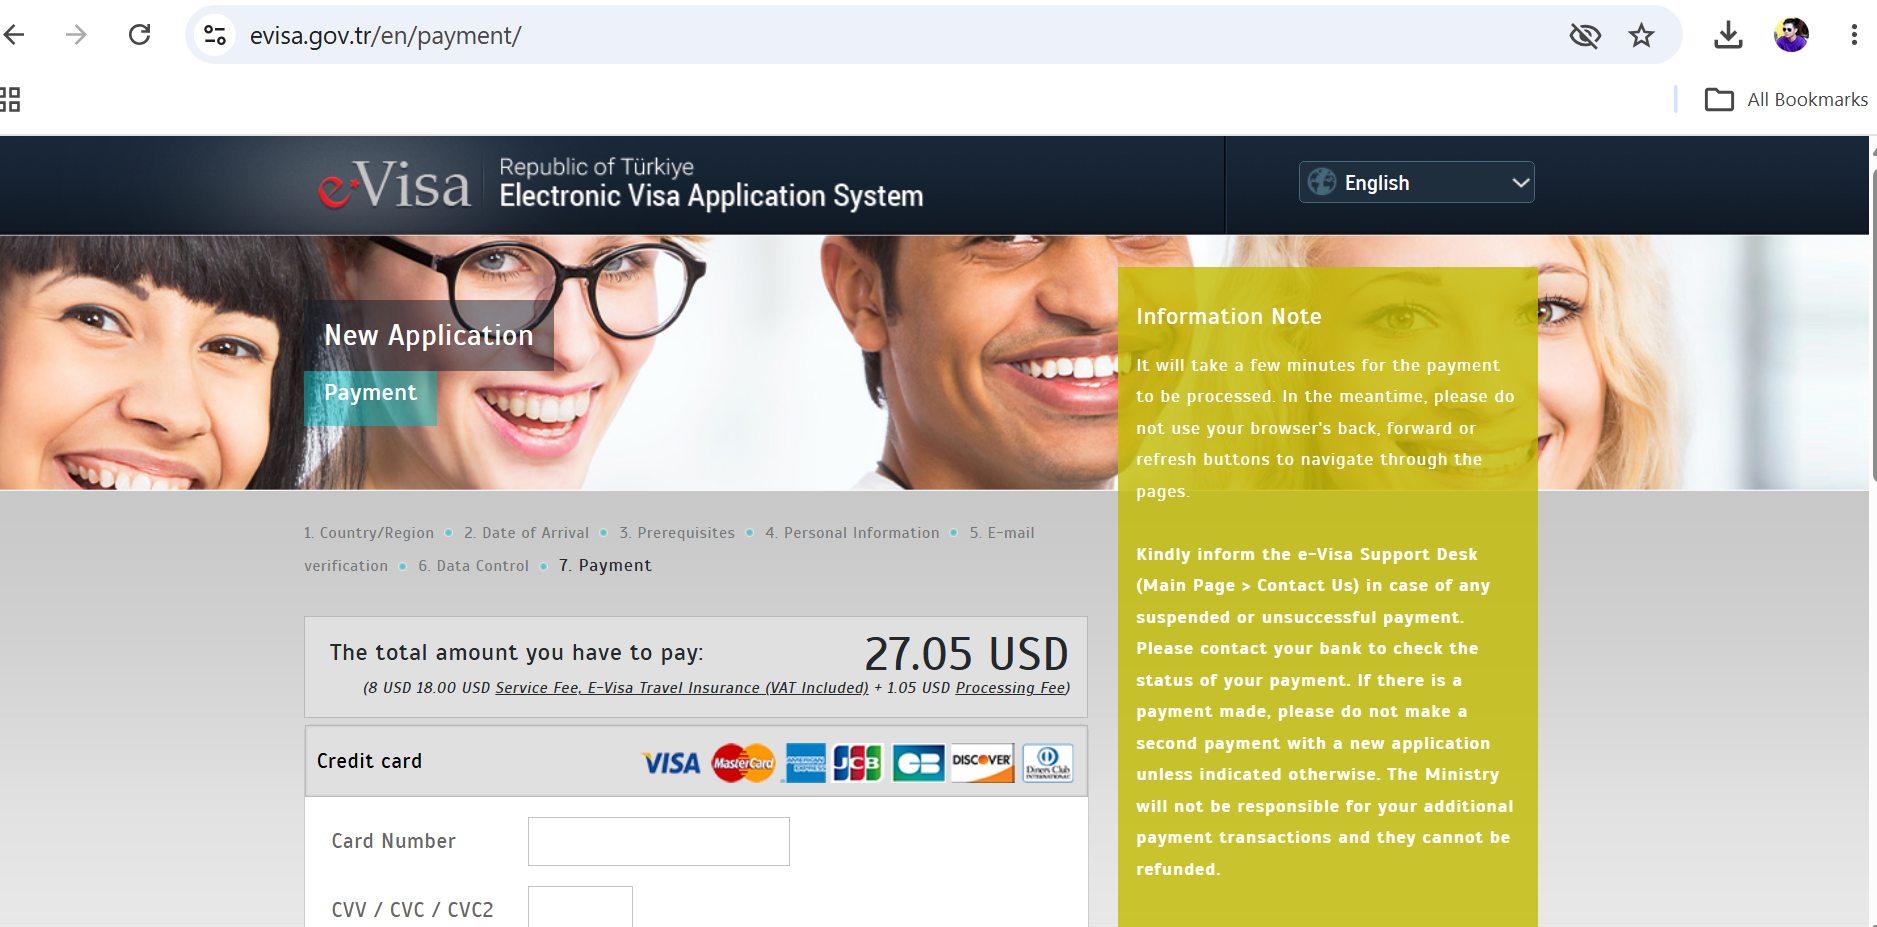
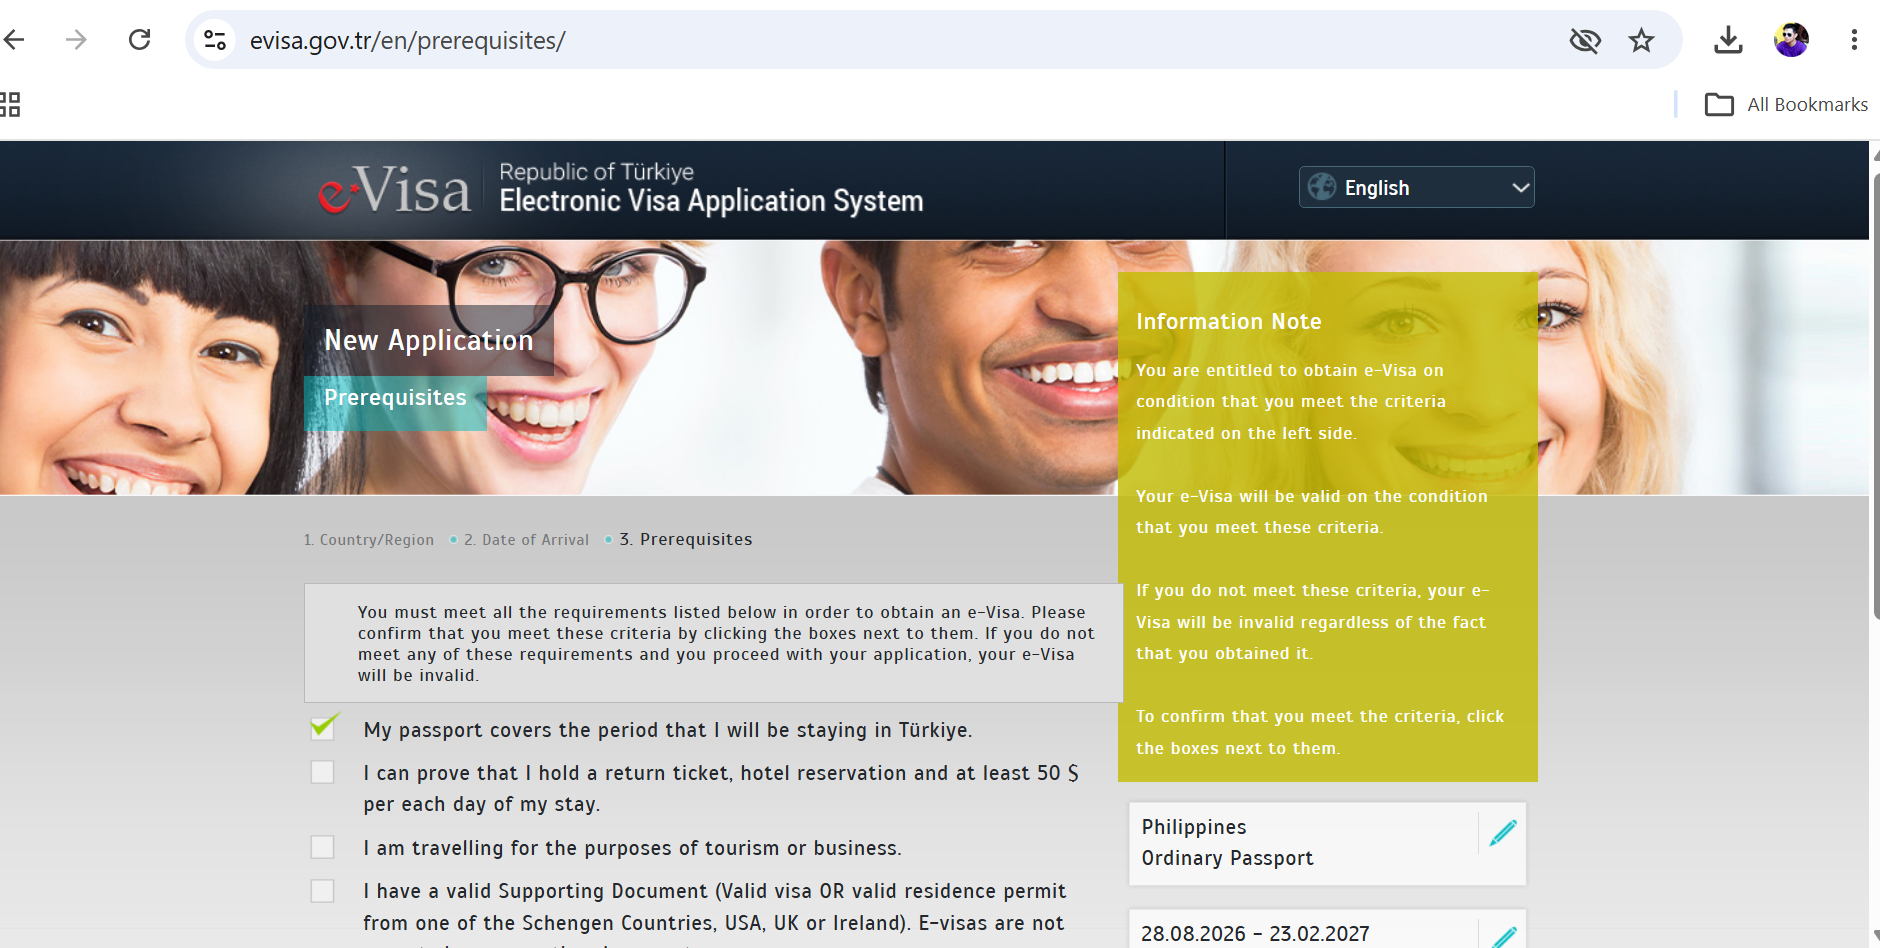
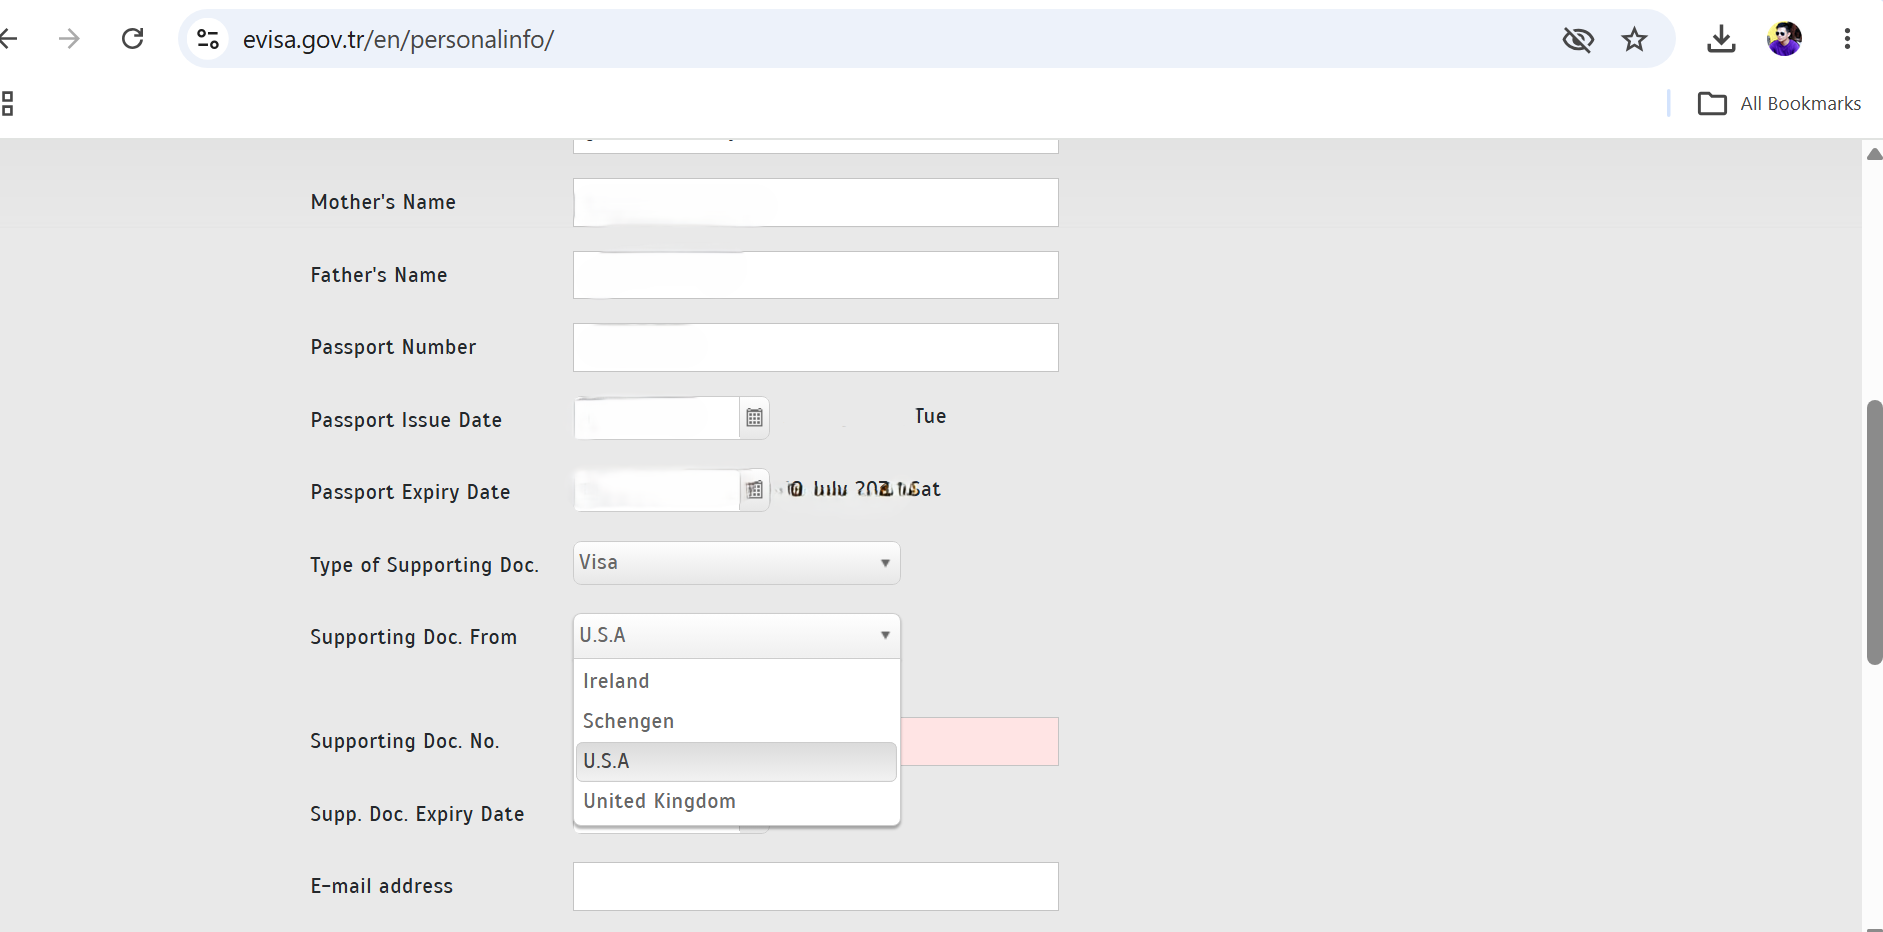
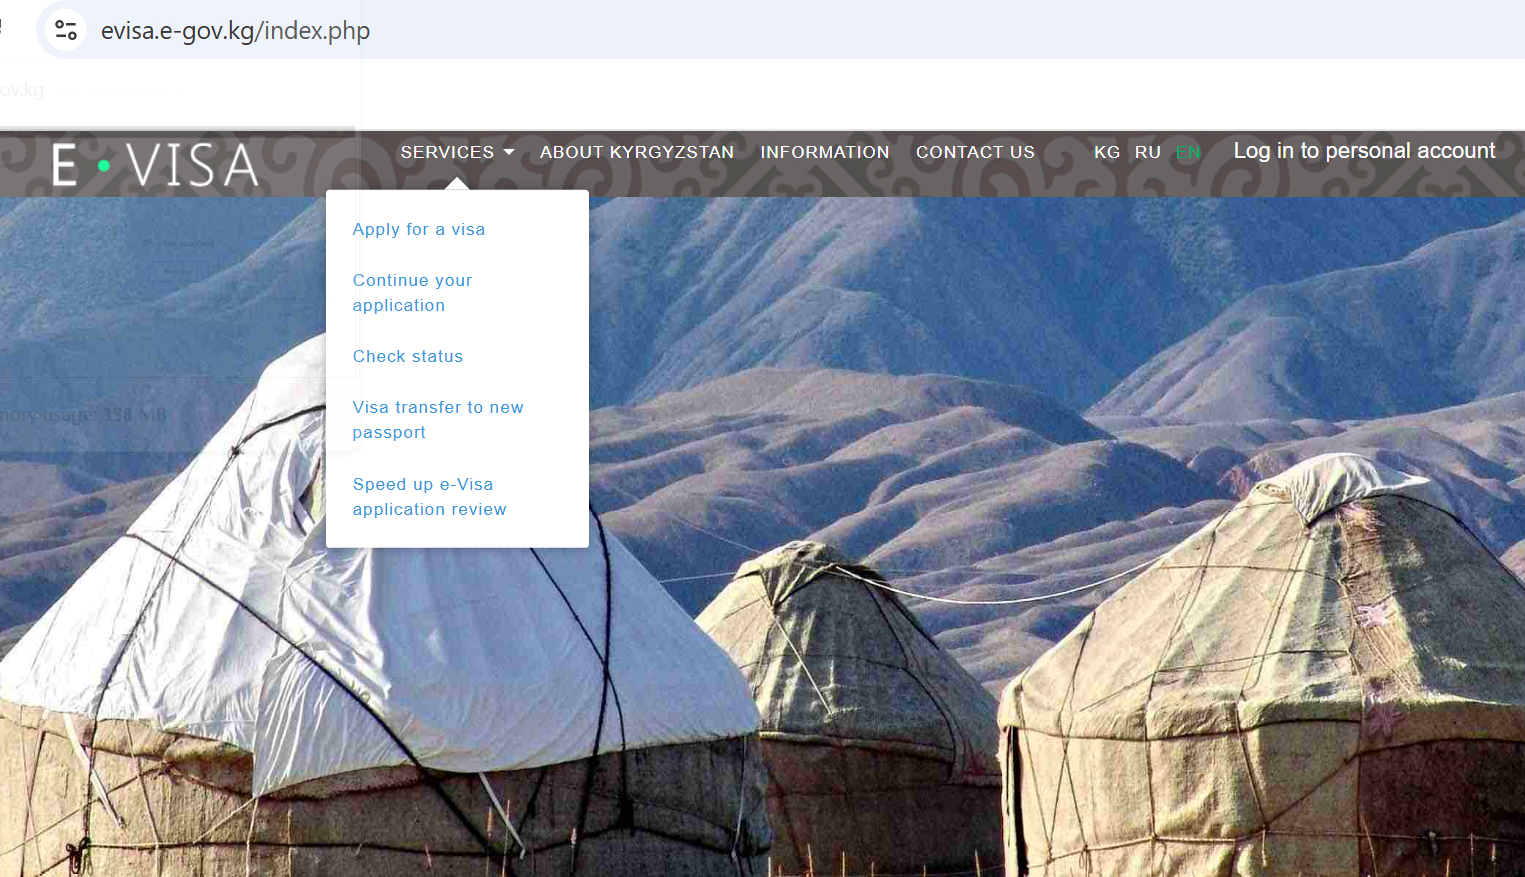
Filipinos need to secure visa to enter Türkiye. However, Filipino passport holders with a valid US, UK, or Schengen visa get the privilege to apply for an E-Visa instead, which was super easy. I only prepared a scanned copy of my passport bio page, a jpeg file of my latest passport sized photo, and a scanned copy of my valid US visa. After payment, I got my approved E-visa within one hour. Posting below some screenshots of my E-visa application for your reference. Take note of the website address below, as there are a lot of pop-up agency sites that offer E-visa services at an added cost.
Getting around the City. The city is overwhelmingly big. I had four full days in Istanbul, and I decided to allot one day per neighborhood that I wanted to visit.

  • Sultanahmet, The old/historic district and Eminonu (Harbor front)
  • Taksim and Galata – vibrant local vibe. Shopping and affordable hotels
  • Karakoy (Harbor front) and Kadikoy (markets and the peaceful seaside neighborhood)
  • Balat – Boho-historic walking quarters. Local artists’ hub.

Getting around Istanbul is relatively easy with the help of Yandex Map and 2Gis App for real time bus and train schedule. These are free apps that I downloaded prior to arrival.

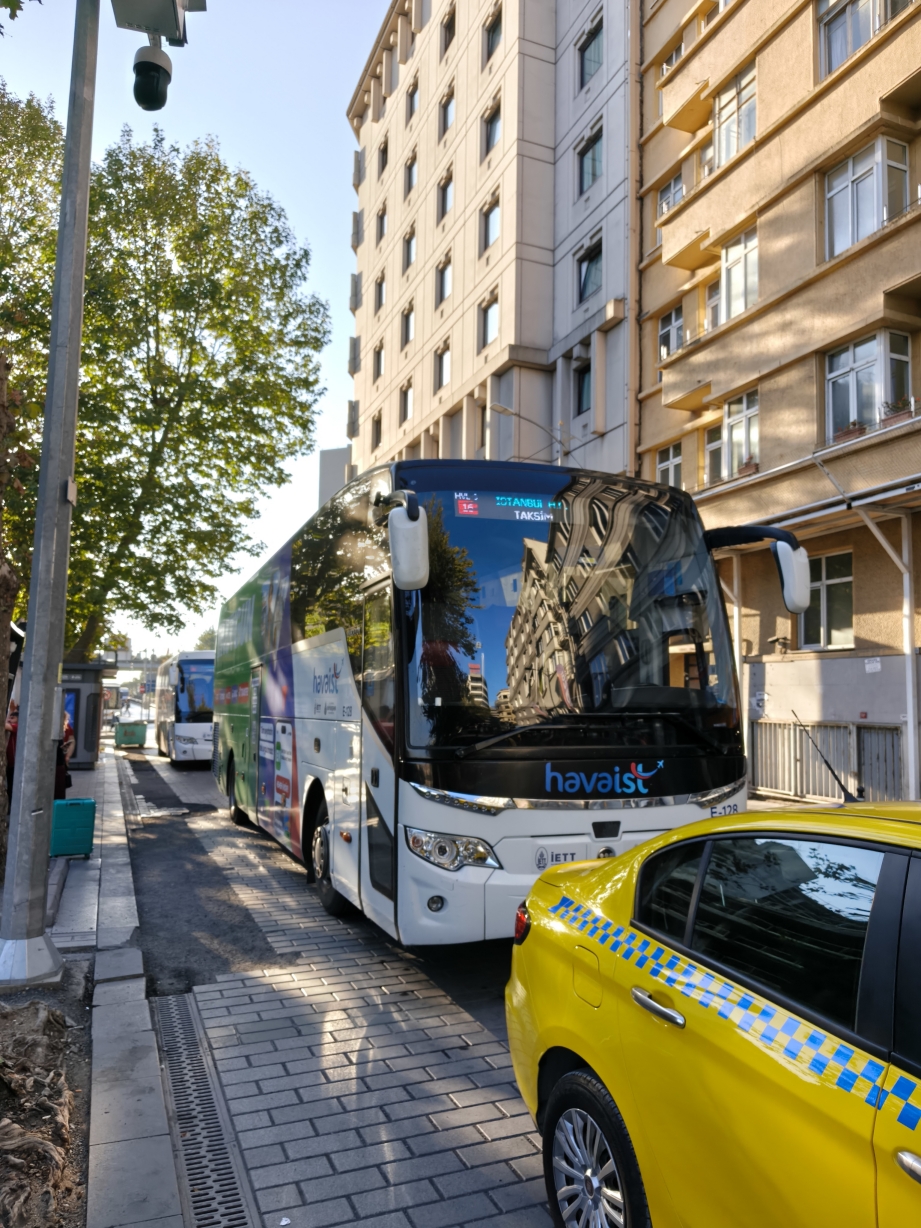
From the Airport, the HAVAIST BUS directly takes you to the city center. Bus ride costs 470 Lira (600 Php). The Bus station is located at the basement of IST Airport. I also purchased an ISTANBULKART to go cashless on transportation fare within the city(Bus/Metro/Ferry). I loaded 1000 Lira (1,200 Php) to the Kart, since every bus/train/Ferry ride in Istanbul costs 46 Lira at least.

English is widely spoken all around Istanbul. Communication was never an issue.

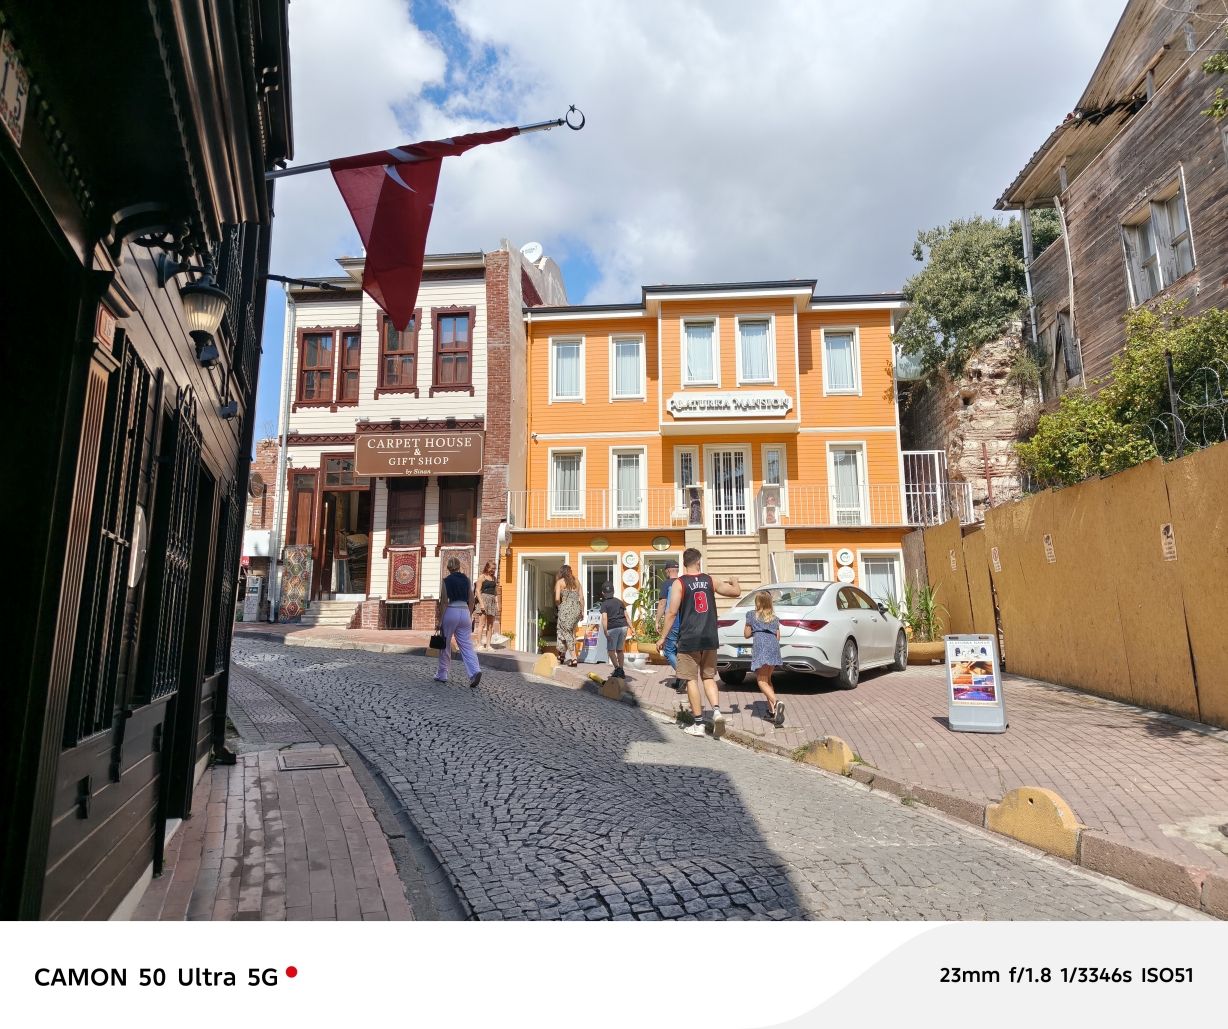
Day 1: Sultanahmet (Old City) – Best for first-time visitors aiming to see major landmarks like the Hagia Sophia, the Blue Mosque, and the palace. Sultanahmet is rich in imperial history, though highly touristic and gets really crowded and the restaurants are generally pricey.

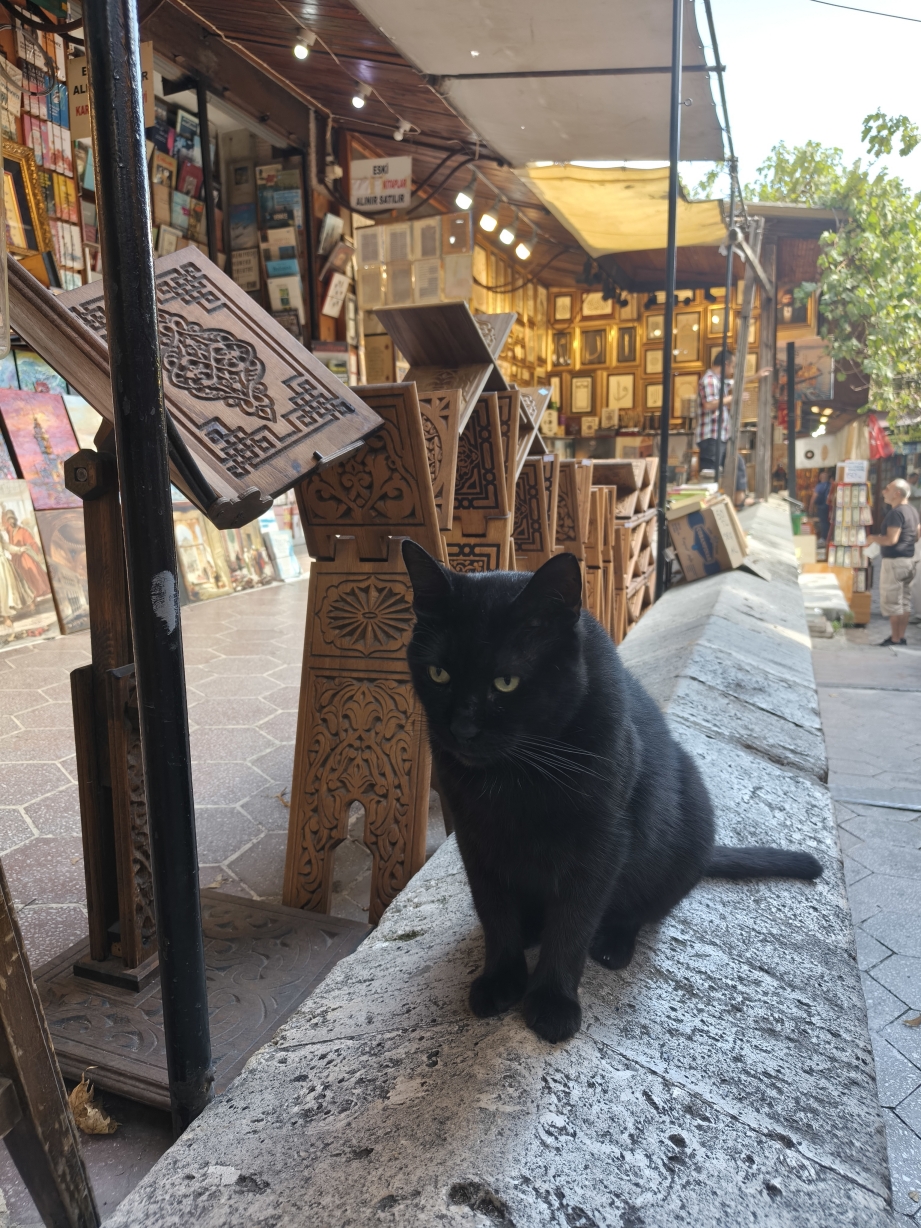
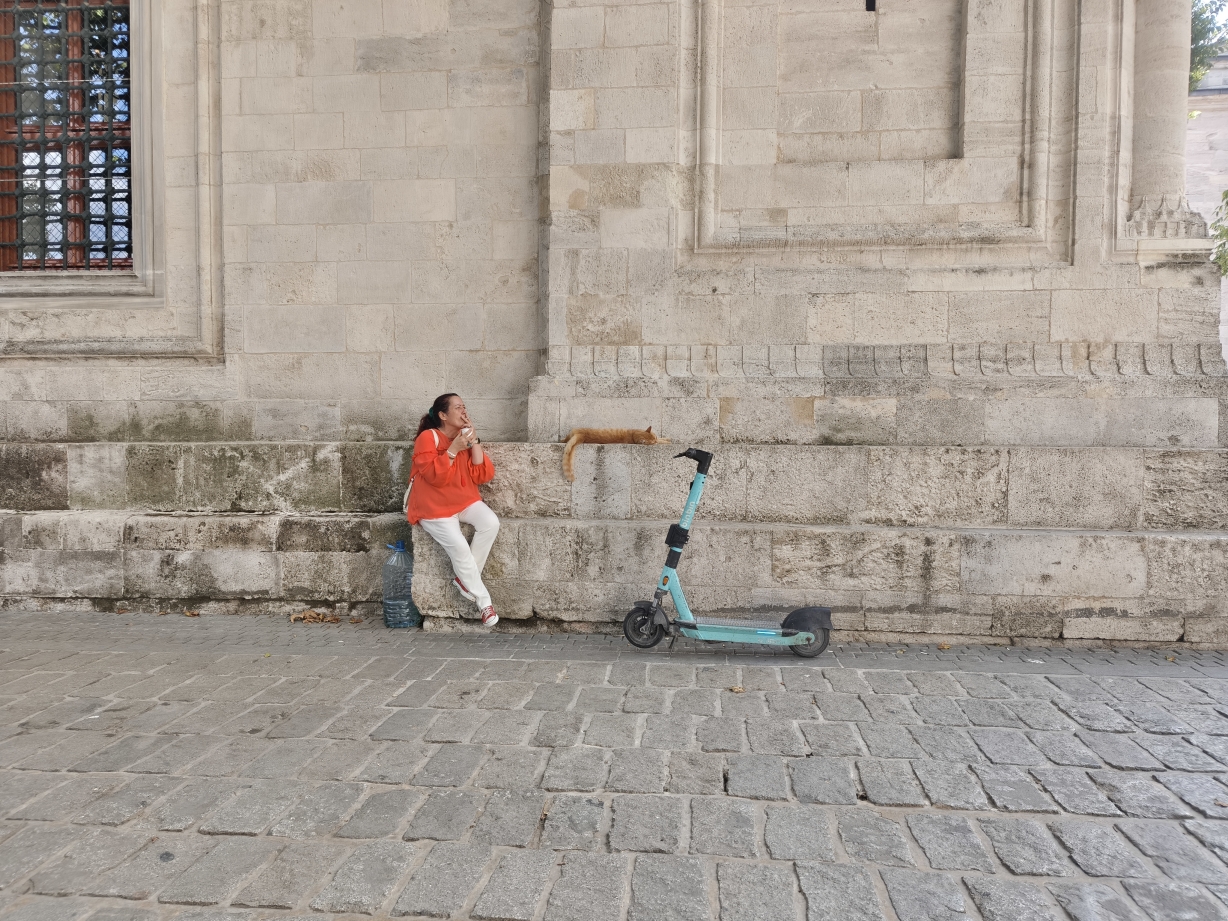
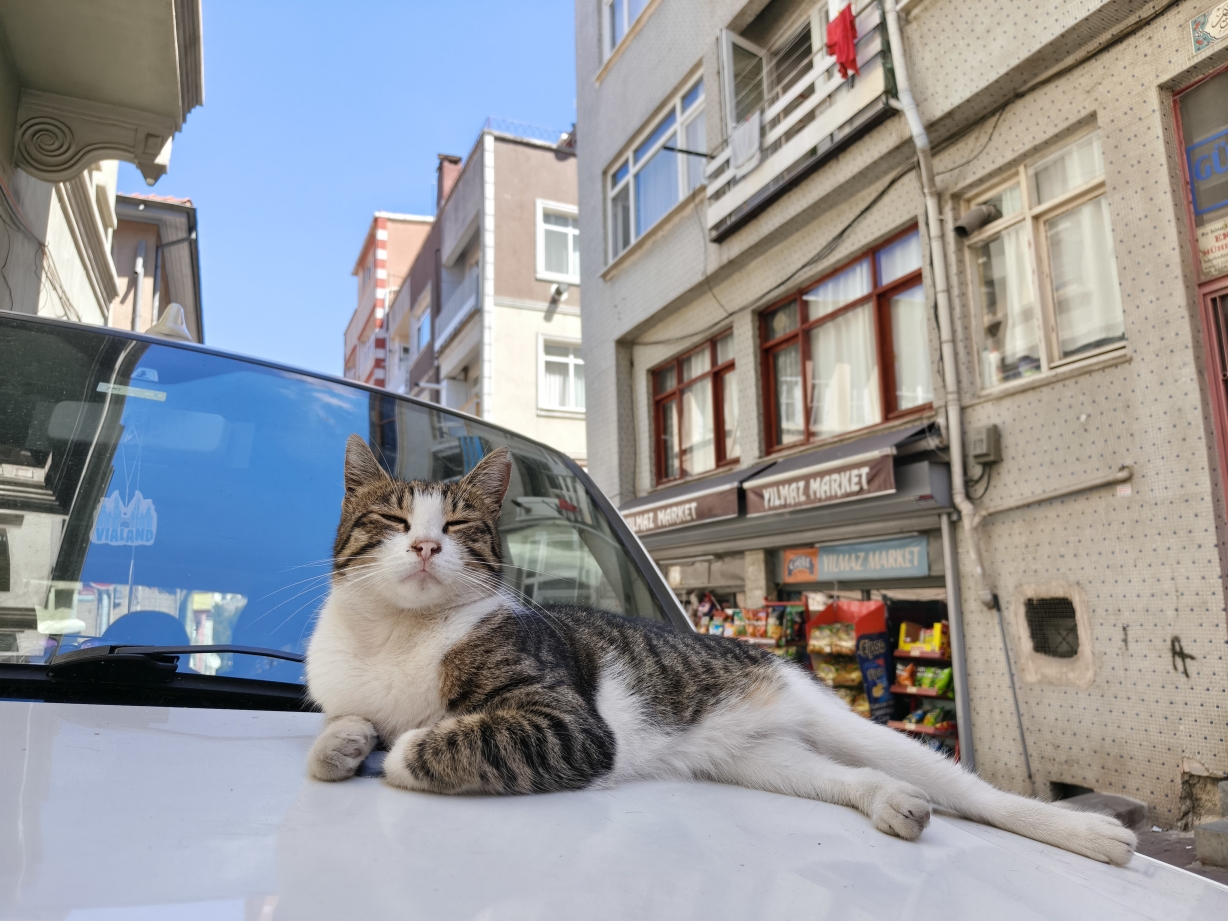
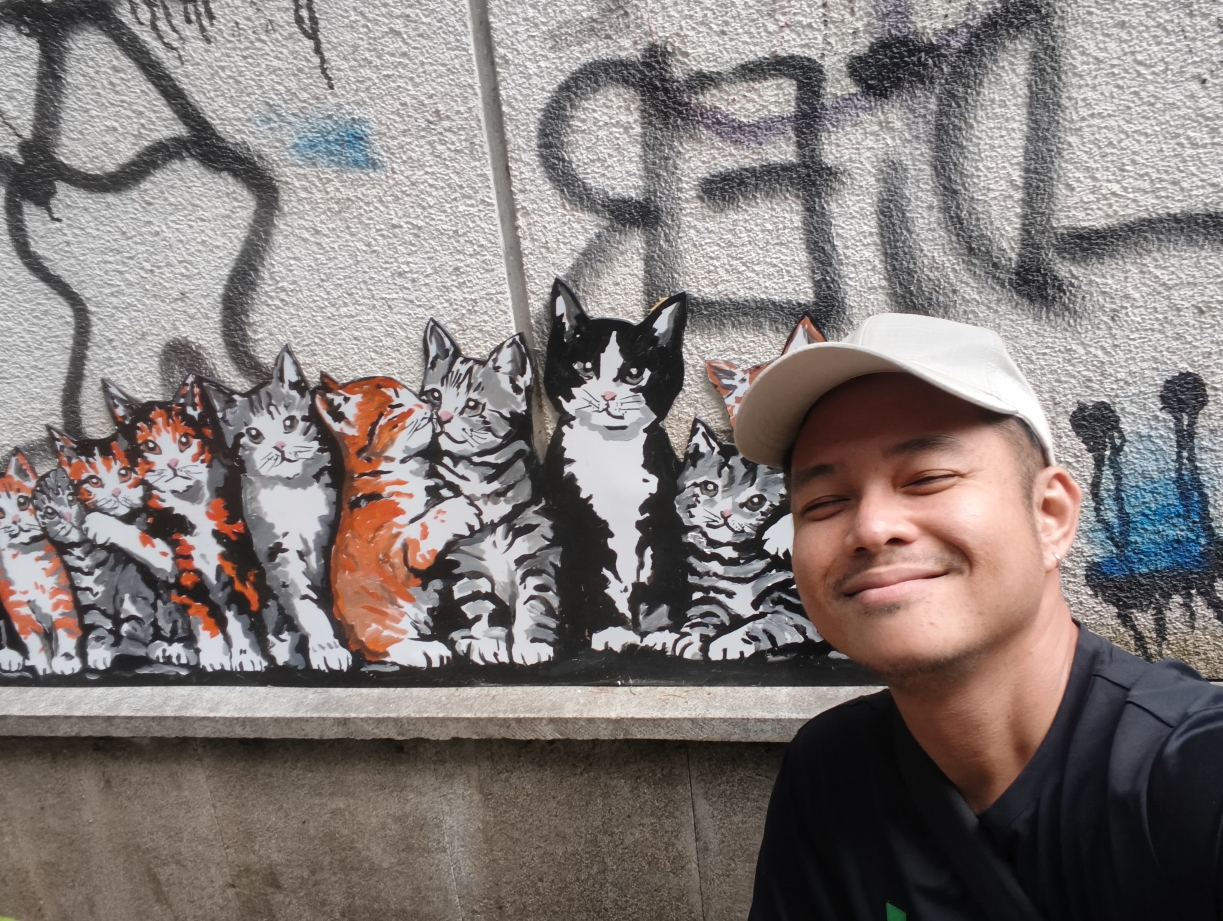
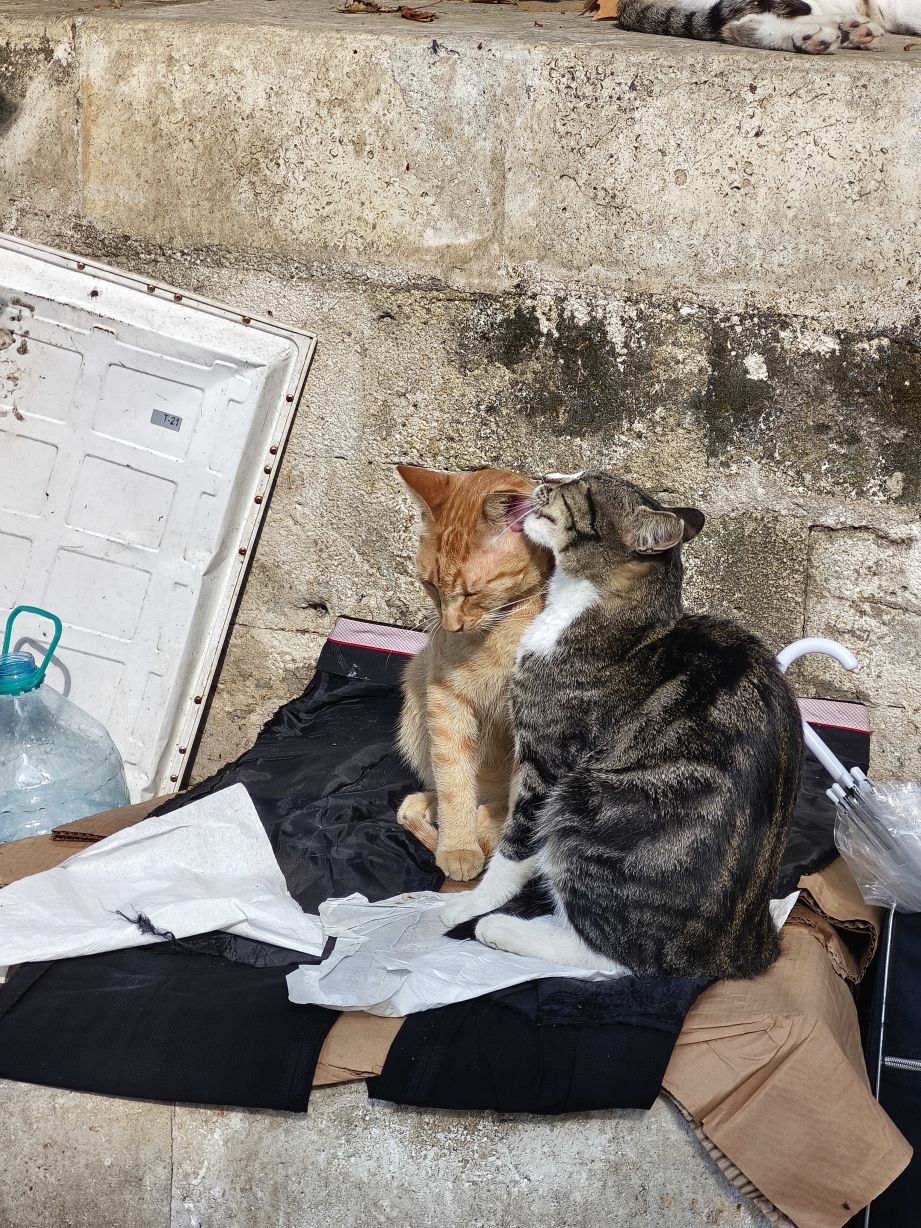
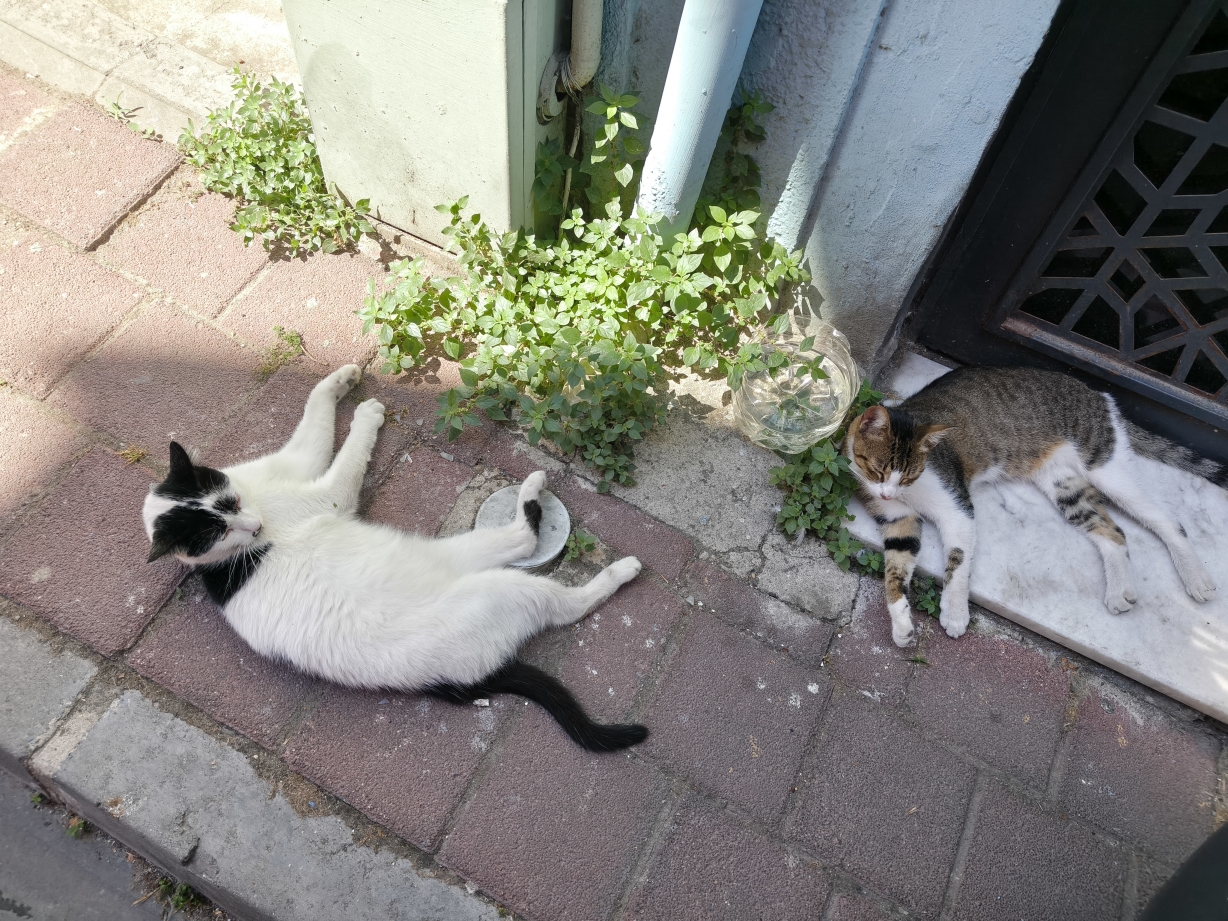
First thing I noticed upon arrival in Istanbul are the street cats that are well fed by the community. Turkish love cats. Dogs are a rare sight in Istanbul.
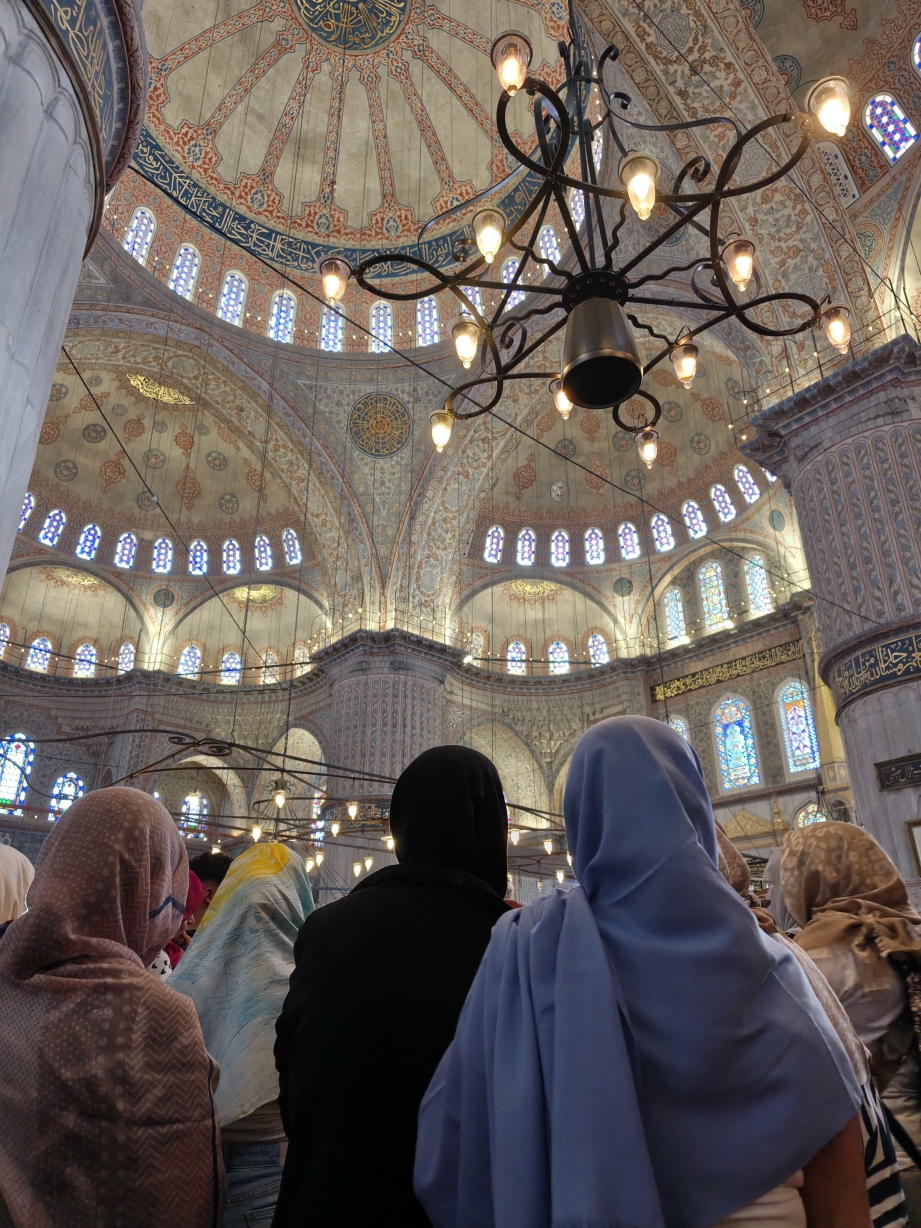
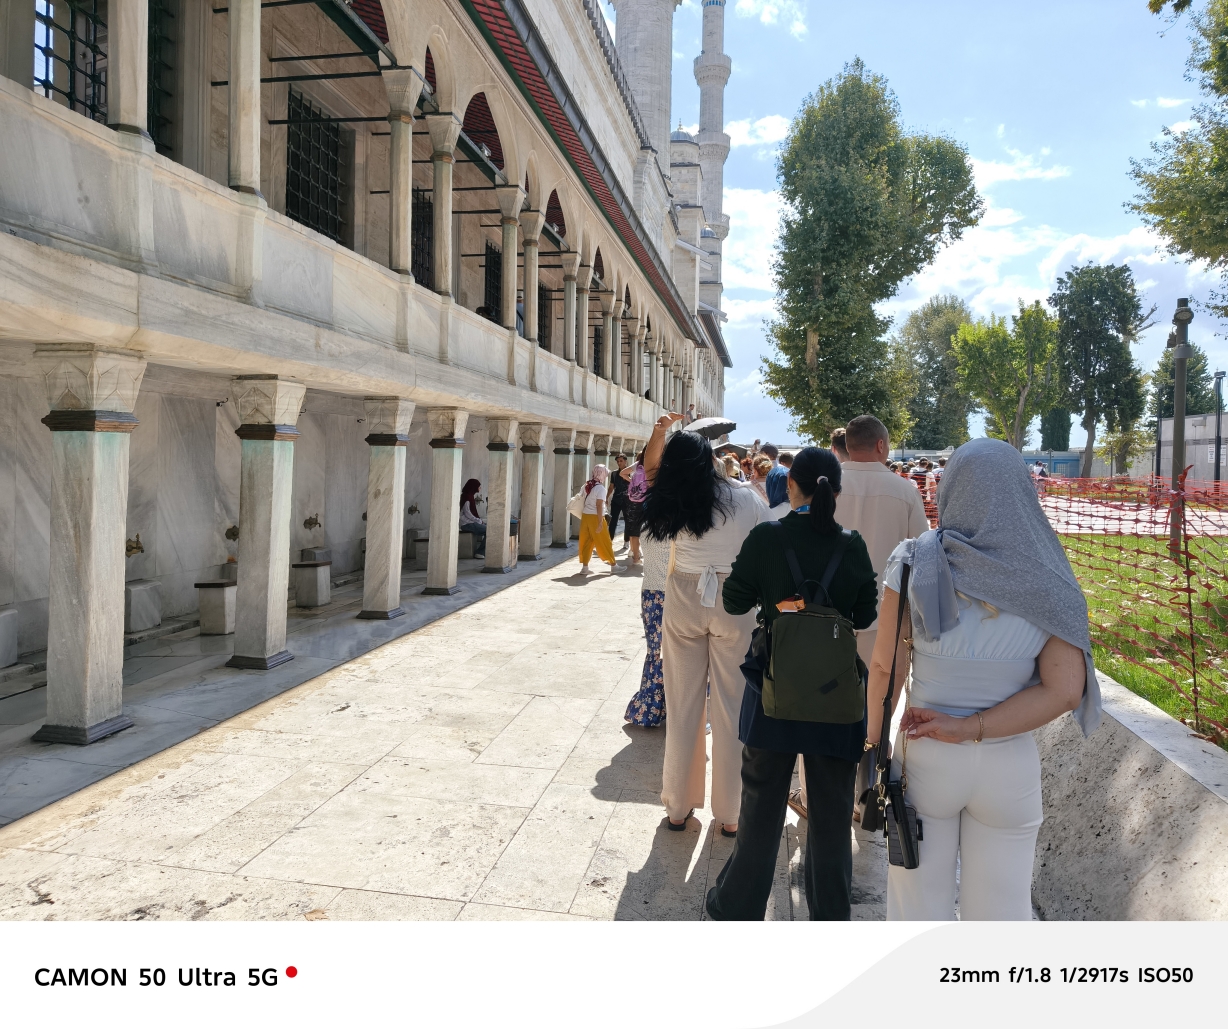
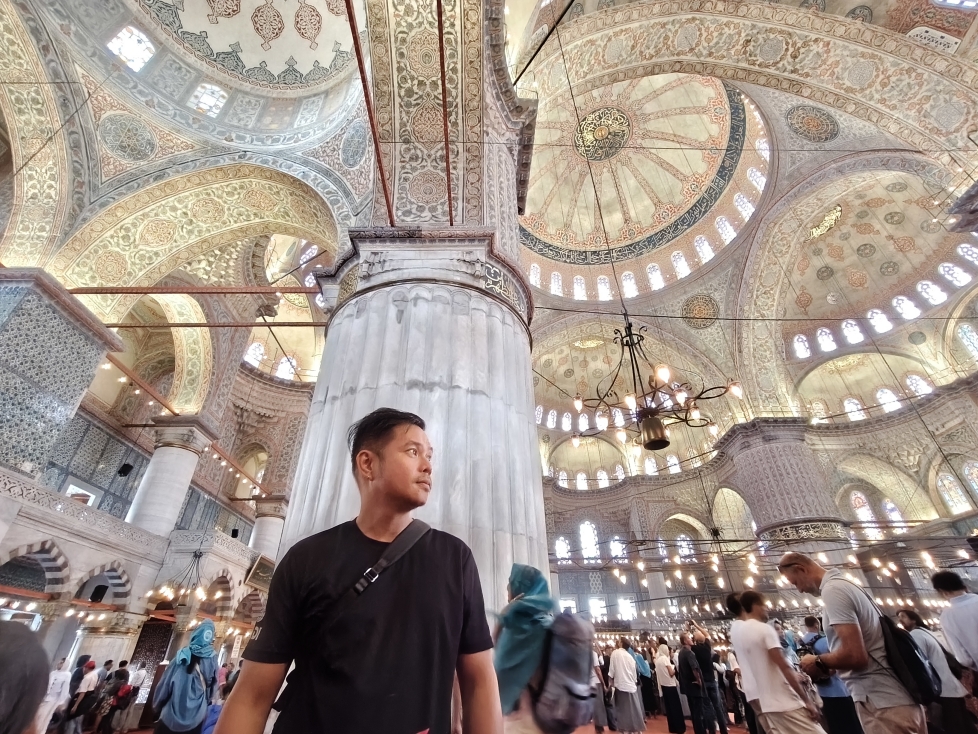
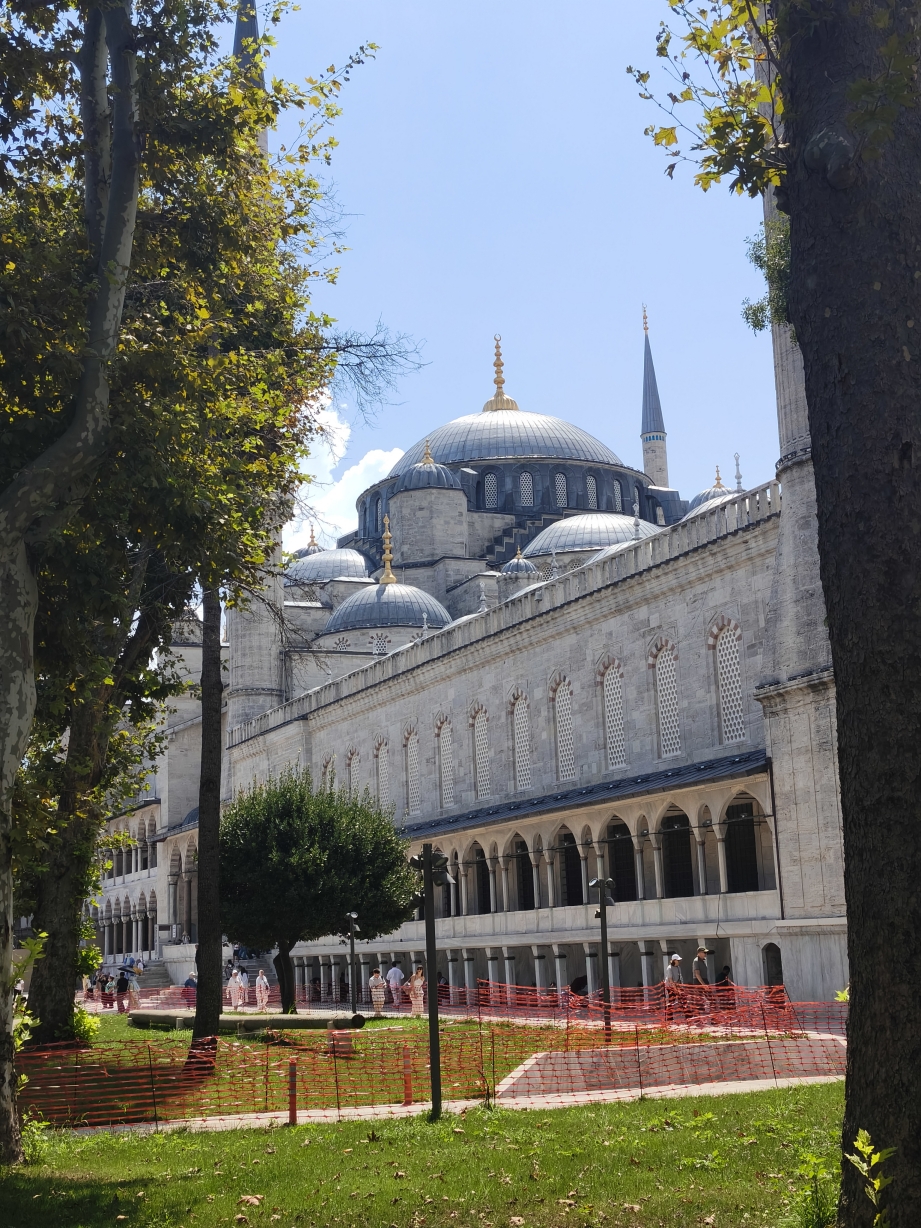
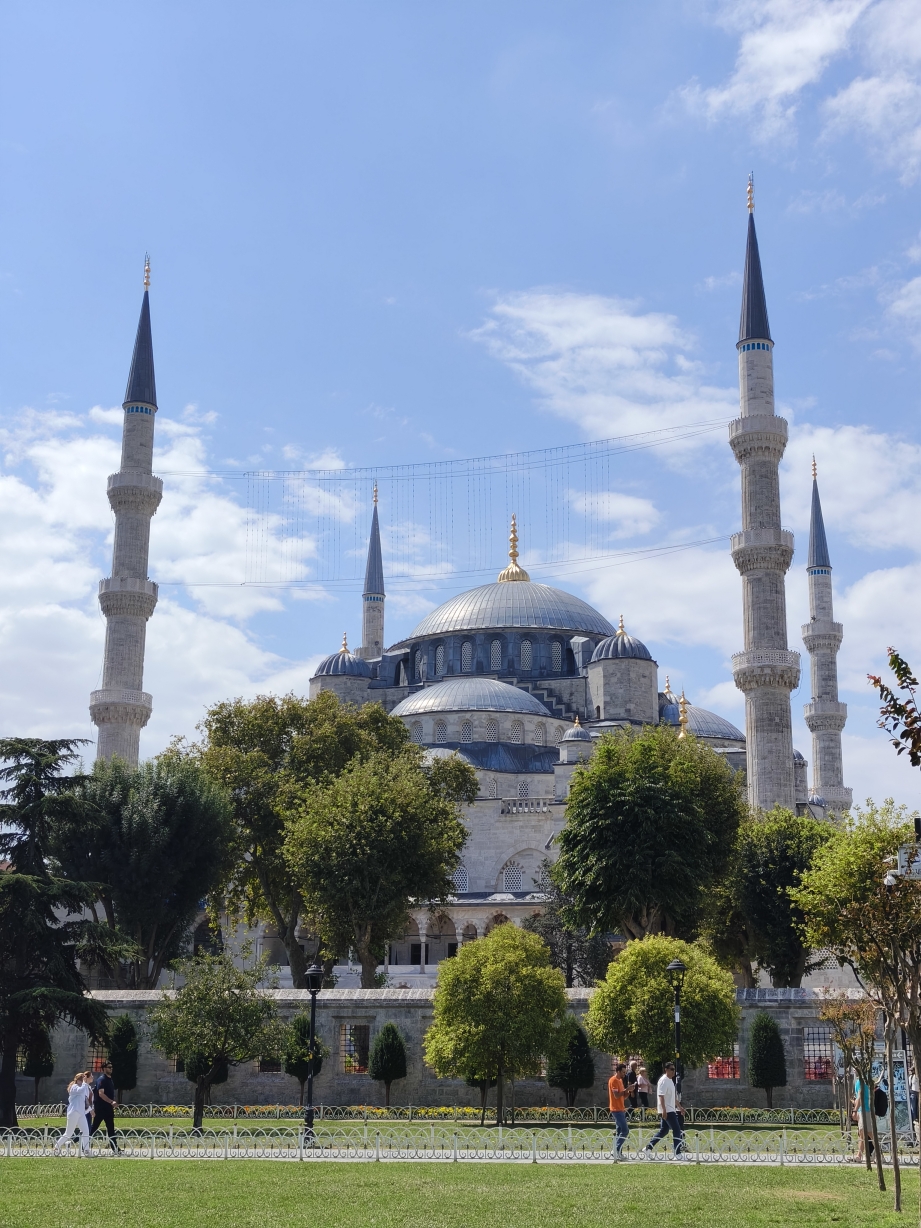
The Blue Mosque, built around 16th Century. The mosque is open for all visiting tourists.
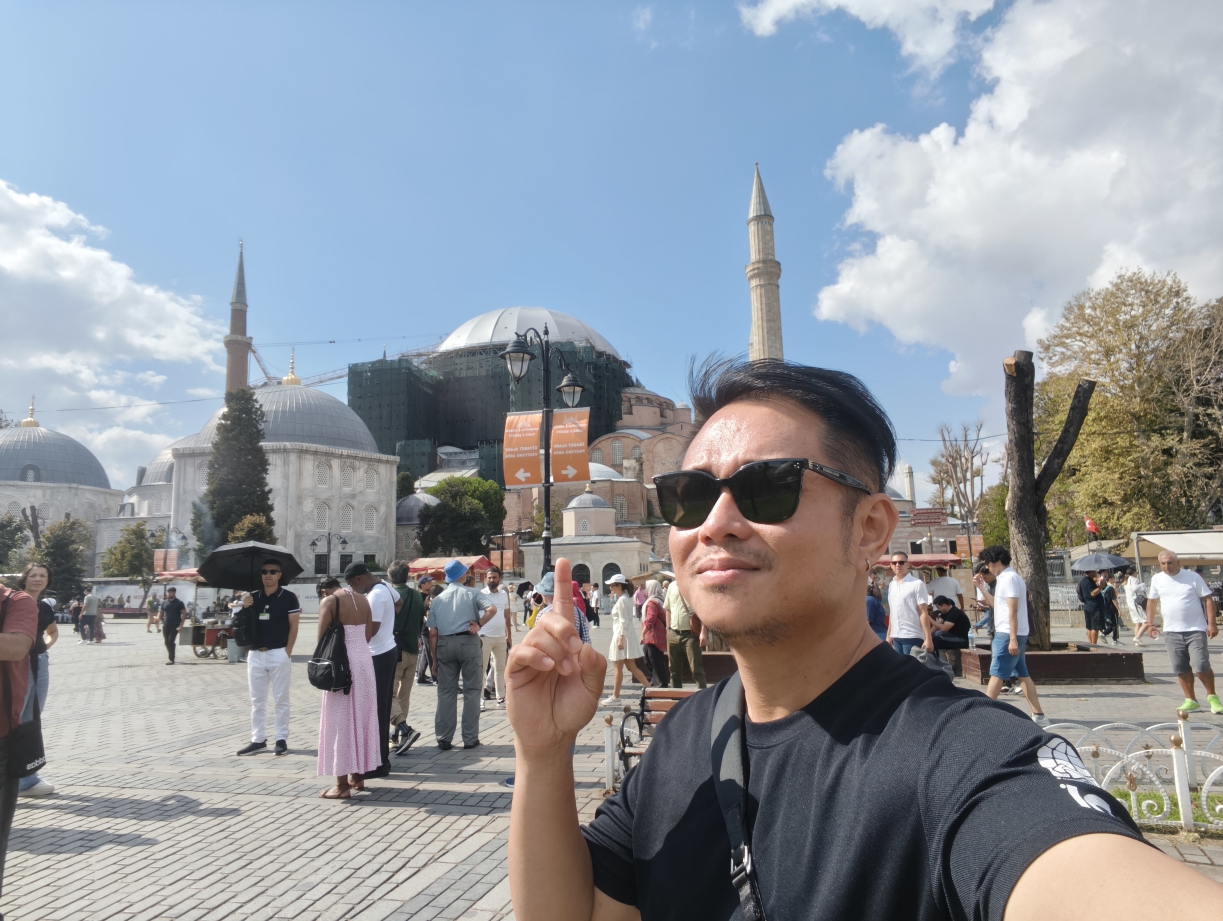
Hagia Sophia Mosque – constructed in the 6th century as an Eastern Roman Christian basilica. Later during the Ottoman conquest in 1453, the building was turned into a mosque under Sultan Mehmed II. The mosque was undergoing major restorations the time I visited. I did not bother going inside na.
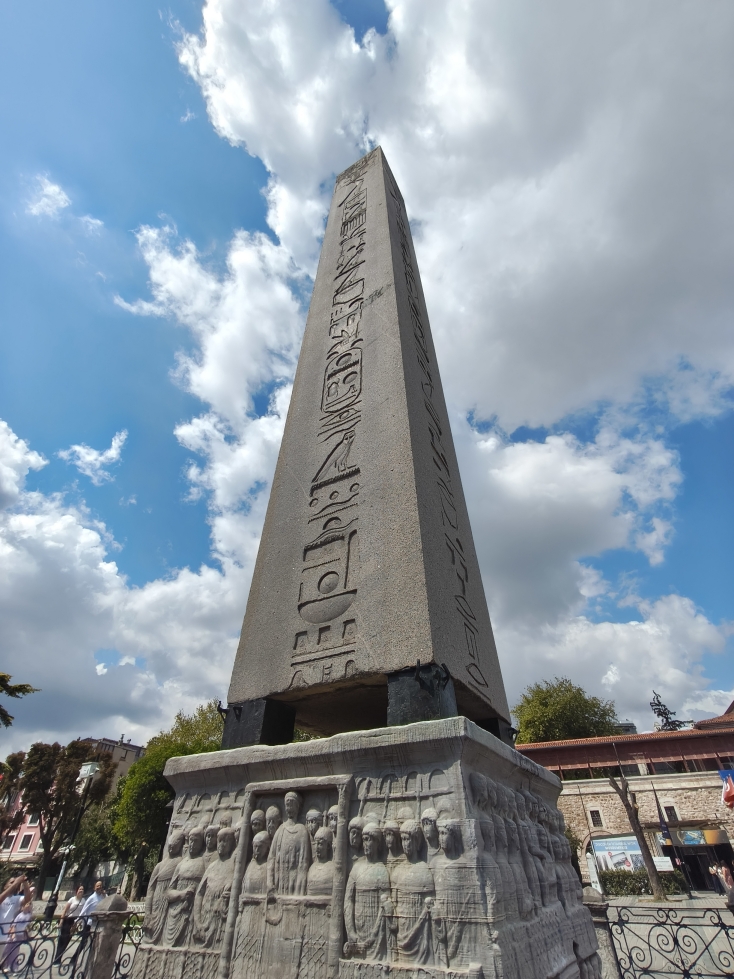
Note: There is an original Egyptian Obelisk displayed at the park near the mosque. This was seized by conquerors from its origin in Egypt during the early days. It was never returned by Turkey upto today.

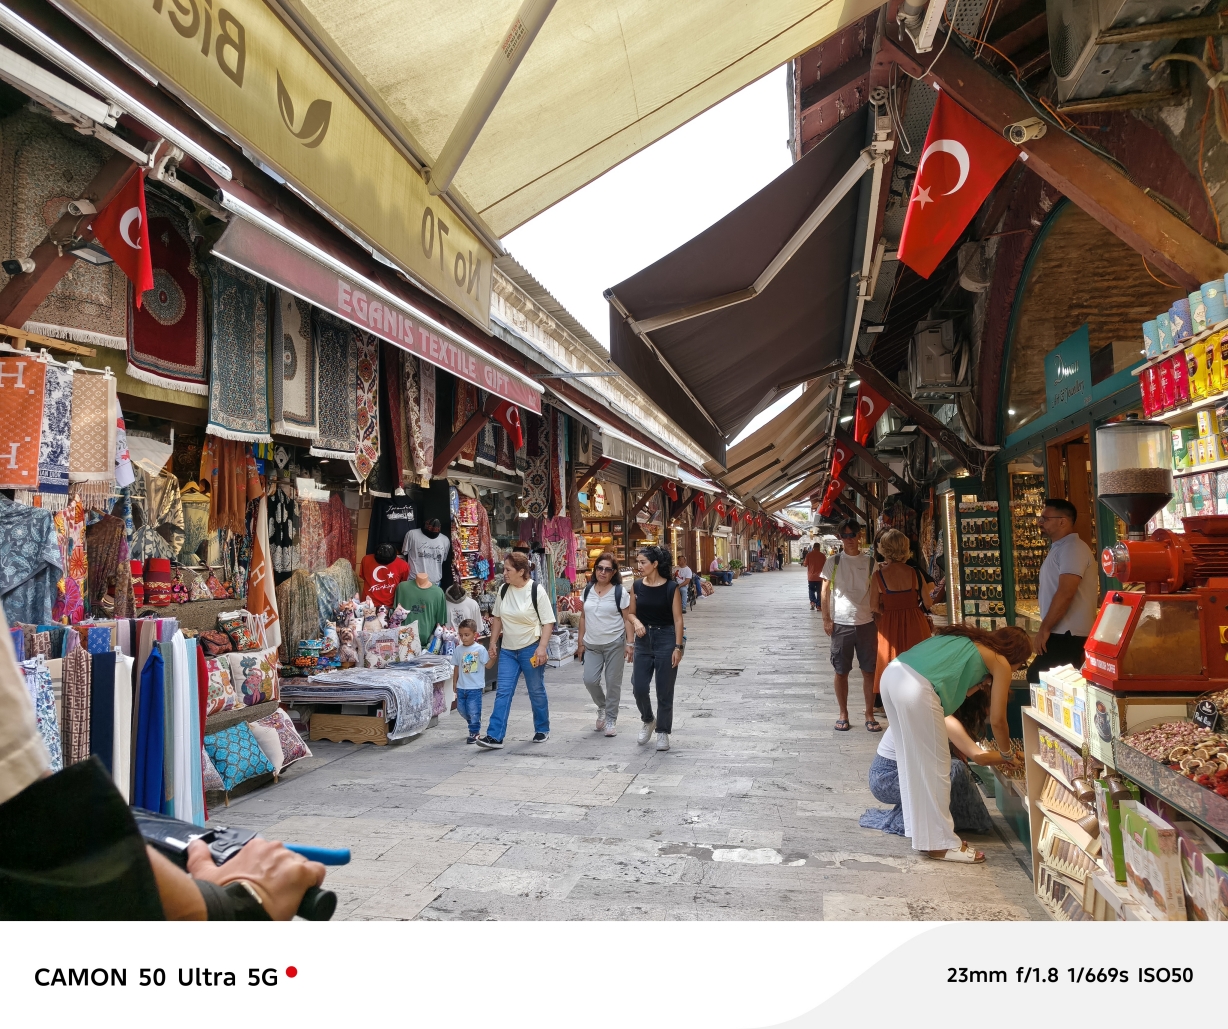
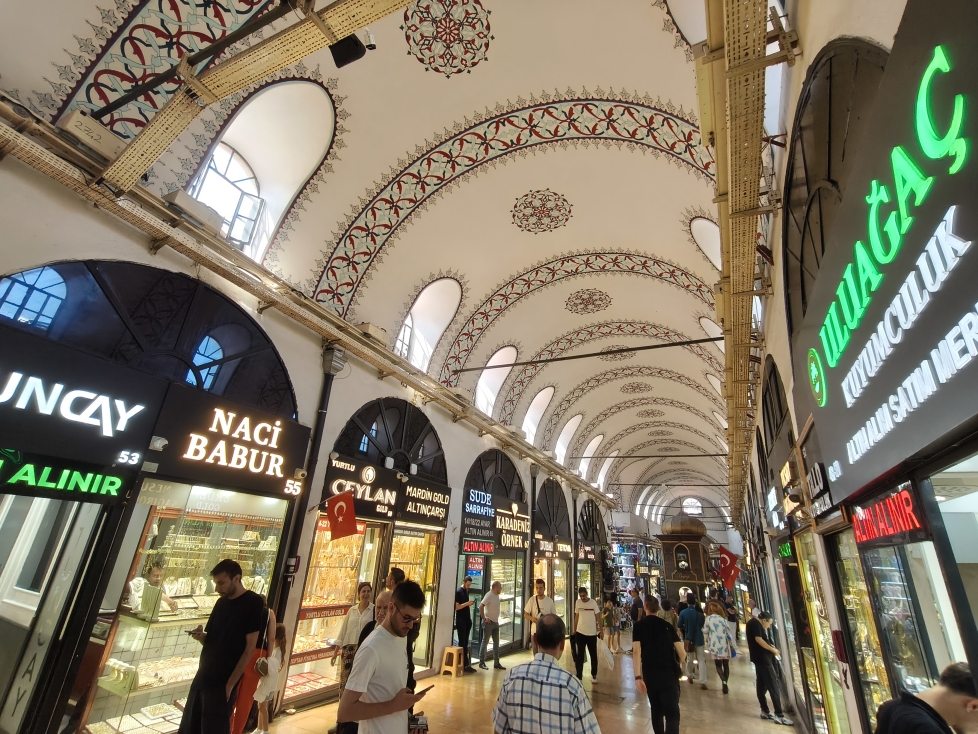
Just a few blocks from the mosques, the Grand Bazaar, is one of the oldest and largest covered markets in the world, serving Istanbul for over 500 years.
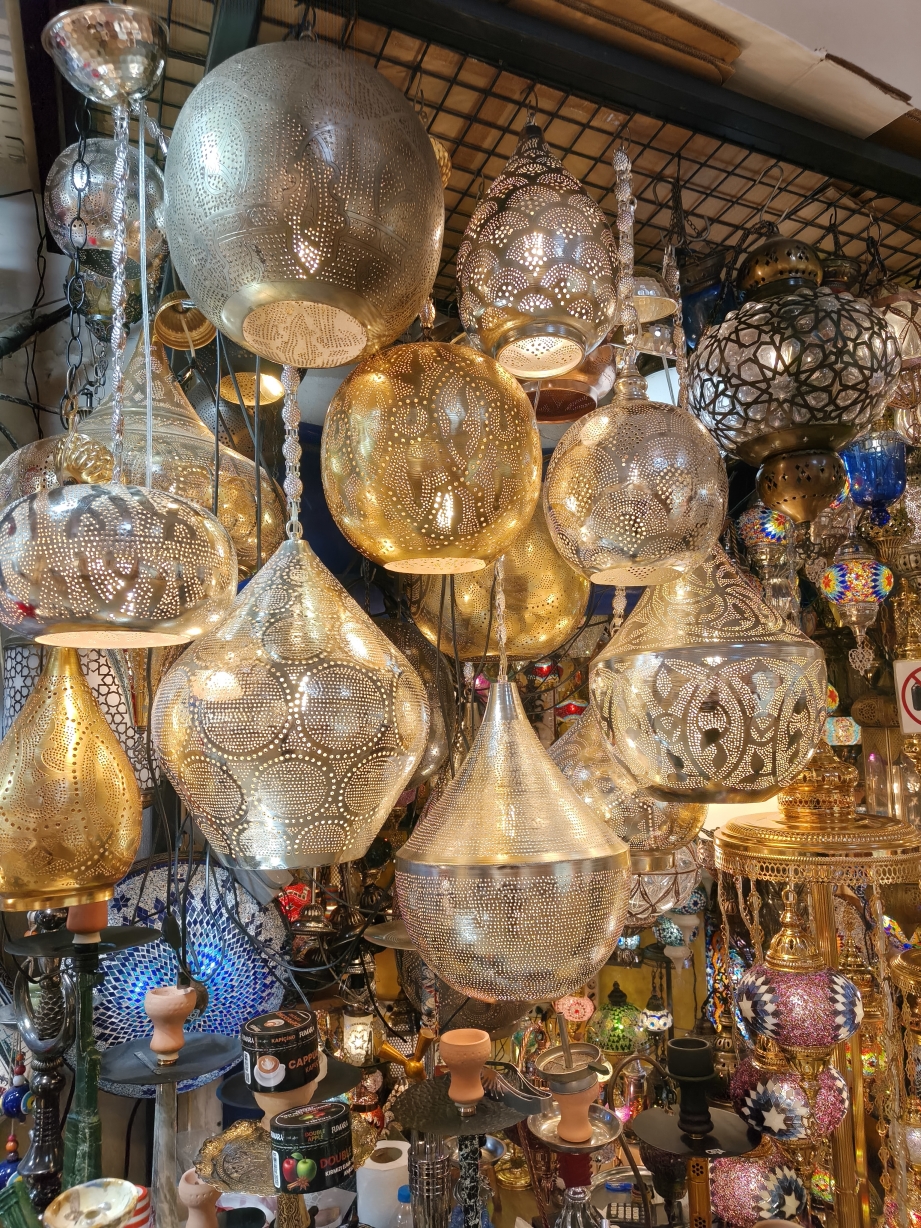
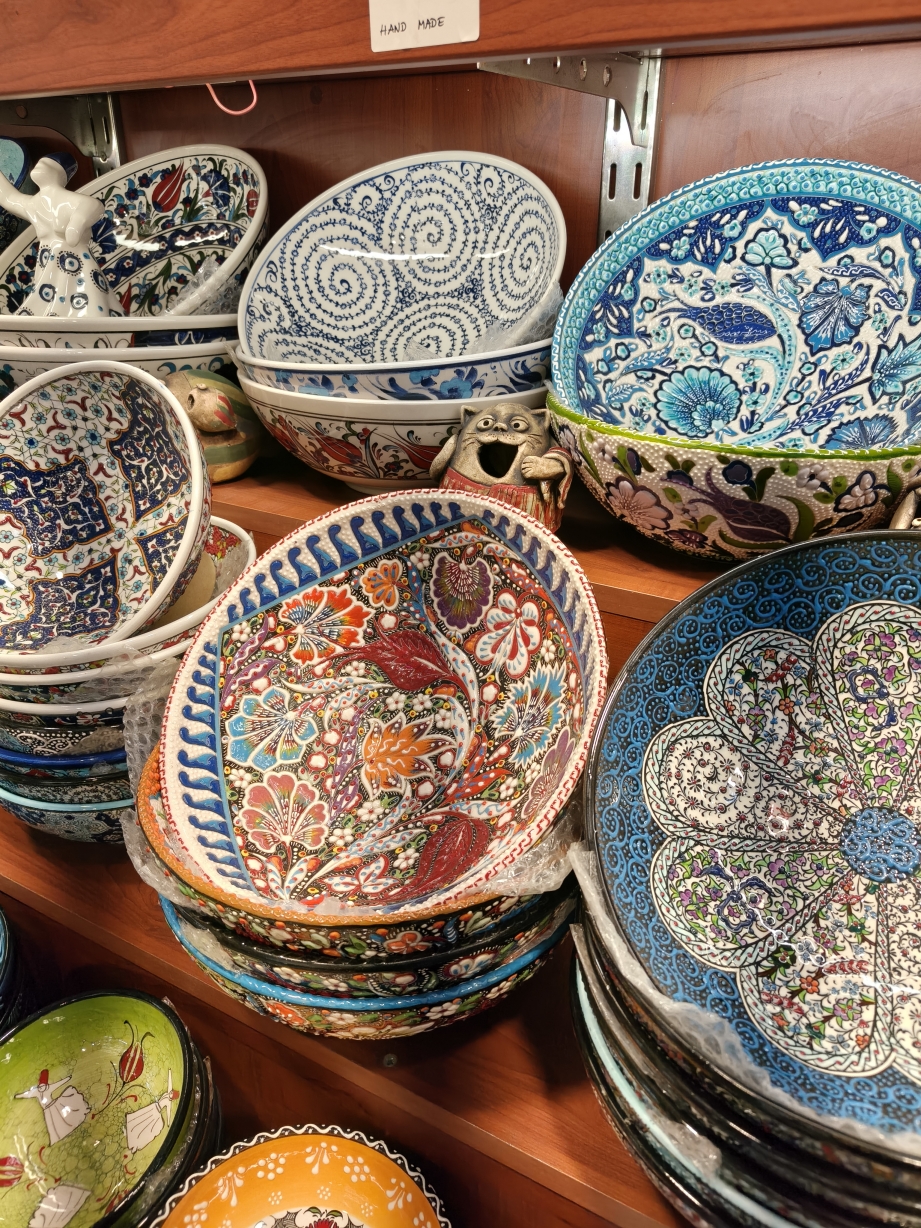
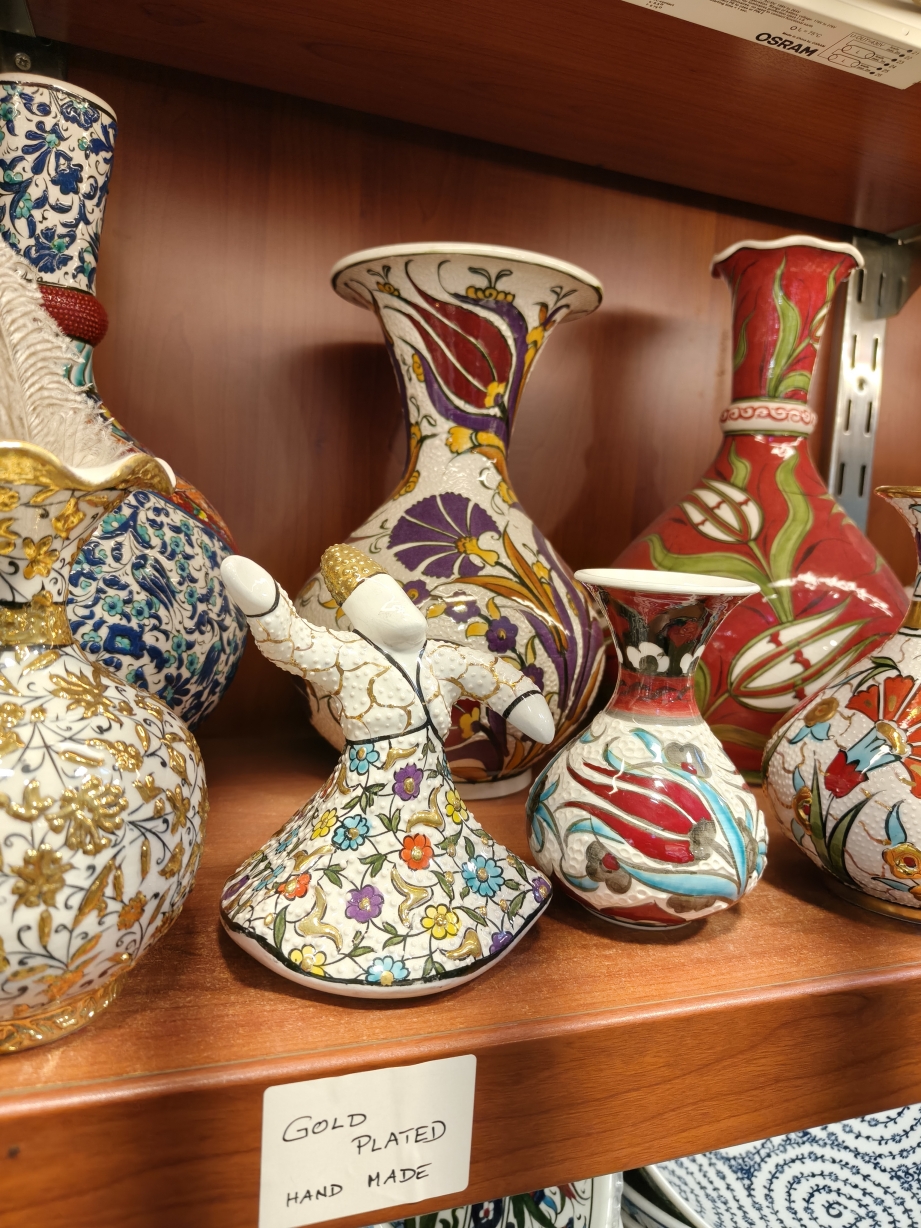
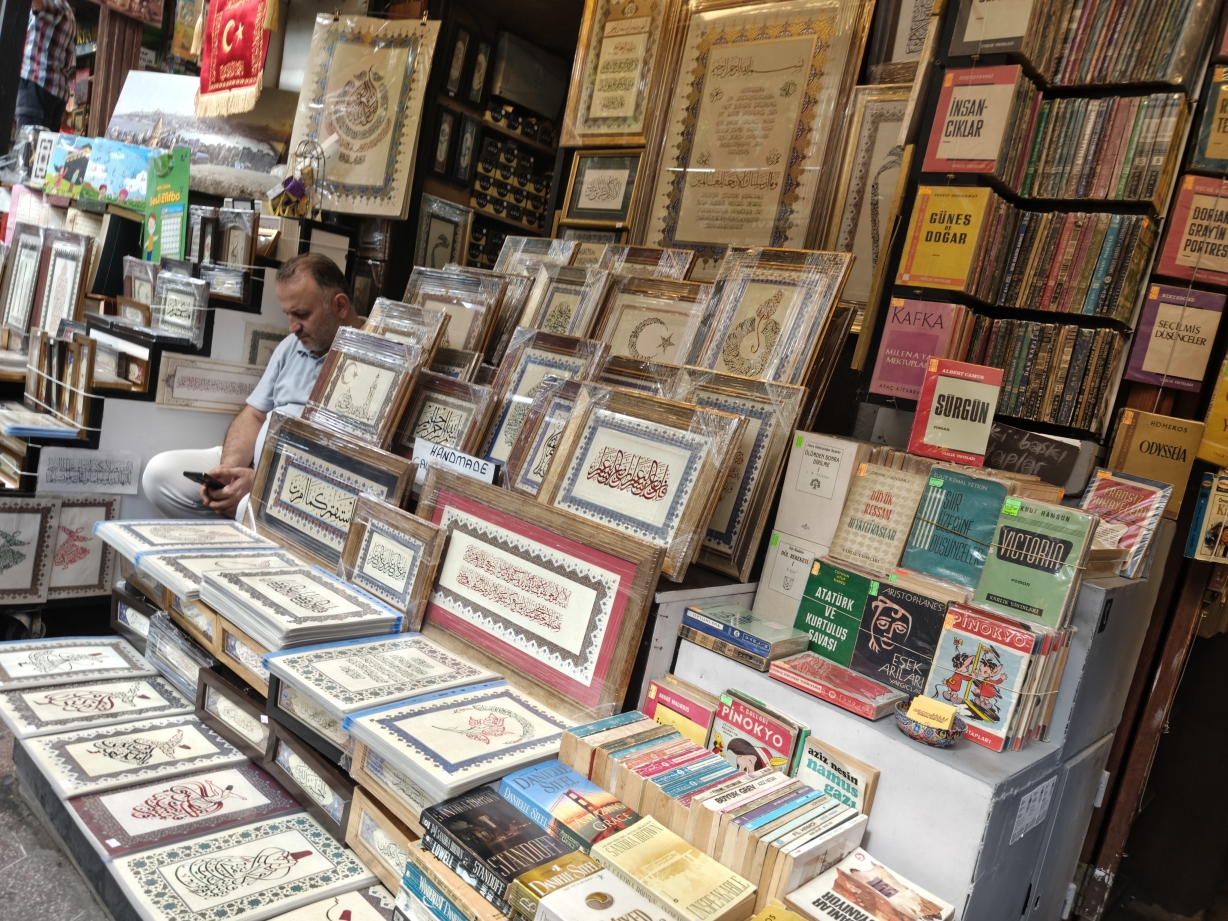
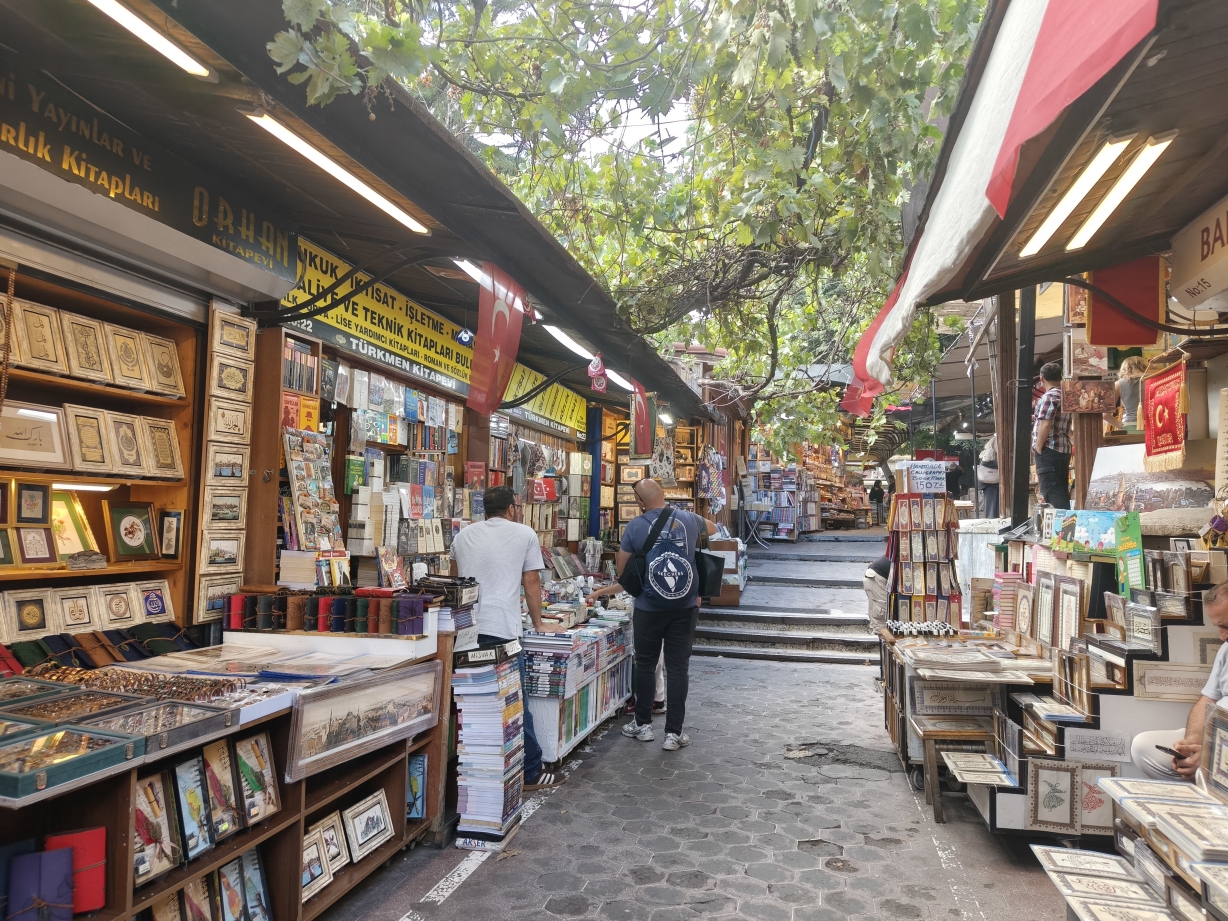
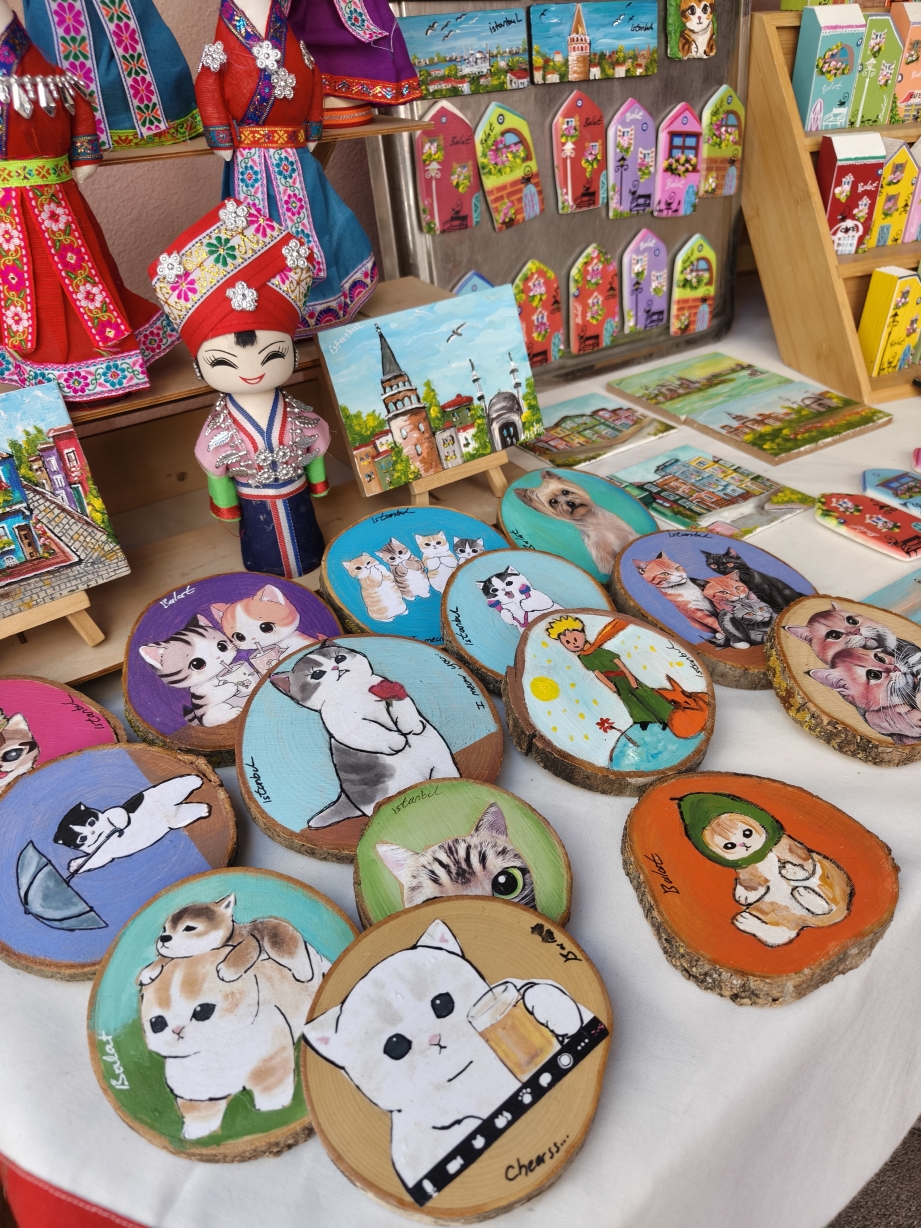
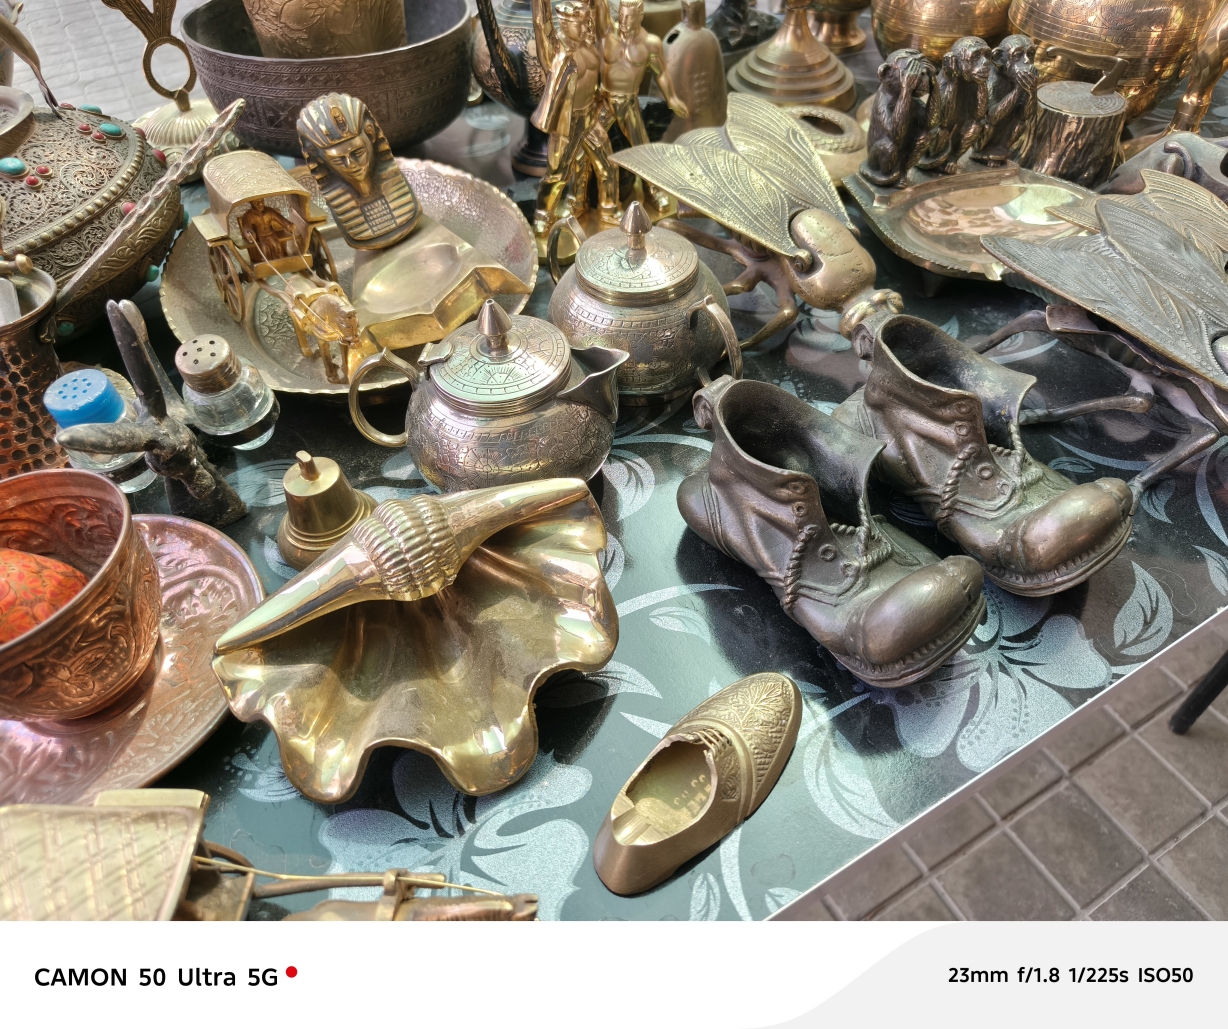
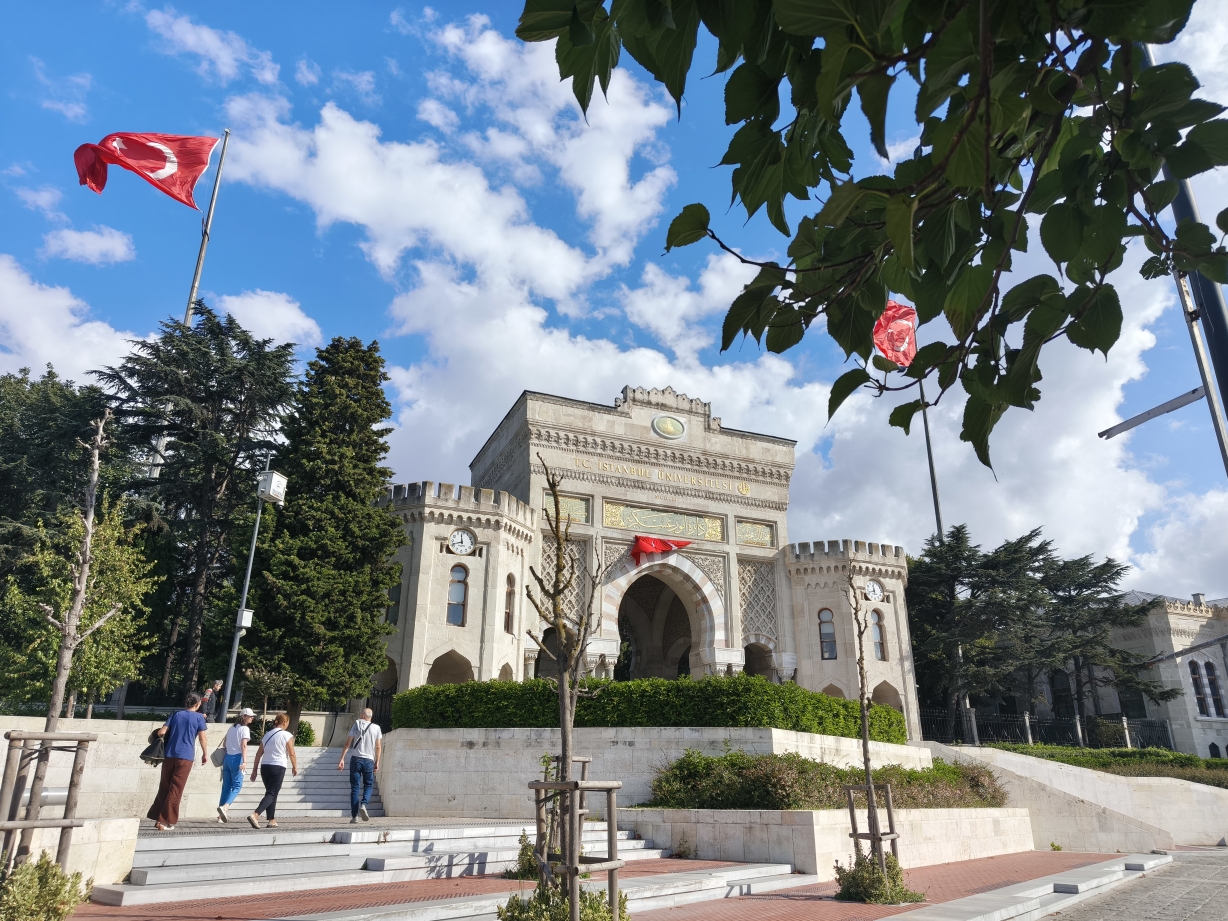
In Sultanhamet, you’ll also pass by universities and markets that boast local art works and vintage collections. I made some souvenir purchases here. Their magnet designs are nowhere else to be found. This book market, I found just at the back of the Grand Bazaar.
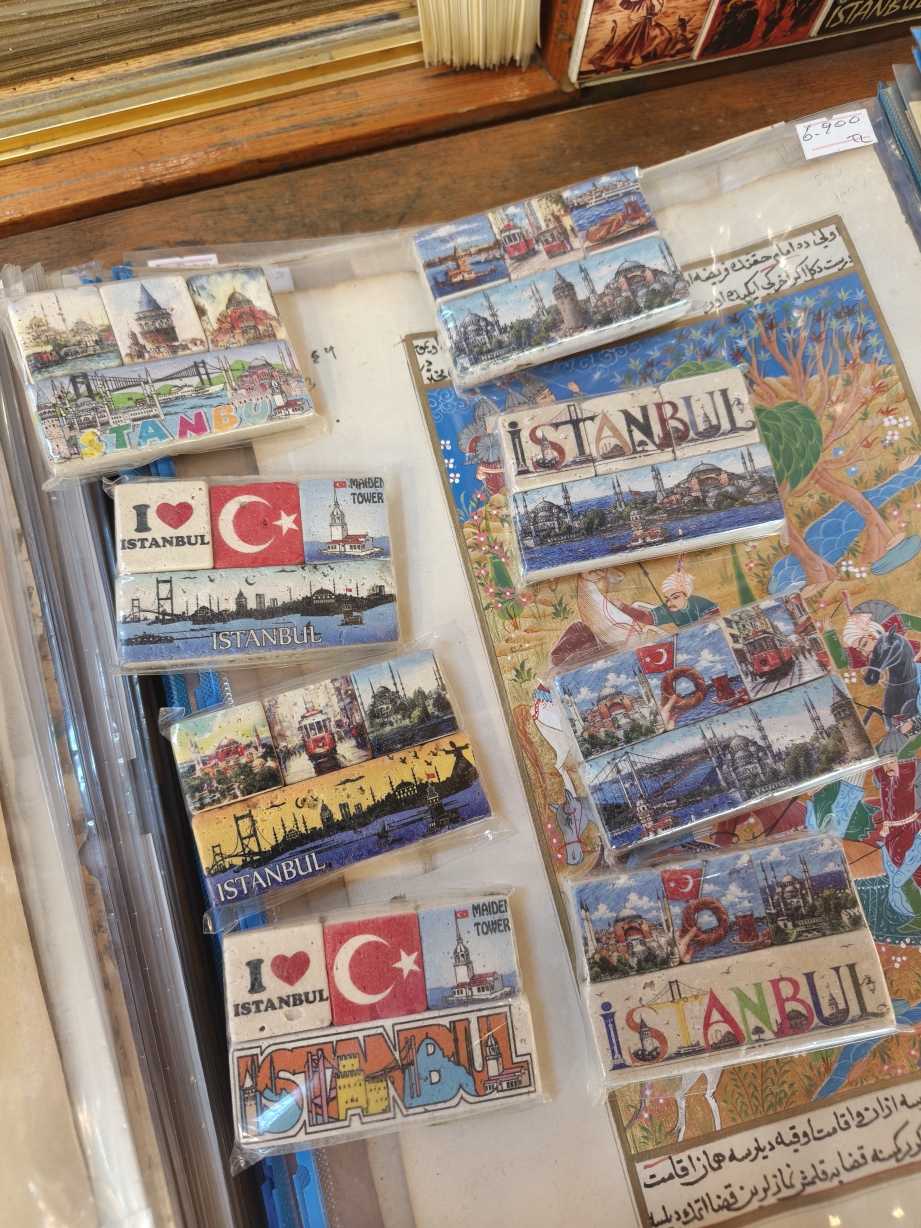
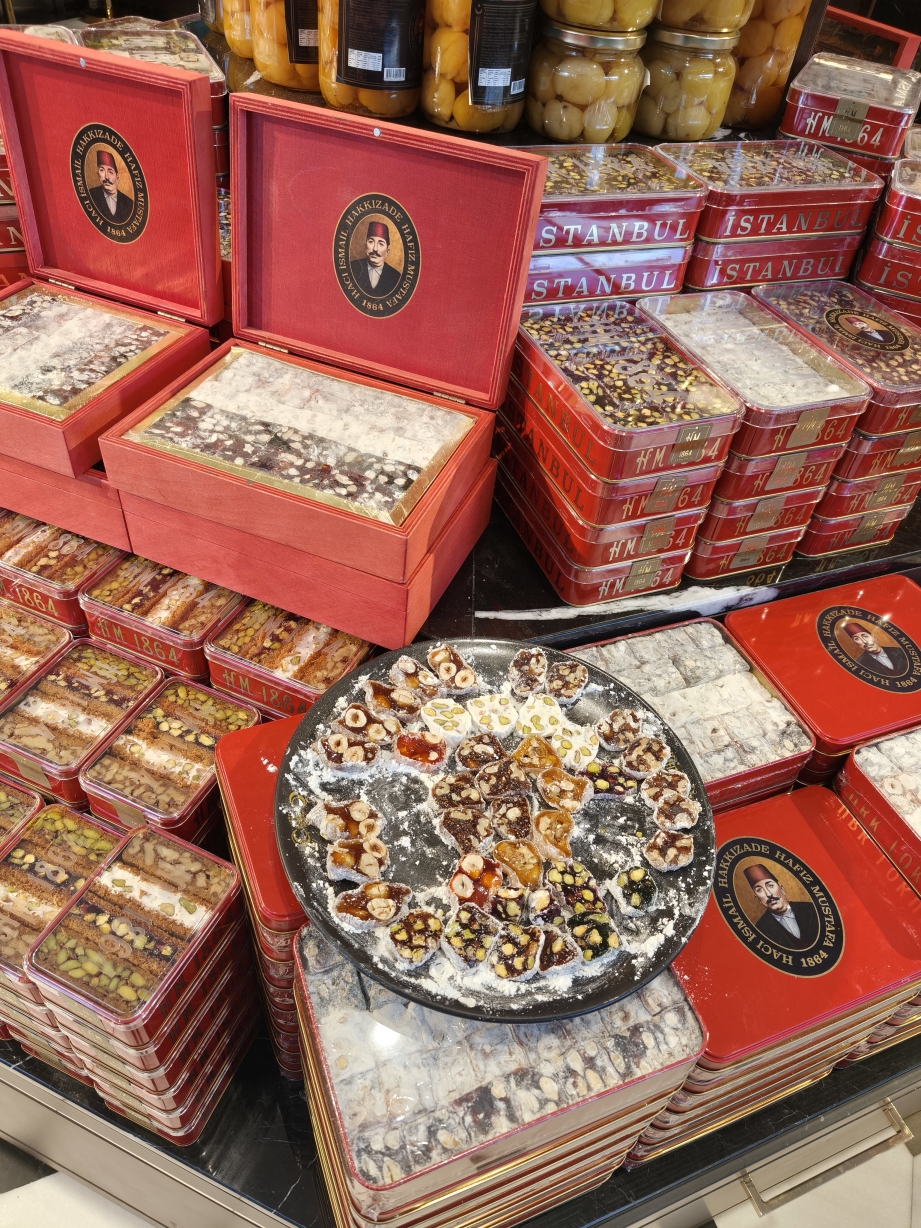
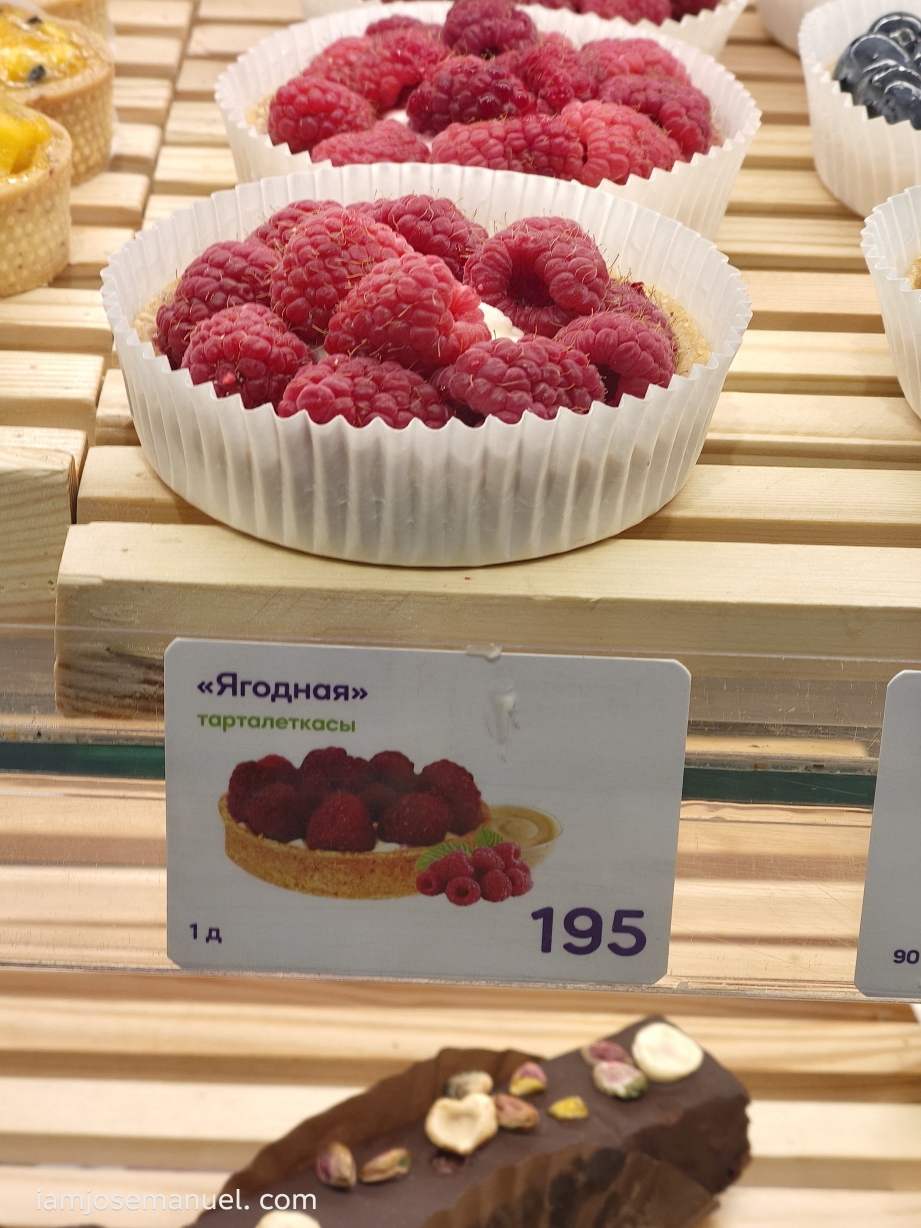
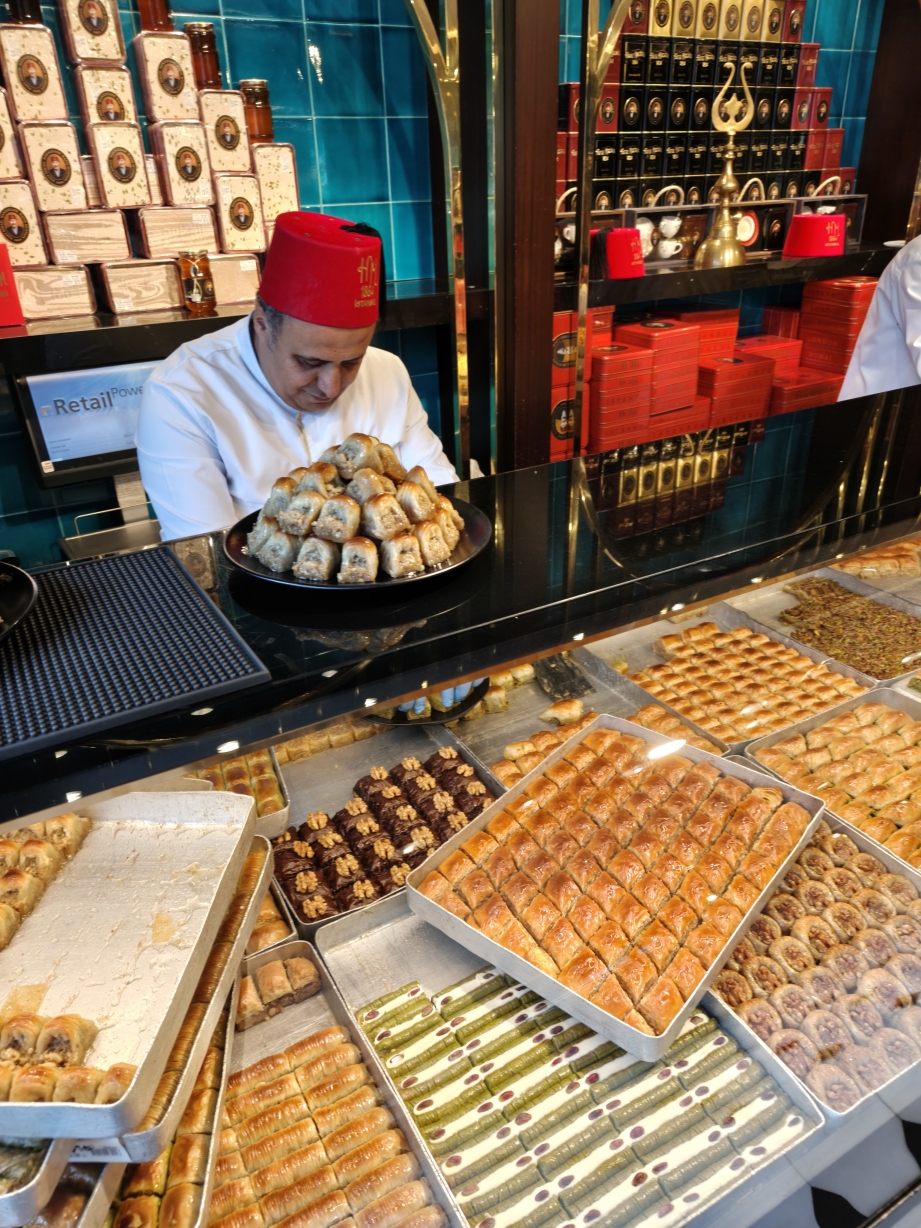
Turkish sweets/dessert shops almost always offer free taste of their products. In Sultanhamet, you’ll see a lot of these stores, but are quite expensive. Better reserve your shopping cash for Kadikoy and Balat neighborhood, which I visited on my 3rd and 4th day.
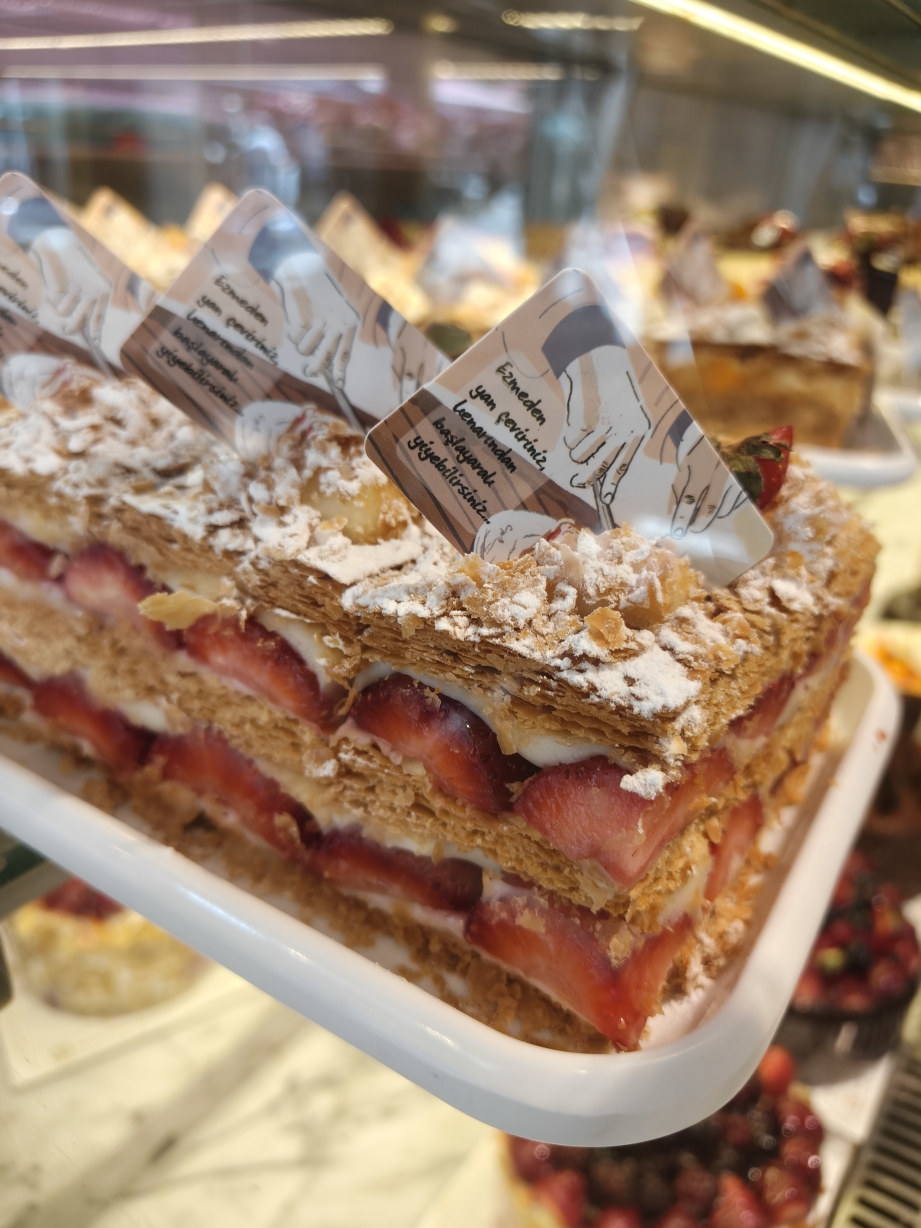
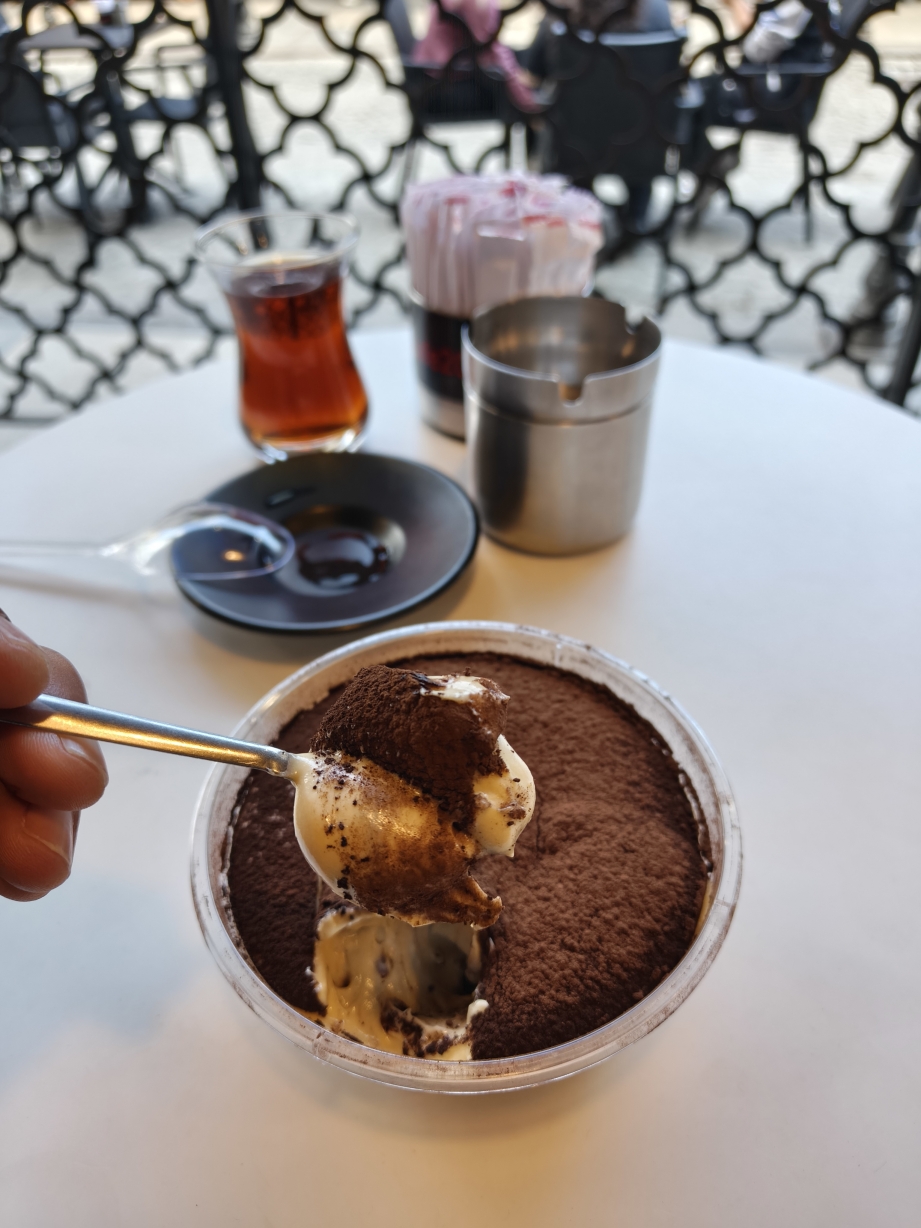
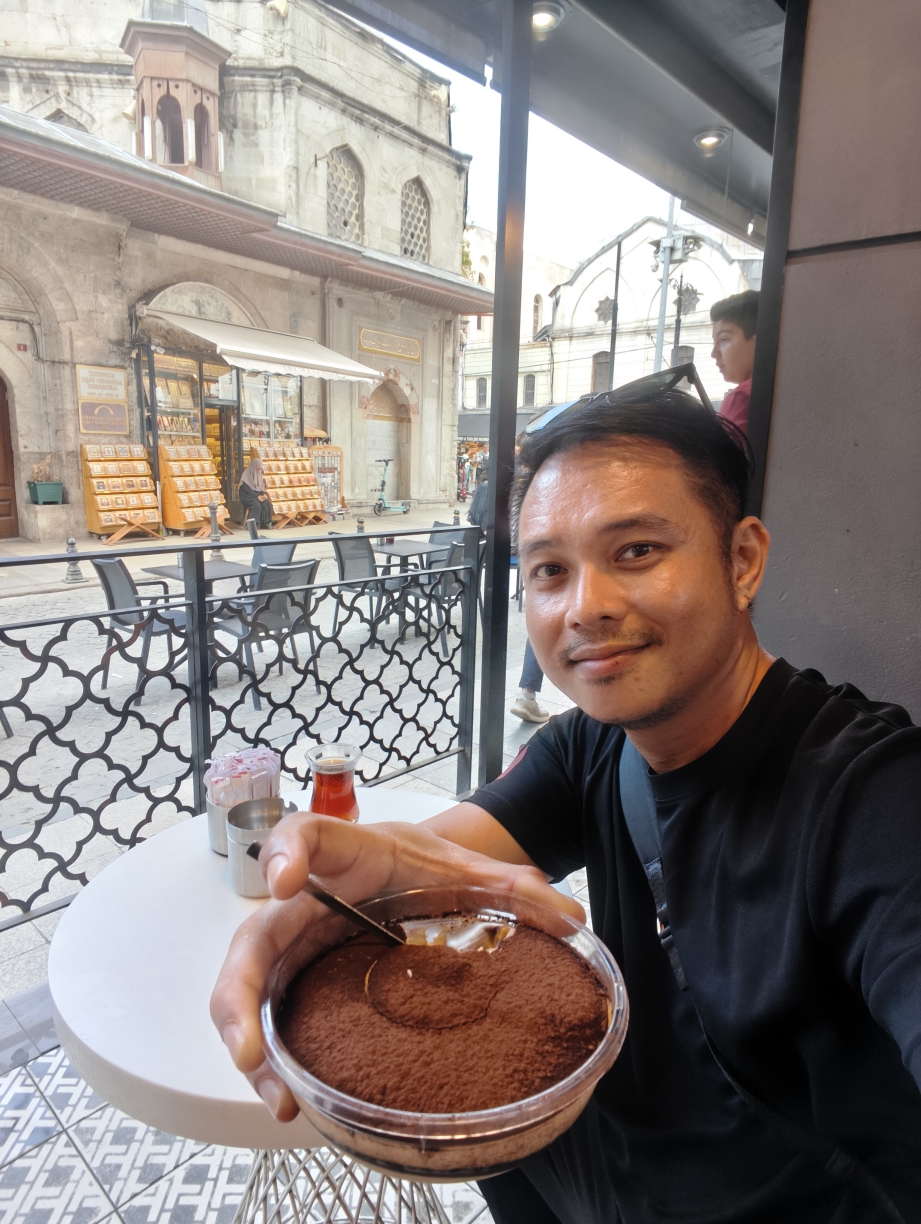
Stopped by T-Cafe for their famous Tiramisu. This cafe is relatively inexpensive, despite operating along the touristic street near the mosques.
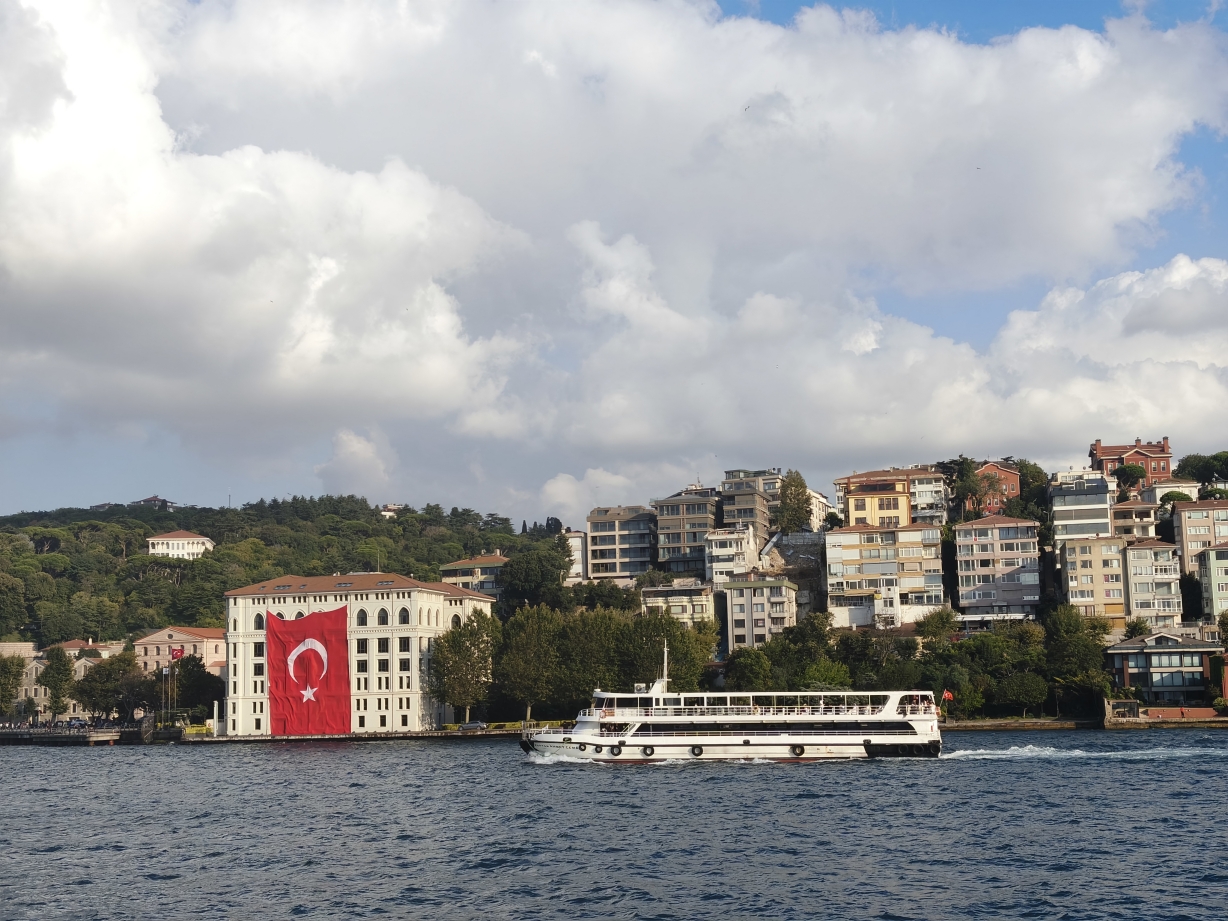
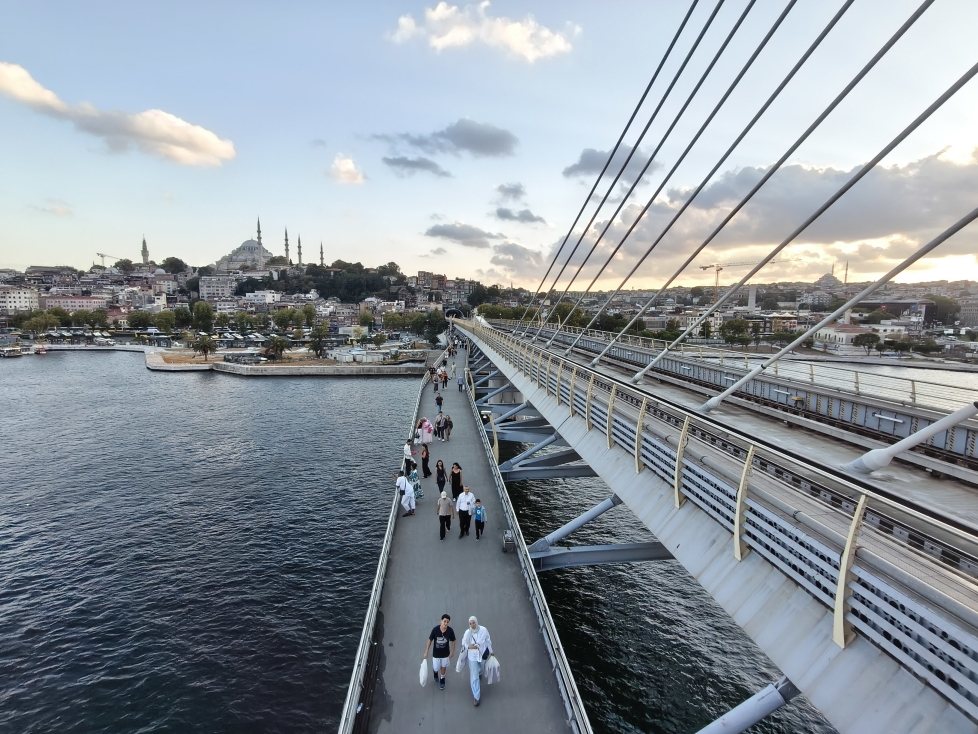
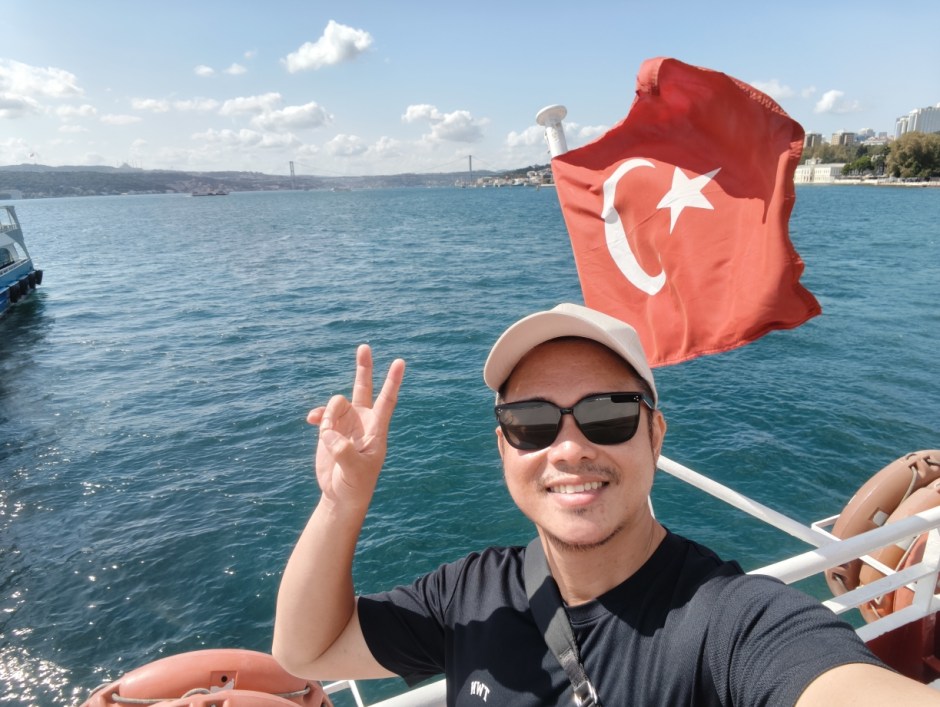
After Sultanhamet, ended the day at Eminonu Harbor where I took a sunset cruising boat along the Bosphorus strait.
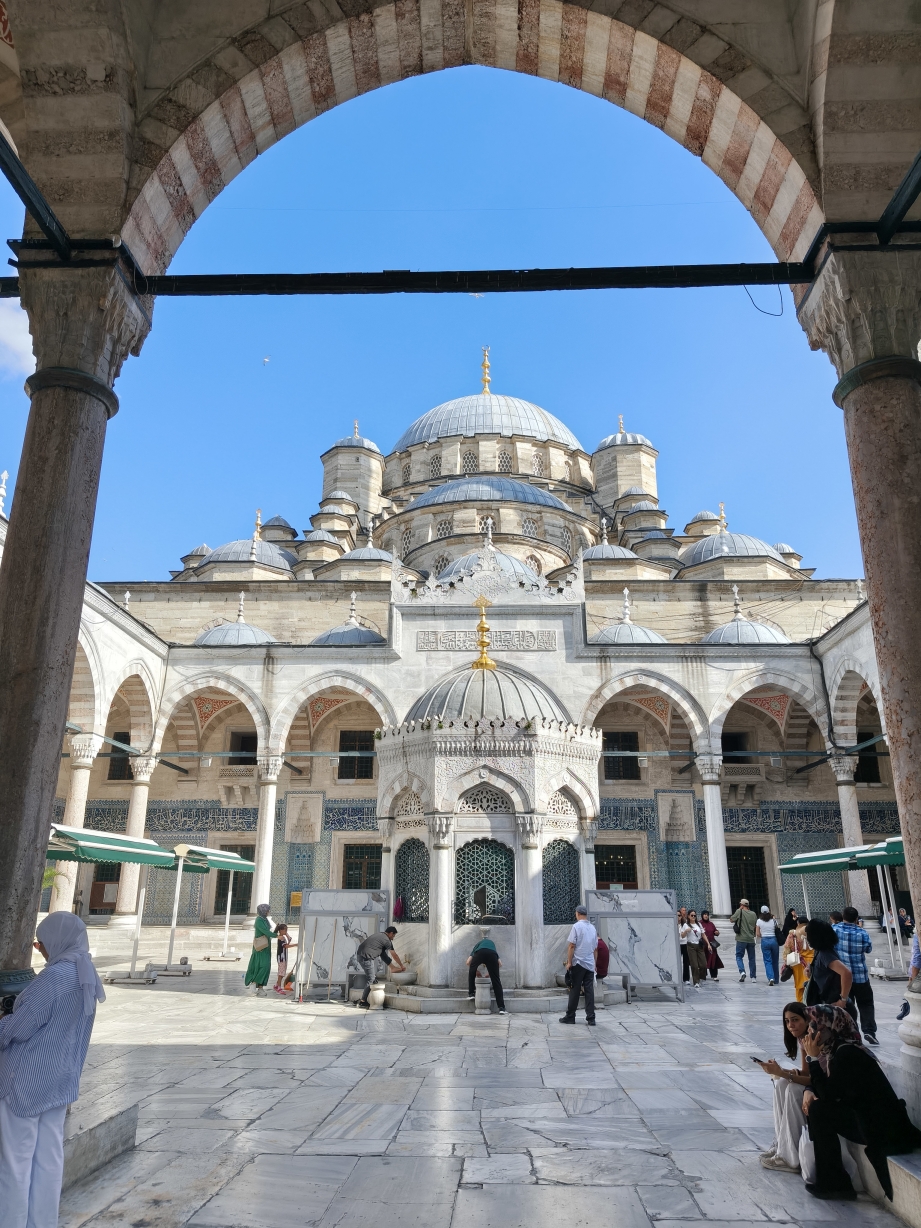
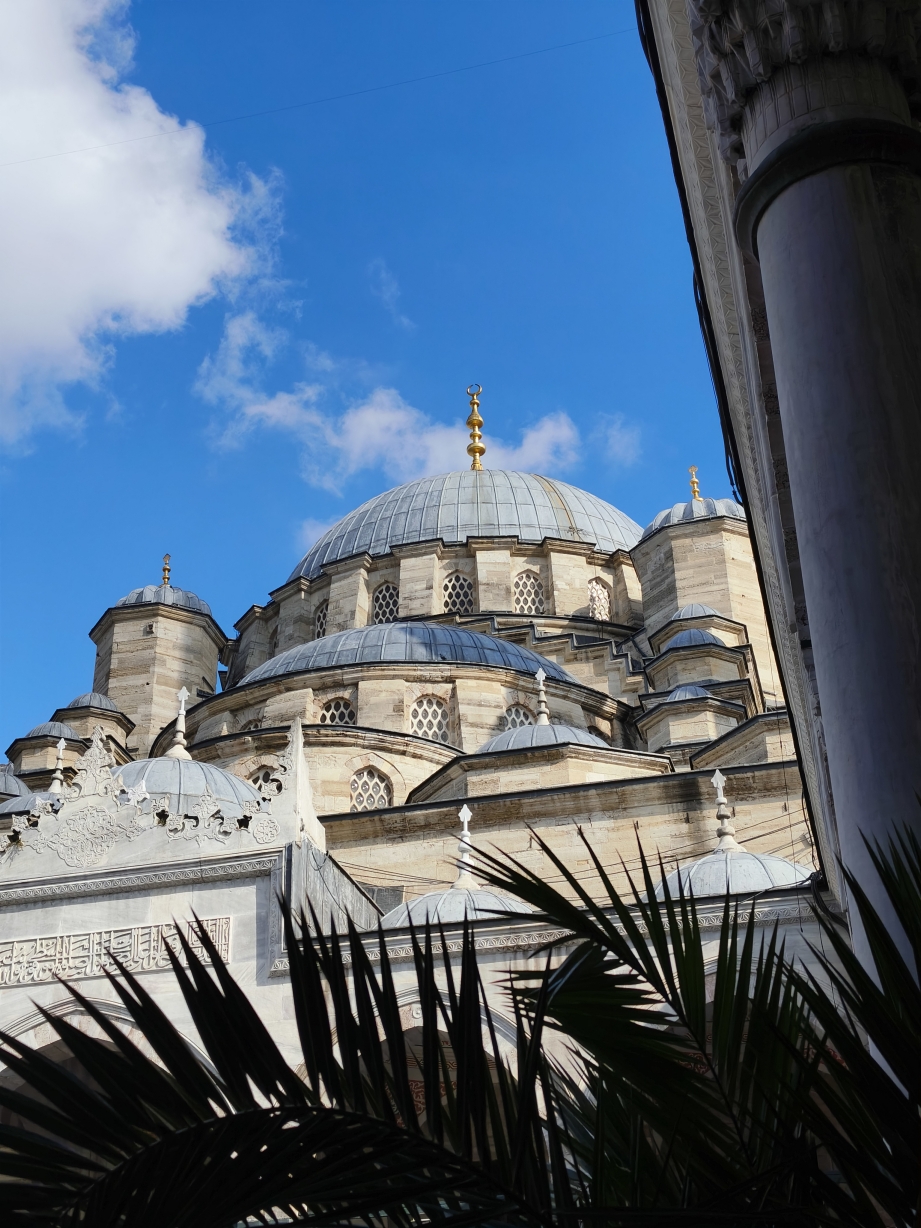
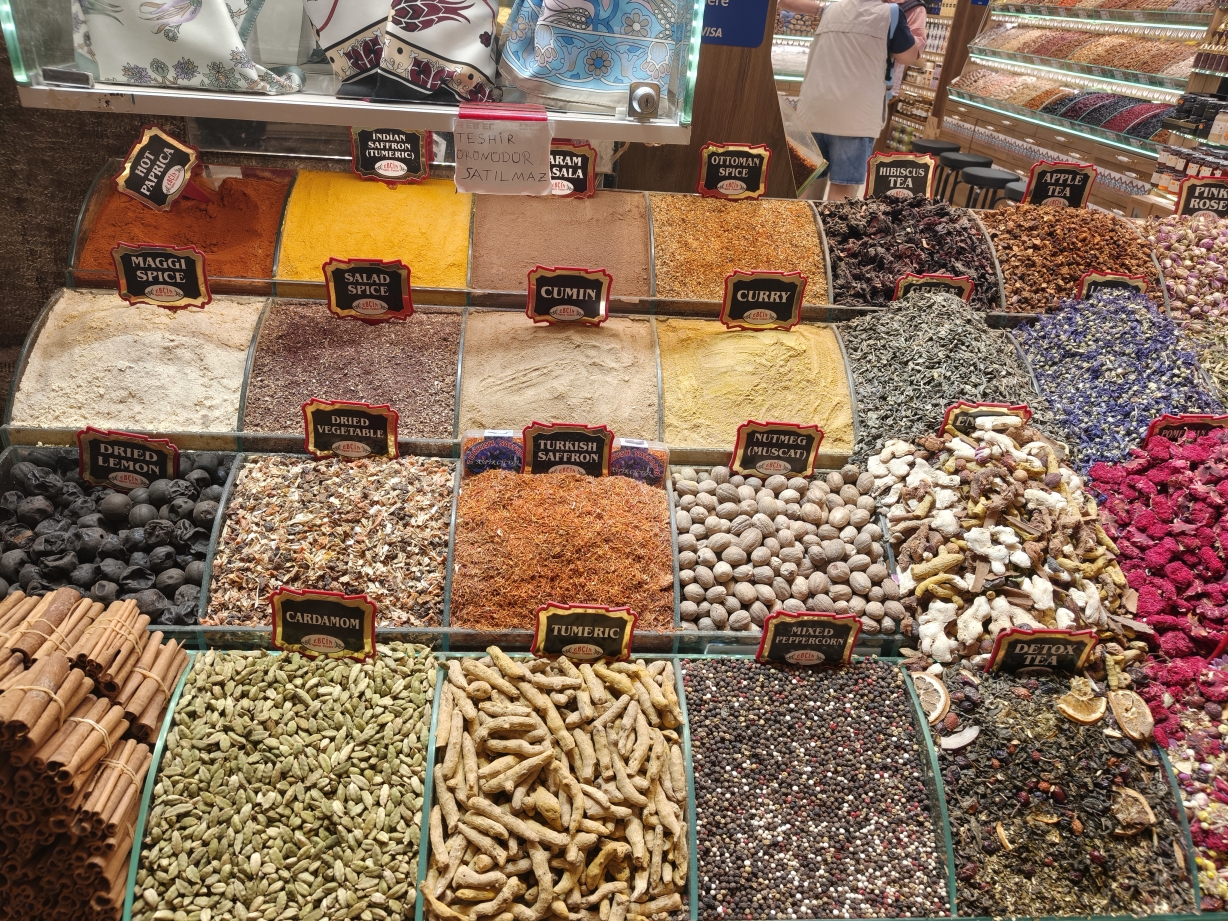
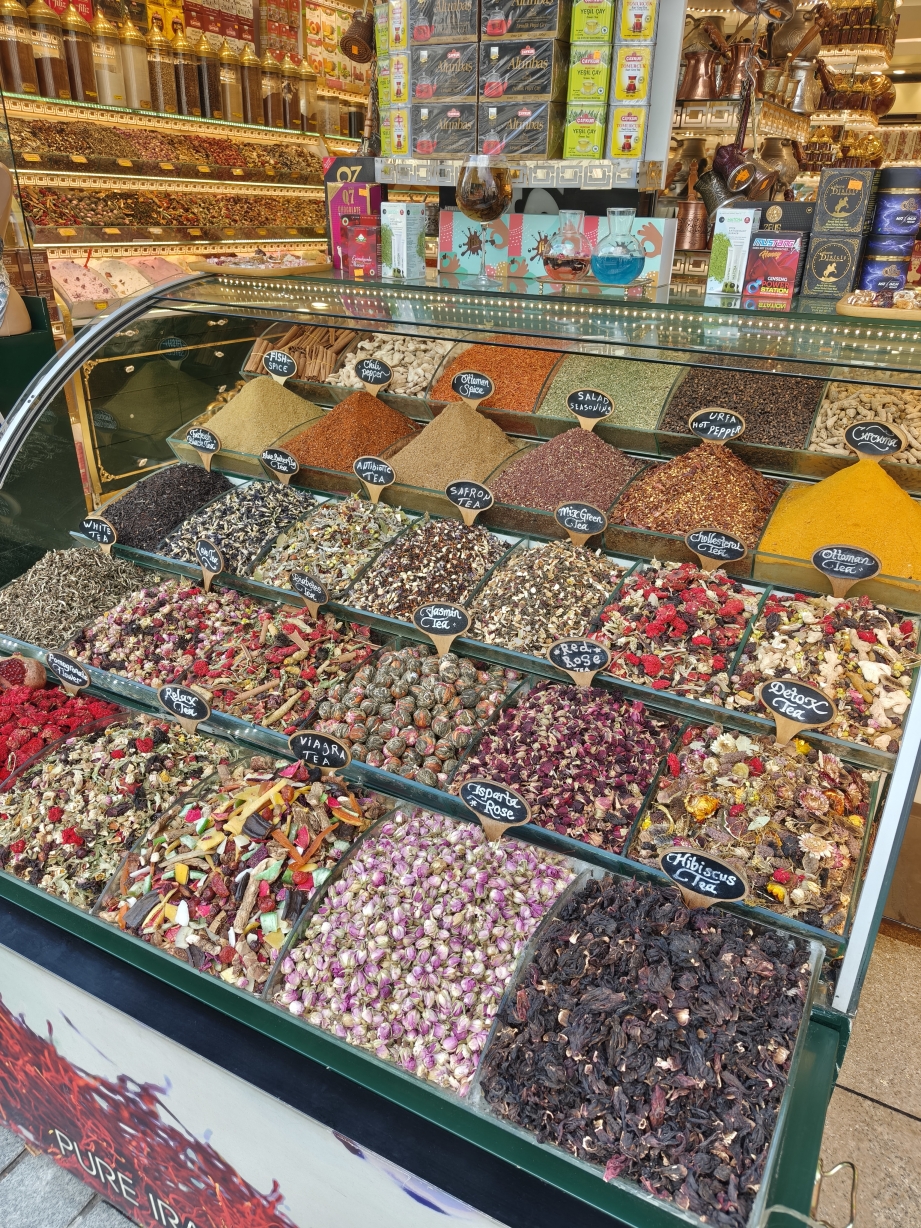
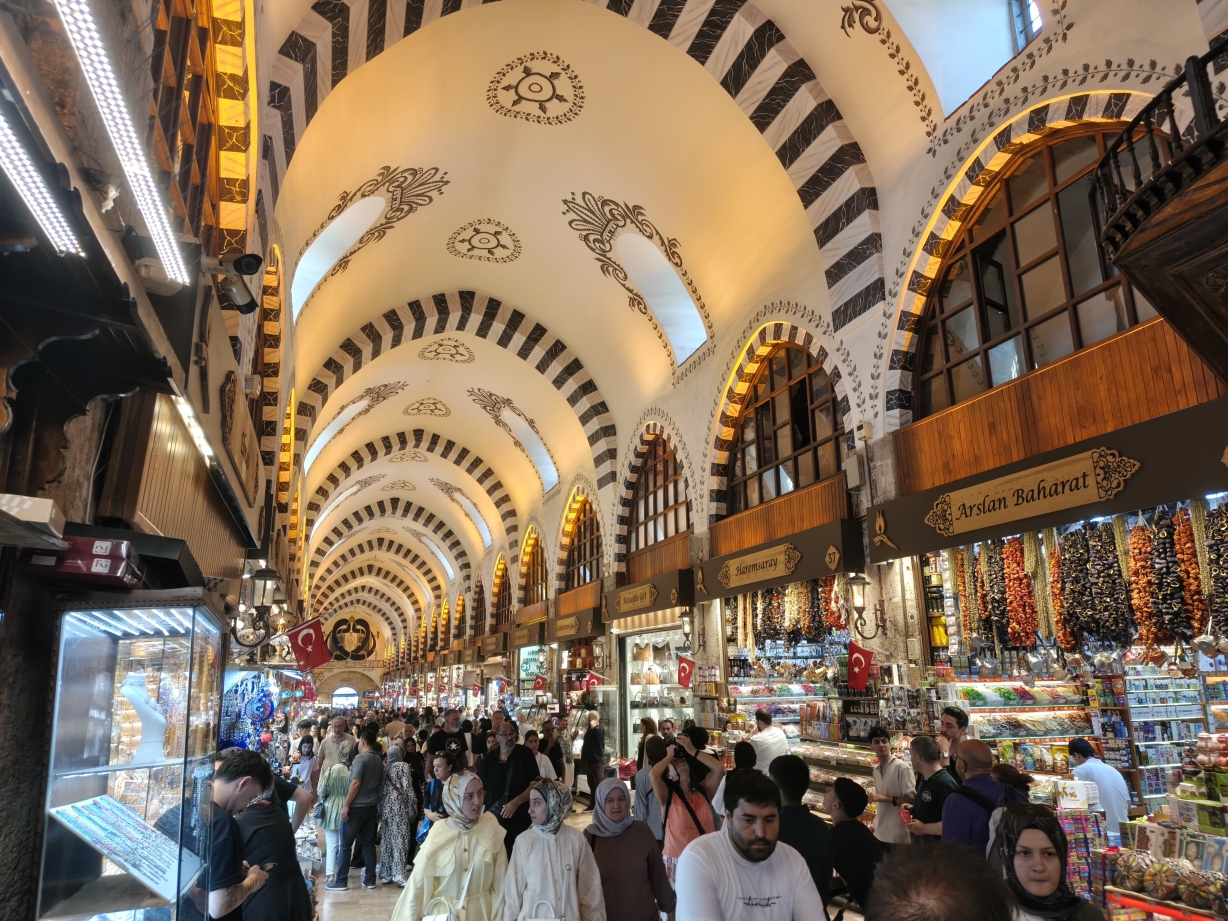
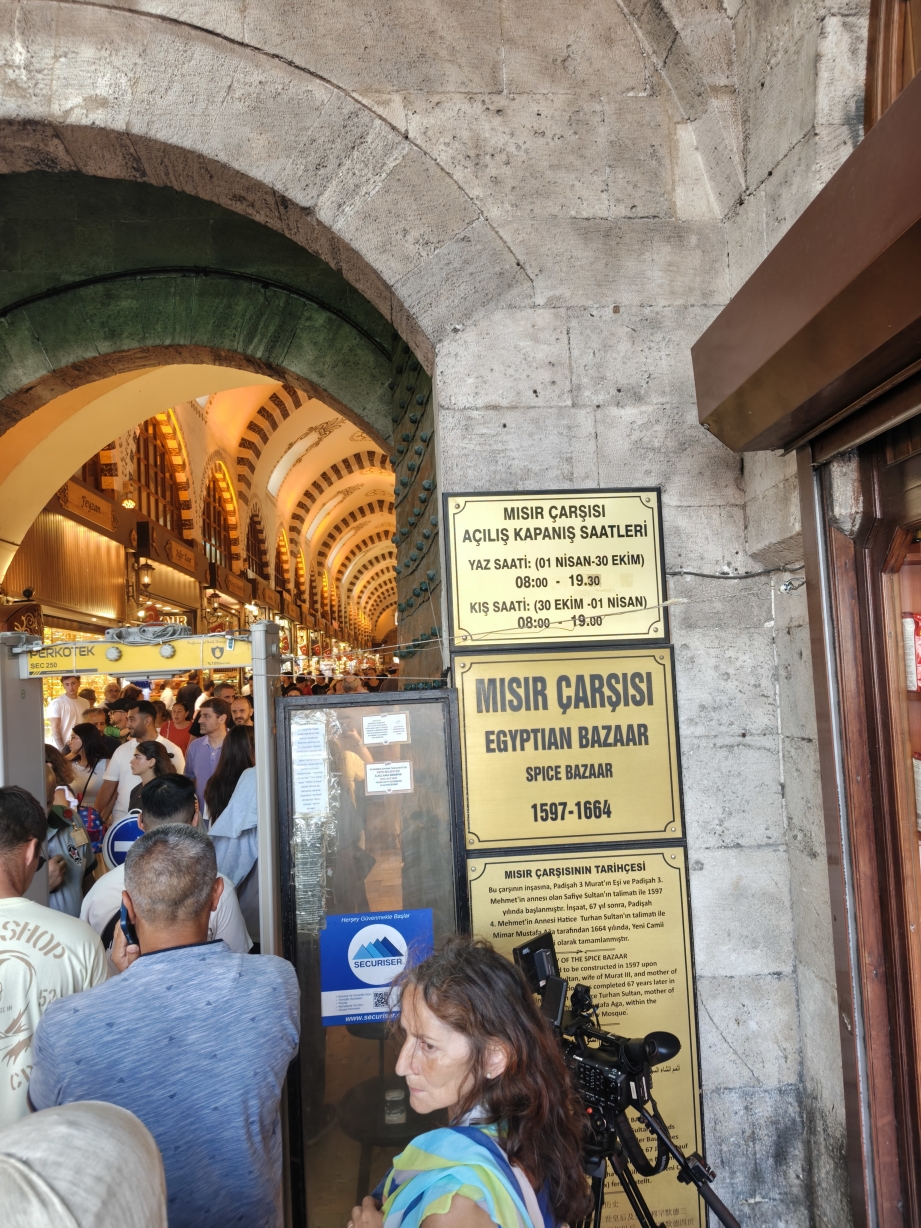
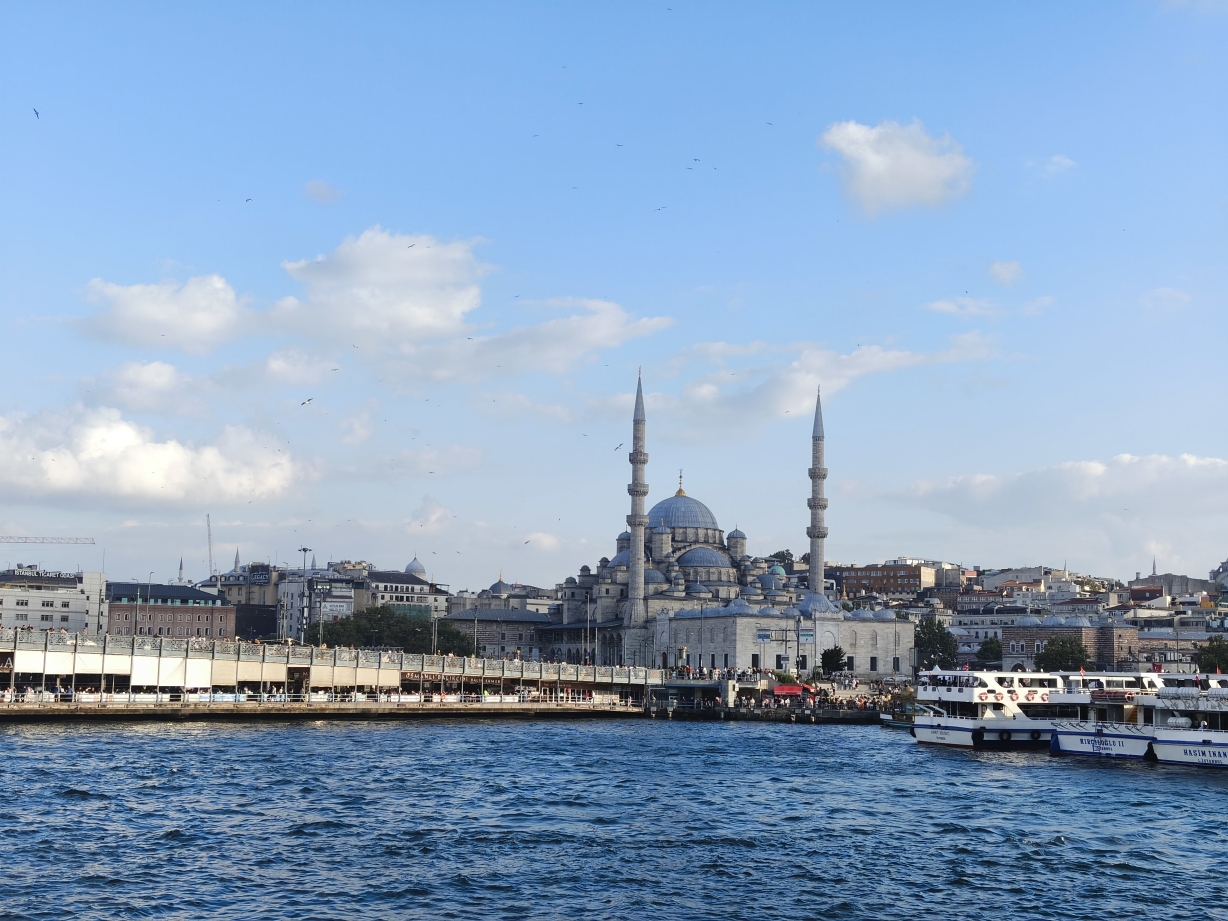
The Yeni Mosque is a popular landmark in the area. Just behind the Yeni is the Egyptian (Spice) Bazaar. It is also a popular spot in Eminonu while waiting for the cruise.
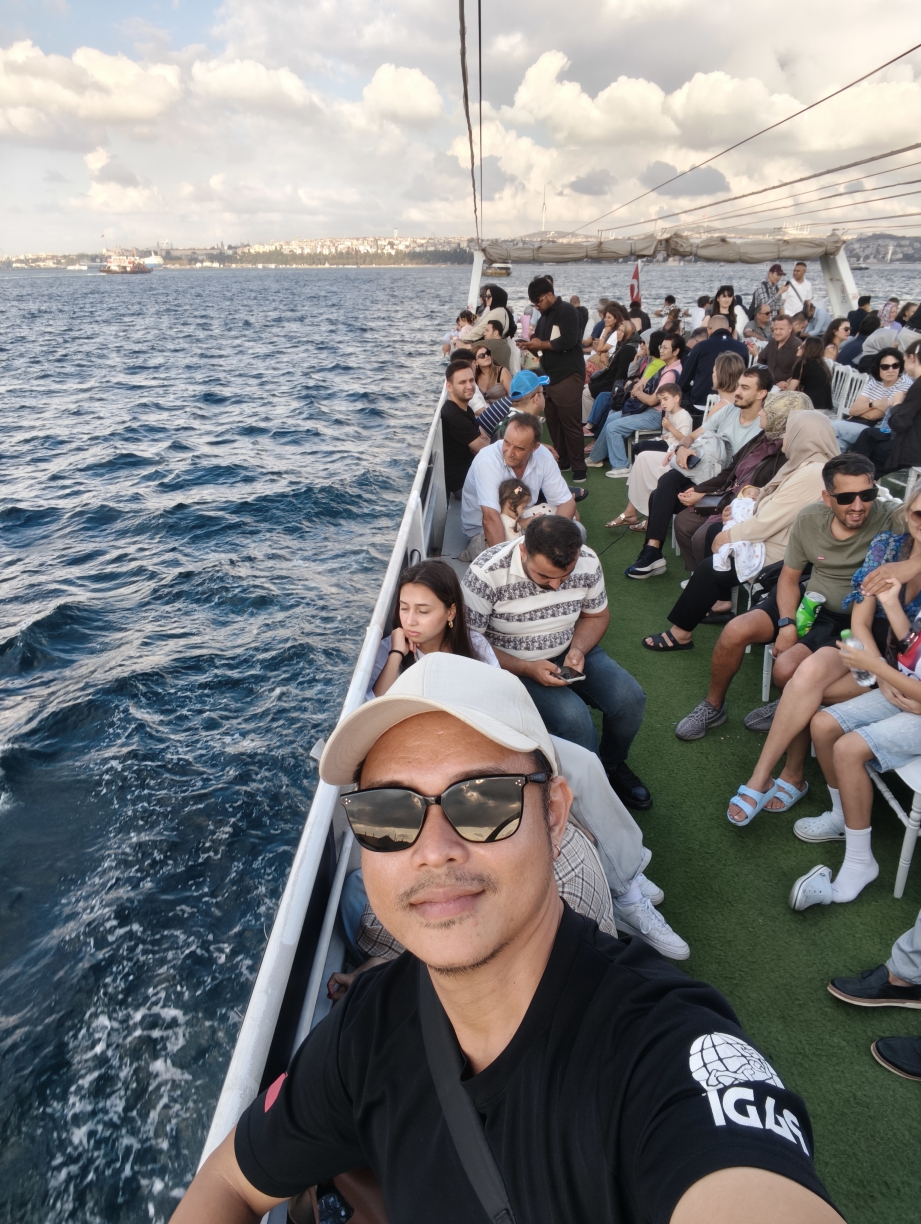
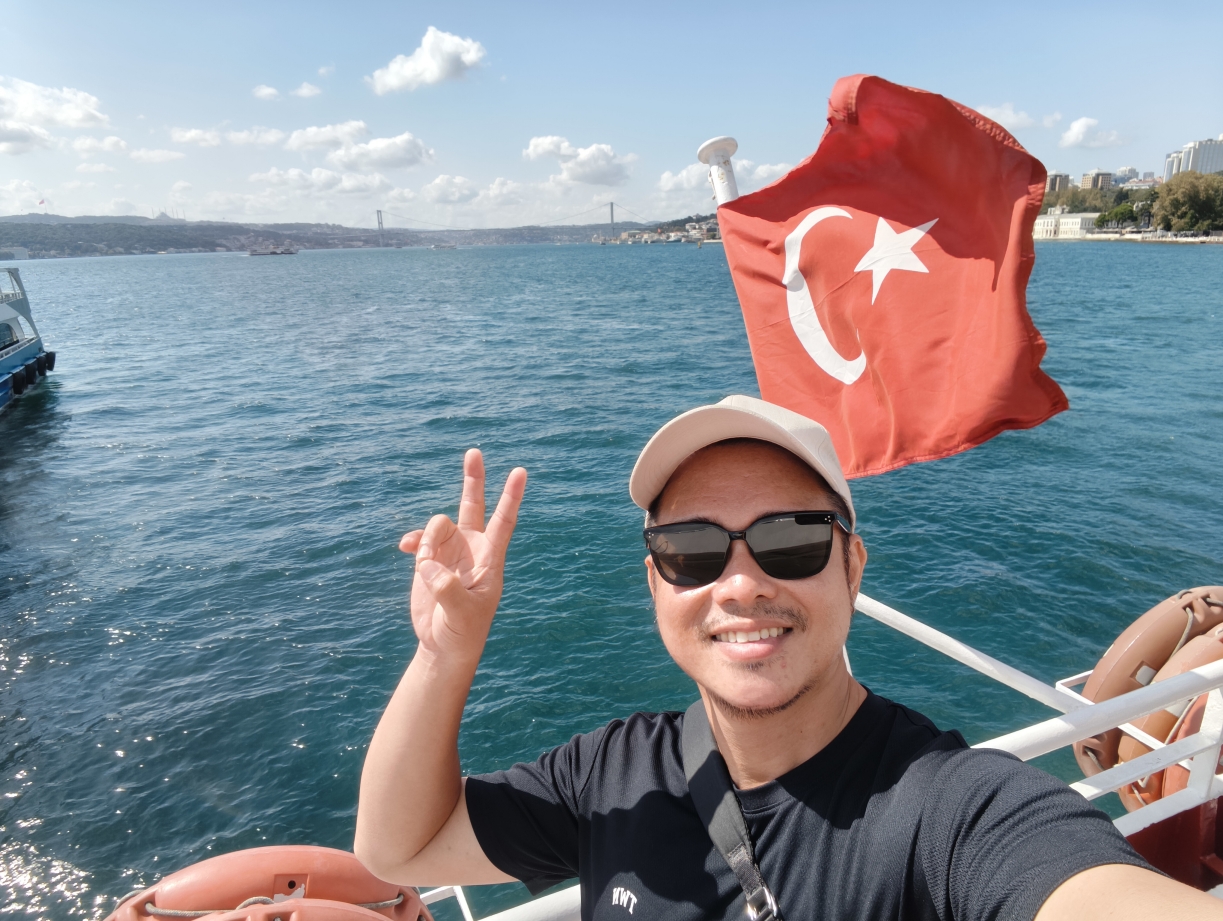
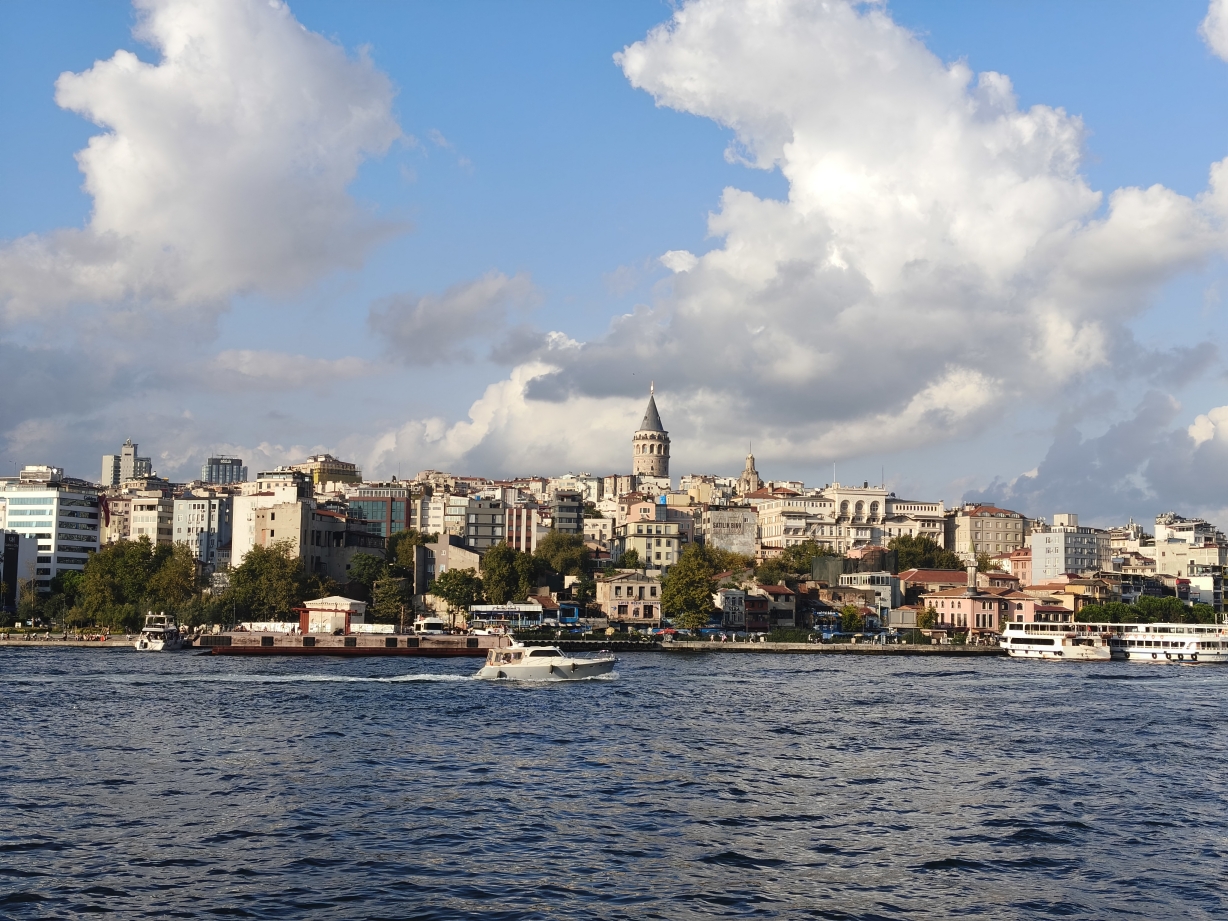
The sunset cruise offers a good view of various neighborhoods in Istanbul. Ferry rides are among the primary transportation mode in Istanbul, since the city sits on both banks of the Bosphorus strait. The one hour cruise cost me 240 Lira (300 Php).
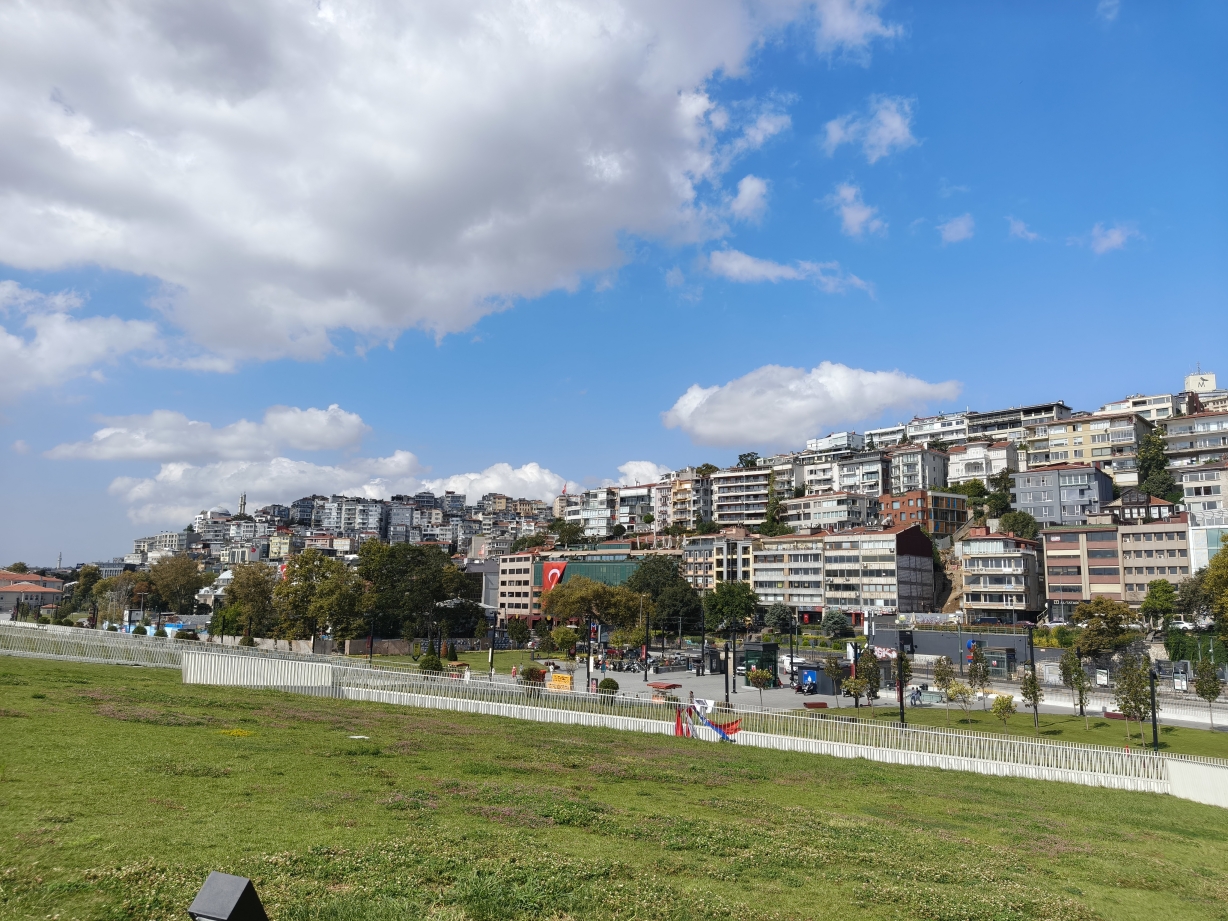
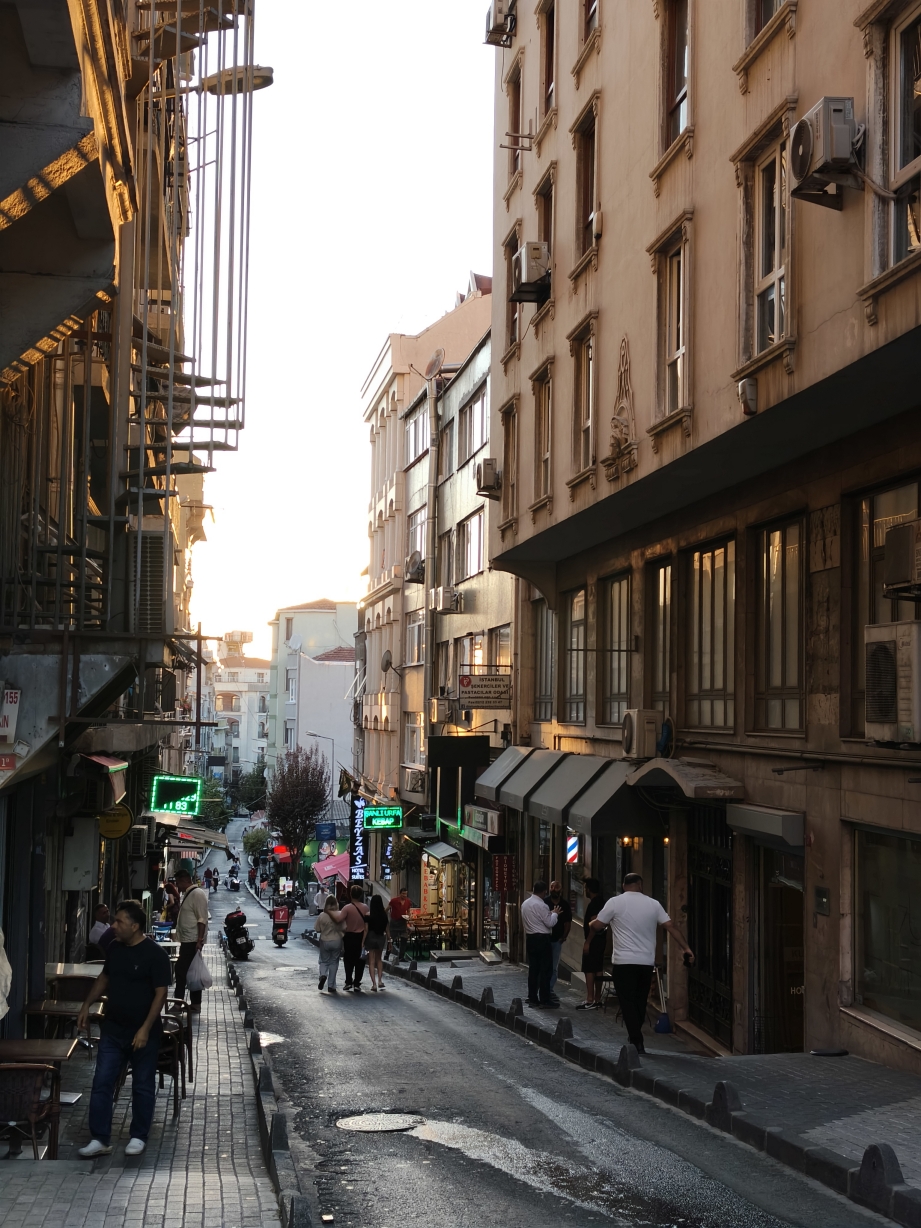
Day 2: Galata and Taksim (my Neighborhood in Istanbul). I chose Taksim area as my place of stay since the Havaist bus station is situated here, near the park/square. In addition, this neighborhood is mainly a commercial and residential area for locals, and prices here are lower compared to Sultanahmet.
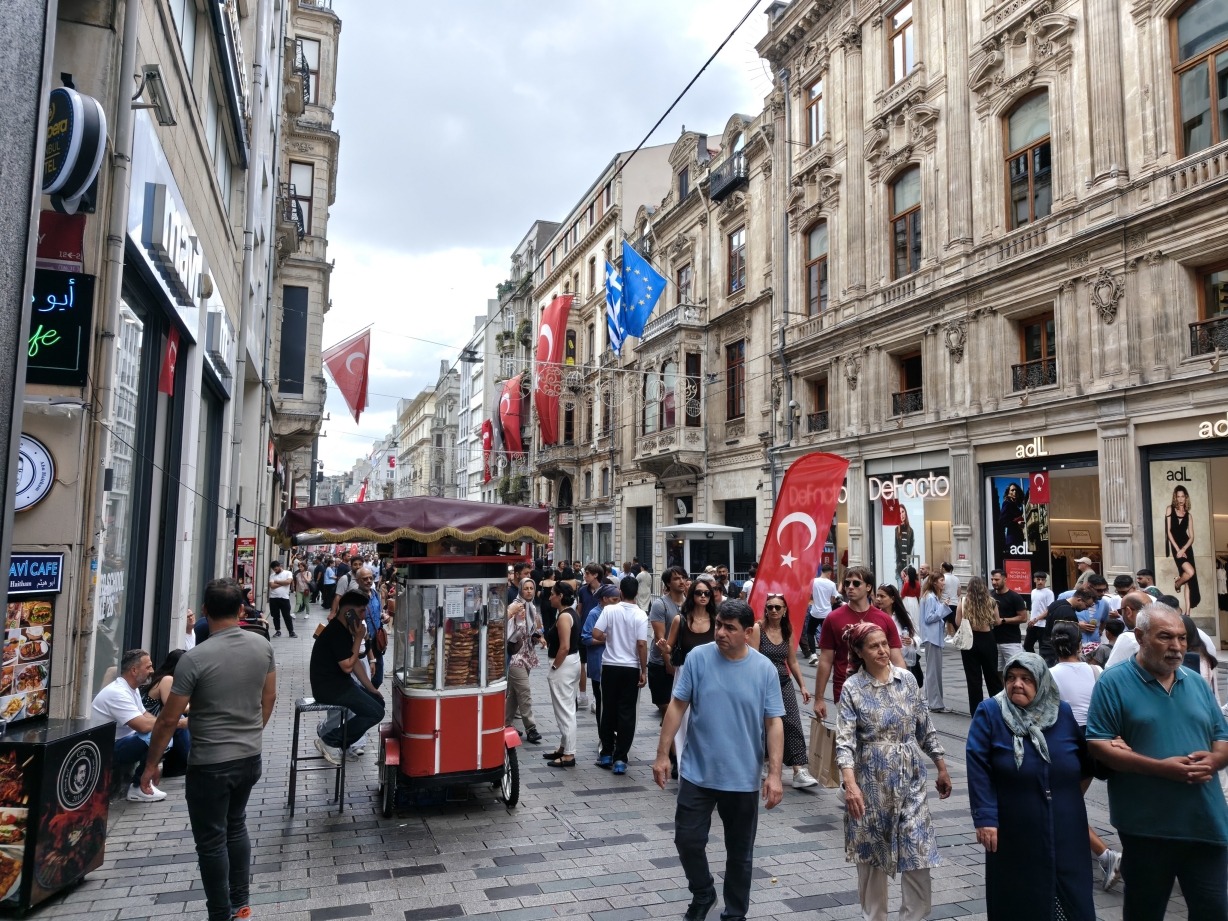
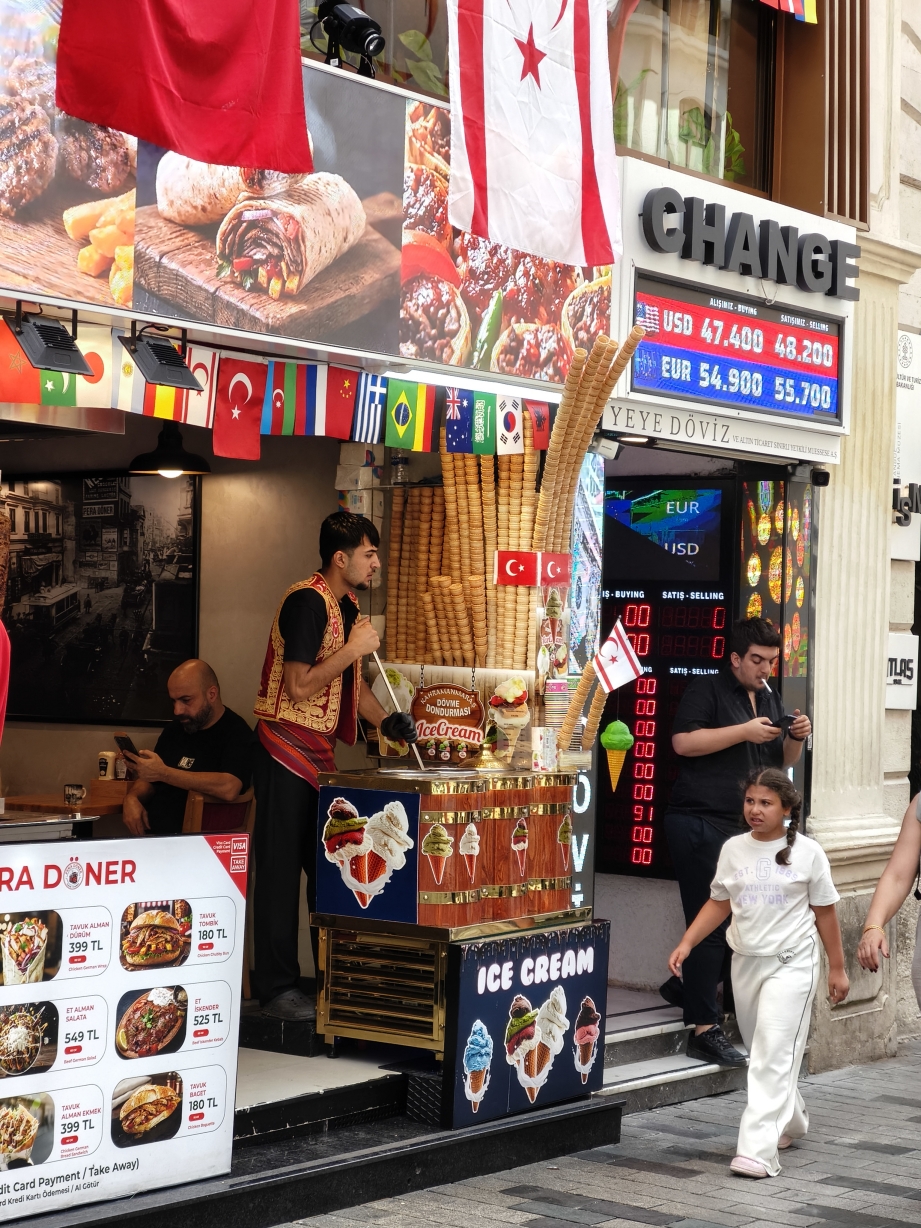
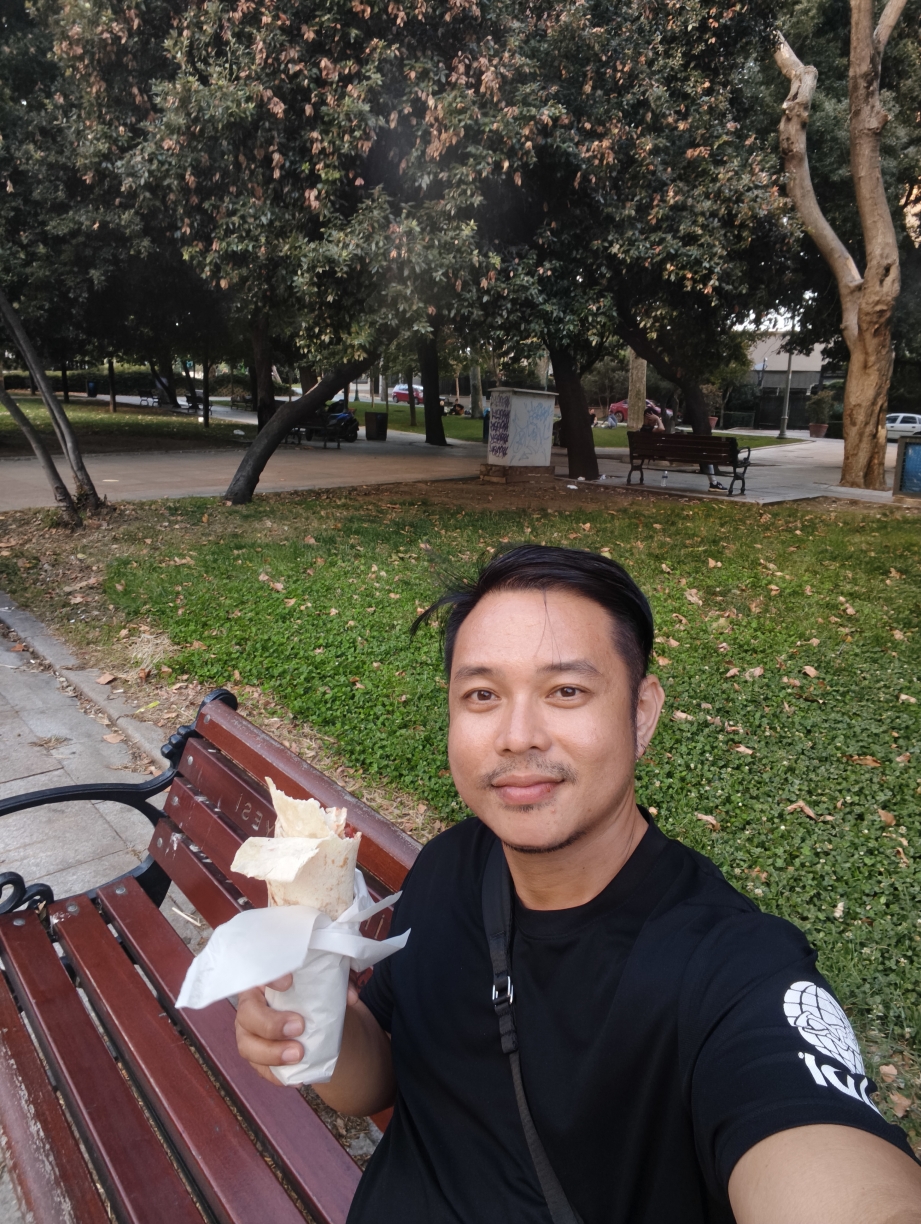
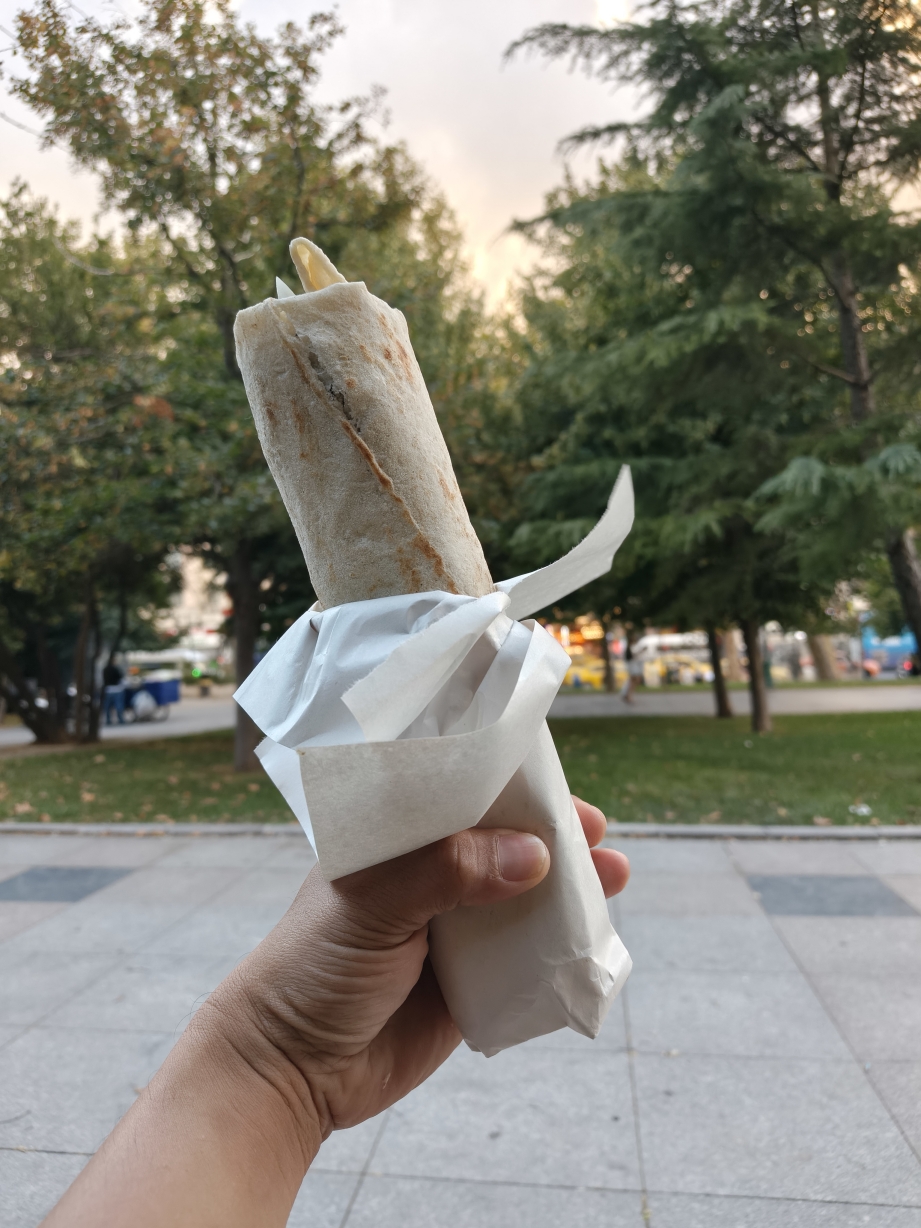
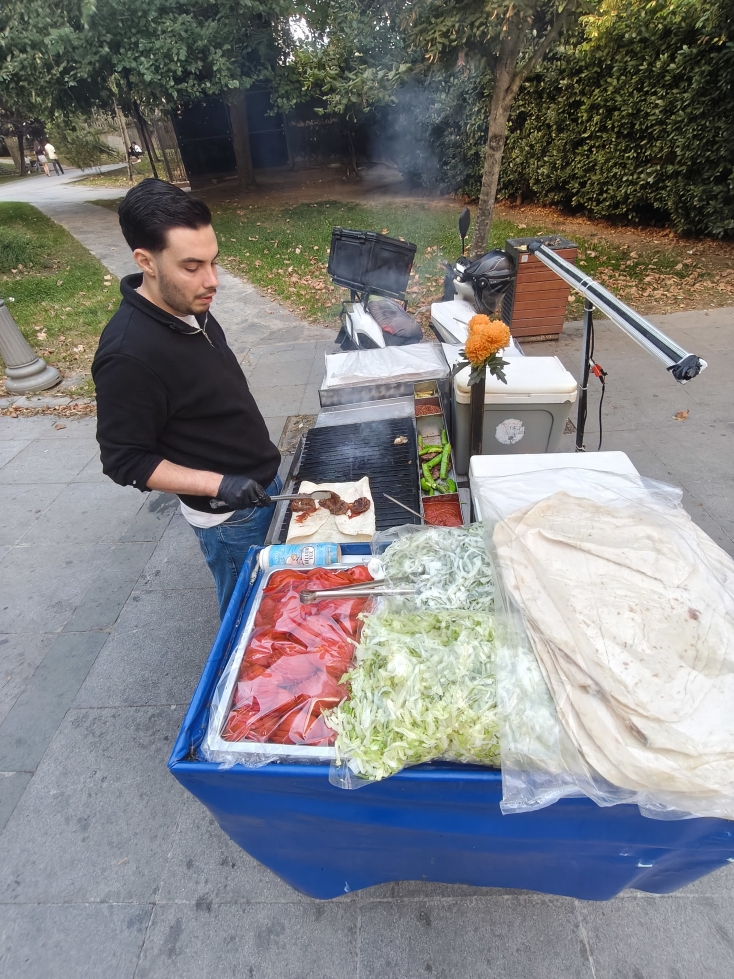
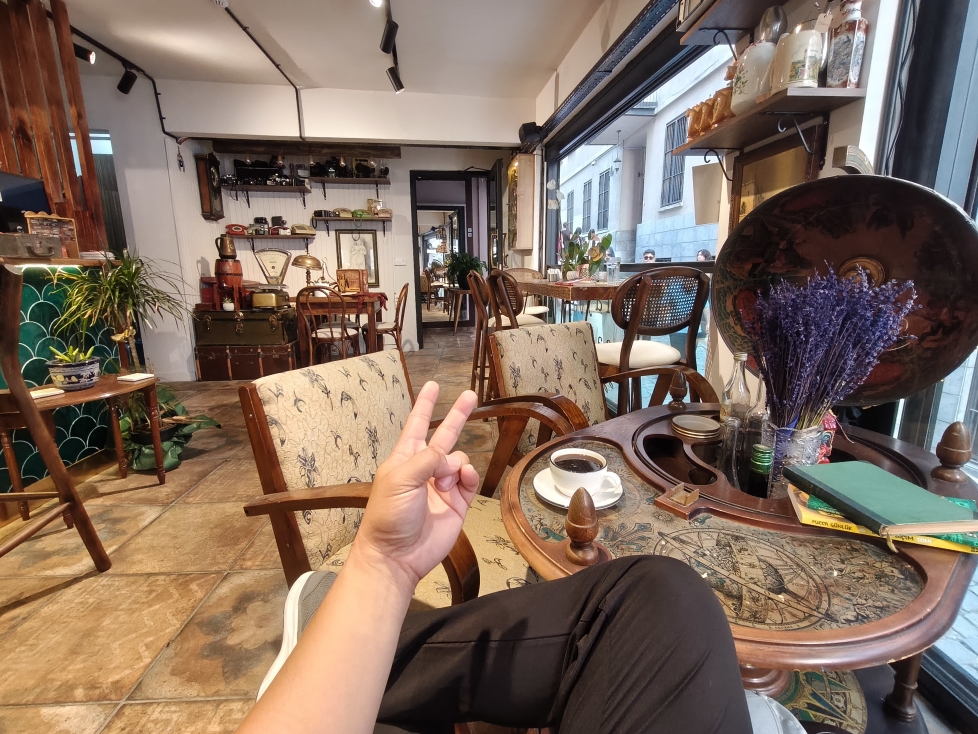
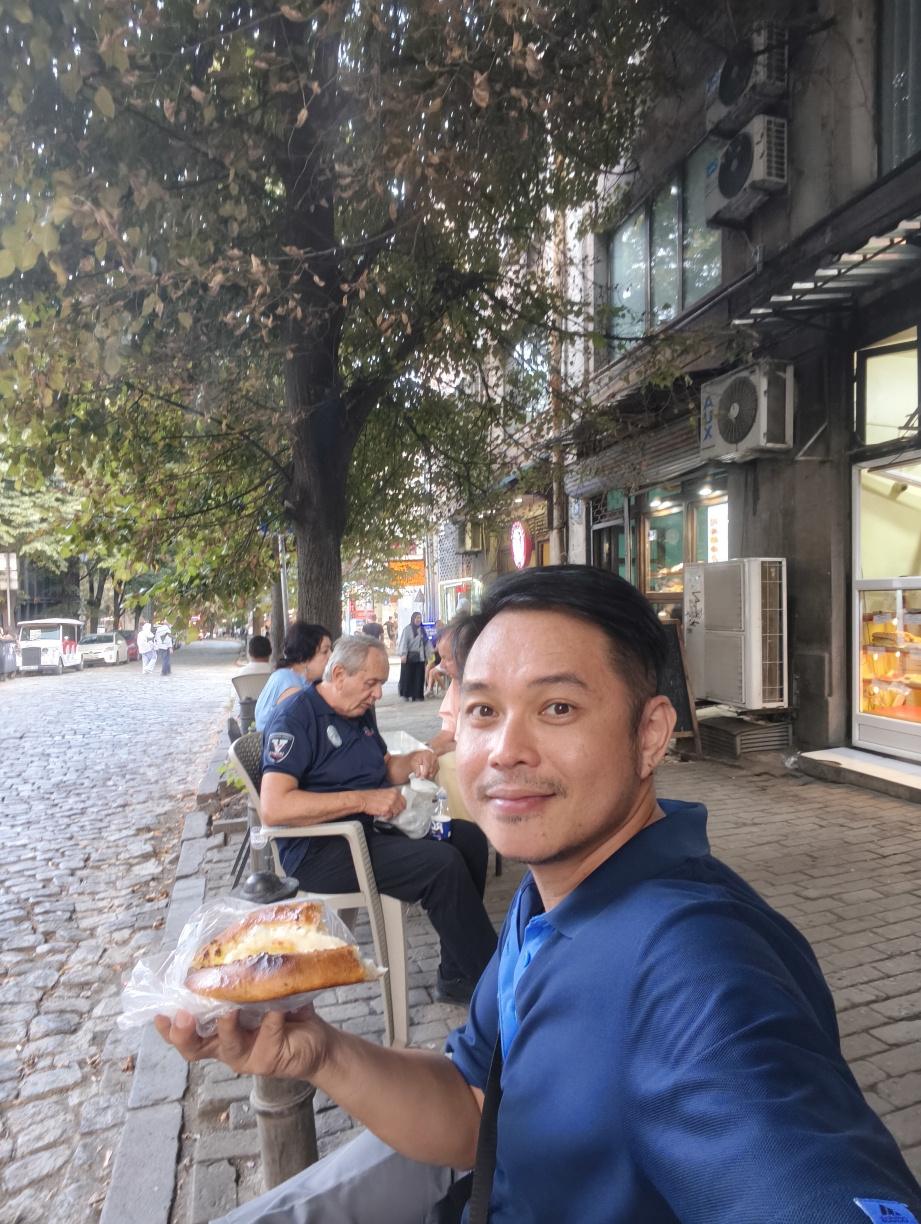
Day 2 was actually a chill-day Sunday where I did not have any specific itinerary in mind. I just went for casual lunch, streetside doners and coffee to seal the day.
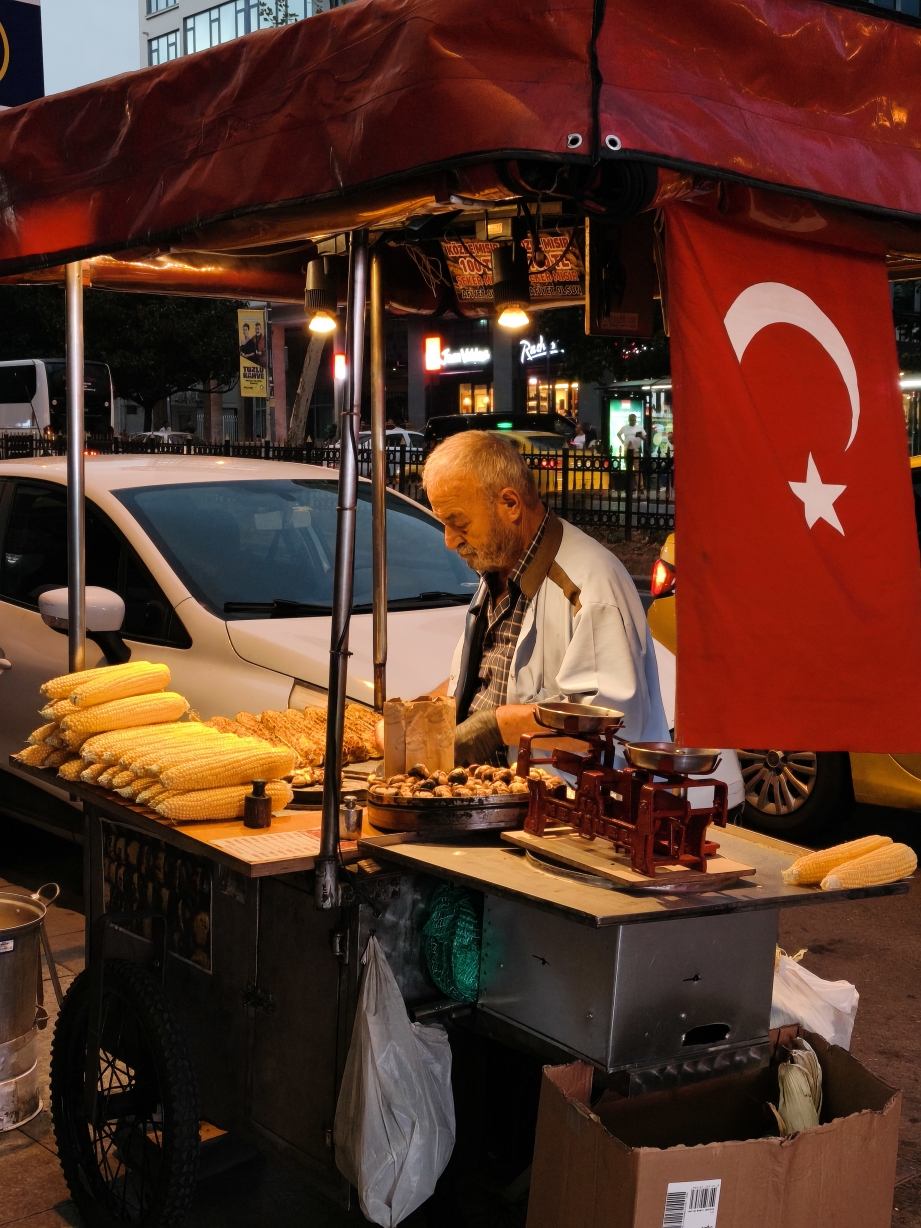
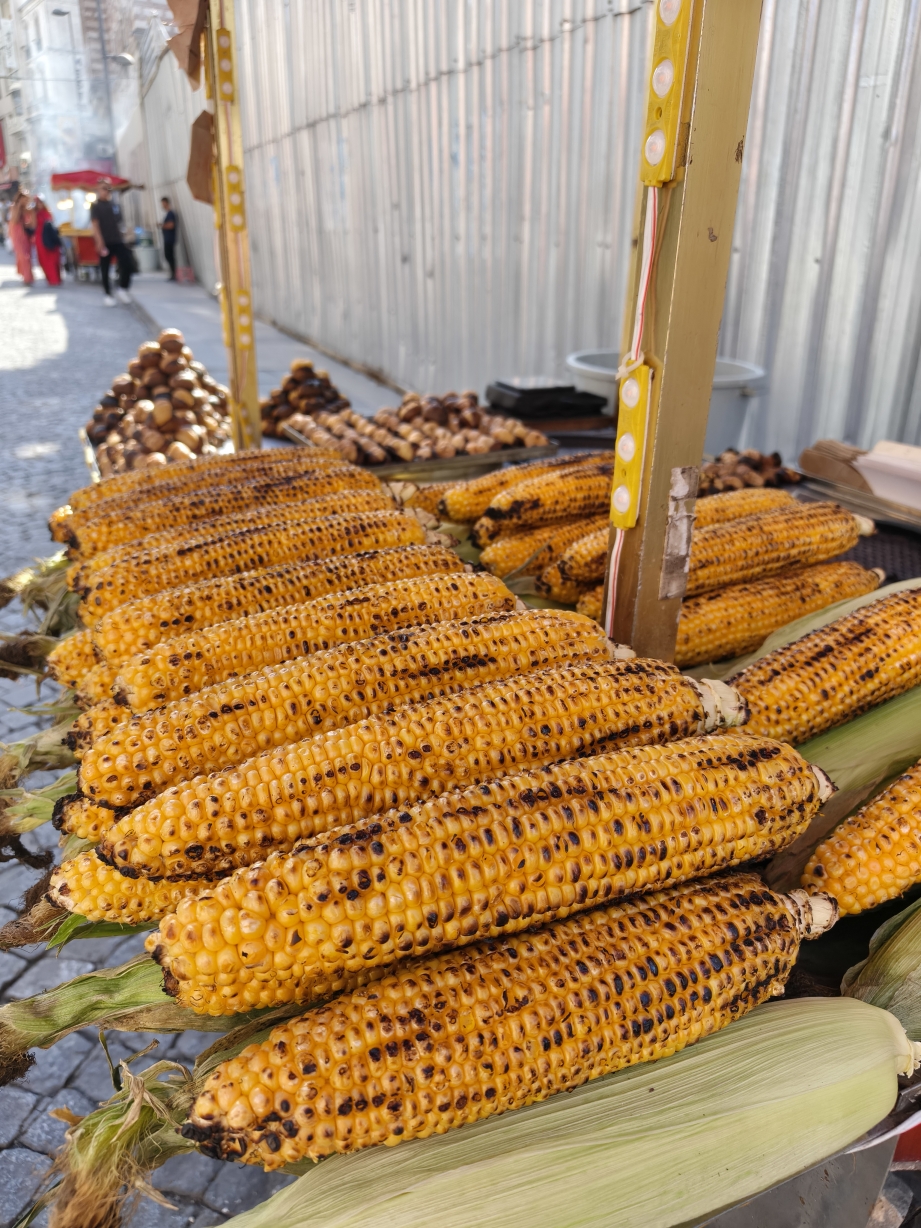
And yes, grilled corn is a thing in Istanbul.

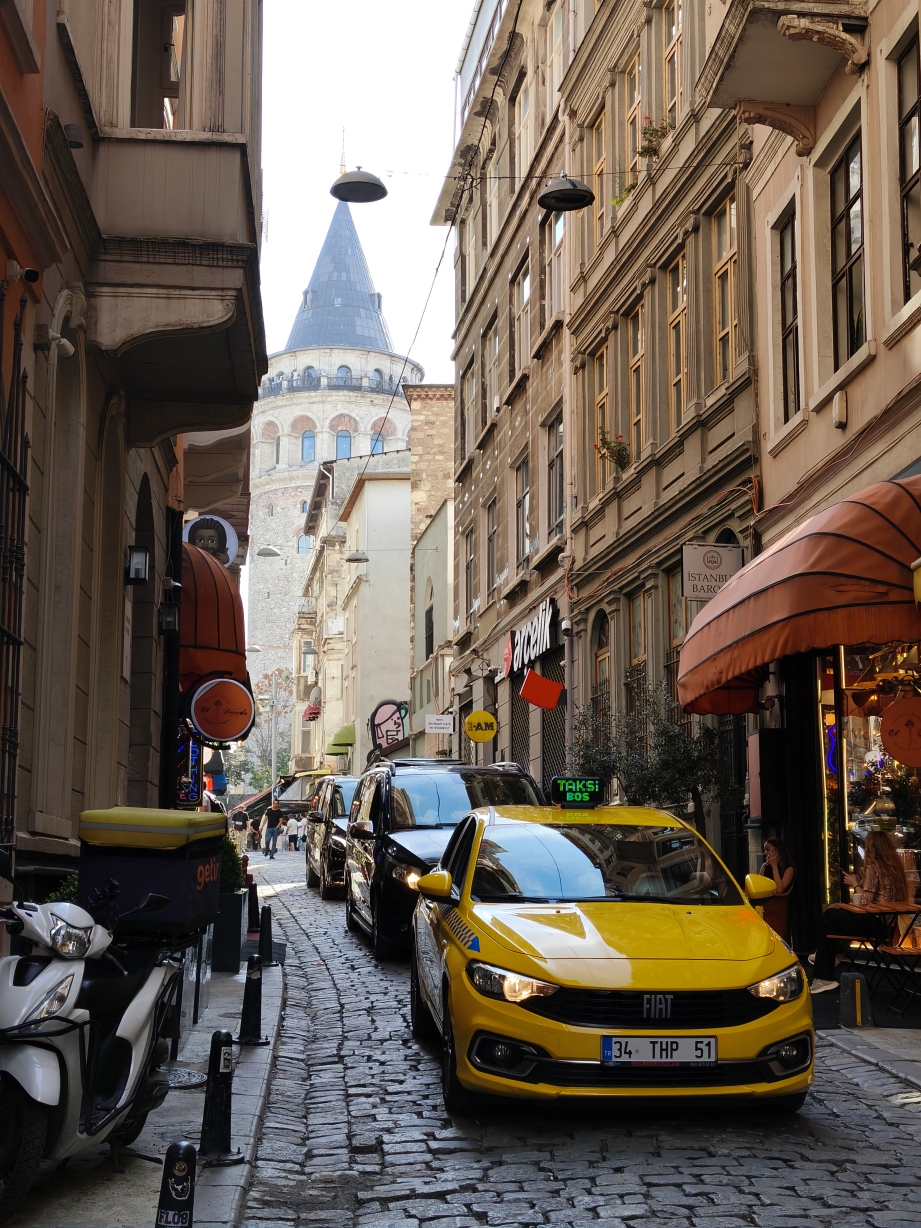
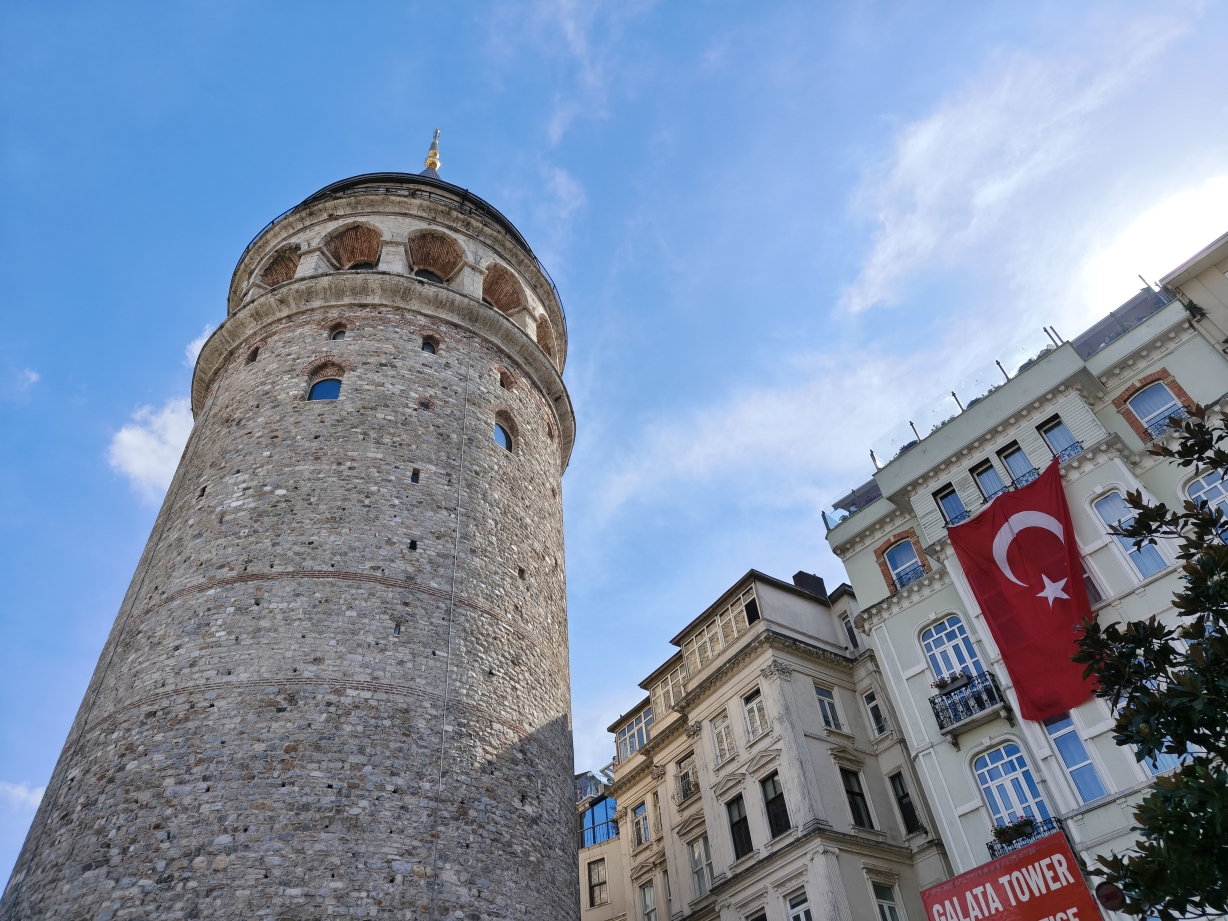
The Galata Tower is another popular landmark in Istanbul. The tower is a 14th-century medieval stone watchtower that stands 67 meters tall and offers a 360-degree panoramic observation deck. Just beside the tower, you’ll find the famous Saltbae Burger.
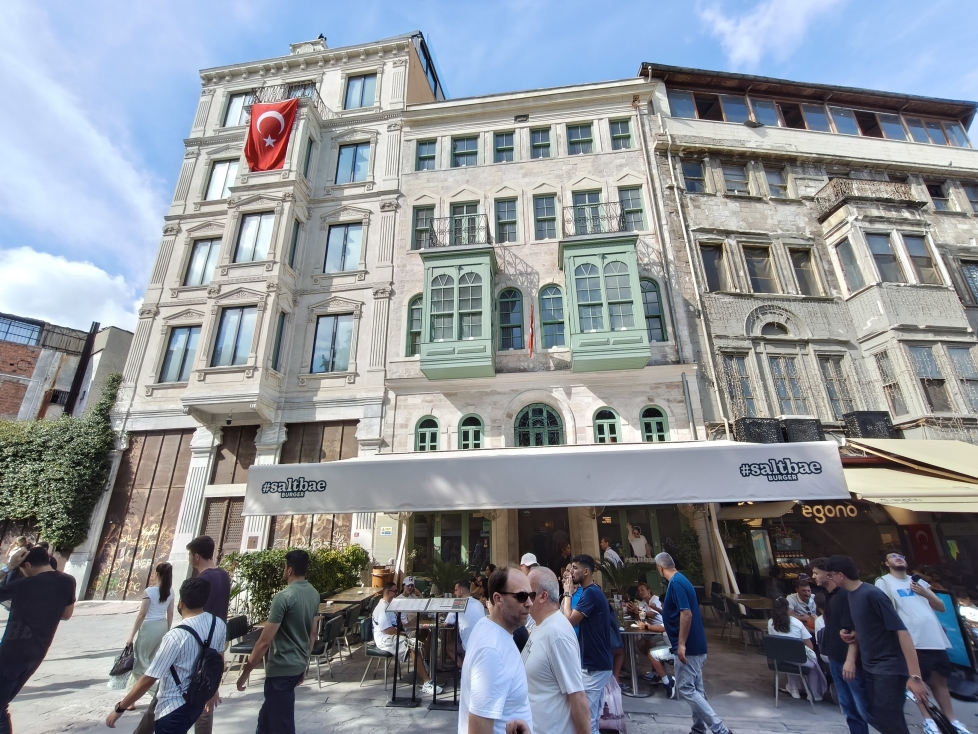
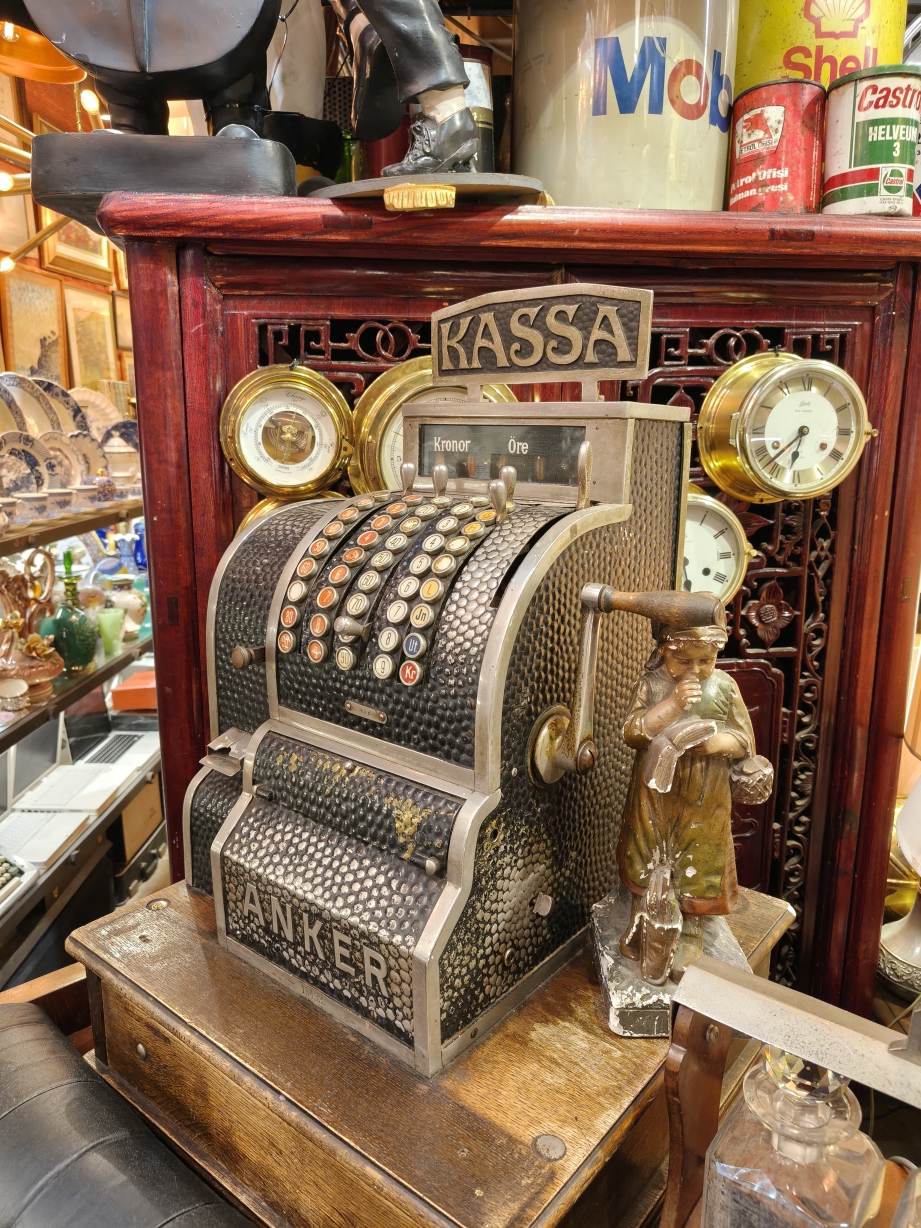
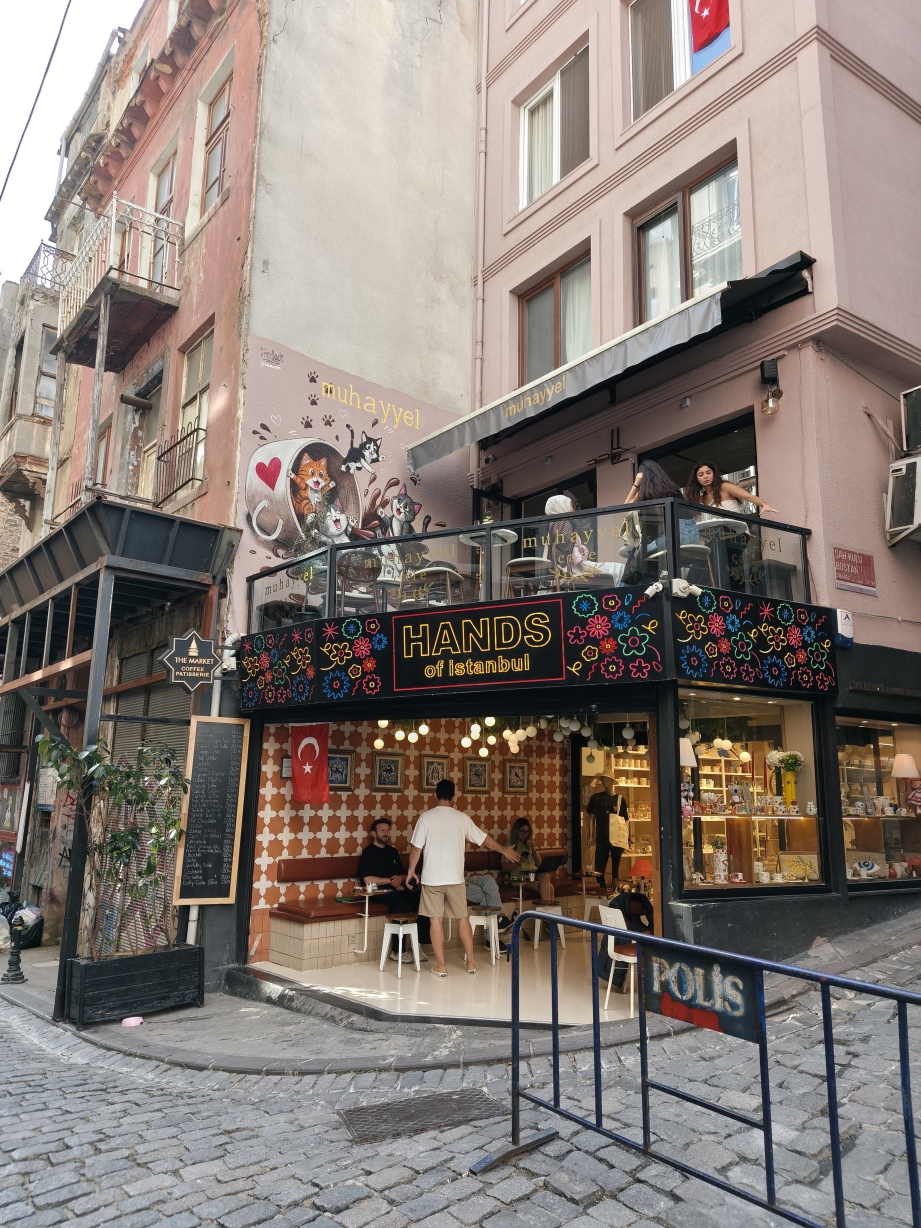
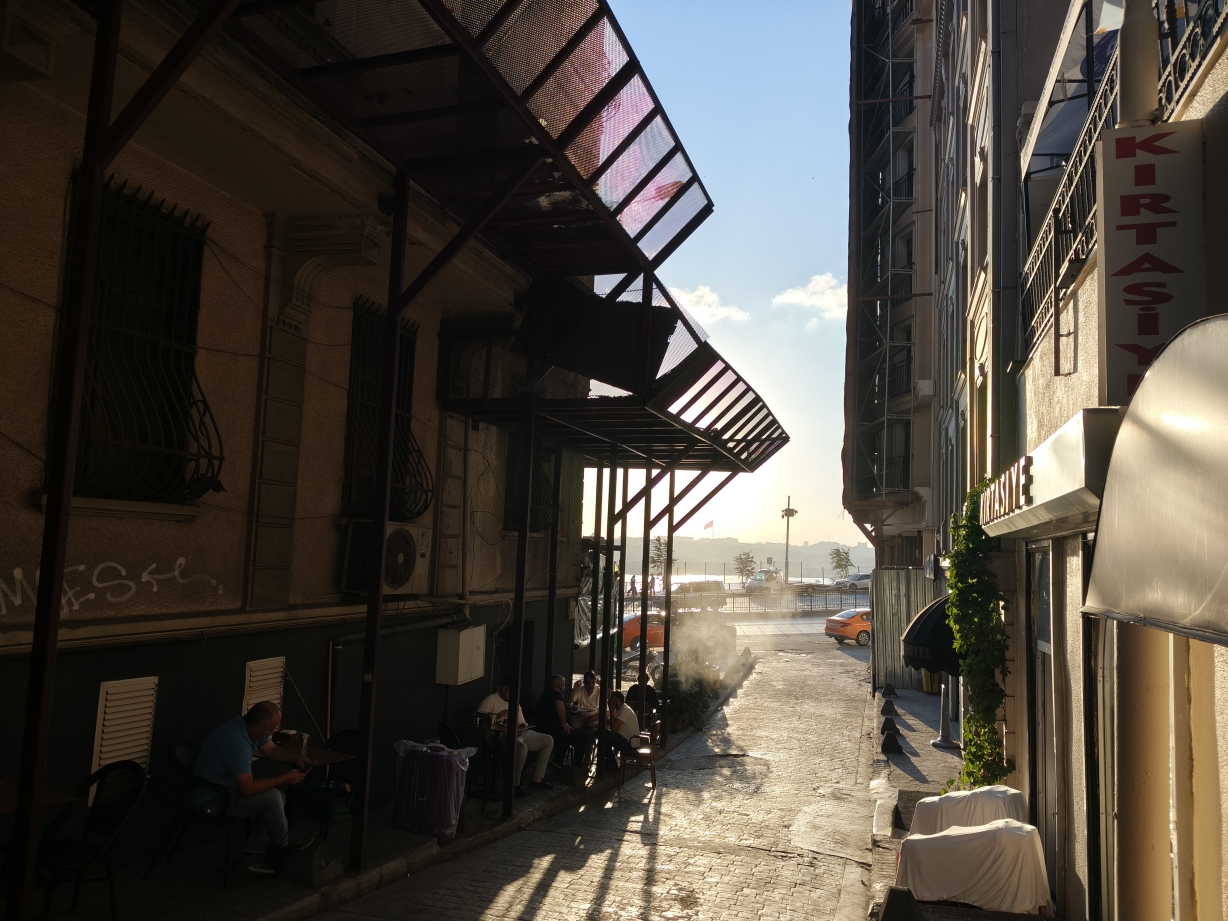
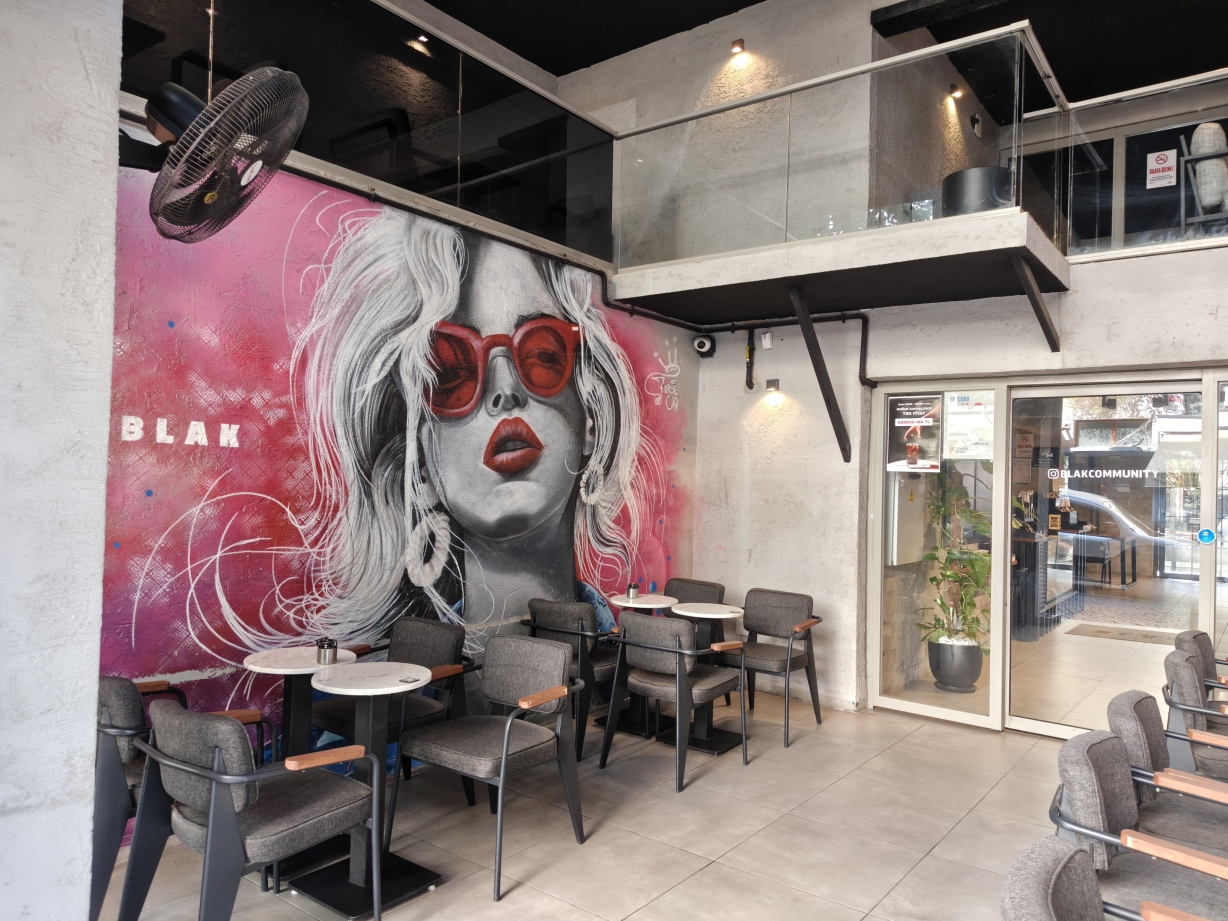
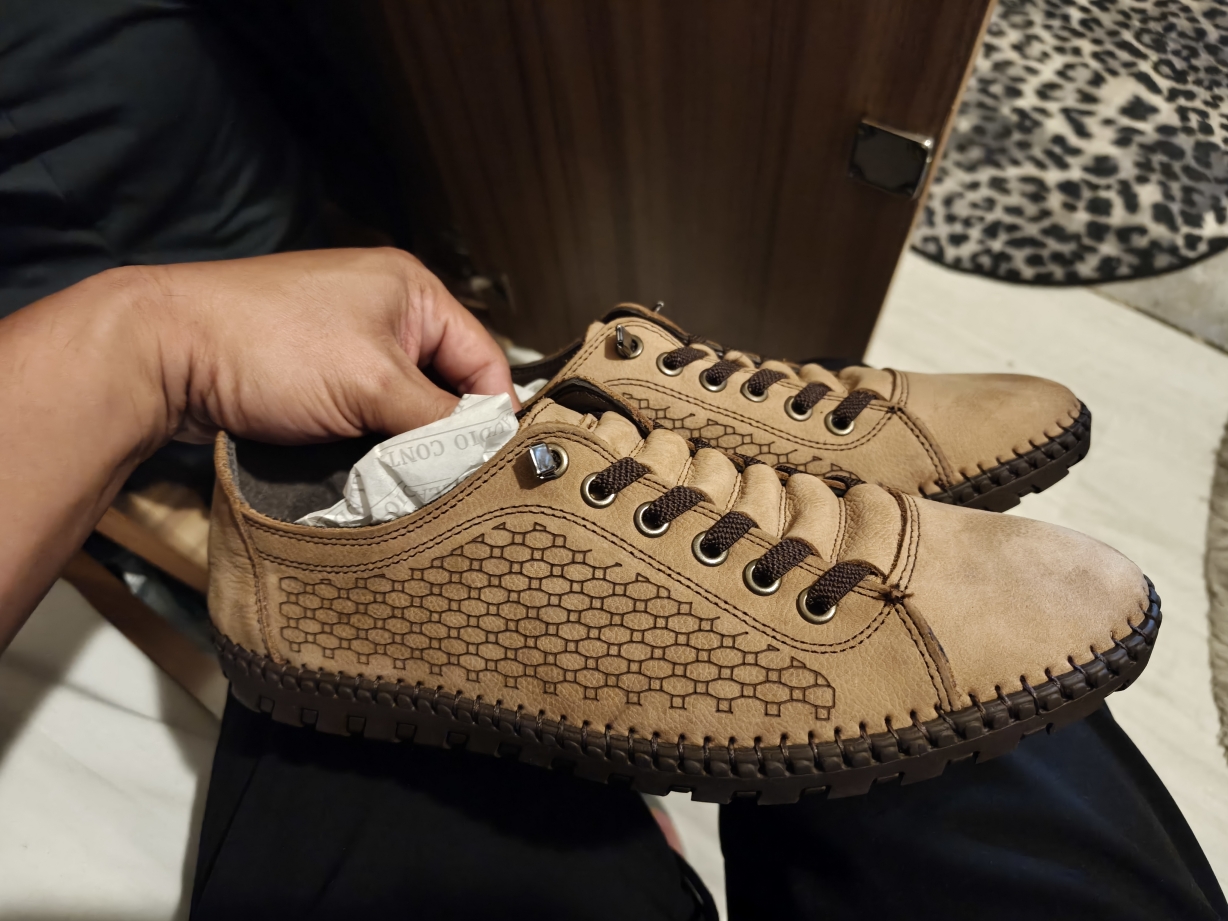
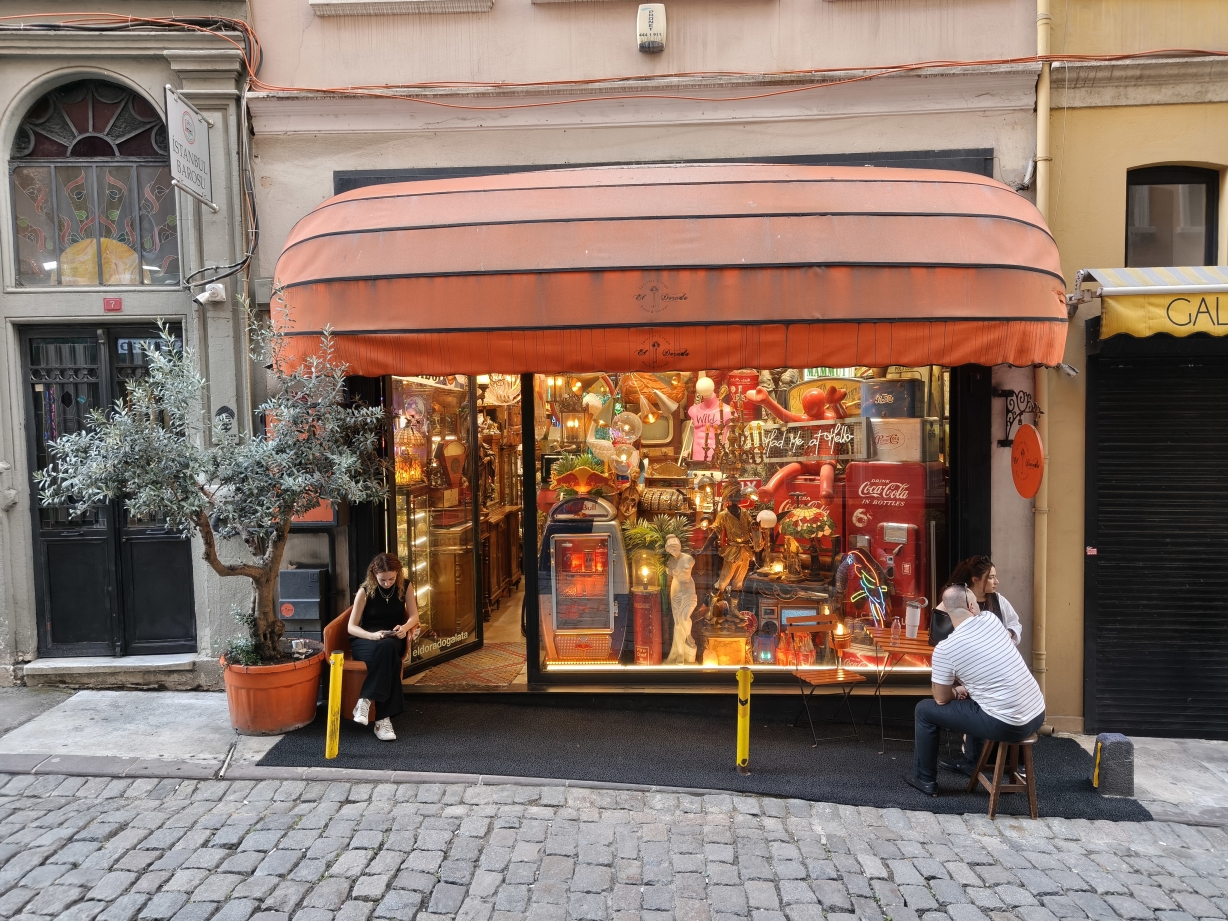
The neighborhood has this artsy vibe with a lot of interesting vintage themed shops and cafes around. I purchased a pair of locally made leather driving shoes in this area.
Day 3 : Karakoy (Harbor front) and Kadikoy (seaside market)

Karakoy – A charming waterfront neighborhood and harbor, which is a walking distance from Taksim where I stayed. Took the ferry from here to reach Kadikoy, which is situation at the opposite side of the strait.
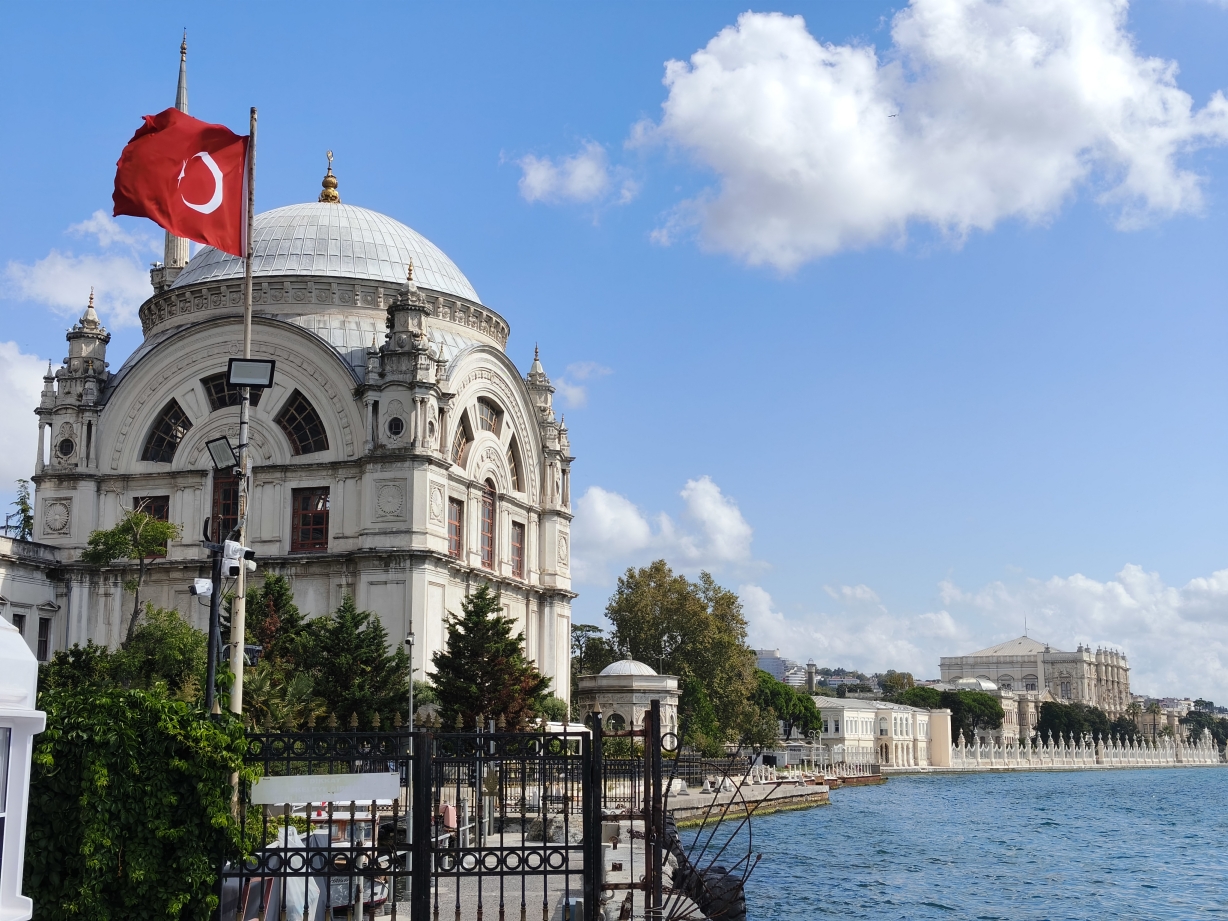
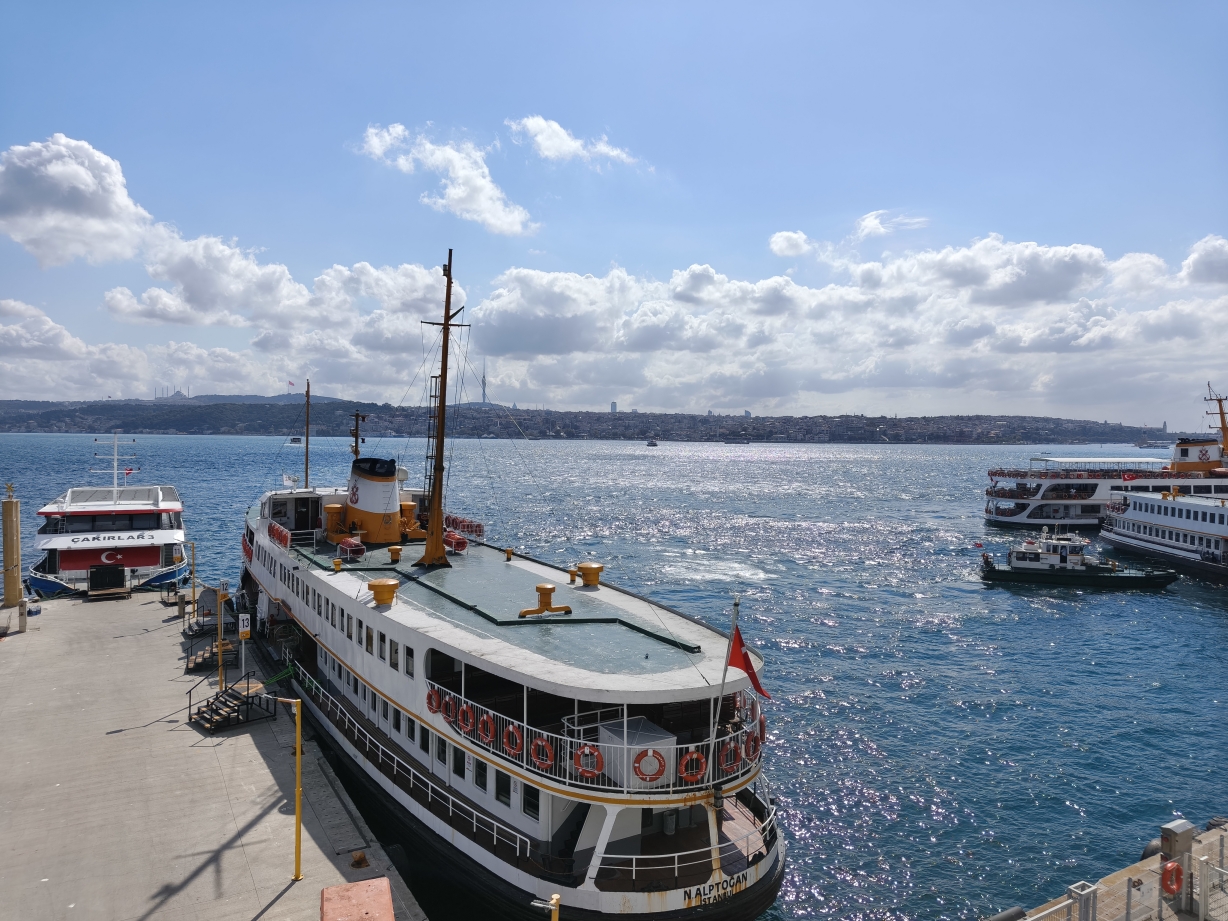
Kadikoy is located on the Asian side of Istanbul across the strait. It is a 20 minutes ferry ride from Karakoy. Kadikoy is noted as the cheaper area of Istanbul where you can find fish markets and local eateries (lokantasi). The area is not really in the tourists’ loop.
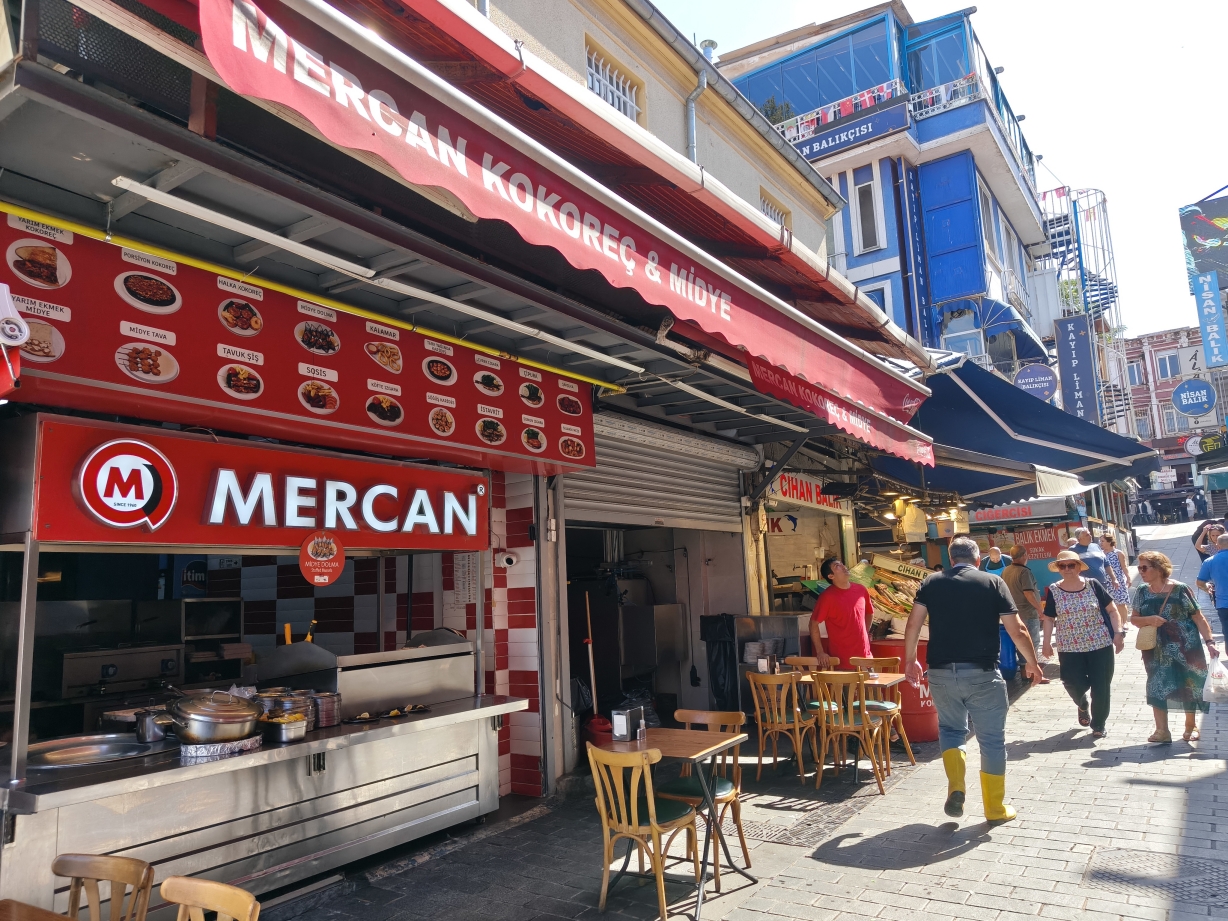
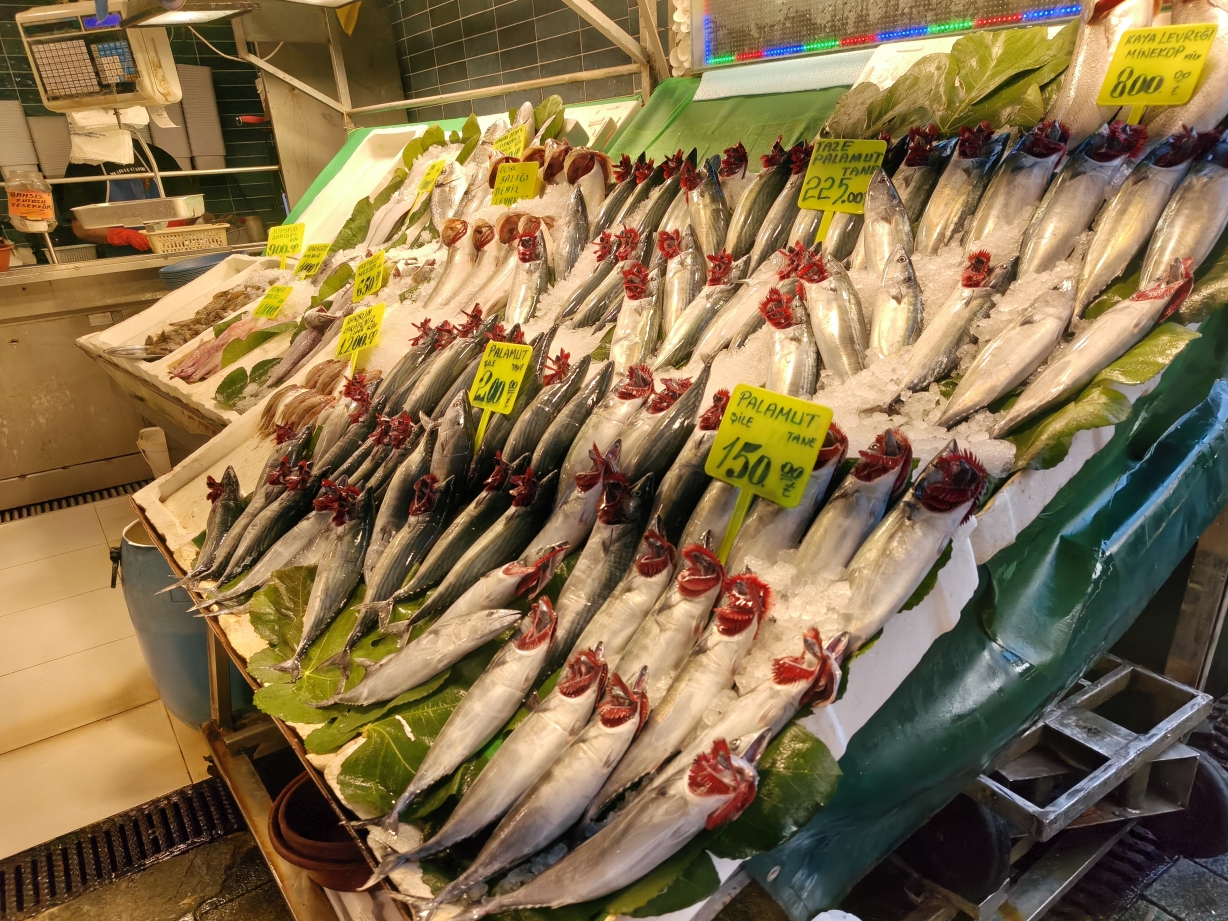
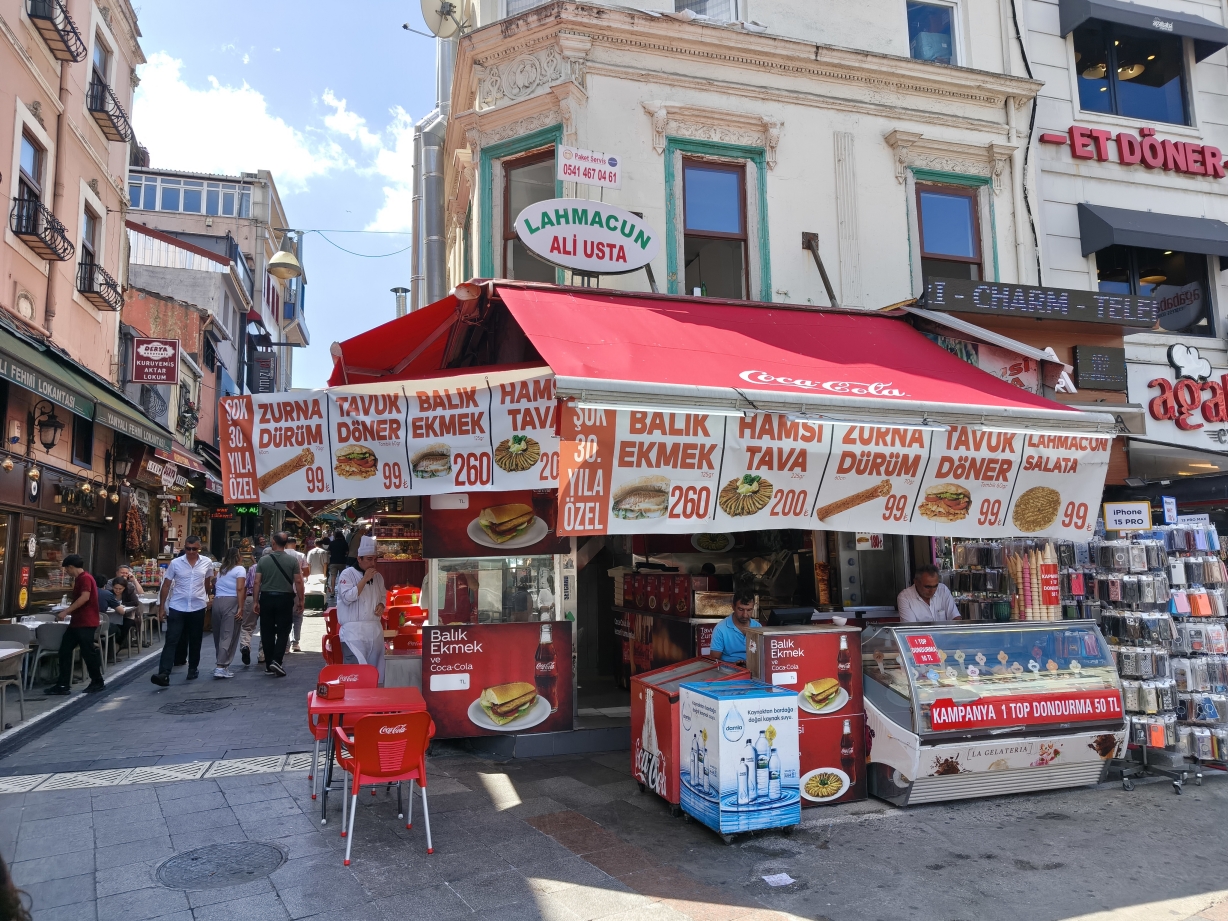
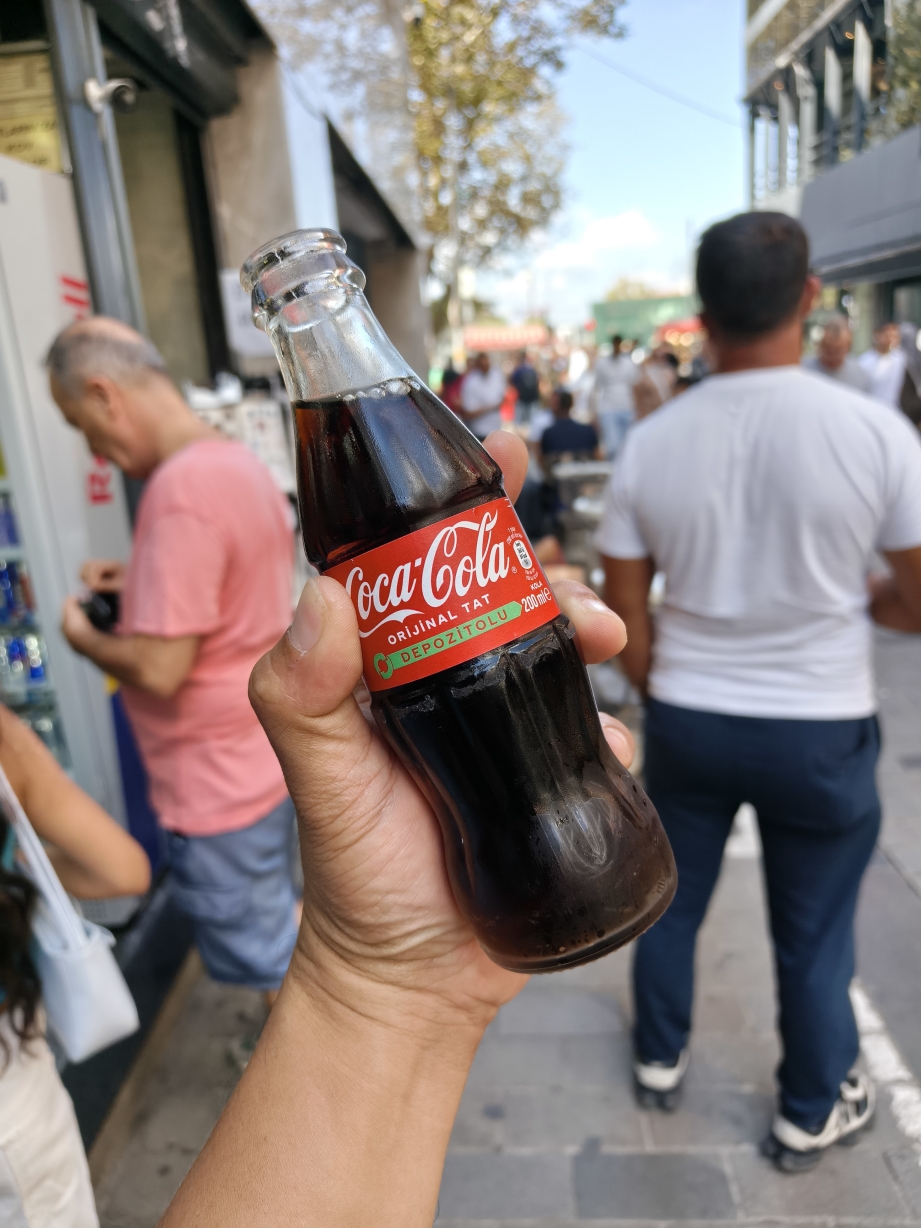
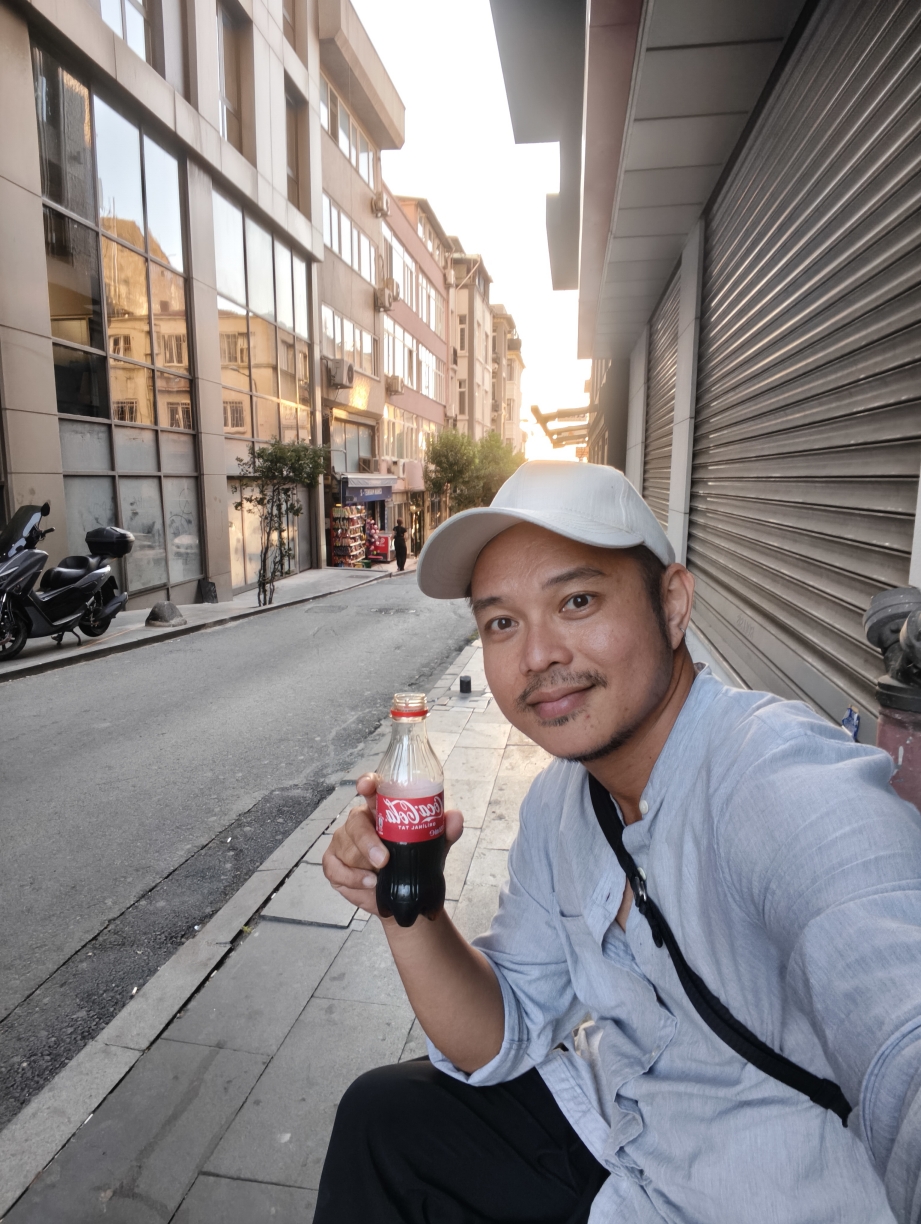
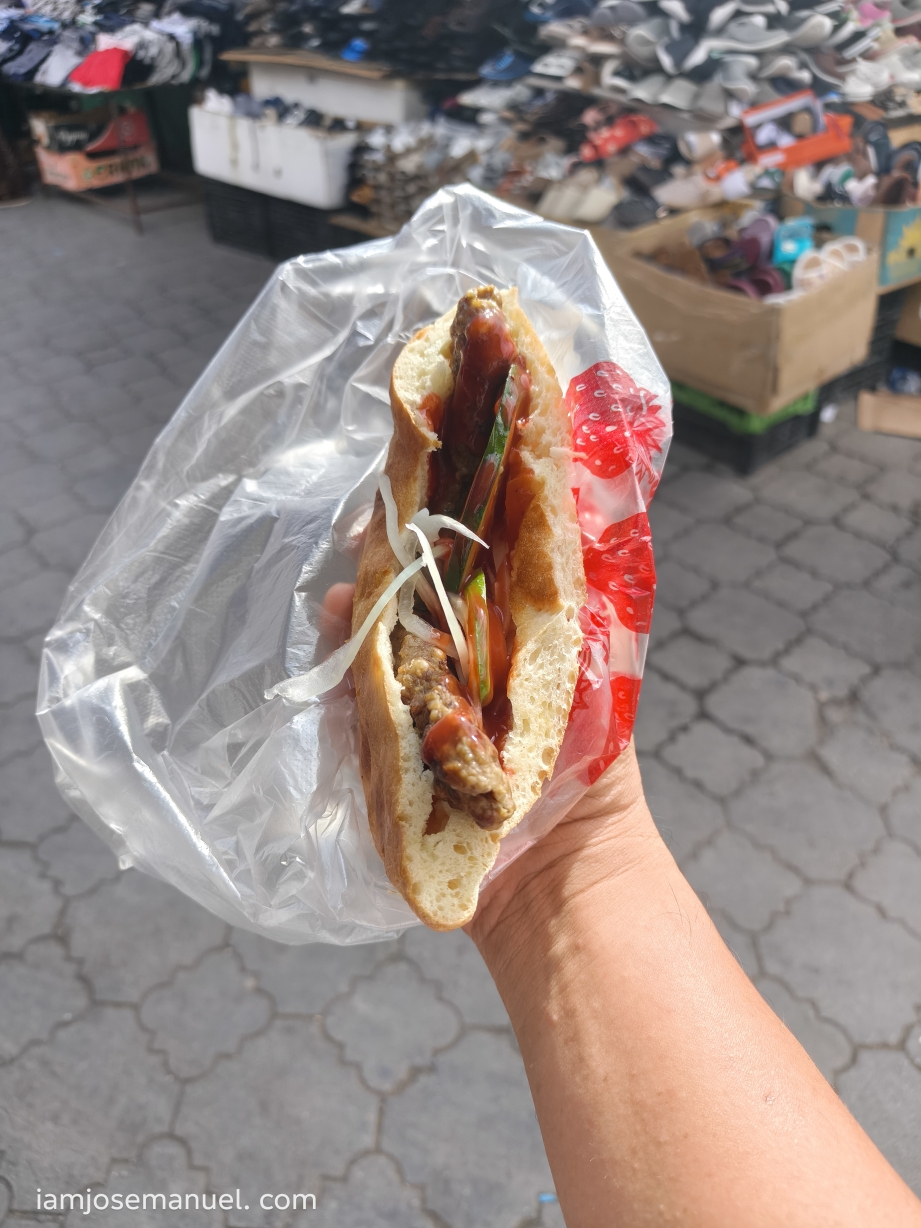
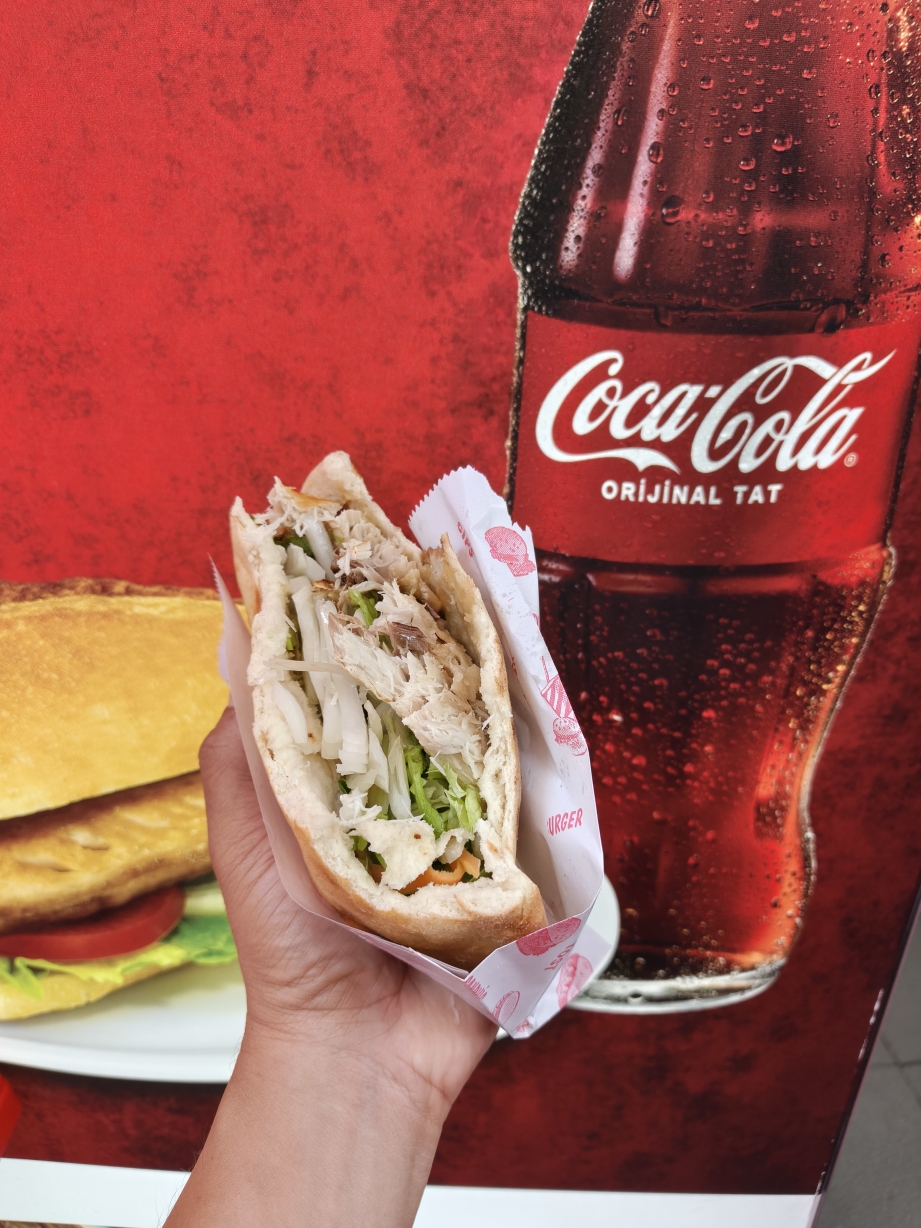
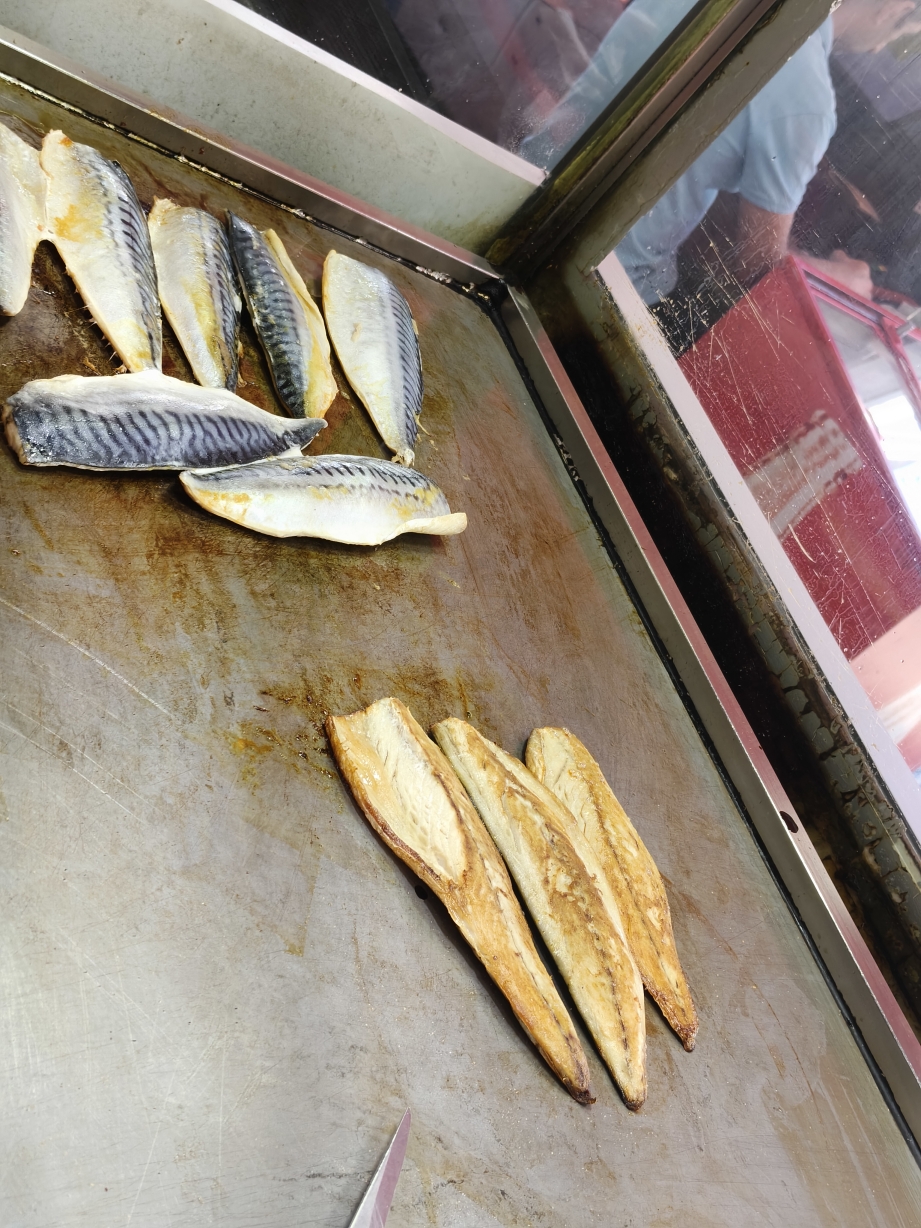
My main goal in Kadikoy was to find the mackerel fish doner, which is popular in the area. Best paired with Coca-Cola. Coke in glass bottle is still a thing in Istanbul.
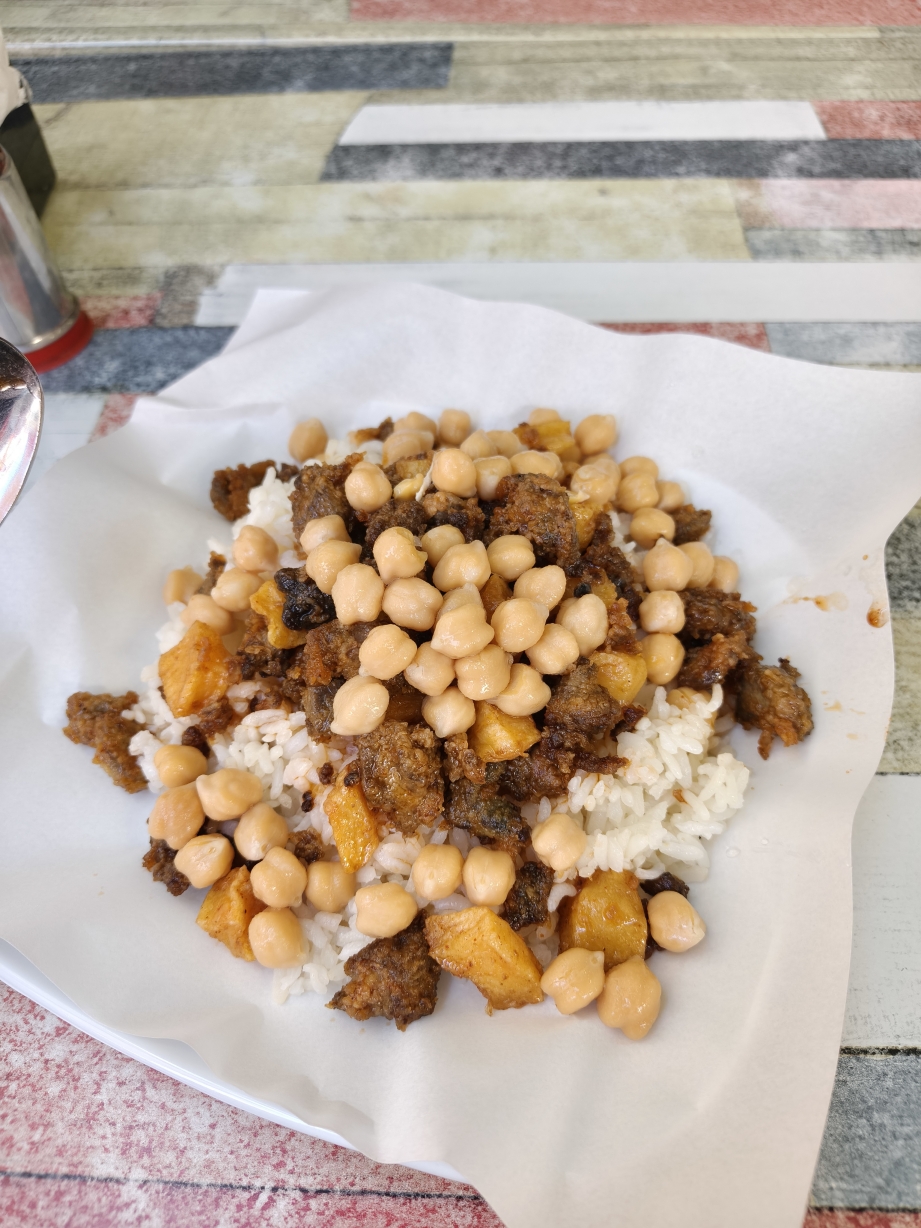
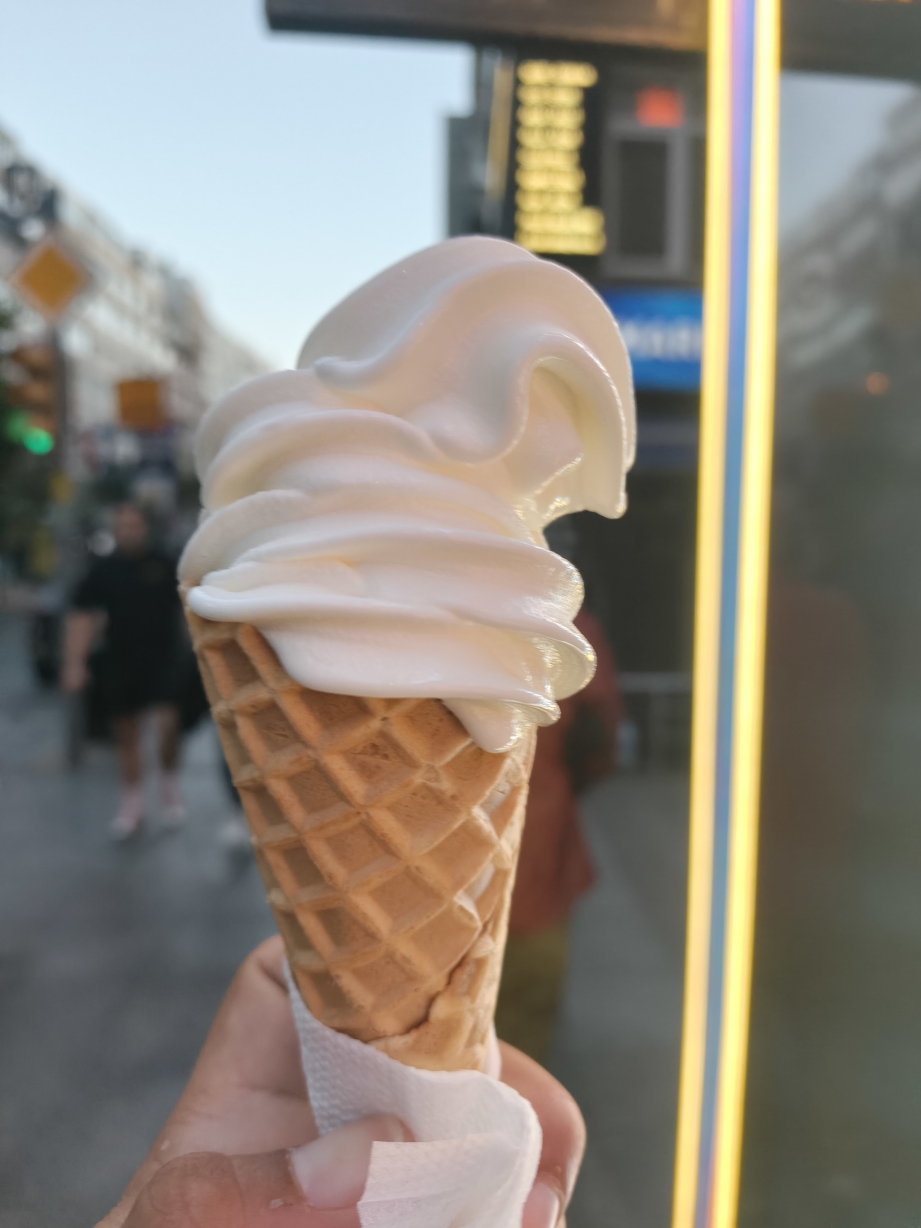
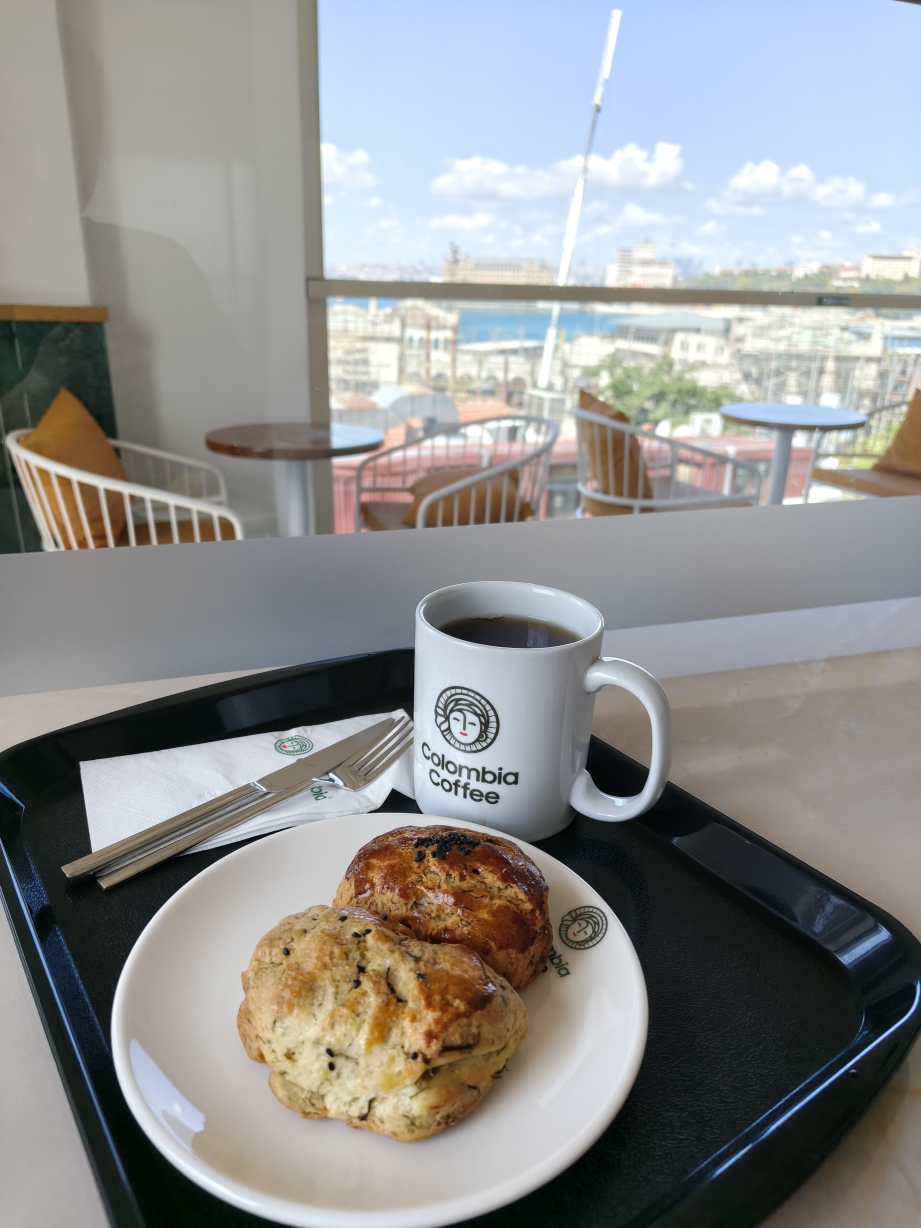
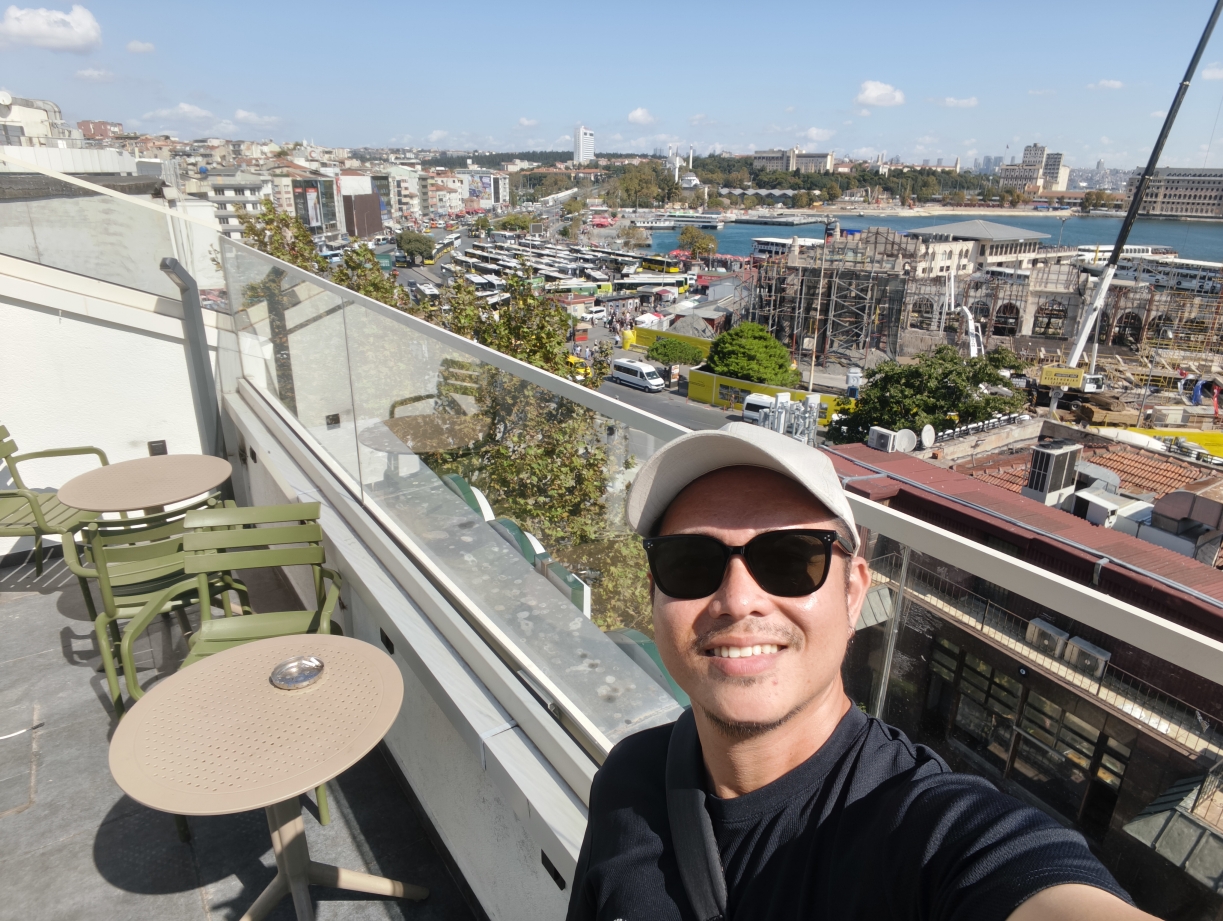
I found Colombia Cafe in Kadikoy, which offers a great panoramic view from its 8th floor. I basically spent most of my high noon here to avoid the heat. The rest of the day was spent roaming around the local neighborhood and ate cheap local pilaf meal, chips and icecream.
Day 4: Balat – The Boho-historic walking quarters. Local artists’ hub.

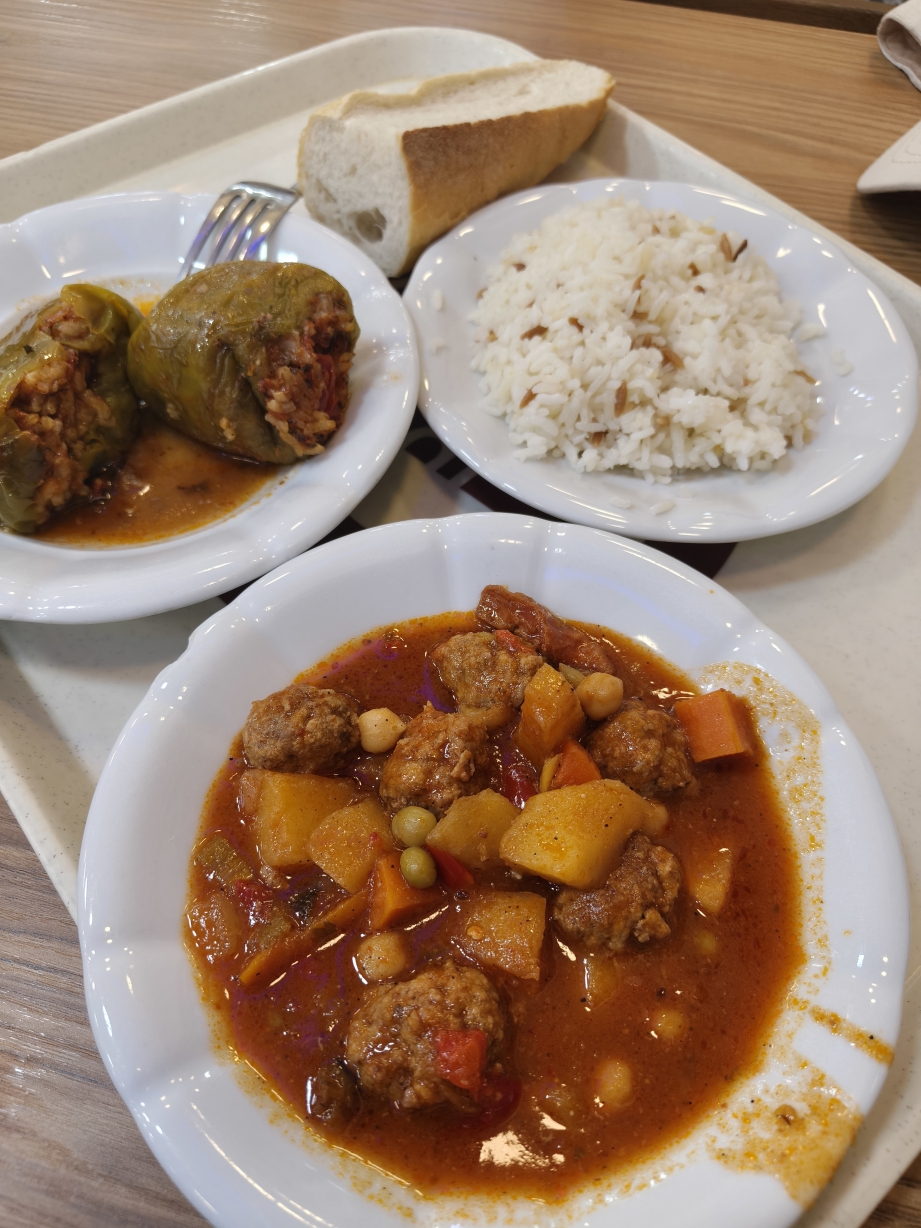
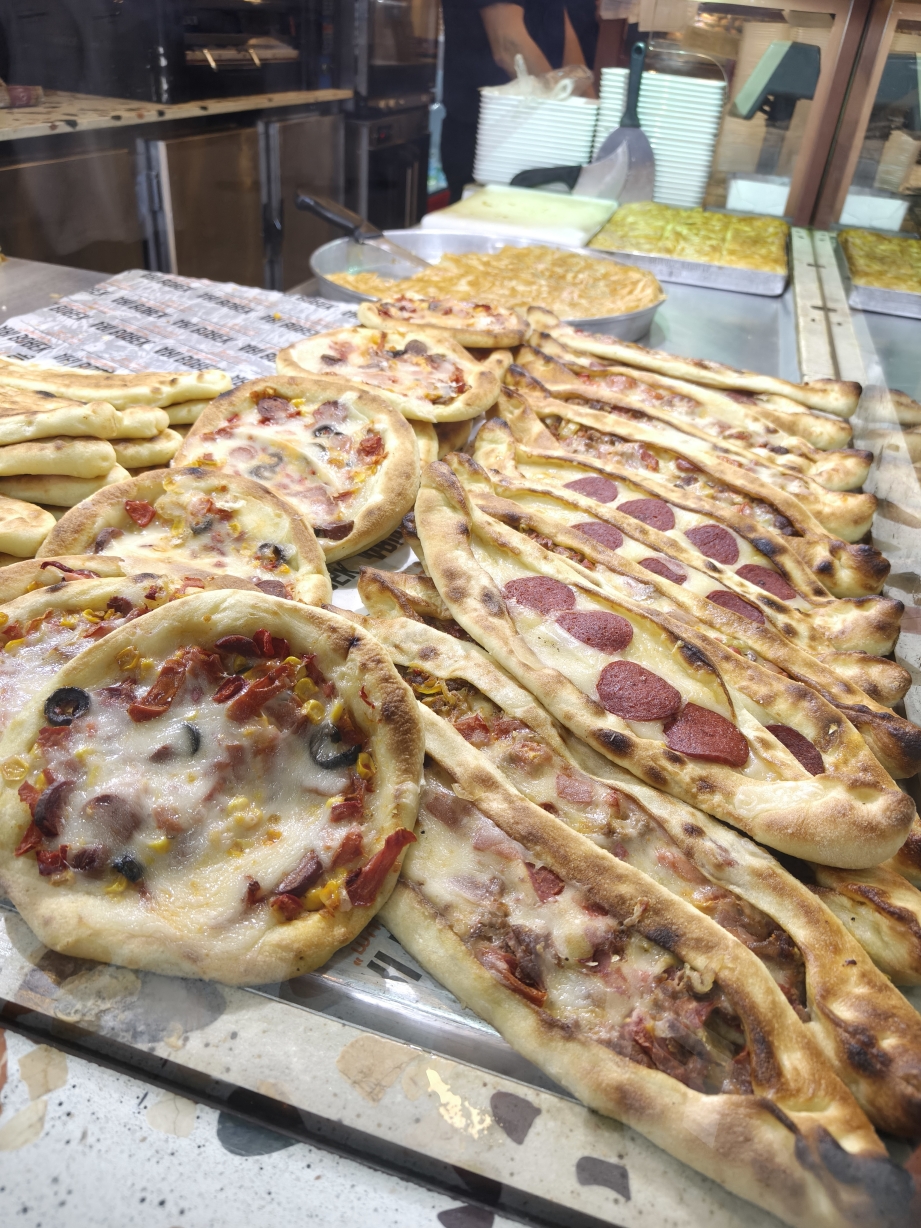
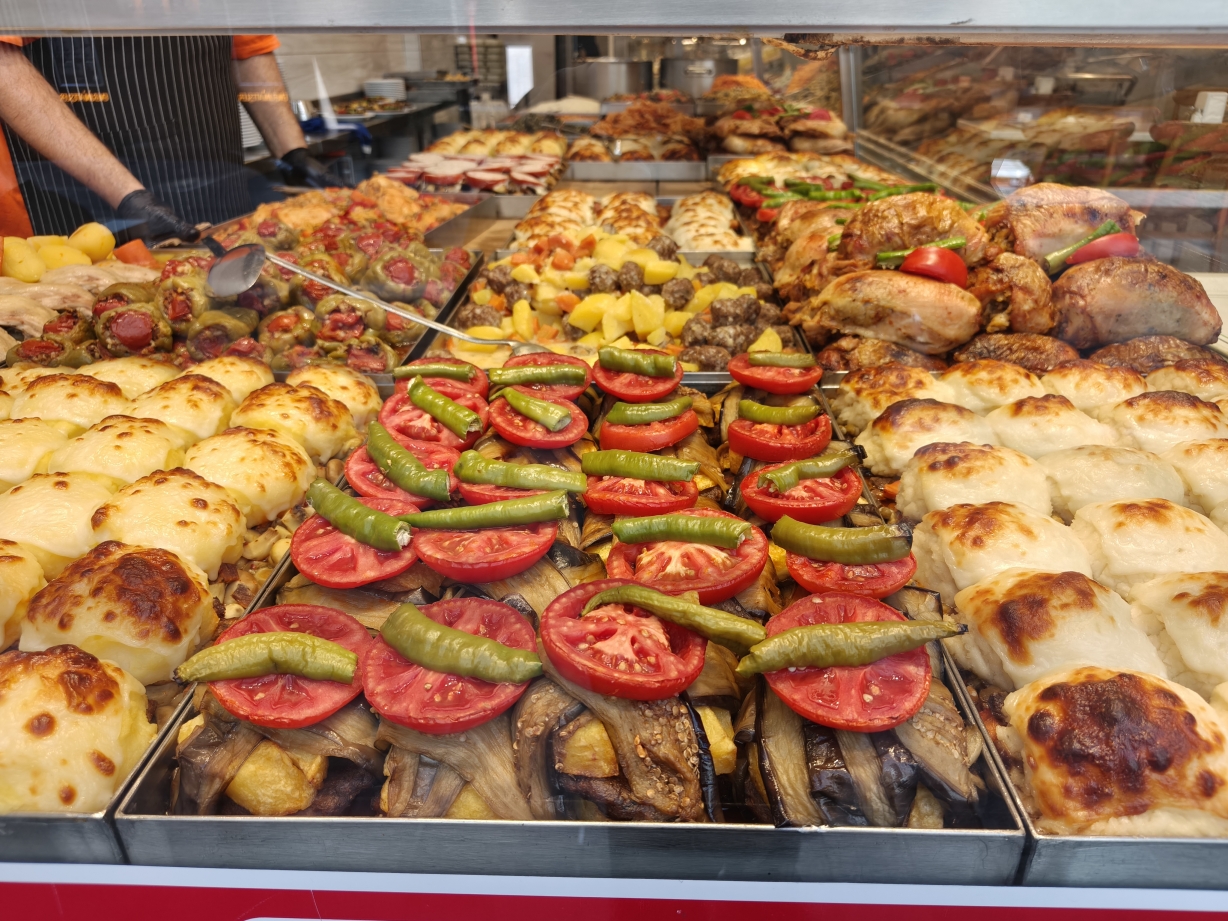
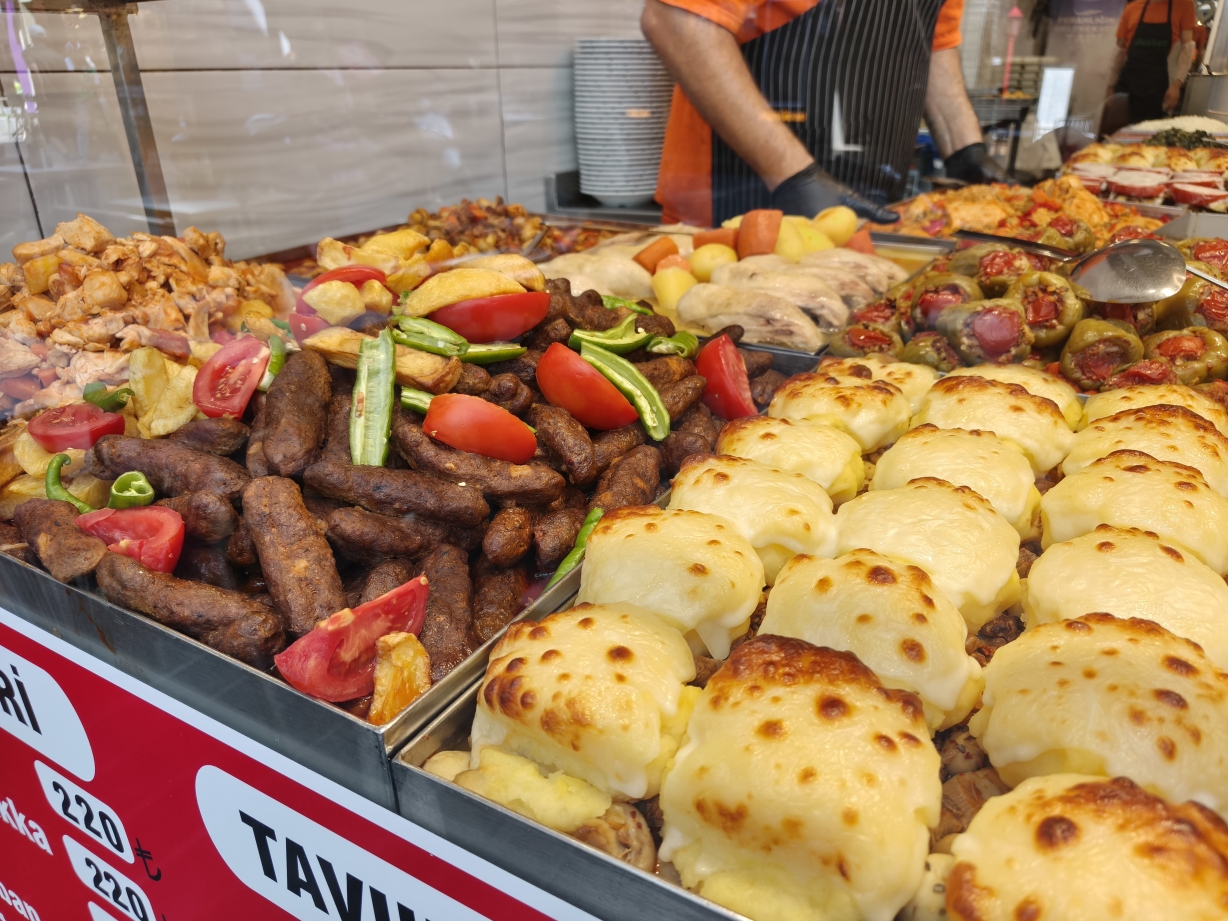
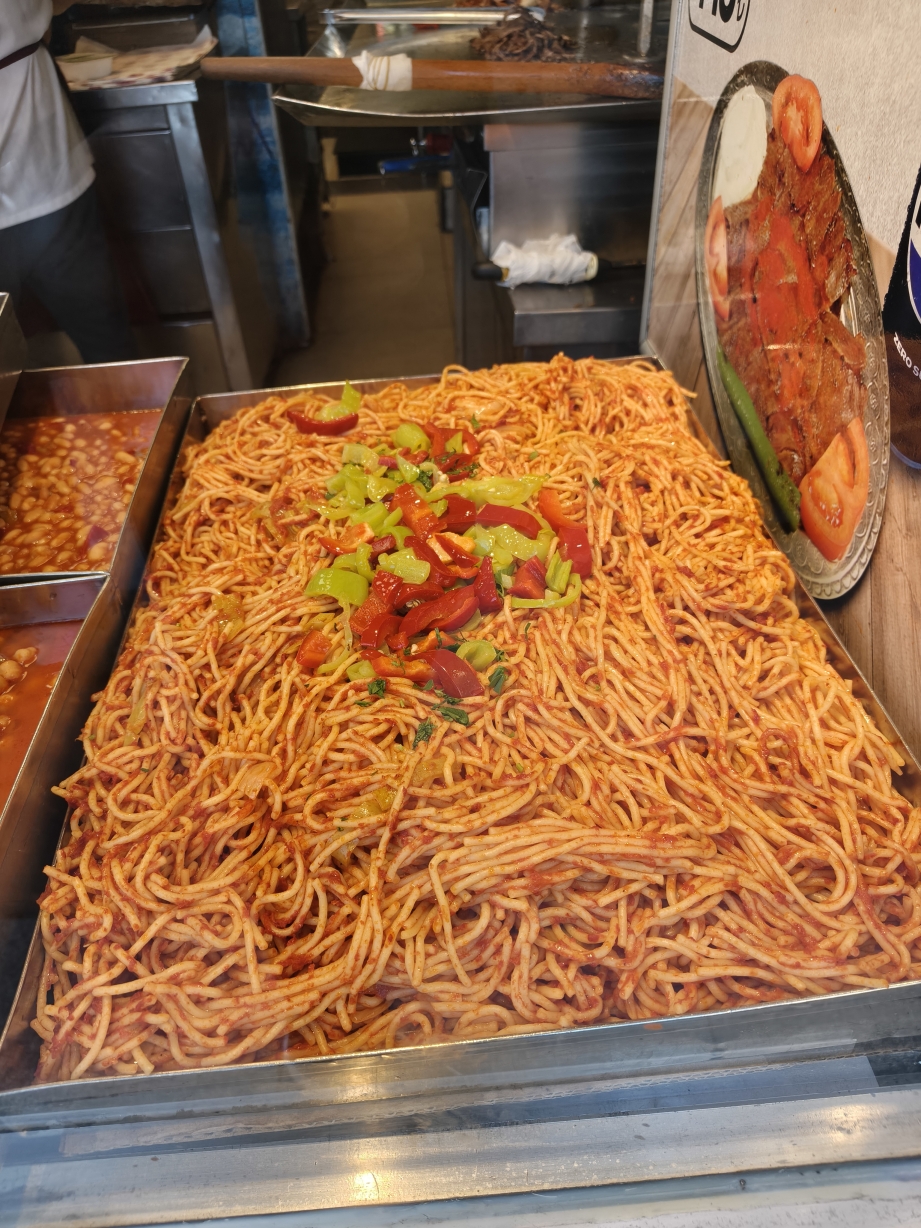
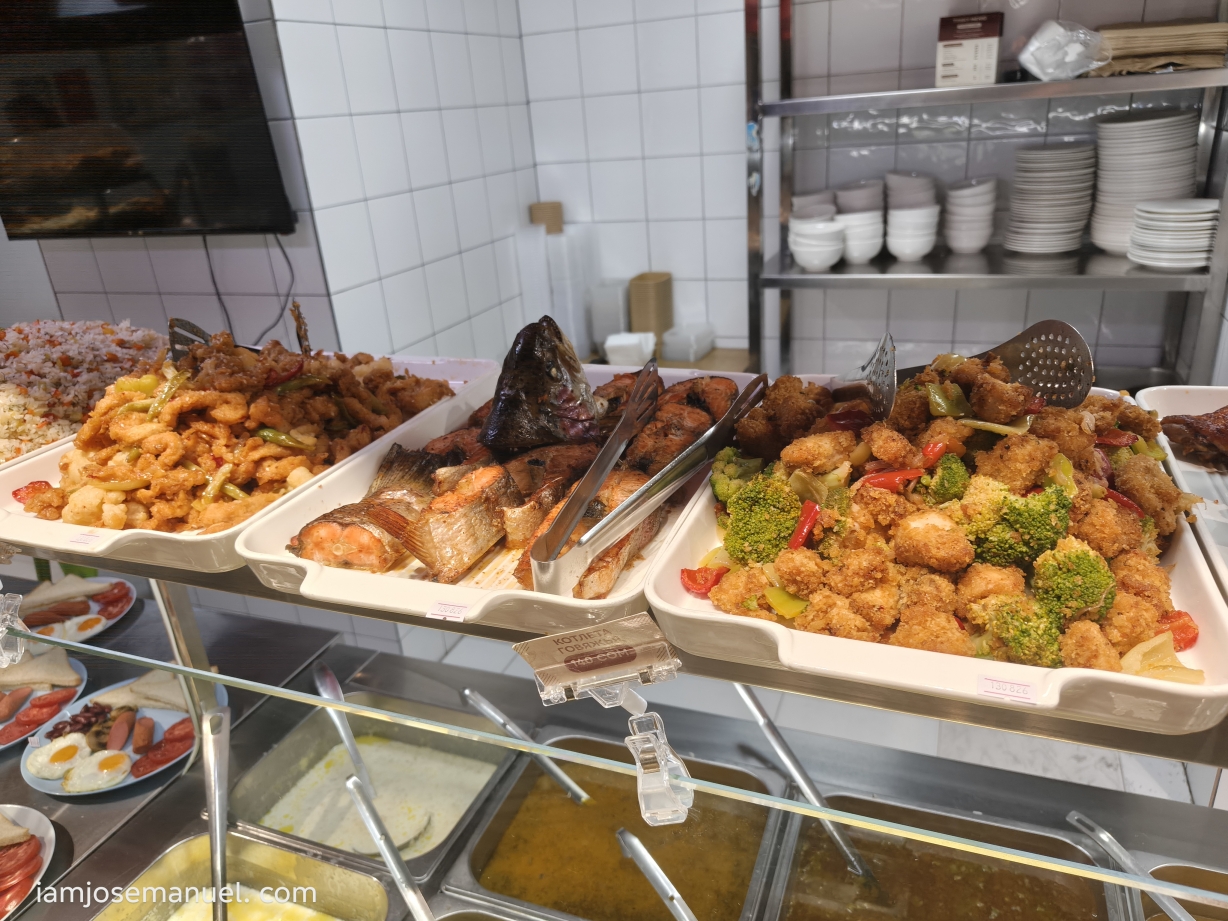
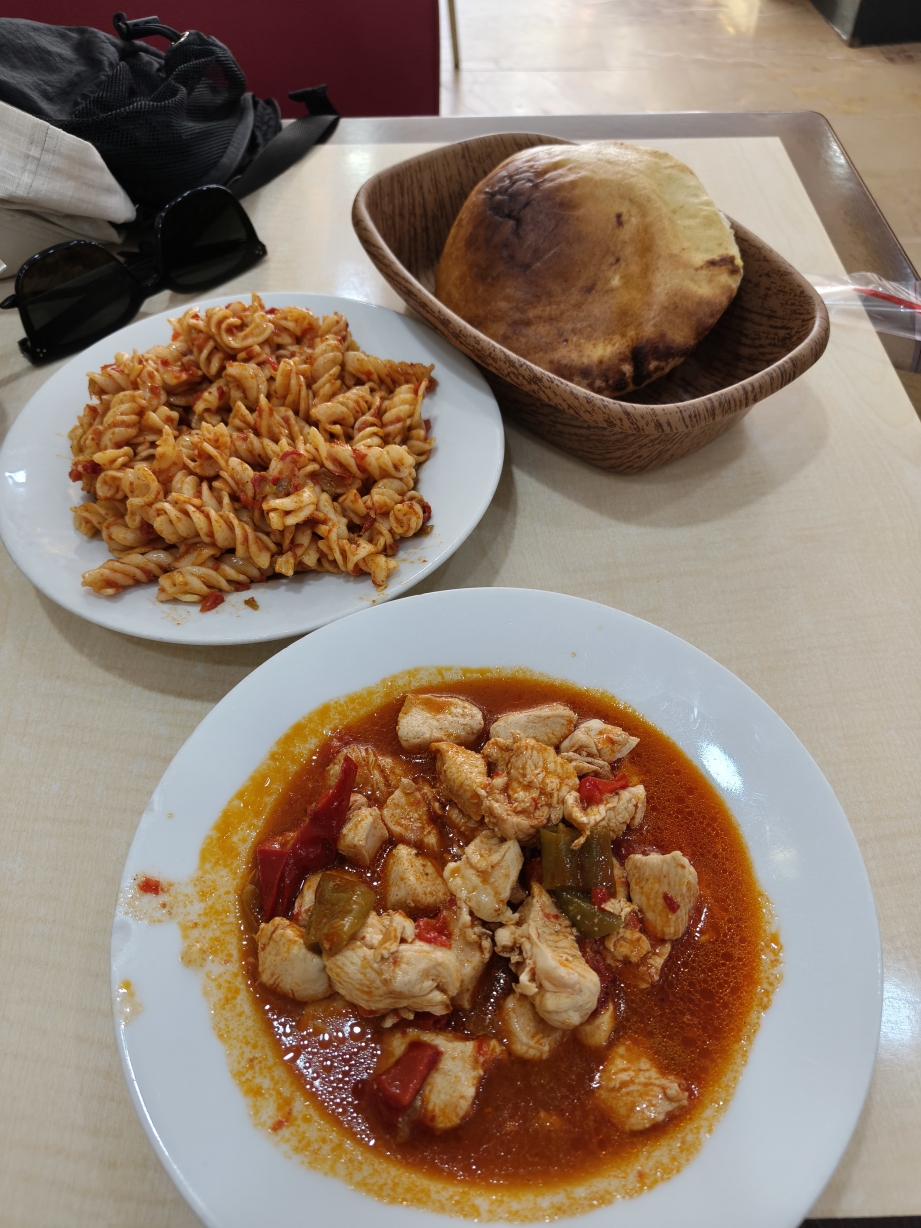
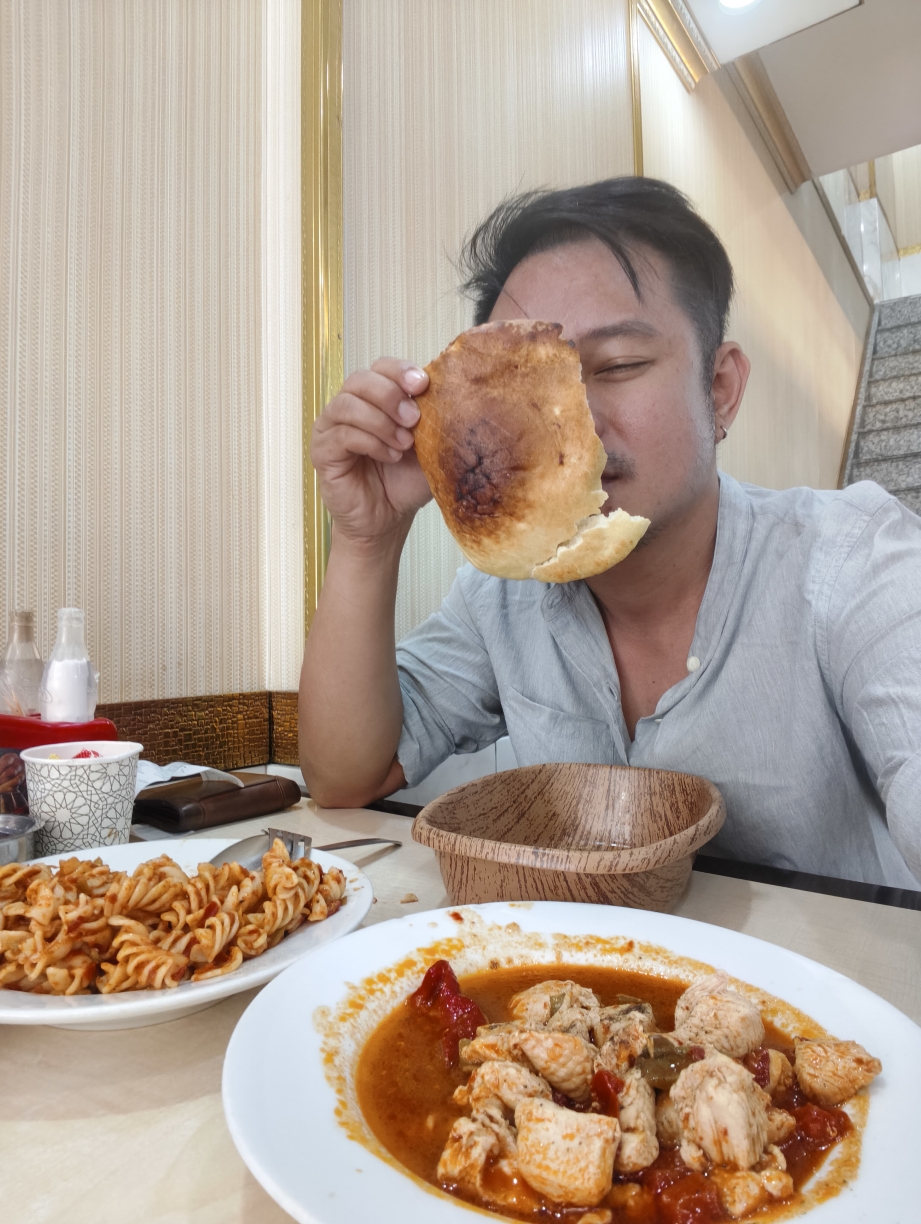
Started the day with a hefty meal that I forced myself to finish since the serving sizes are like good for 2. The spaghetti looked delicious btw. These ready-made meals are from casual/affordable eateries, like Karinderia a set up. In Istanbul, they call it Lokantasi. If you want to save on dining, google a lokantasi nearby. Meals cost between 200 to 400 Lira.
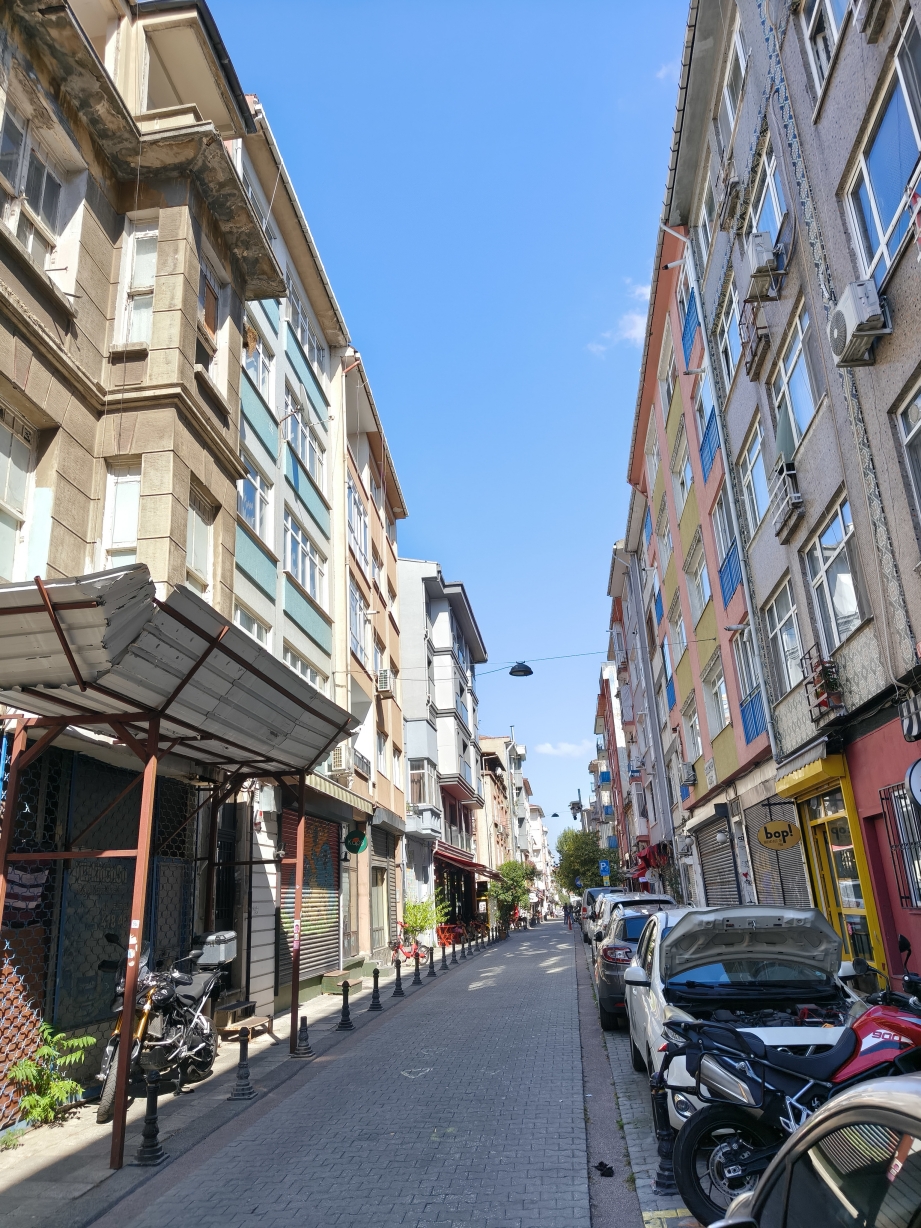
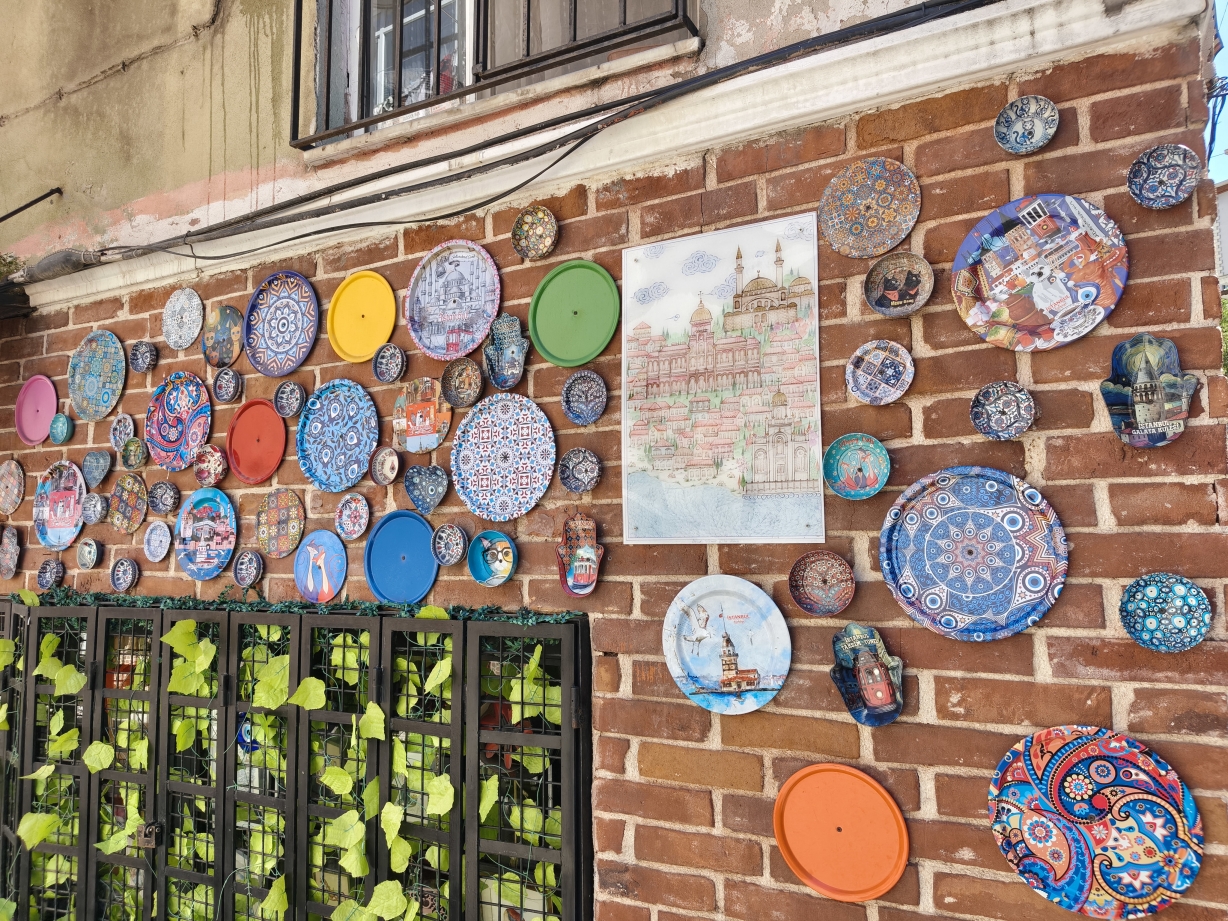
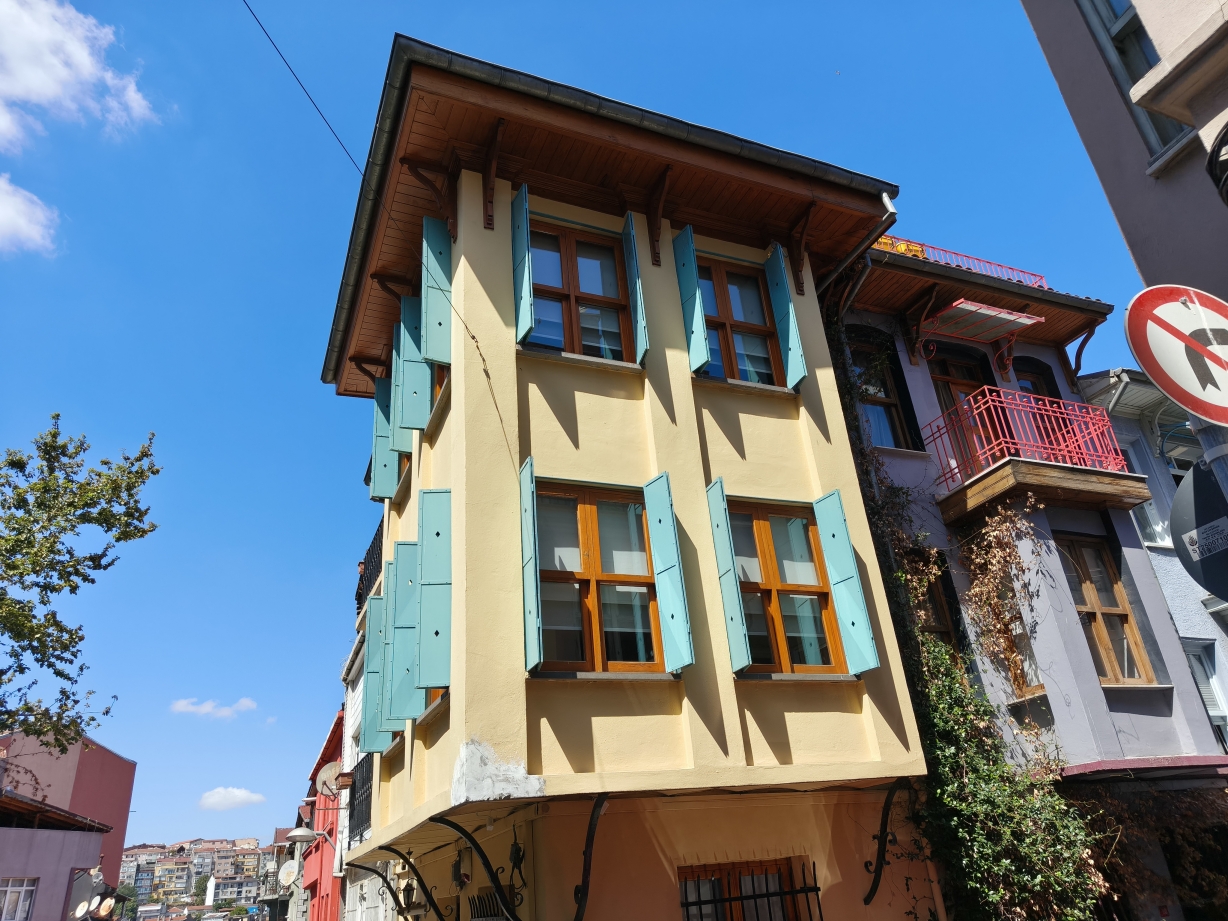
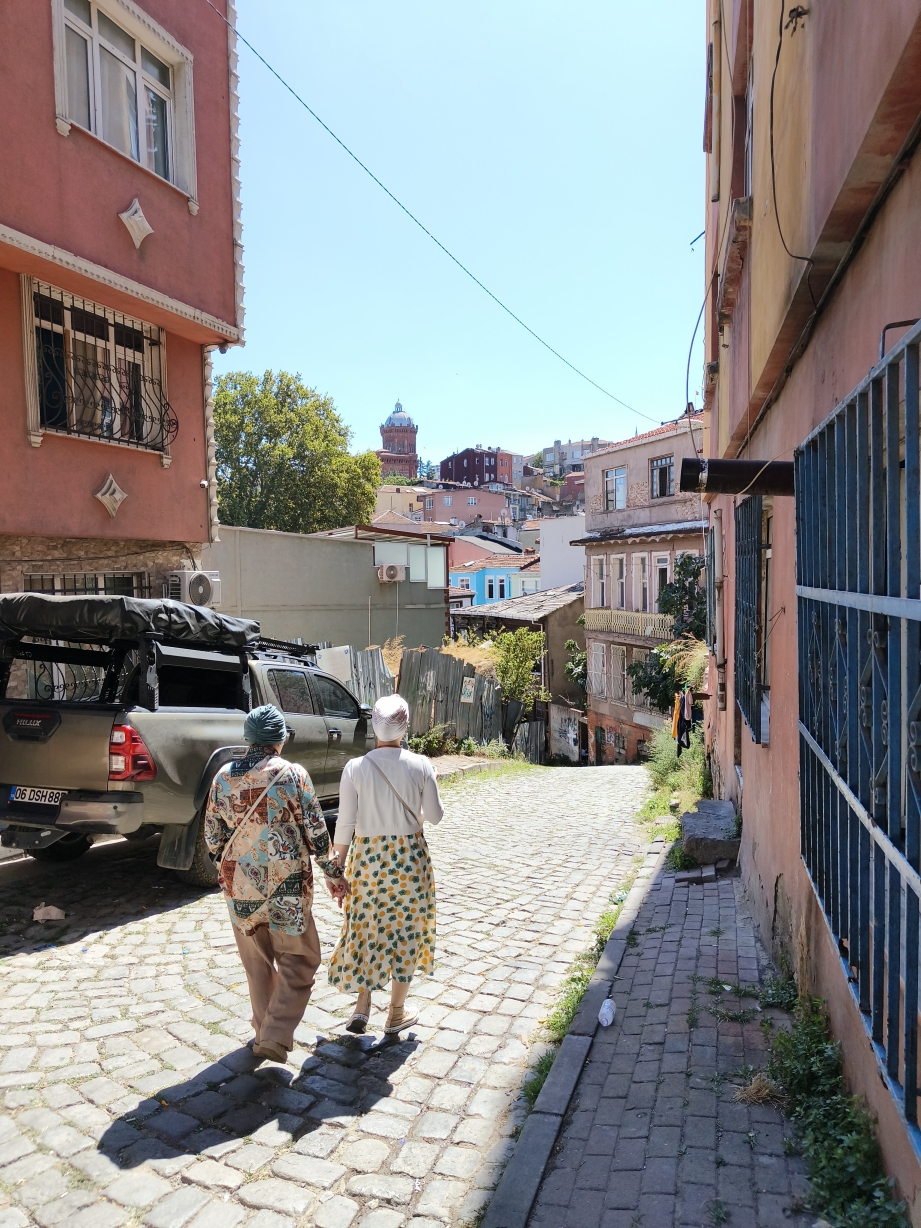
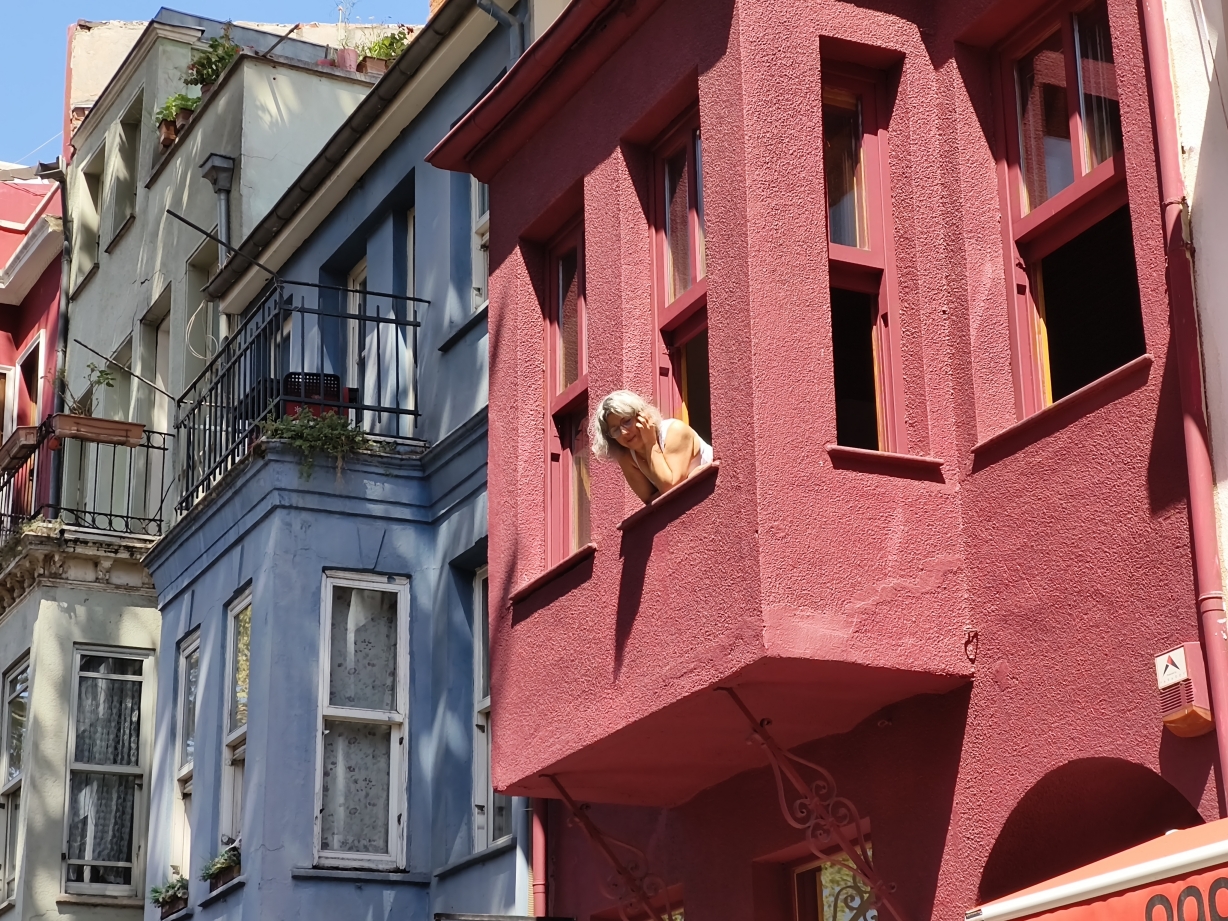
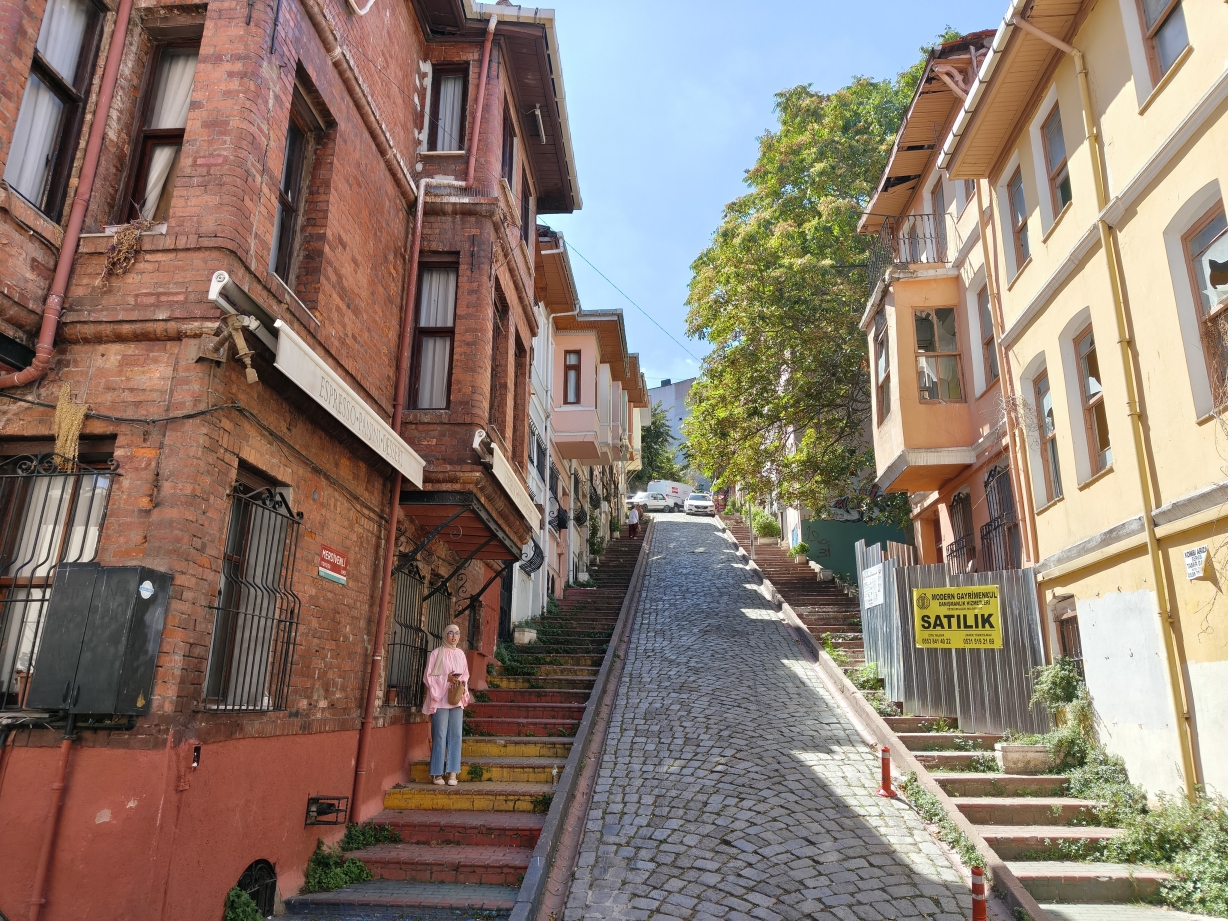
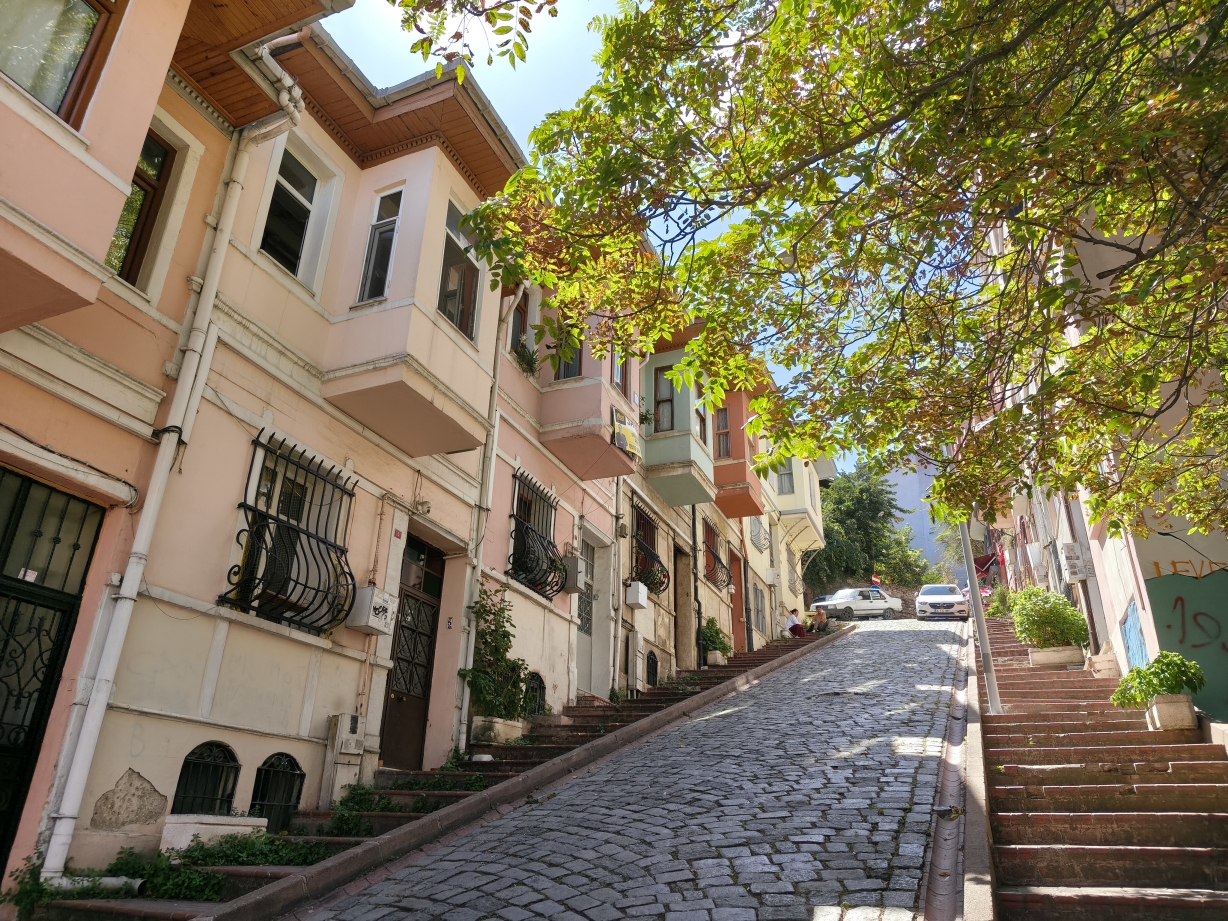
Balat is a down-to-earth neighborhood of narrow cobbled streets and colorful houses, where hip cafes and local art galleries sit next to old-school neighborhood stores. Sobrang chill ng area na ito. Should you wish to buy unique souvenirs like art pieces, ceramics and silk, you’ll find these in Balat at a relatively lower price compared to the touristy Sultanahmet.
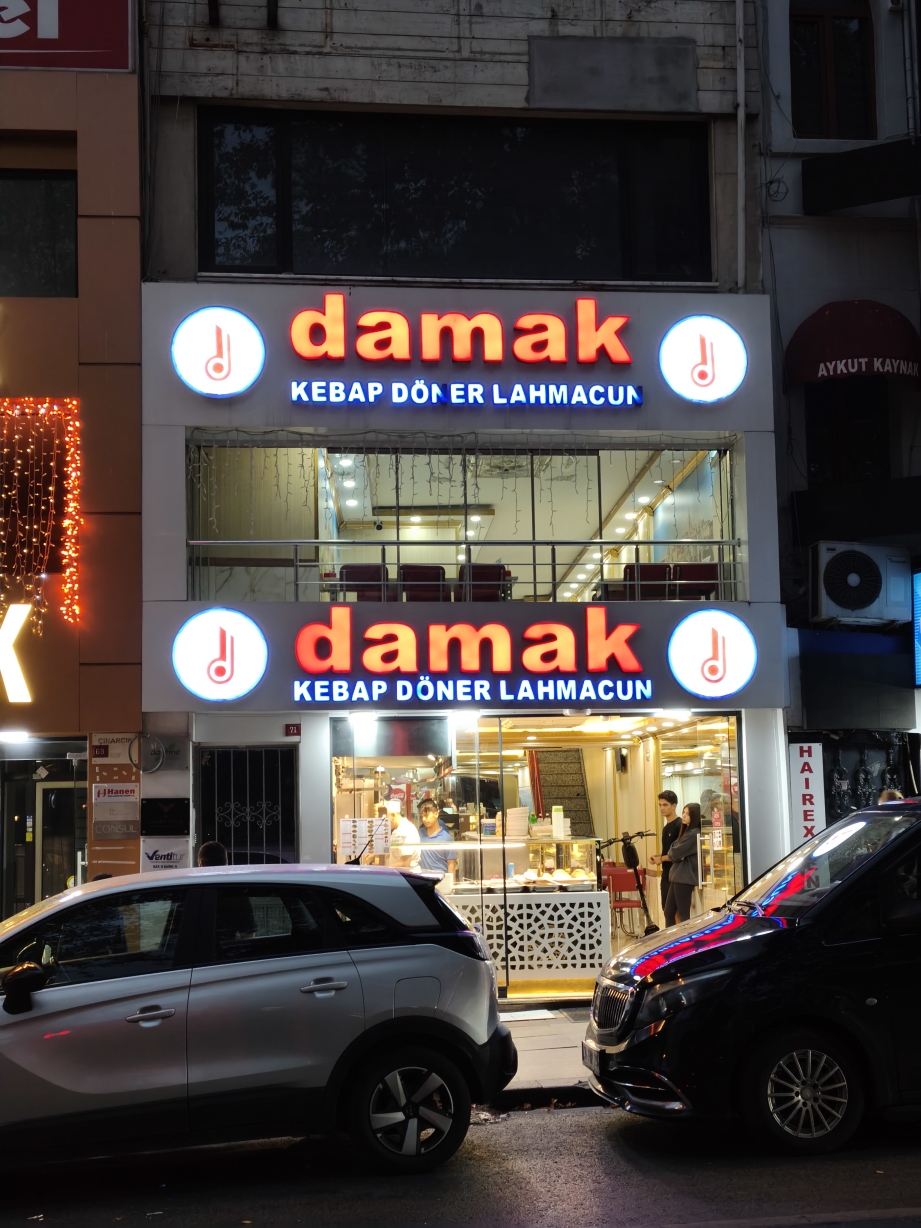
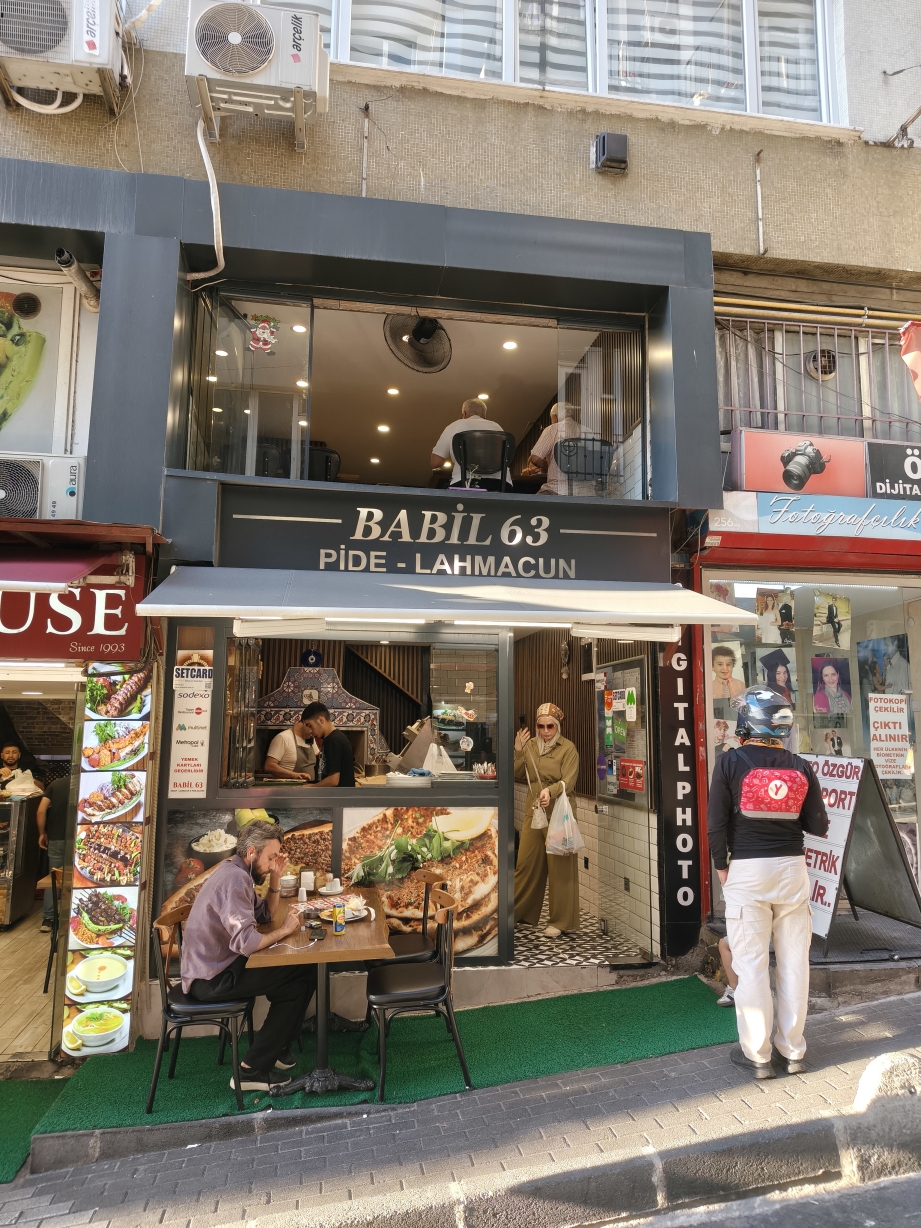
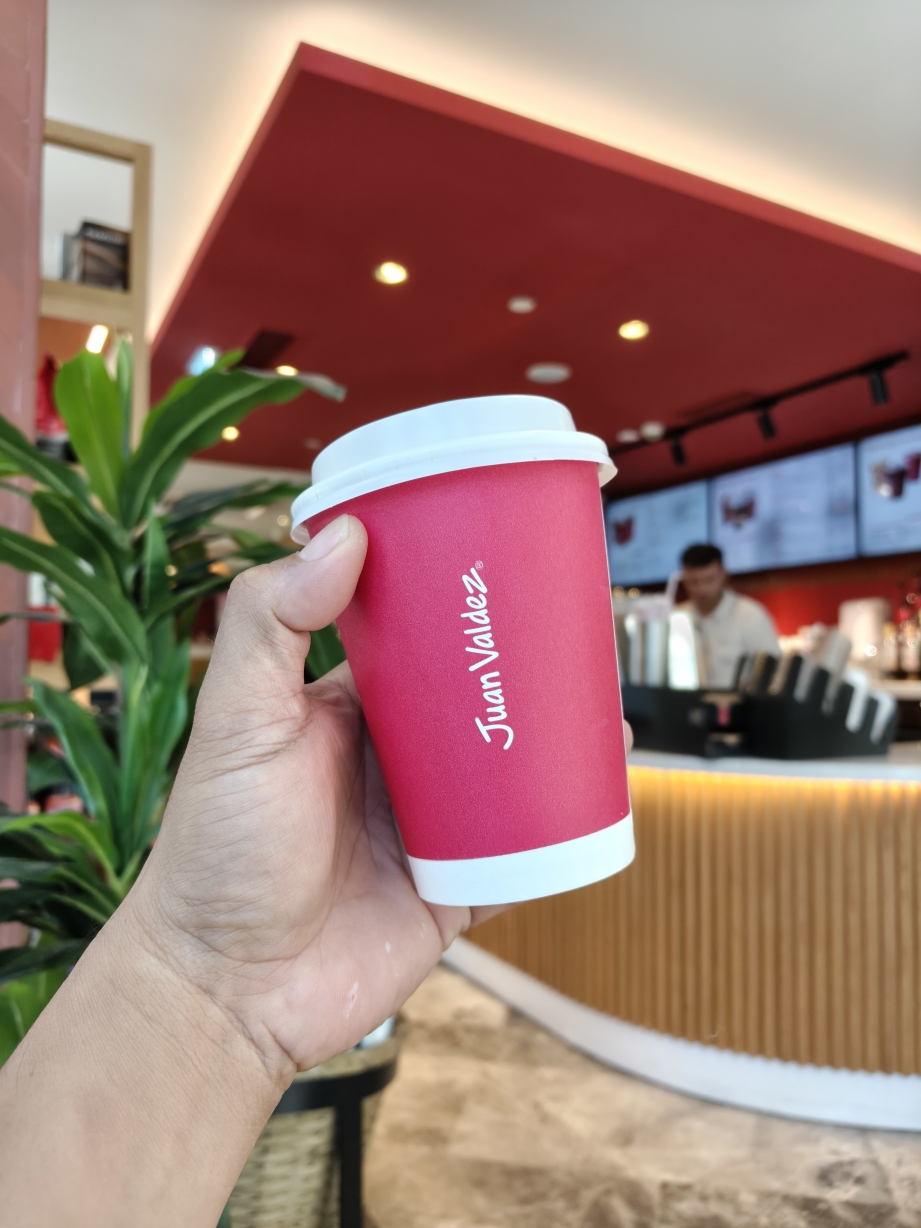
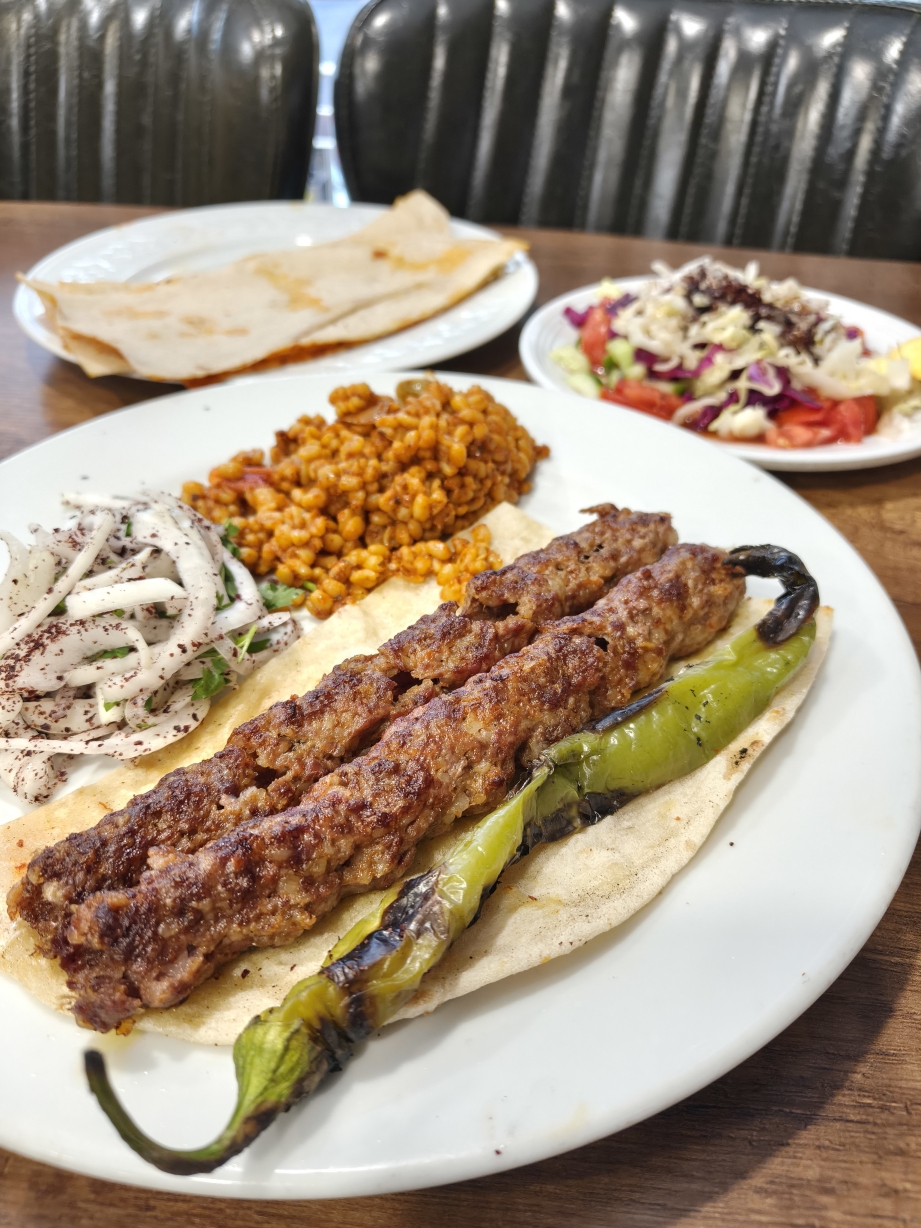
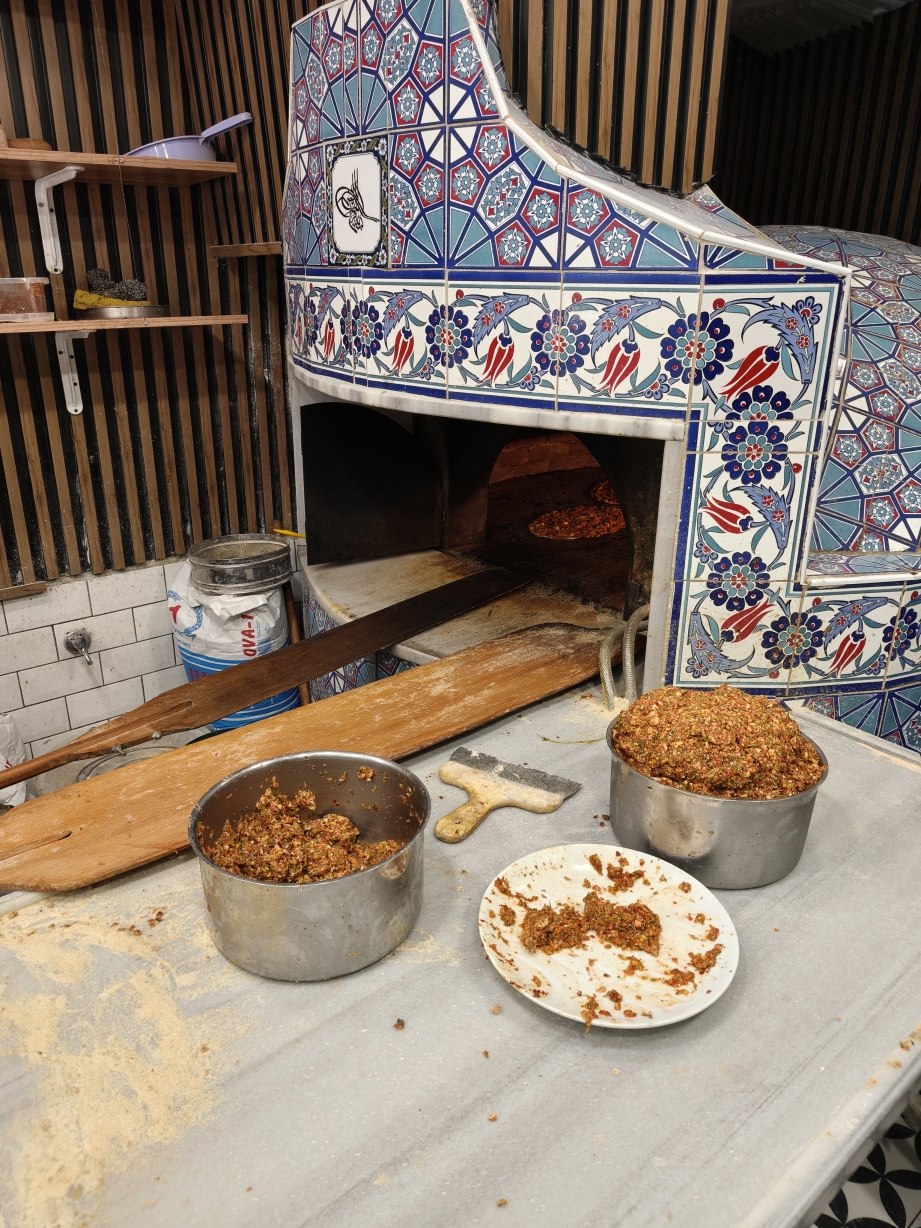
Ended the day with a hefty Kebab meal from a casual resto just outside my hostel. Probably the best meal I had in Istanbul. Sealed the day with a cup of Juan Valdez Coffee, which is a popular coffee chain in South America. They already have a branch in Istanbul.
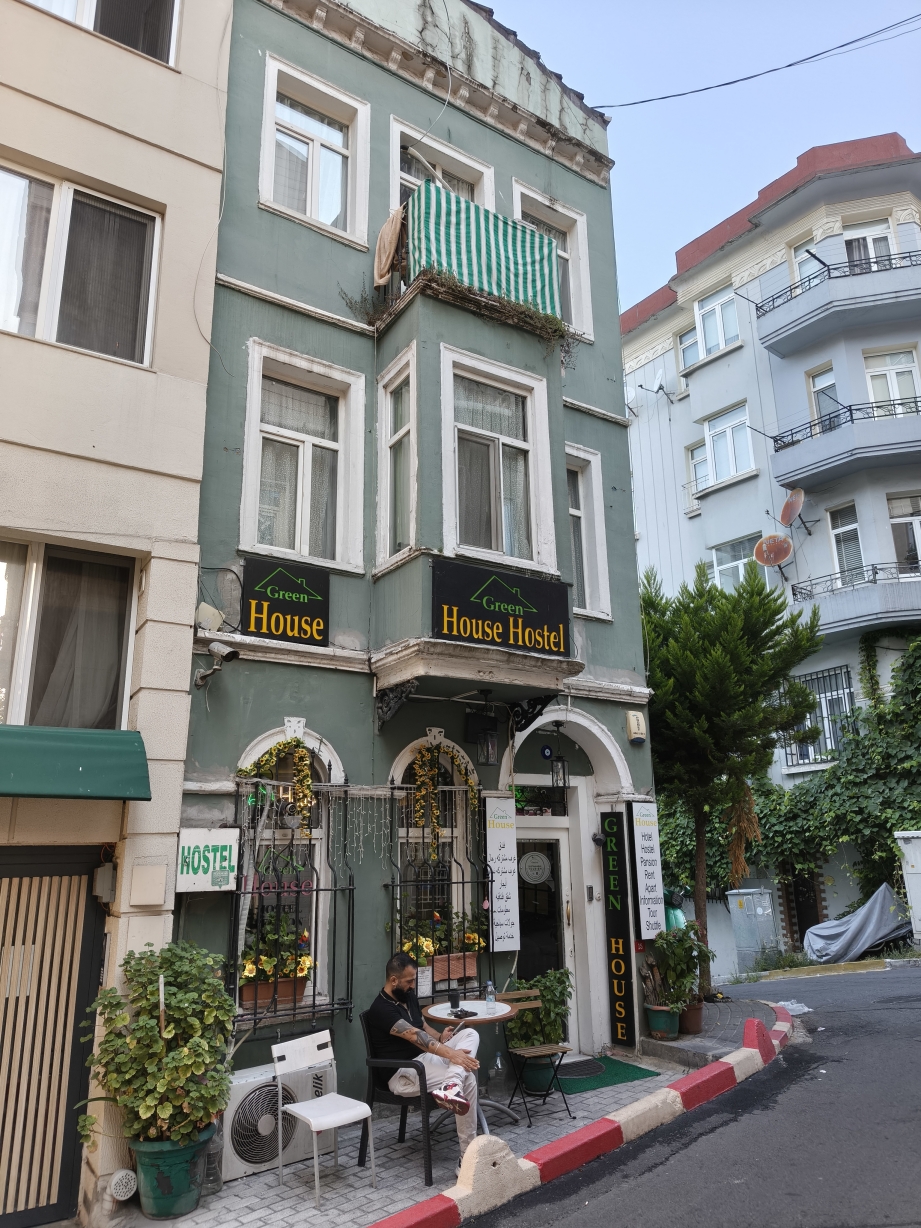
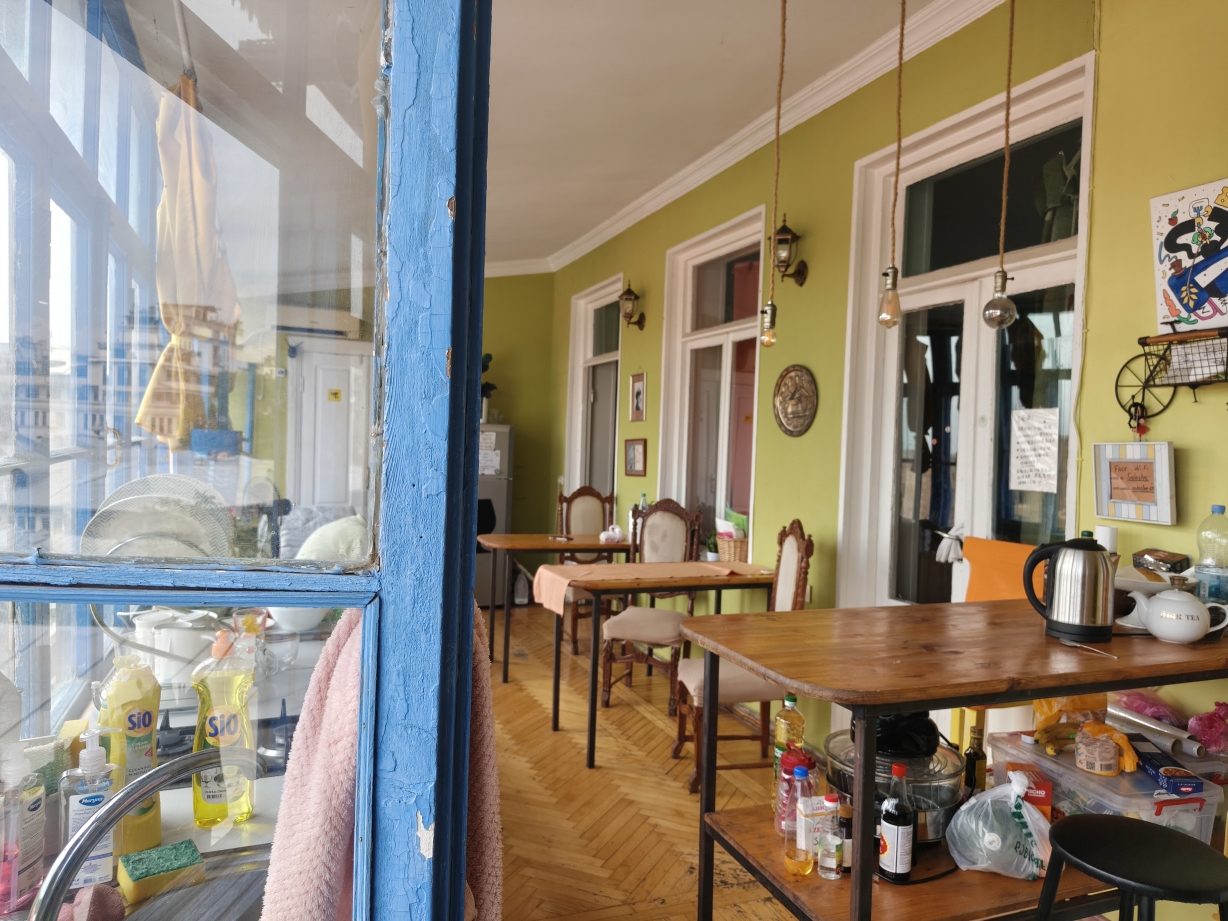
Where I stayed: Taksim Green House Hostel Istanbul. Highly recommended for its large rooms, comfortable bed and in-room shower. The hostel is tucked in the quiet side of Taksim, a few minutes walk to the Havaist Bus stop to the airport and the Taksim Metro Station. The neighborhood is also quite decent, peaceful and photogenic.

A night at Green House Hostel costs around 1200 Php, booked through agoda.
If you noticed, I skipped on museums and galleries. Istanbul was the last stop of my 30 days trip (Central Asia, Moscow & Caucasus), and I honestly felt a fatigue for historical sites at this time. So I made the most of my remaining vacation days by leisurely exploring neighborhood, exploring local food and coffee. No rush. Just absorbing as much local vibe as I can. Afterall, vacations are supposed to be just that. Relaxed, diba? =)
Highlights of Tbilisi,Georgia

Georgia is one of the countries that Filipinos can visit just by securing an easy E-visa prior to the trip; purely online application, no personal appearance at the embassy. Tourist E-visa costs 20 USD.

However, Philippine passport holders can enter Georgia visa-free, if they hold a valid visa or residence permit from specific countries like the US, UK, Canada, Schengen Area, or GCC countries. In my case, I presented at the Georgian Immigration my valid US and Japan Visa. I also presented a printed copy of my hostel booking, fly out ticket, as well as my travel insurance (which I booked last minute with the help of my sister). Mandatory Travel Insurance is strictly required when entering Georgia, with a minimum of $30,000 in health coverage. I was able to enter Georgia visa-free twice. First was at the airport, second was at the land border crossing from Armenia. Same documents were presented. Visa-free entry however took a little more time, since they had to validate my presented US Visa via another program. At the land border, my passport validation took around 20 minutes at least. If you have extra 20 USD, I highly suggest securing an e-visa for smoother border crossings.

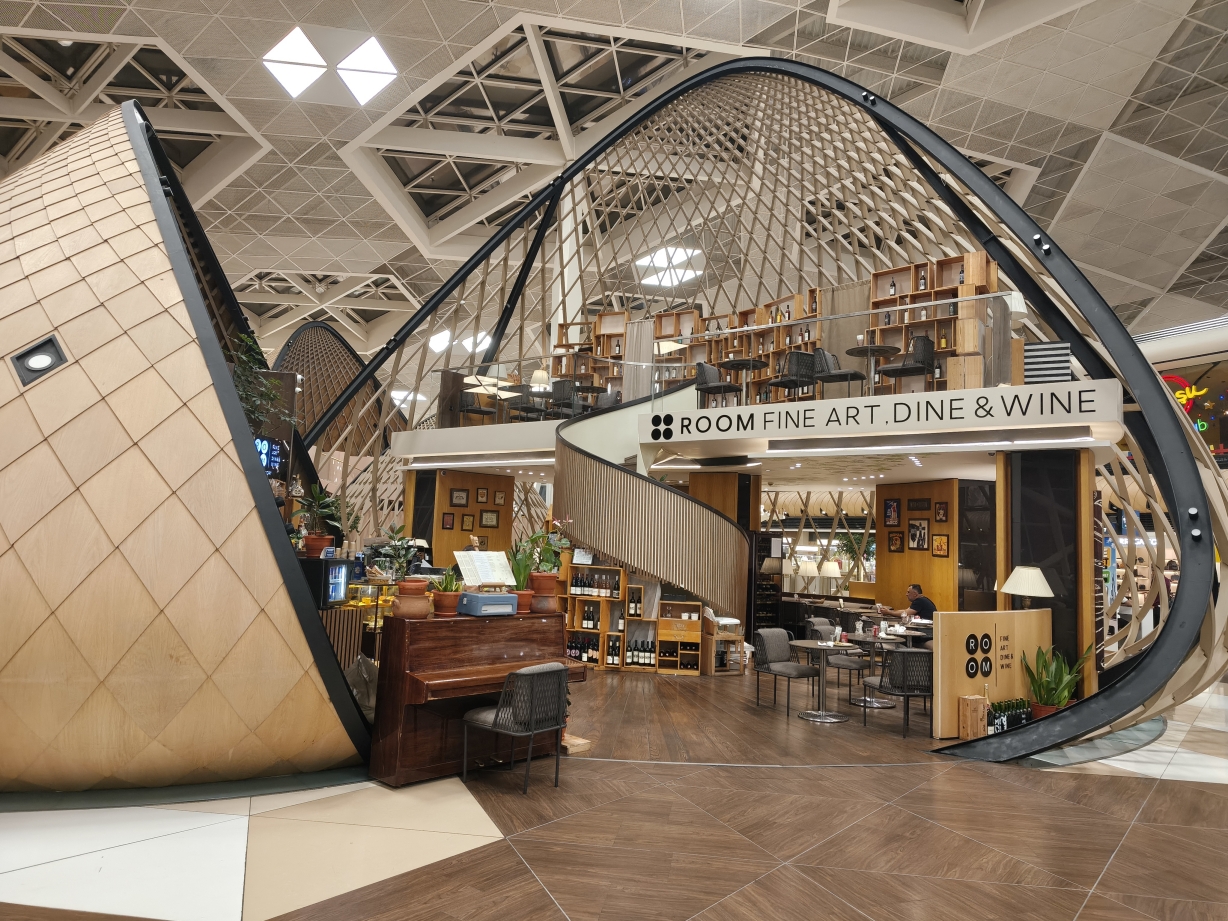
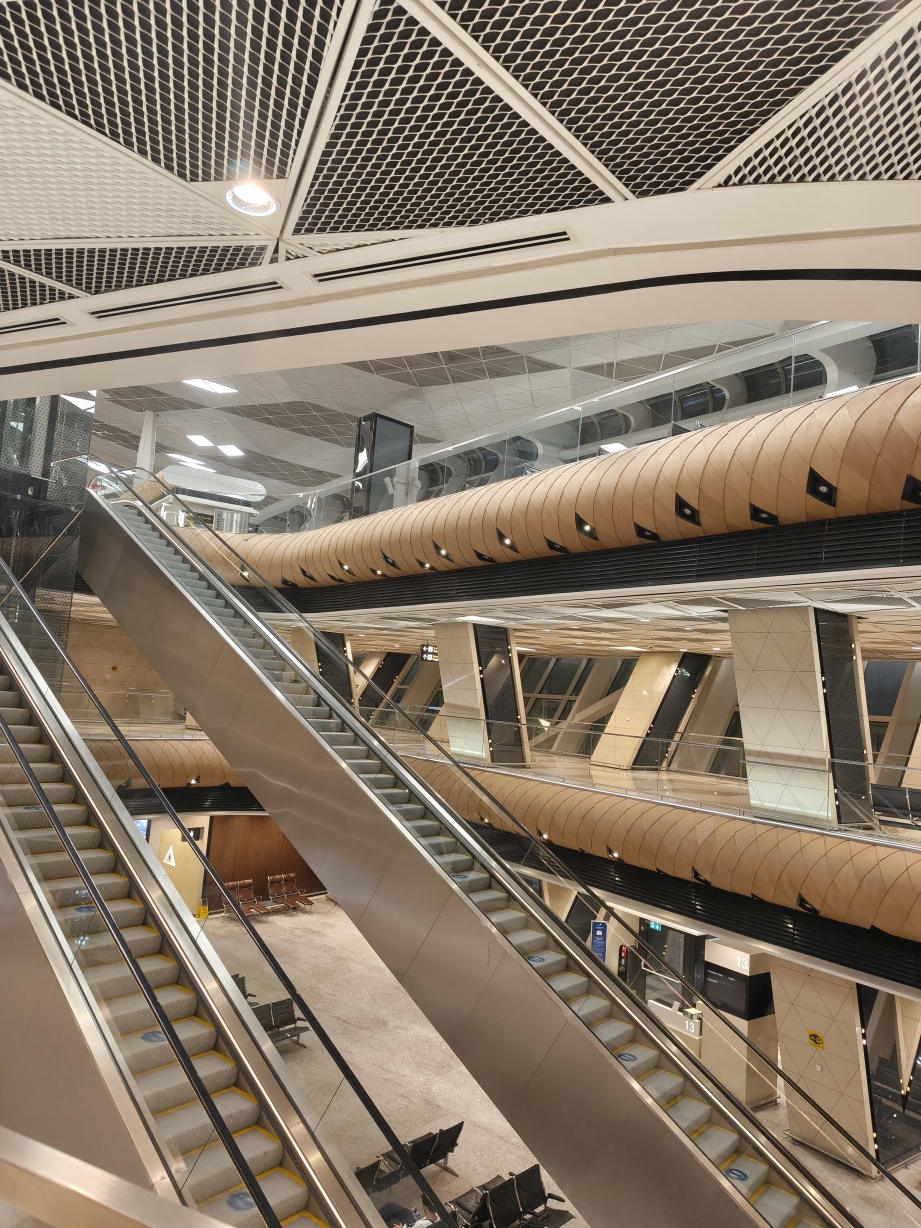
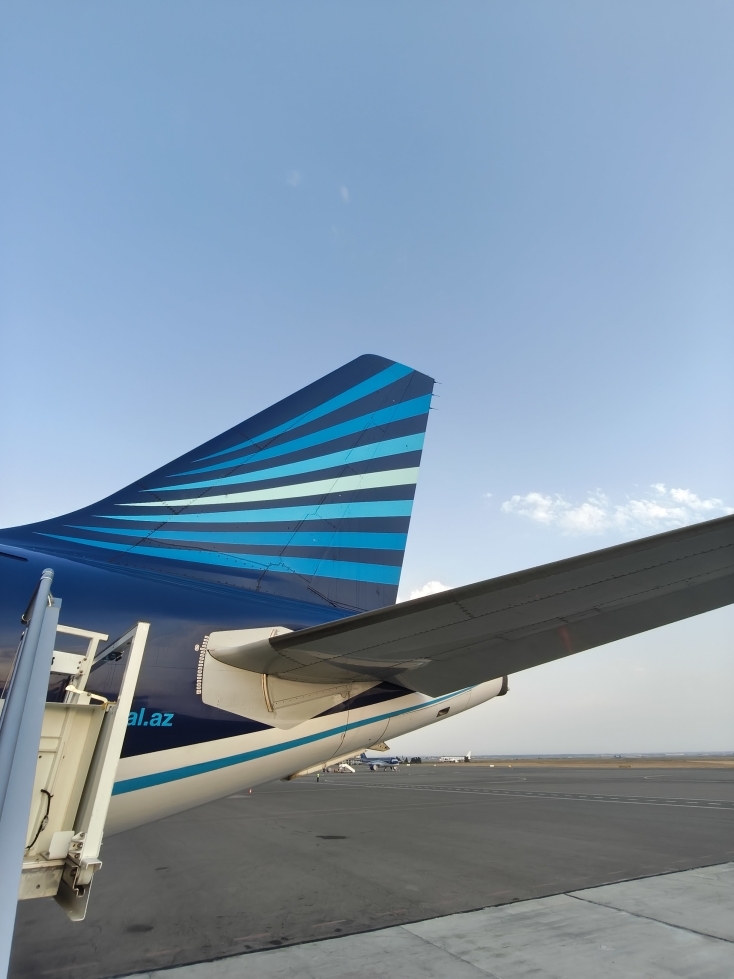
I flew to Gergia via Azerbaijan Airline, with a 4 hours layover at Baku International Airport (Azerbaijan). Their airport interior is quite sleek and classy. Sosyal, with all the ambient lights and clean-neutral palate. Azerbaijan Airline is also commendable for providing tasty meals and a 10 kg carry on bag allowance.

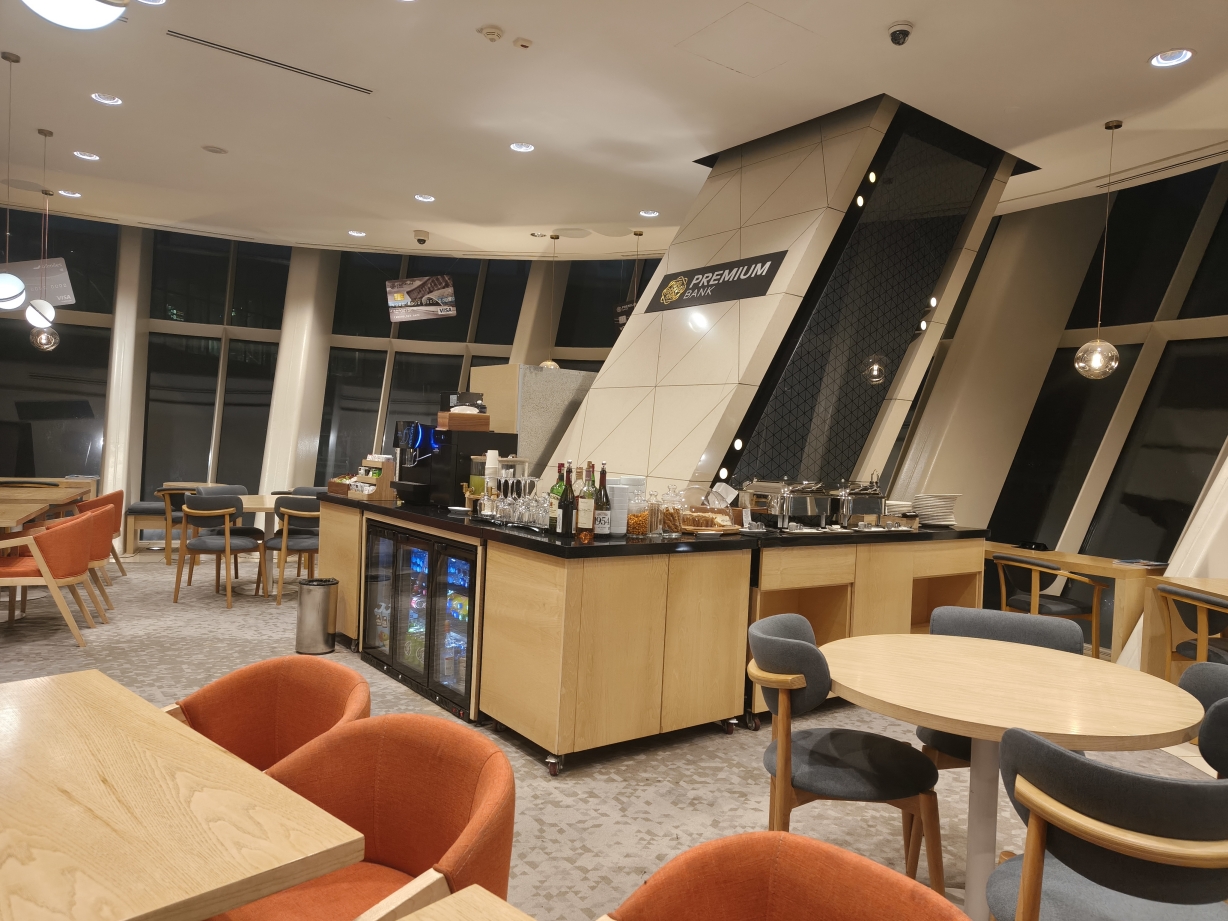
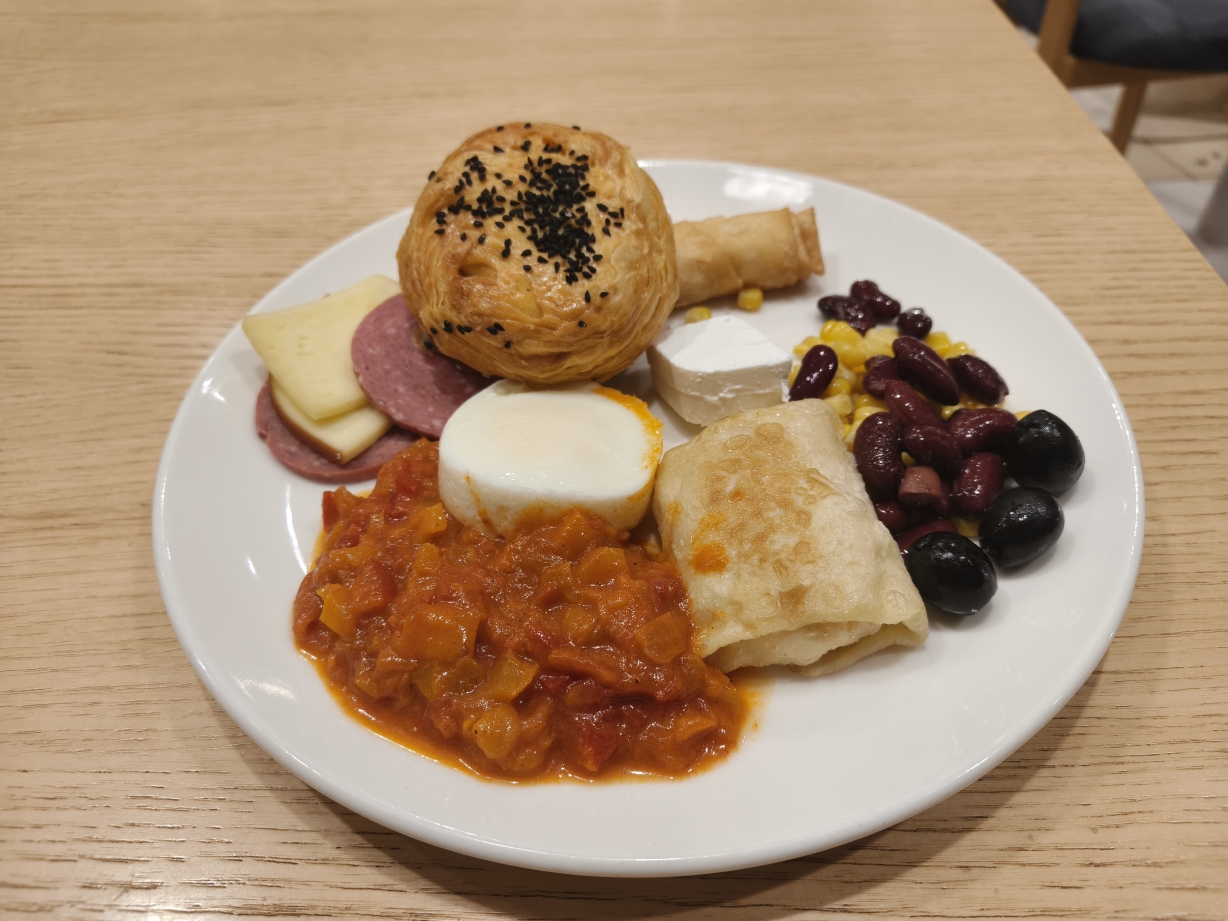
I was also able to use the lounge at Baku Airport, and was able to get a decent Azerbaijani meal at 3 AM. Thanks to my Eastwest Bank Visa Card privilege. haha

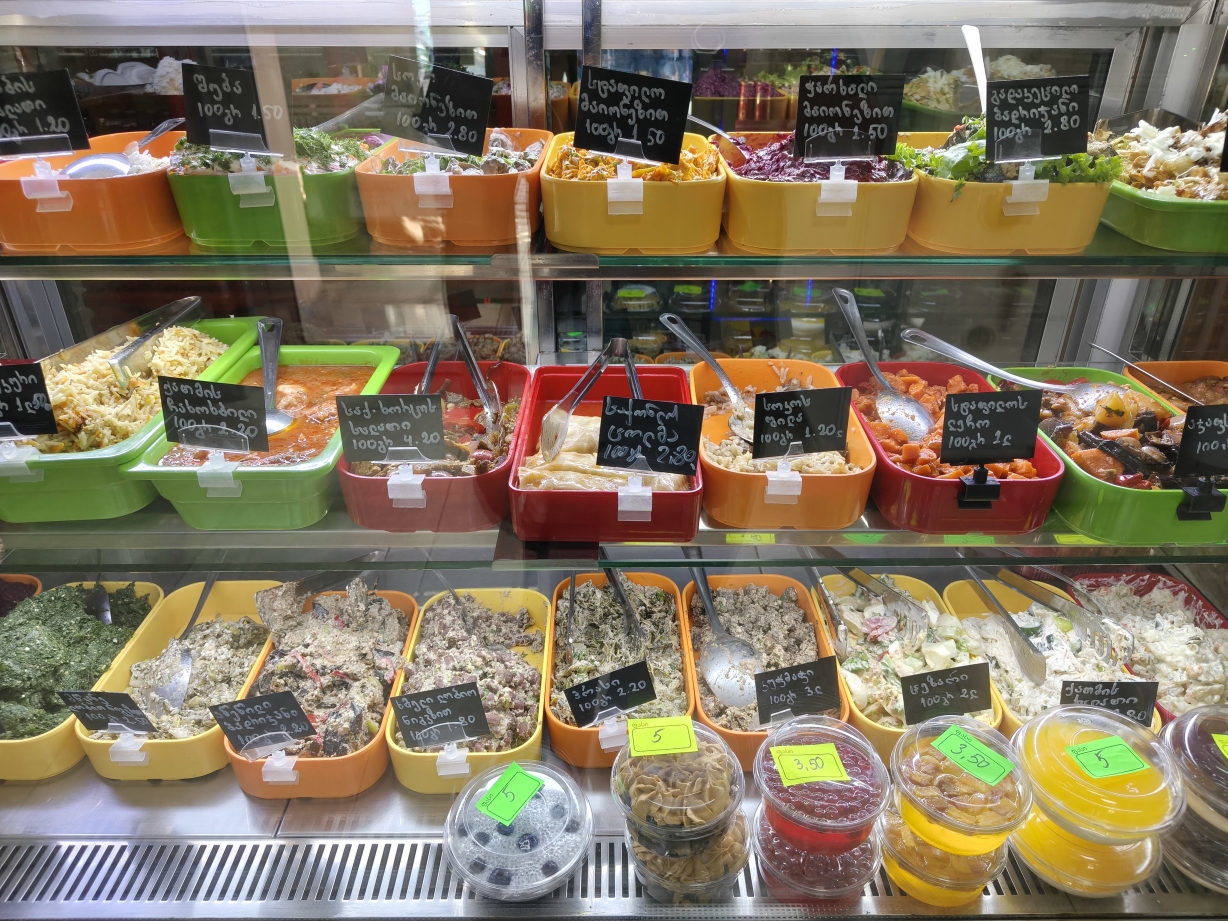
Upon arrival in Tbilisi, Georgia, the first thing I appreciated was the vibrant food scene. I came from Moscow before Tbilisi. And in all honestly, food there was far from the best. Georgian meals are better, as they have rice. I love rice. Choz. And also, Georgia is generally cheaper, especially if you find yourself some Family-Kitchen at random streets. These kitchens are like local eateries/karinderia, where every dishes are pre-cooked. You can just pick what you like.

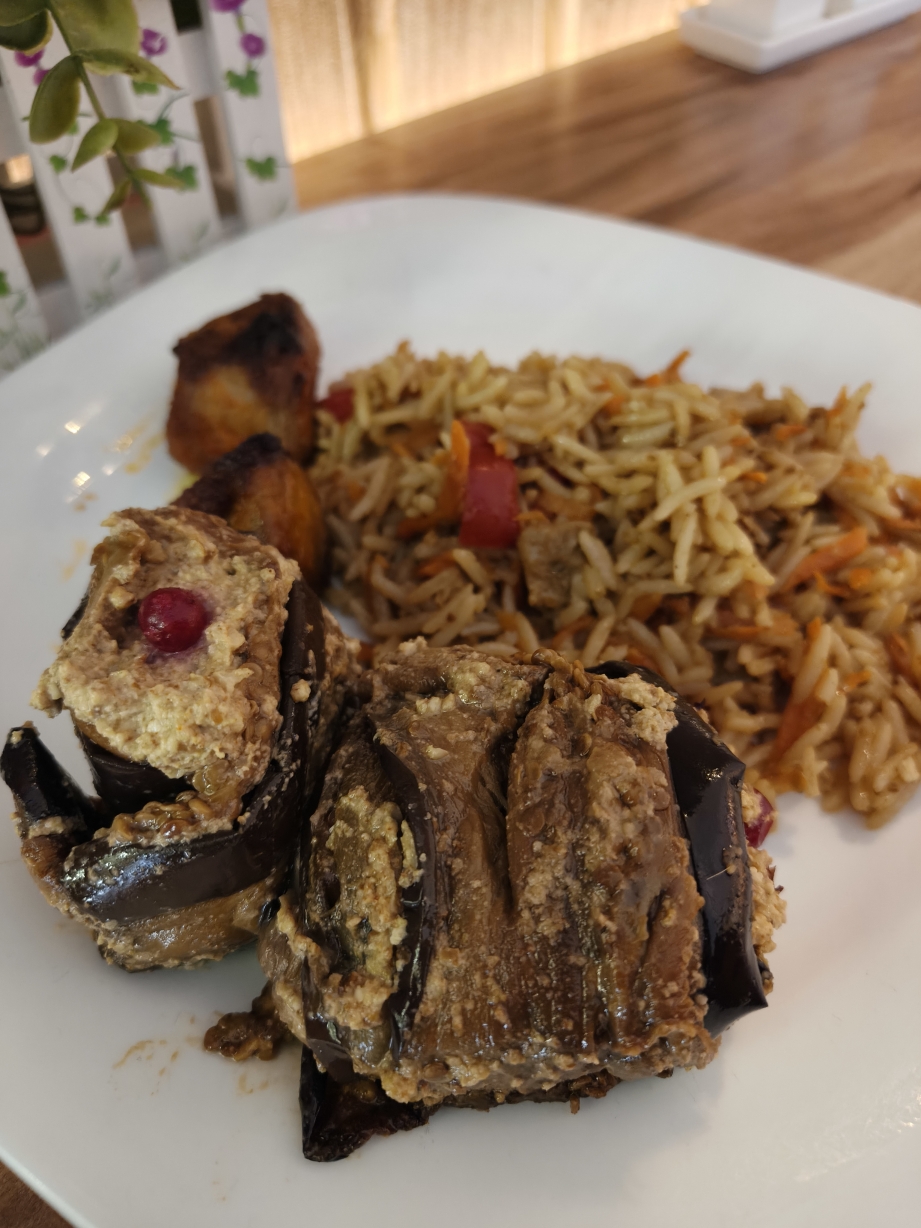
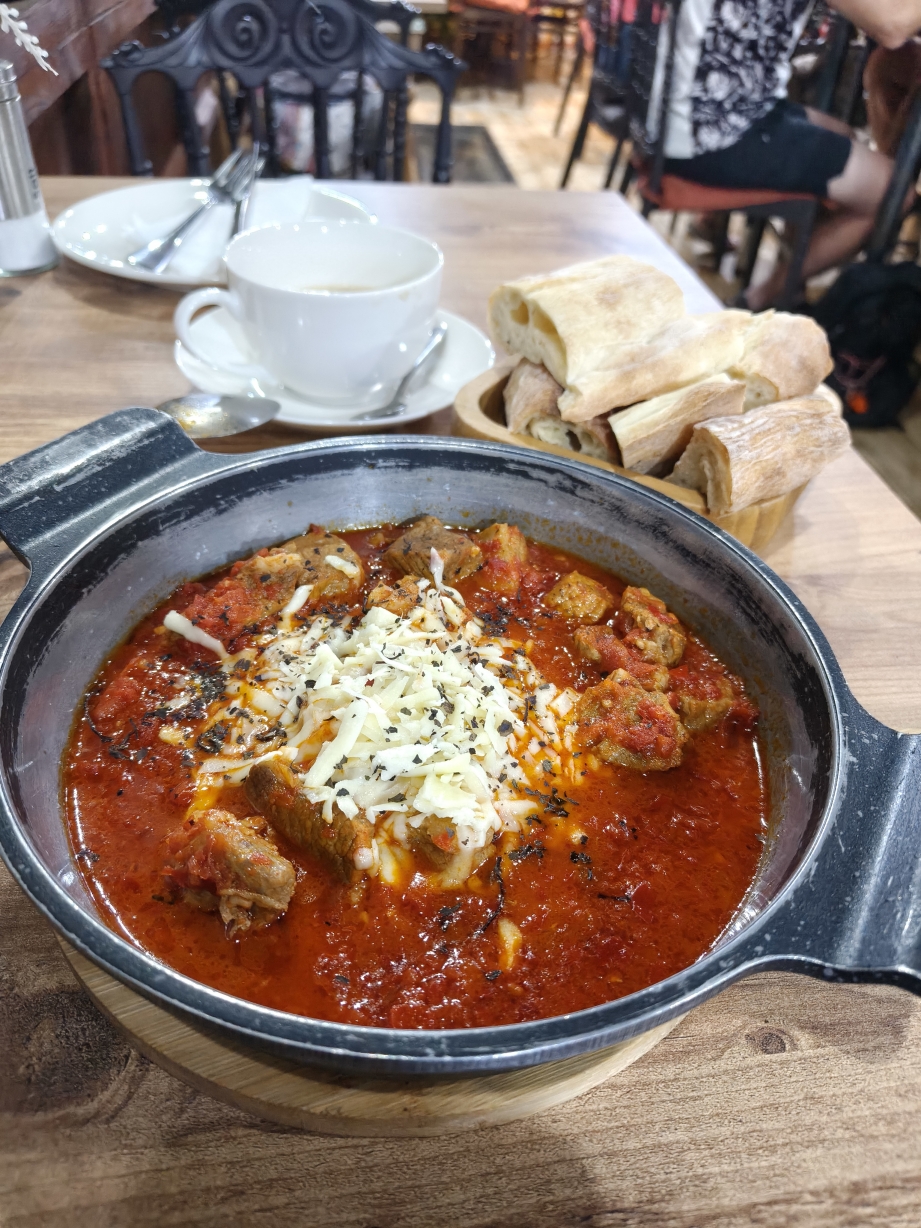
Among my favourite was the Badrijani Nigvzit, which features thinly sliced, fried or grilled eggplant rolled around a rich, spiced walnut and garlic paste. I also liked the Beef chirbuli dish of eggs and beef poached in a spiced tomato, onion, and walnut sauce (The red sauce on a skilled).

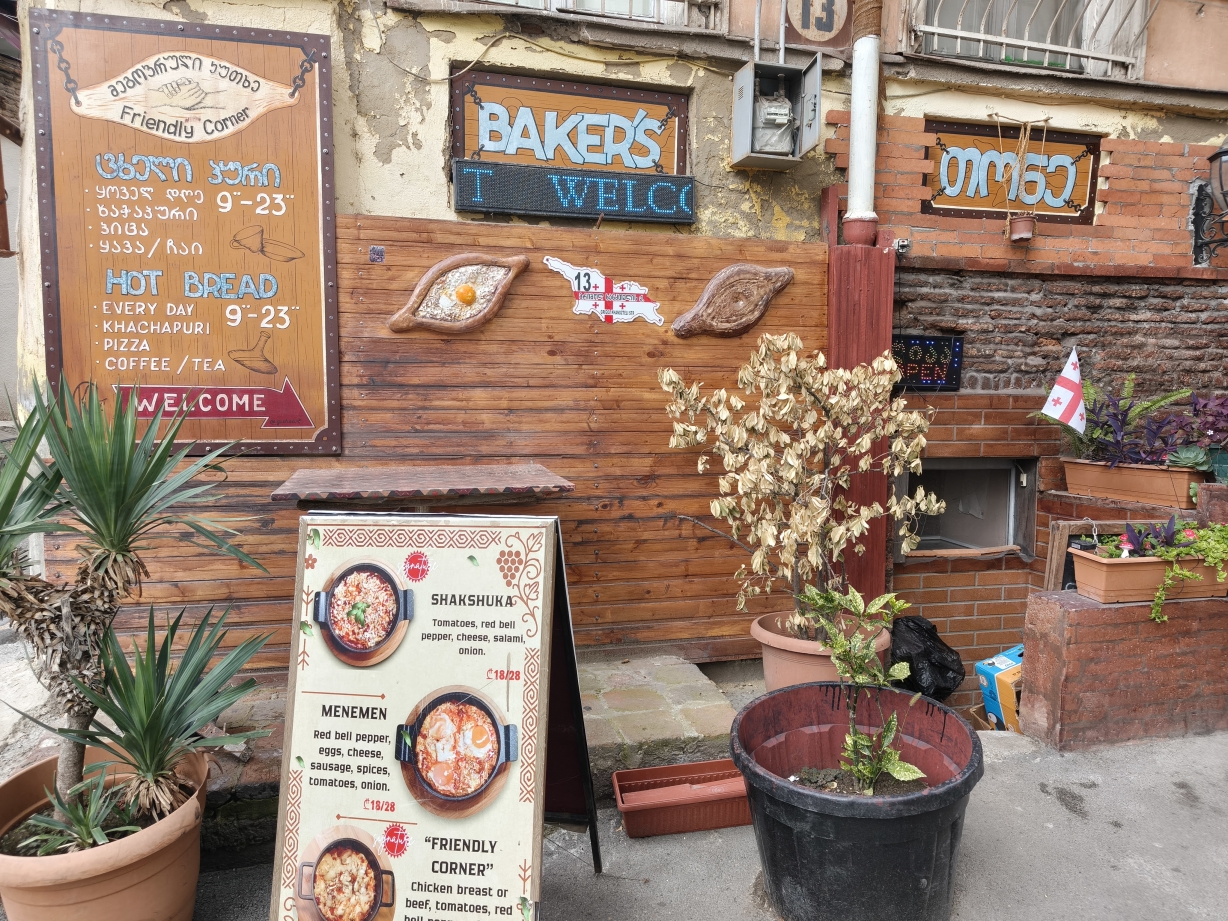
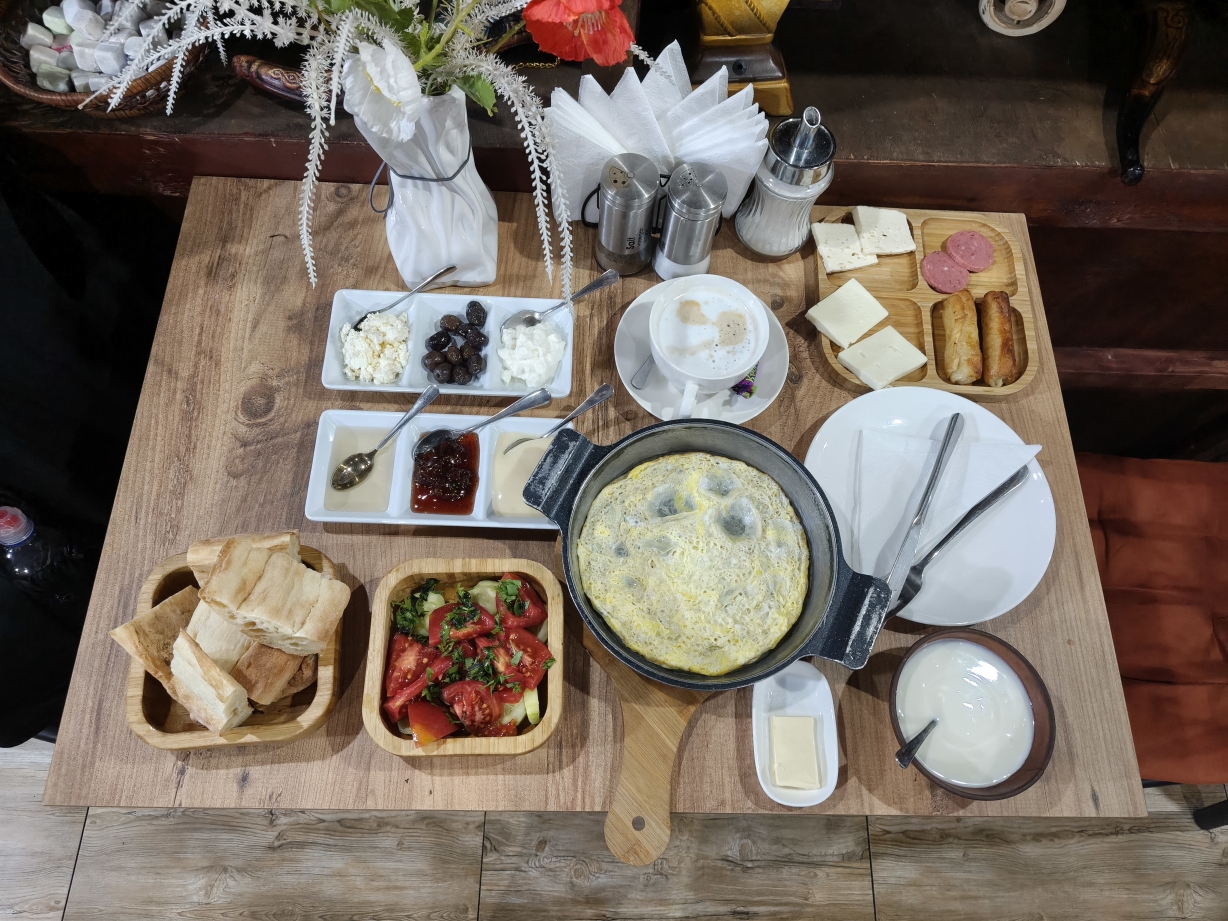
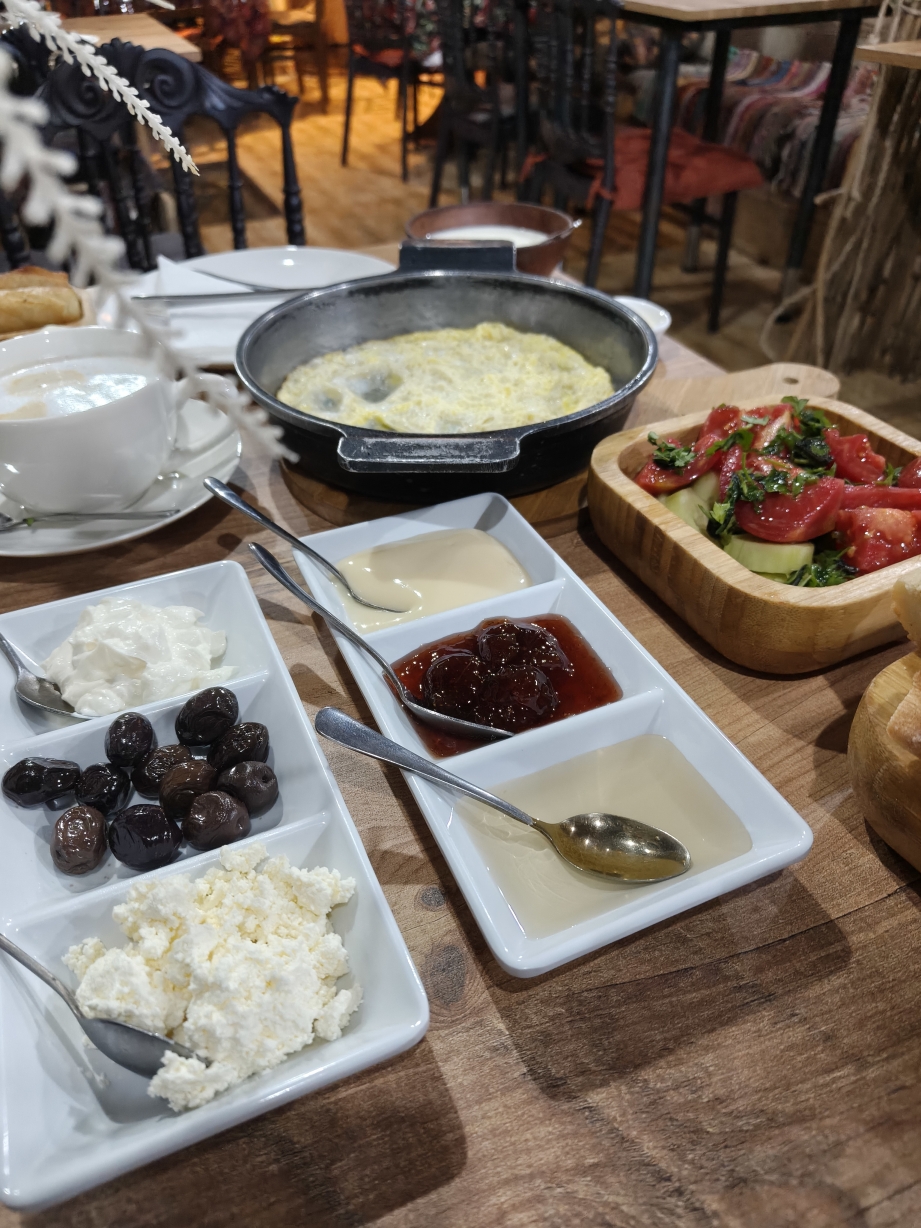
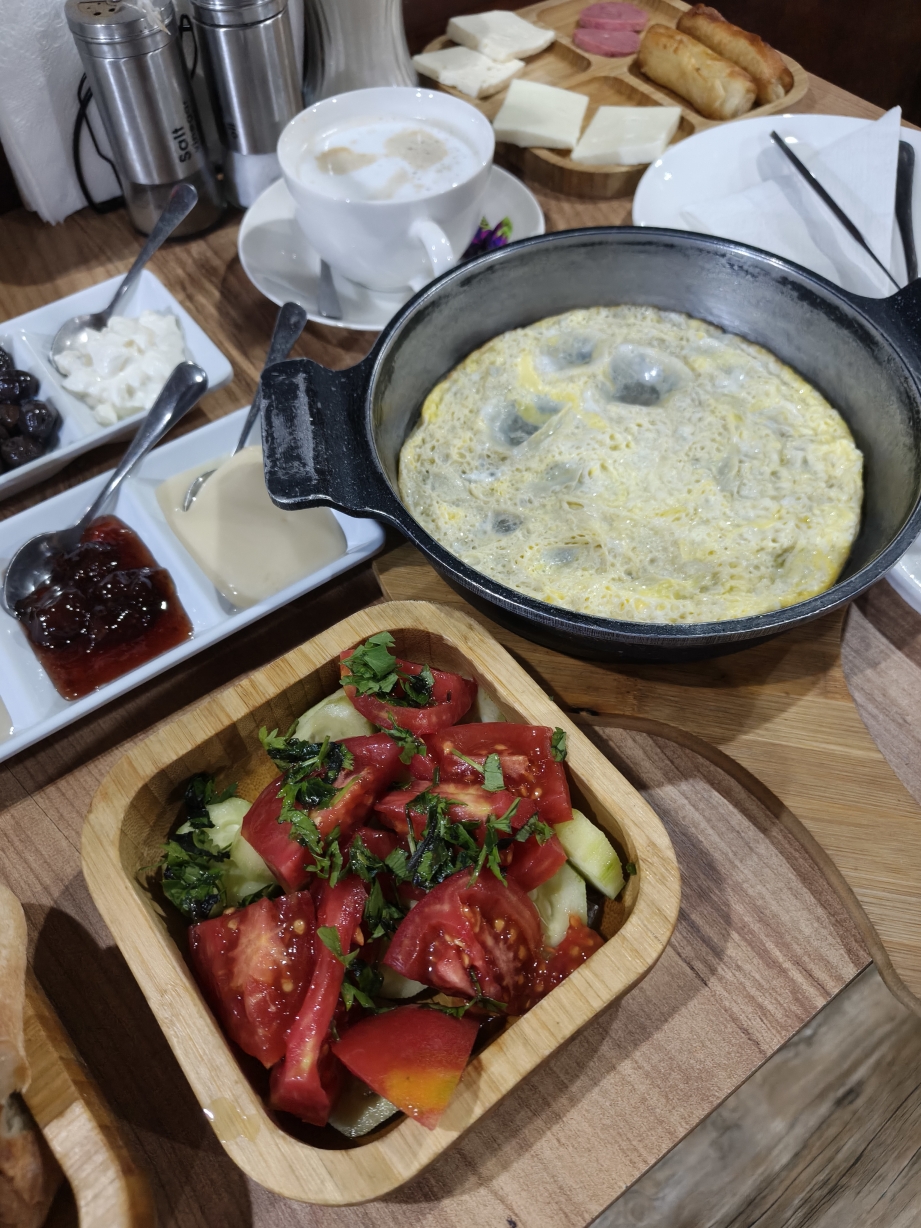
Georgians take breakfast seriously. Here’s one of the best meals I had. This set includes 3 fruit jams, 3 type of cheese, cold cuts, fried rolls, egg, tomato salad and unlimited shotis puri (bread). I had this at a restaurant in Old Quarters in Tbilisi known as the “Friendly Corner”. They area among the few that opens early.

Highlights of Tbilisi, Georgia:

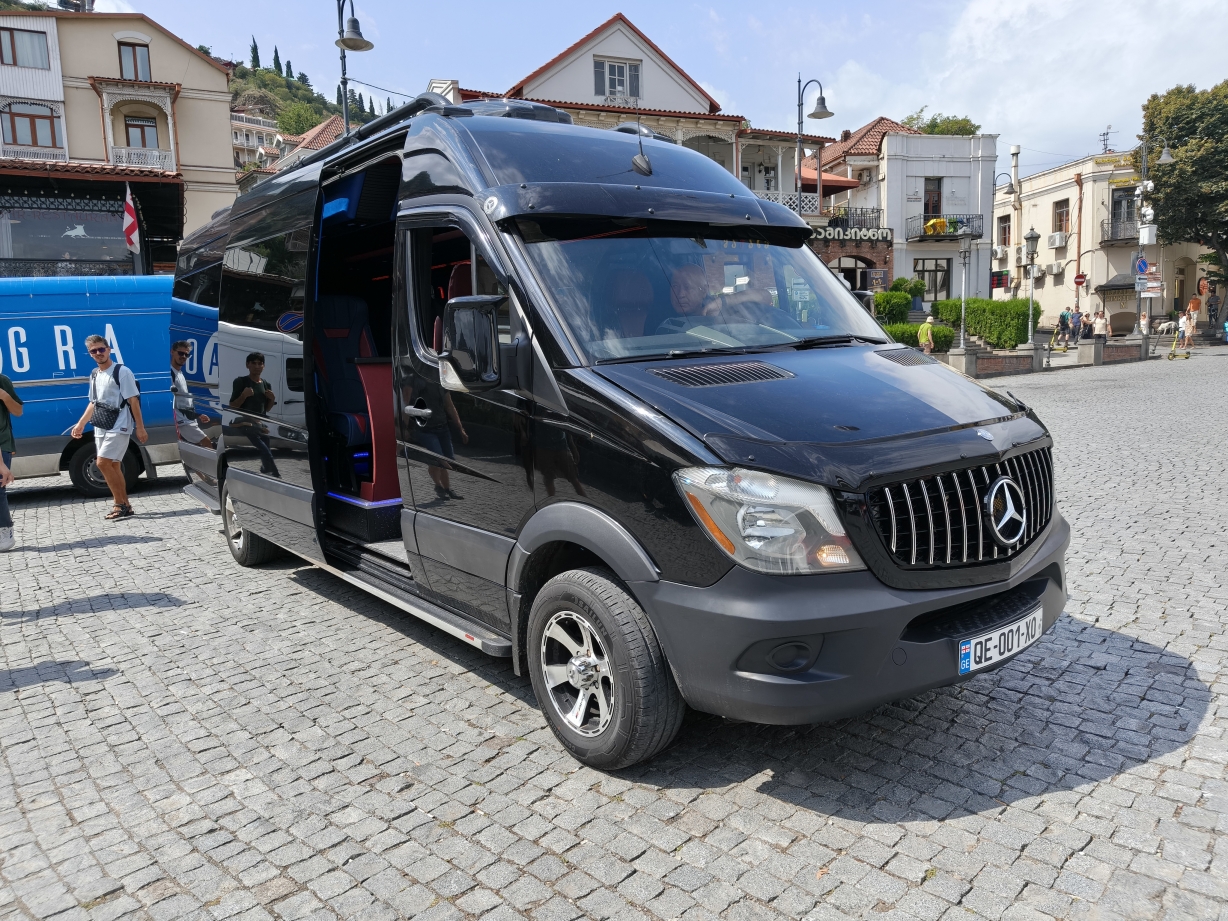
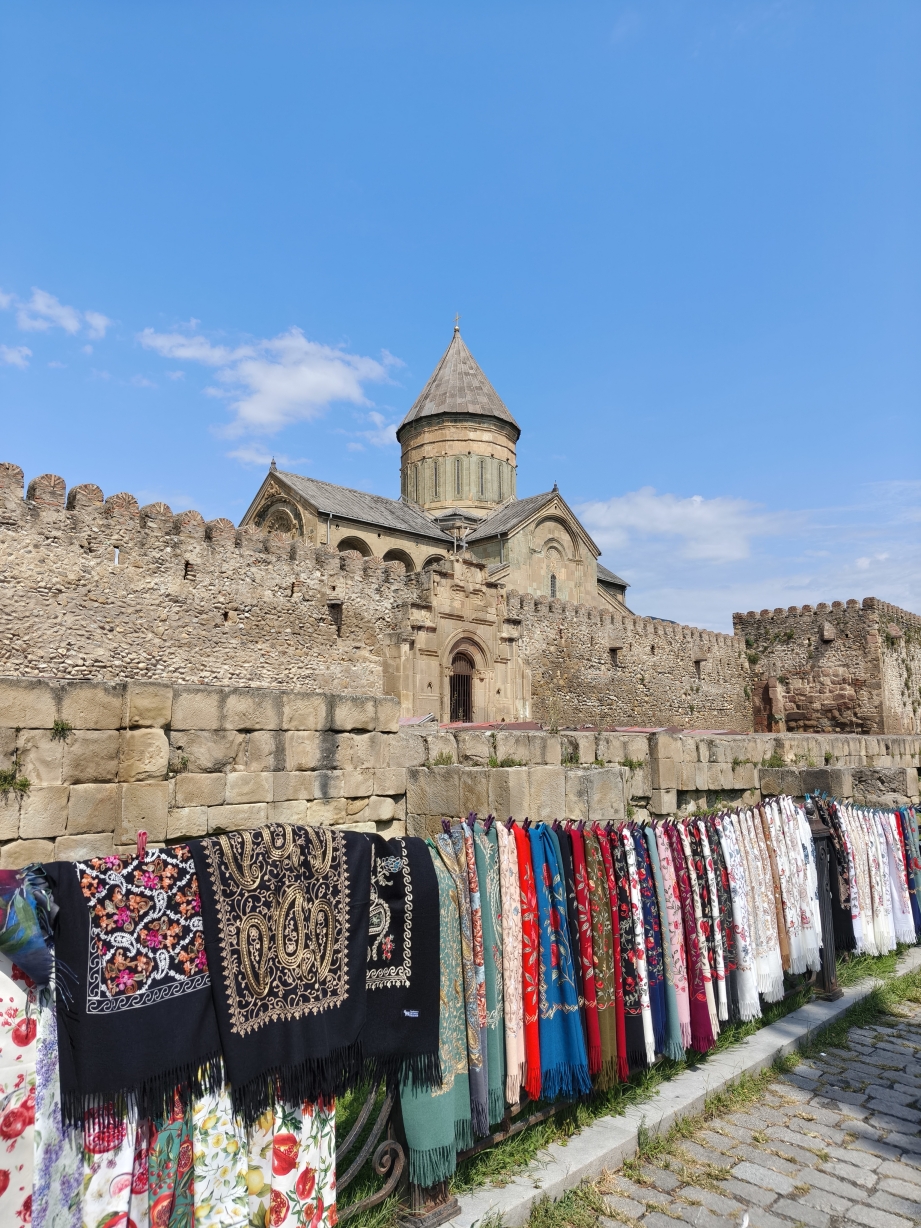
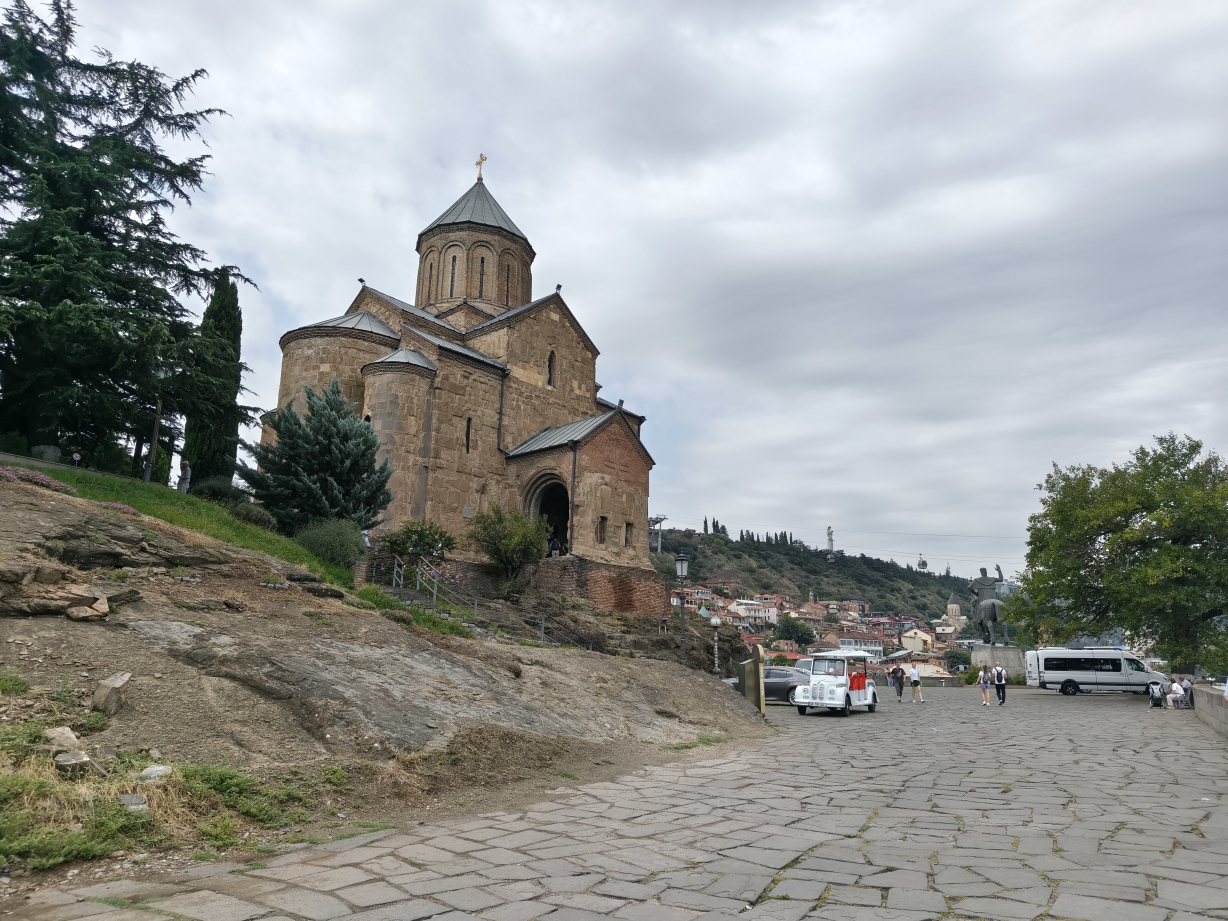
My trip to Tbilisi was quite free and chill. I stayed at the Old quarters for the vibe. I was also able to book two tours during my stay, since packages were surprisingly affordable. I was able to book a day tour to Mtskheta for only 850 Pesos. Mtskheta is a UNESCO World Heritage Site that served as the ancient capital of Georgia. This black Mercedes Benz below was our ride.

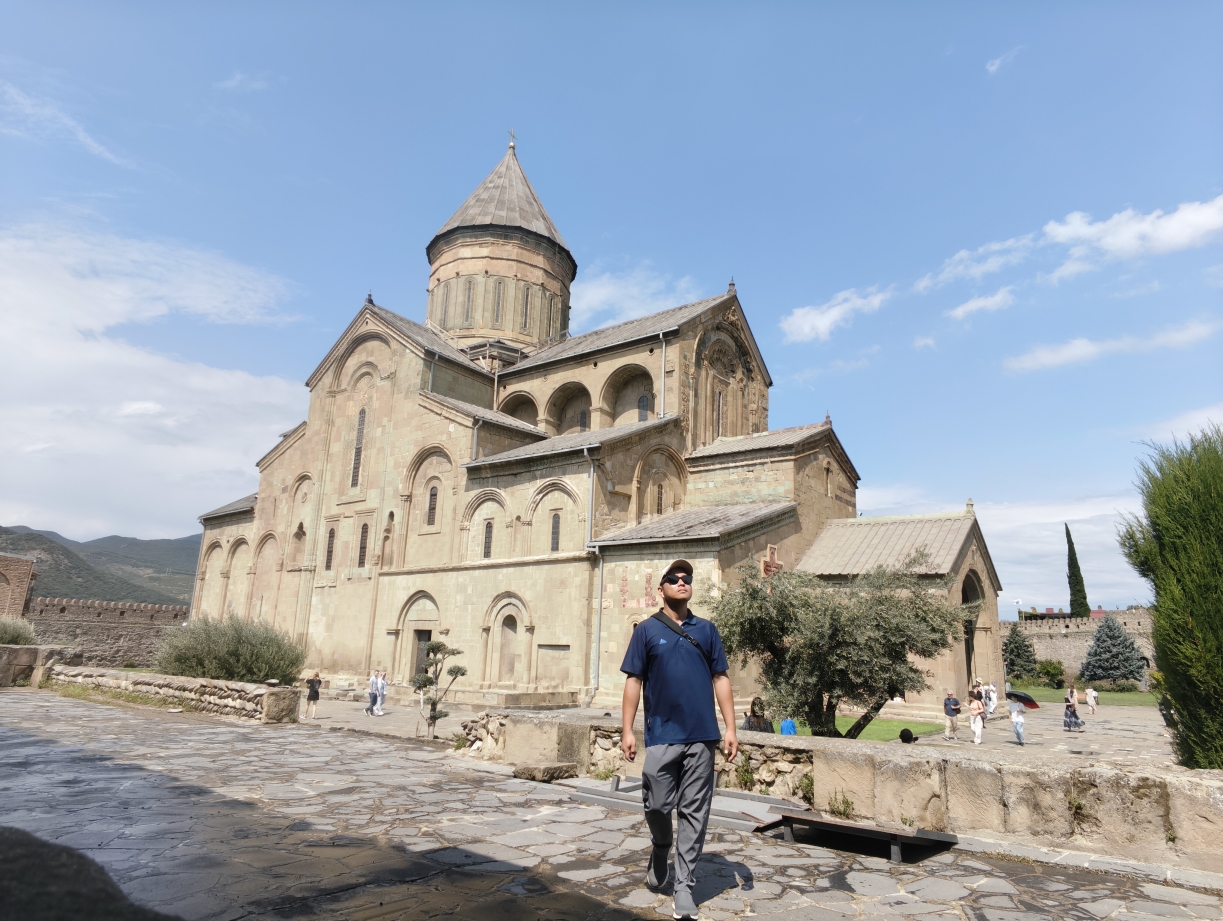
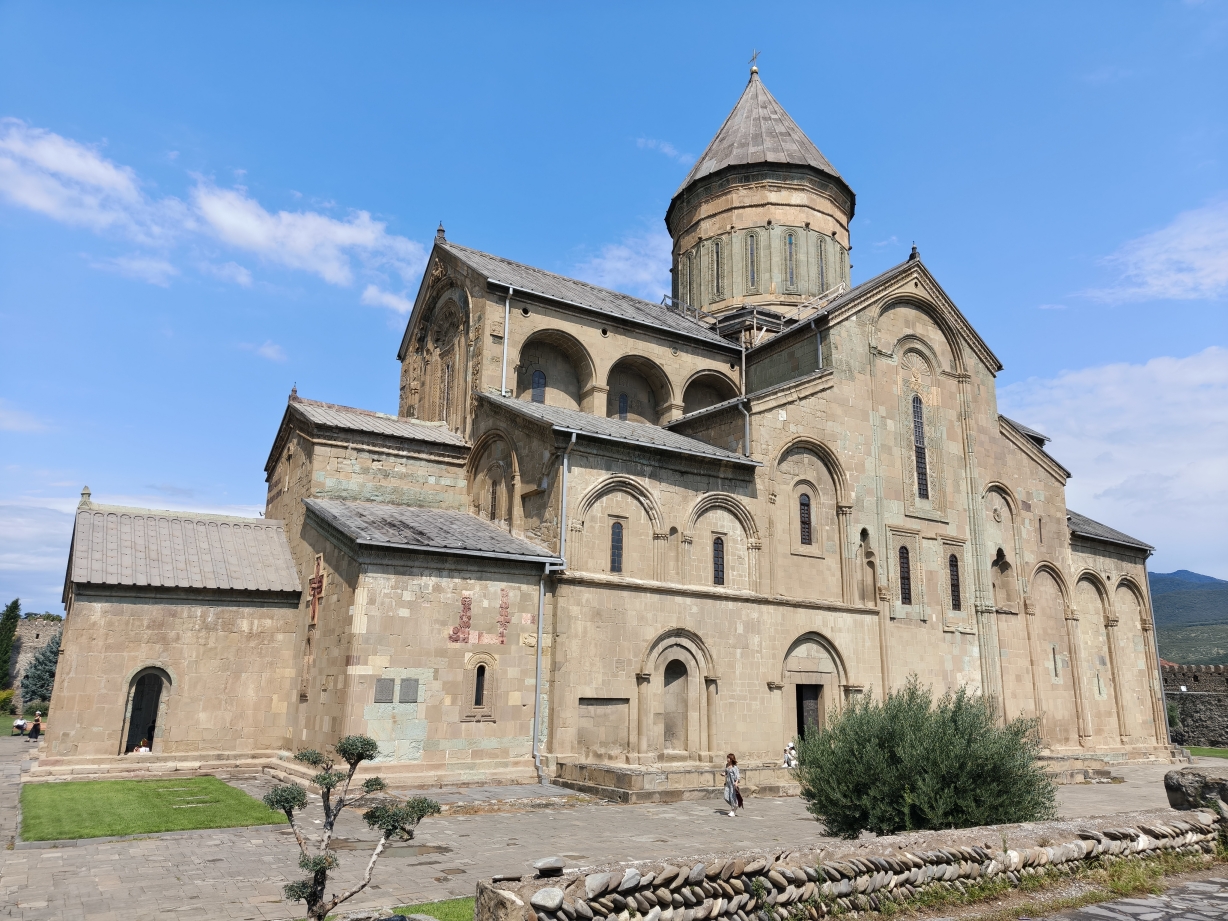
Svetitskhoveli Cathedral. Originally built in the 4th century, the present Svetitskhoveli Cathedral was constructed on top of the original church foundation between 1010 and 1029 (by the architect Arsukidze). It was also mentioned that the architect’s hands were cut of after the construction, by order of the king, so that the cathedral design shall never be replicated.

Regarded as the holiest place in Georgia, Svetitskhoveli is recognized by UNESCO as a World Heritage Site, and is regarded as the holiest place in Georgia, due to a recorded holy relic, the shroud of Jesus at the time of the crucifixion, that was believed to be buried beneath the structure.

Note: Georgia is one of the oldest Christian nations in the world, having officially adopted Christianity as its state religion in the early 4th century (around 326–337 CE).

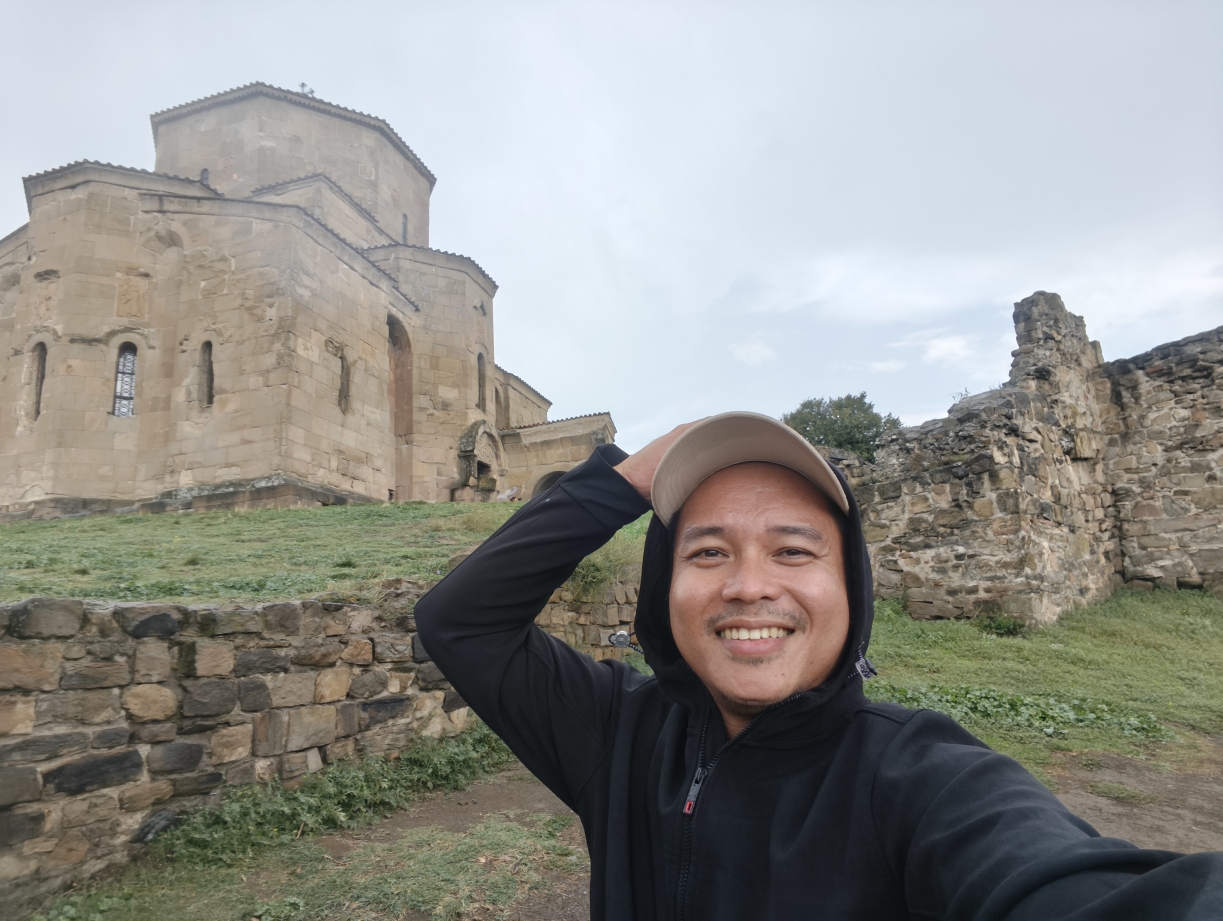
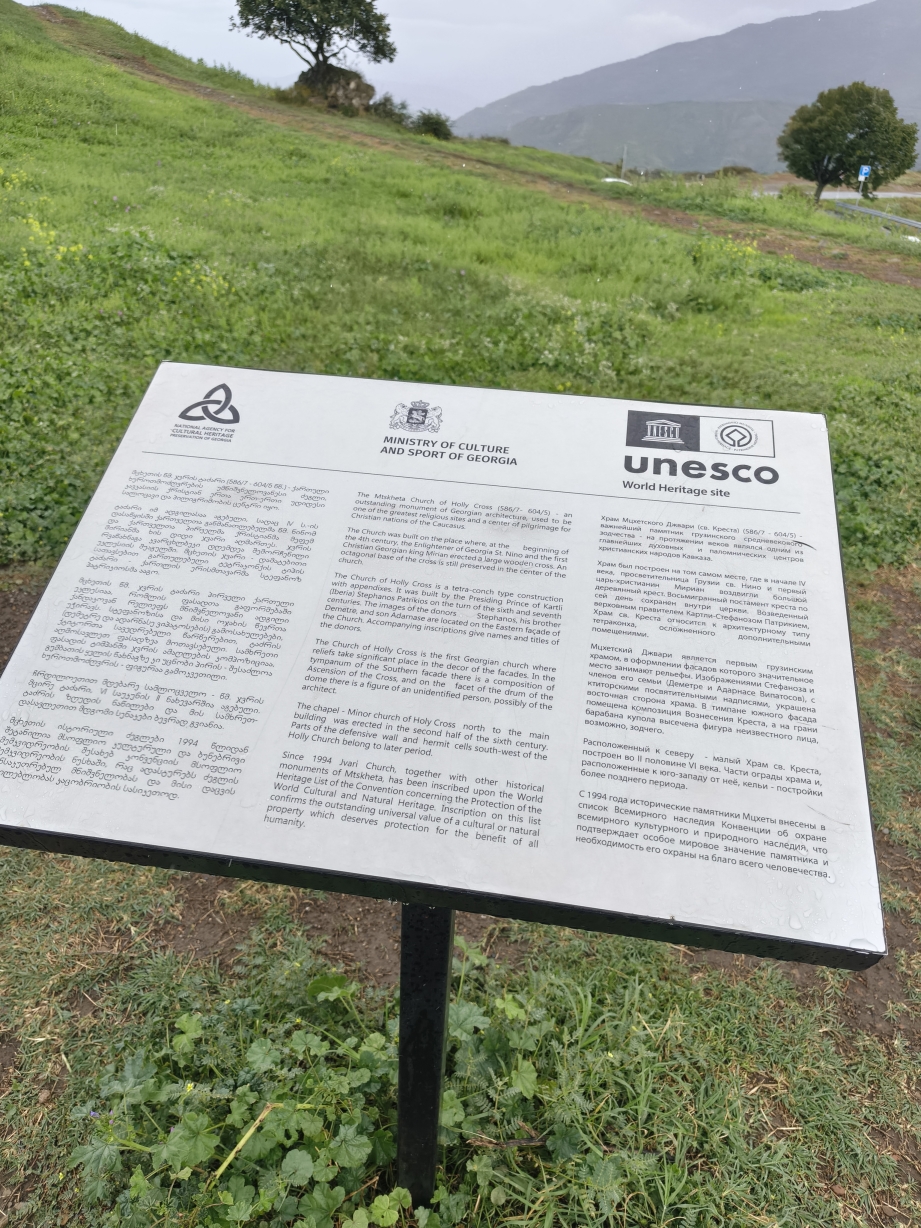
Jvari Monastery is a sixth-century Georgian Orthodox monastery. Jvari is a rare case of an Early Medieval Georgian church that has survived to the present day almost unchanged. Quite rainy when we visited.

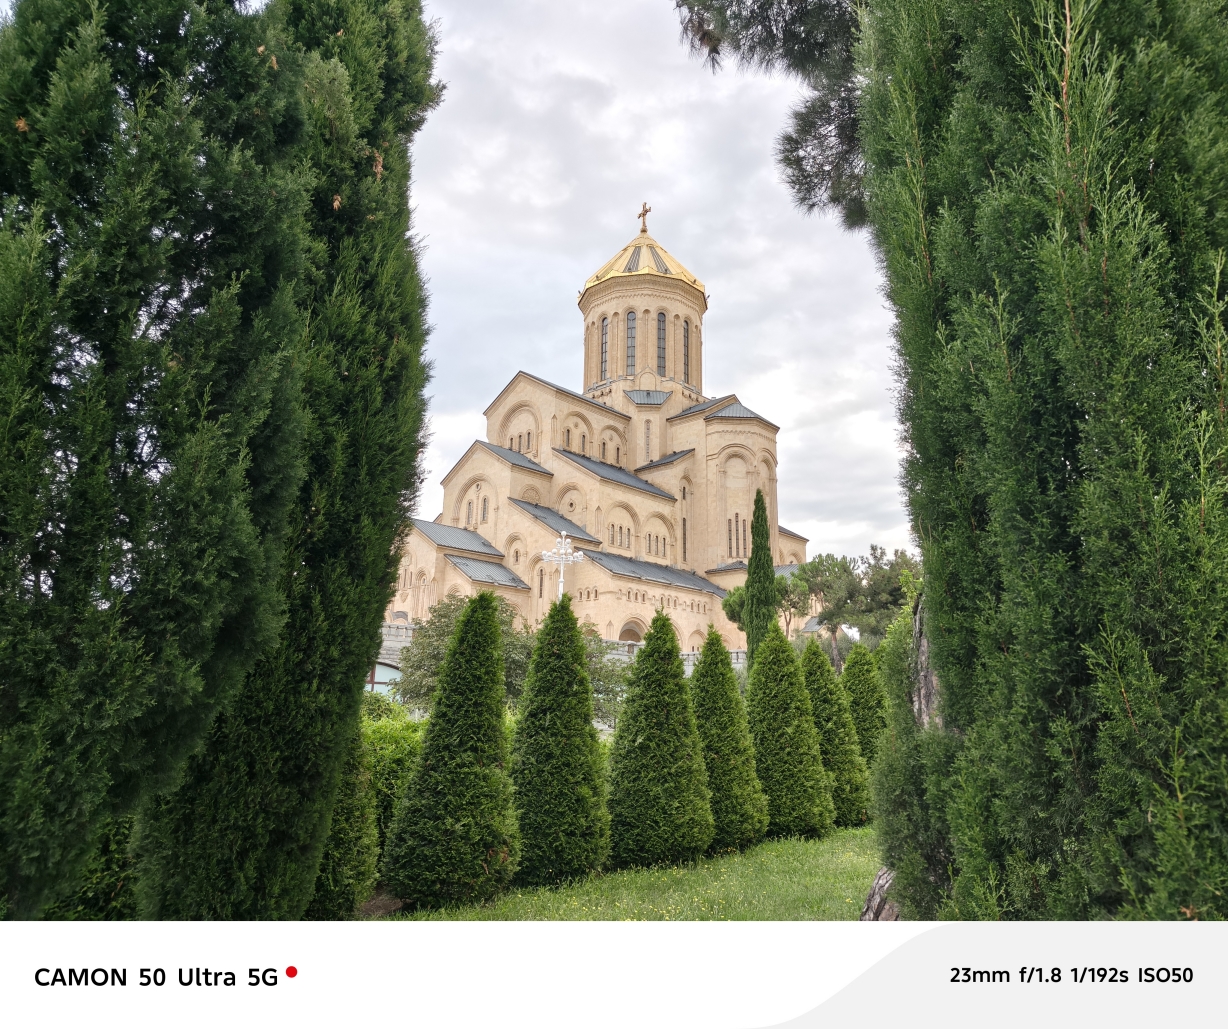
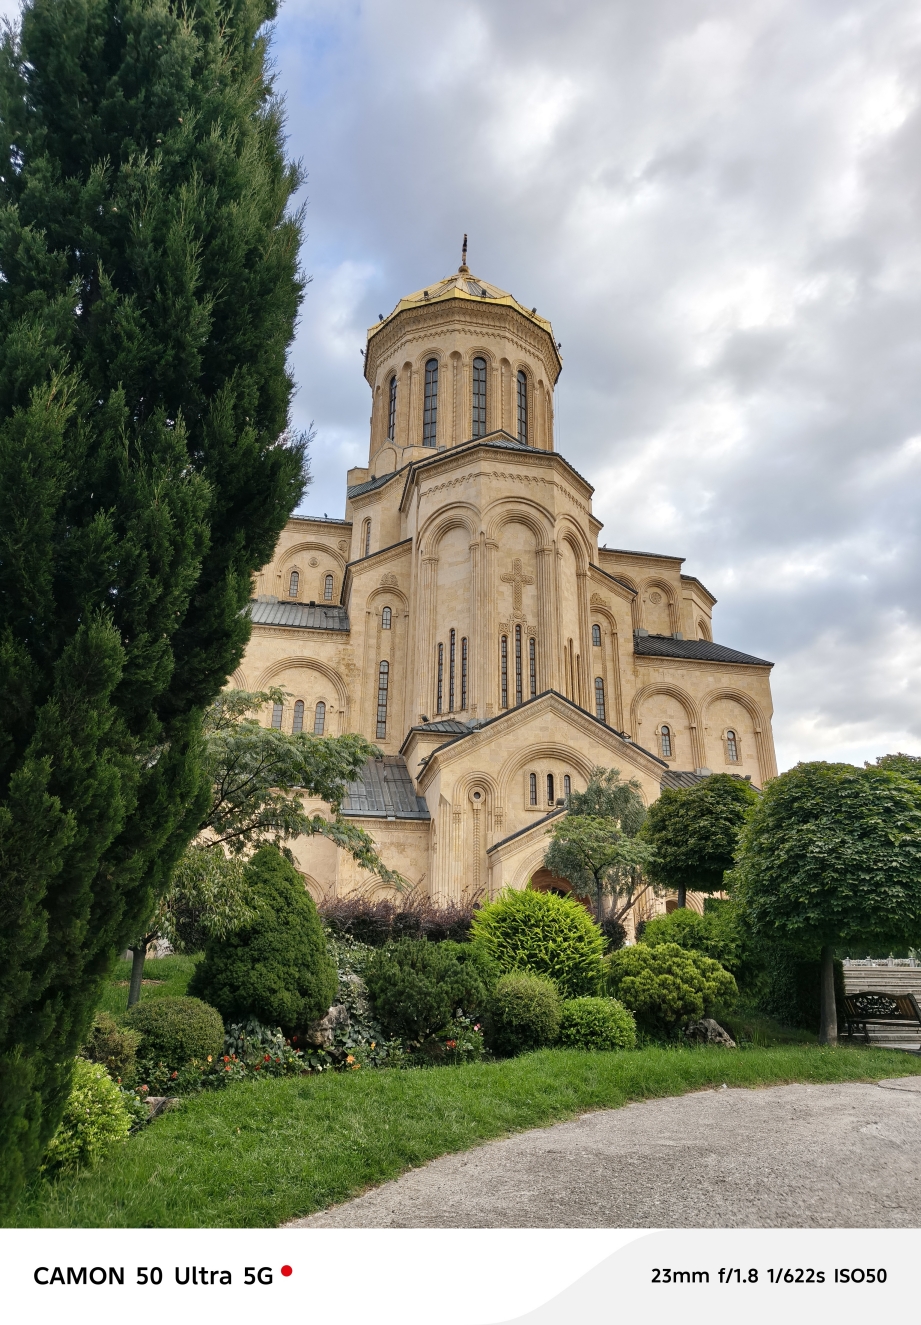
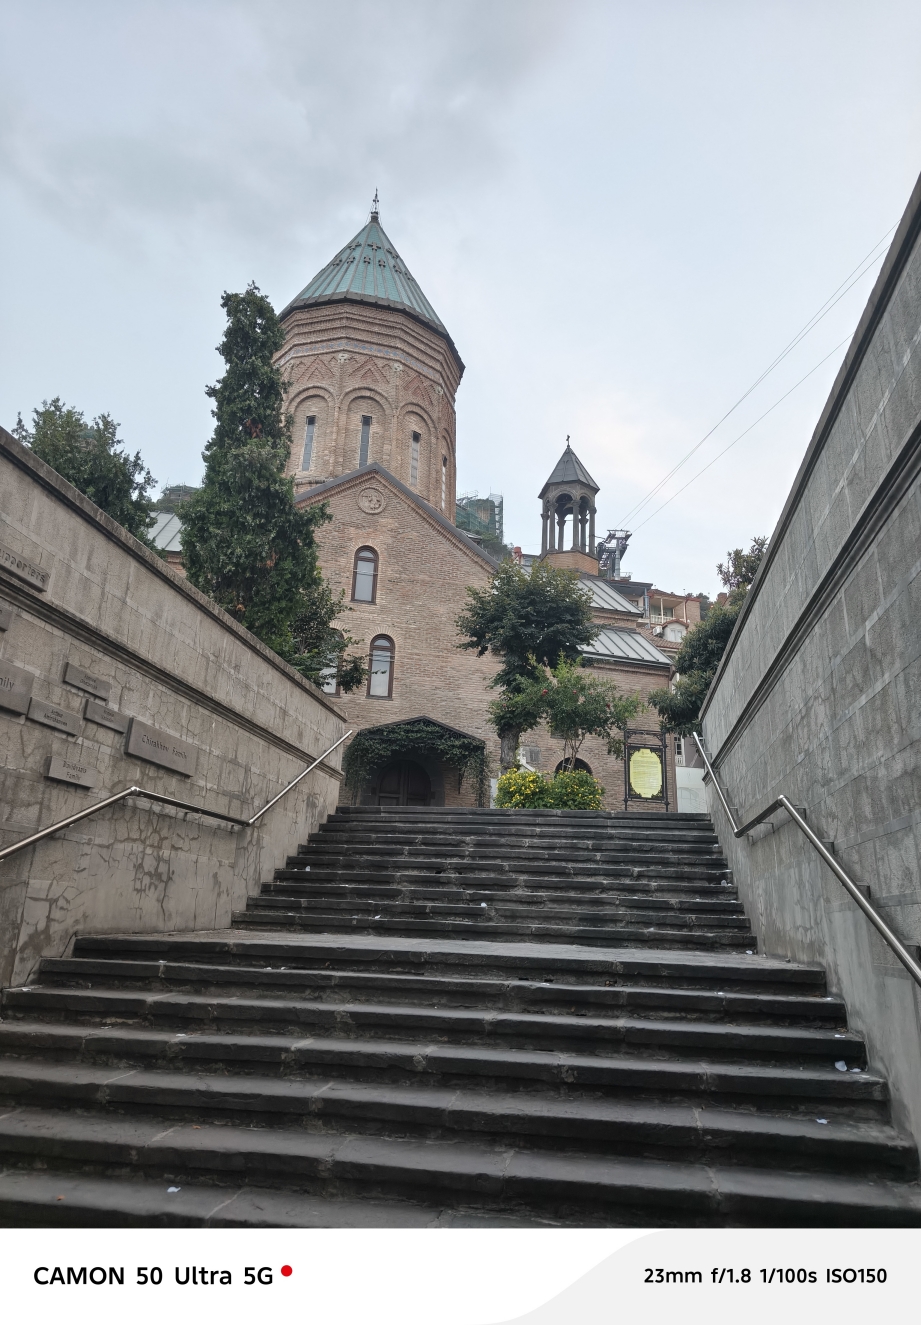
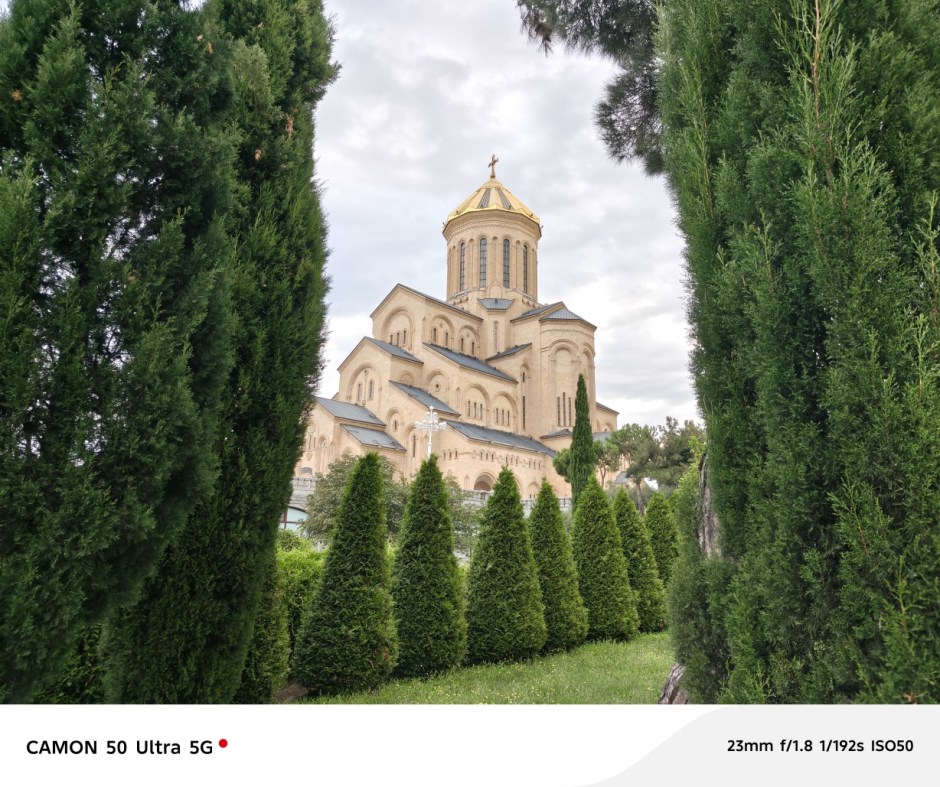
The Holy Trinity Cathedral of Tbilisi. The main cathedral of the Georgian Orthodox Church and a powerful symbol of the nation’s post-Soviet spiritual and cultural revival. The cathedral sits on top of an elevated ground in the middle of Tbilisi Old Quarters.

Getting around was quite easy. There are assigned modern buses that connect the airport to the metro trains and key points in the city. I actually used my Gcash Visa Card to pay for all my bus and train rides. Yes! Contactless payment na sila. And similar to Central Asia, Yandex Apps are your best friends in Tbilisi.

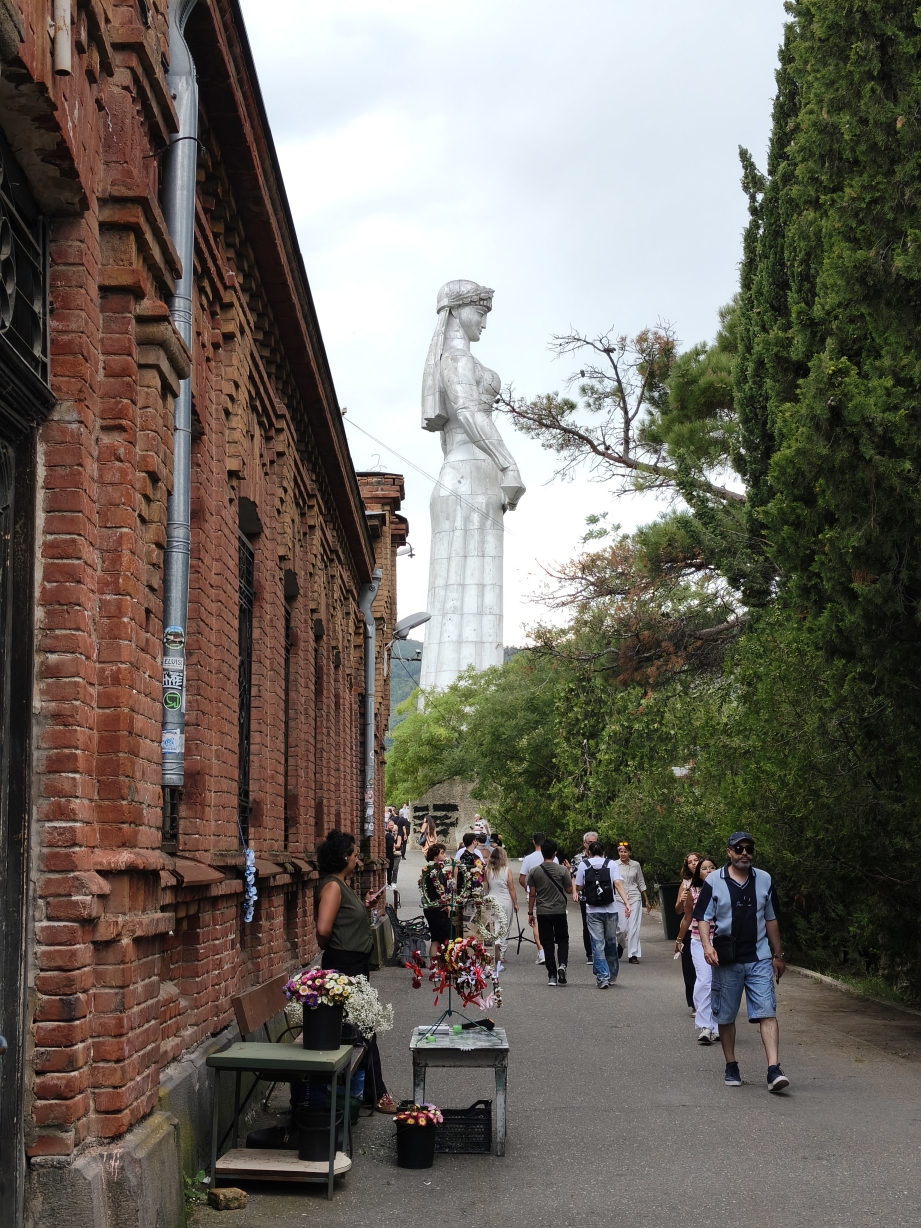
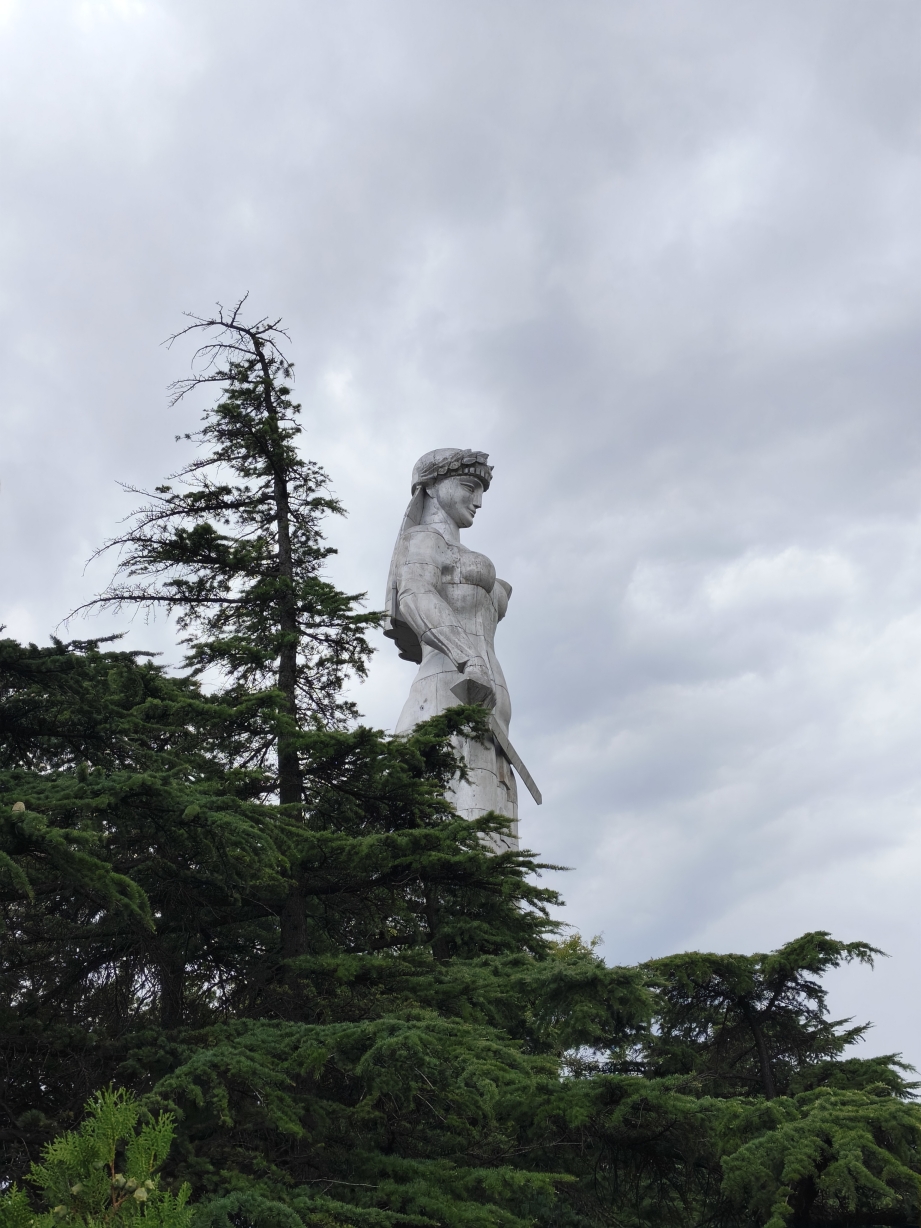
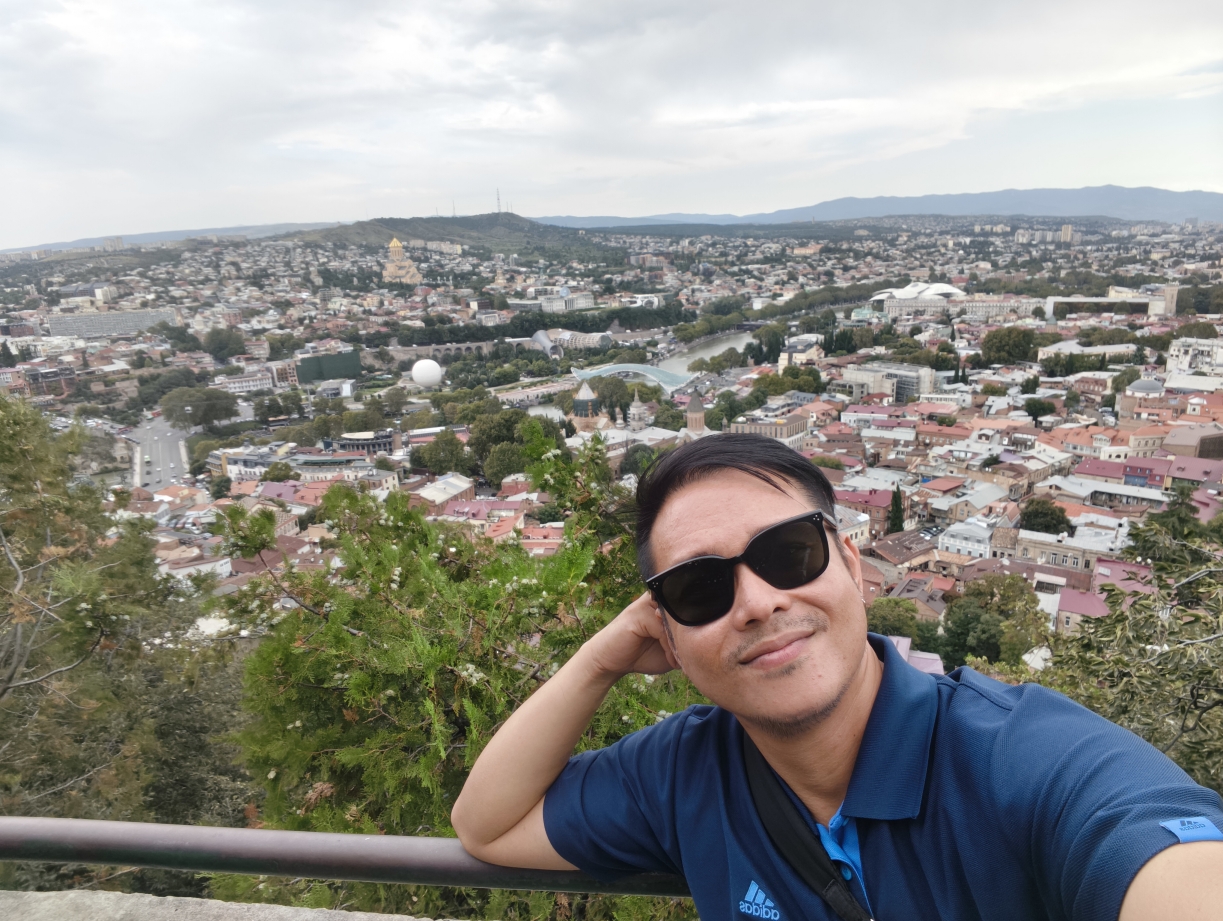
The Mother of Georgia Statue. Perched high above Old Tbilisi near the Narikala Fortress, the monument offers overlooking view of the city, and is easily accessible via a short cable car ride from Rike Park or by a scenic walking path along the old quarters.

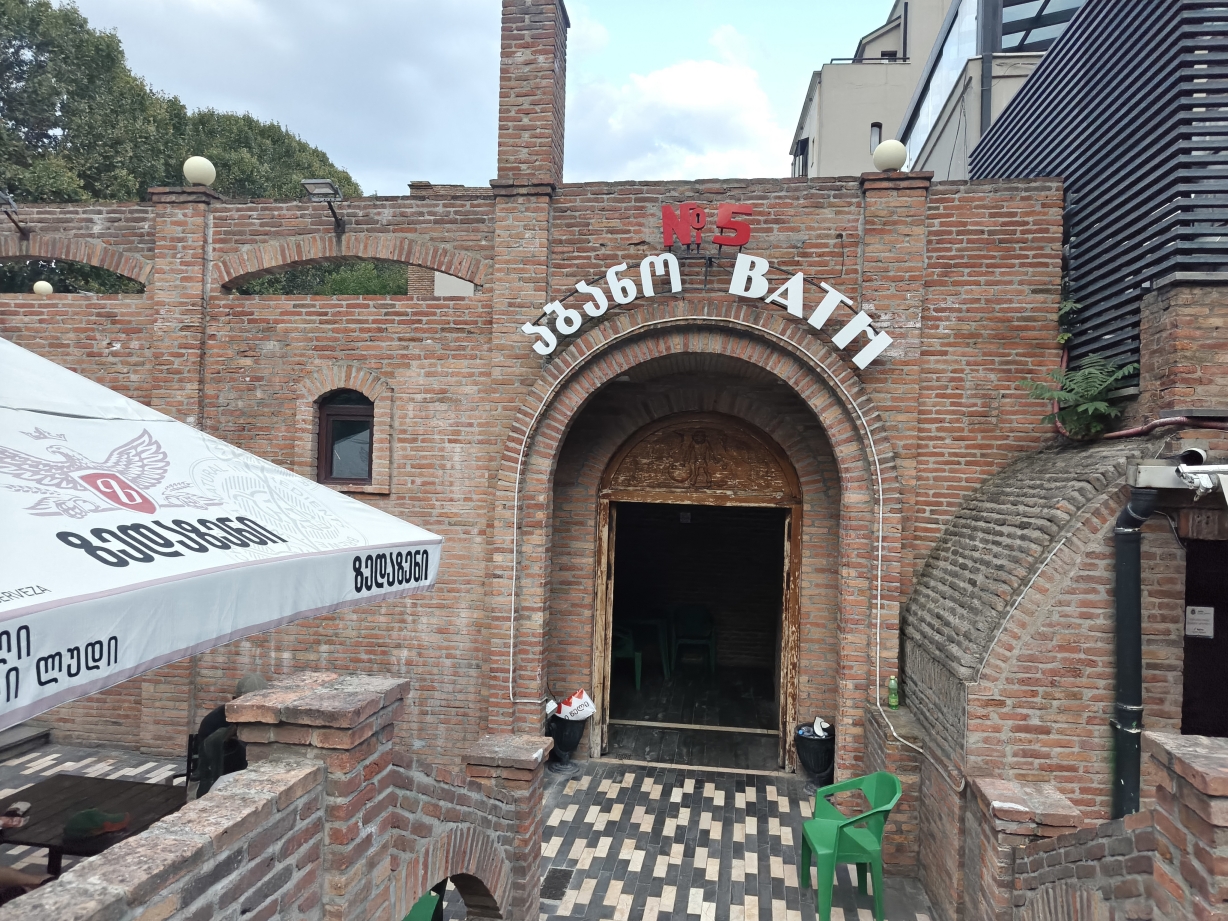
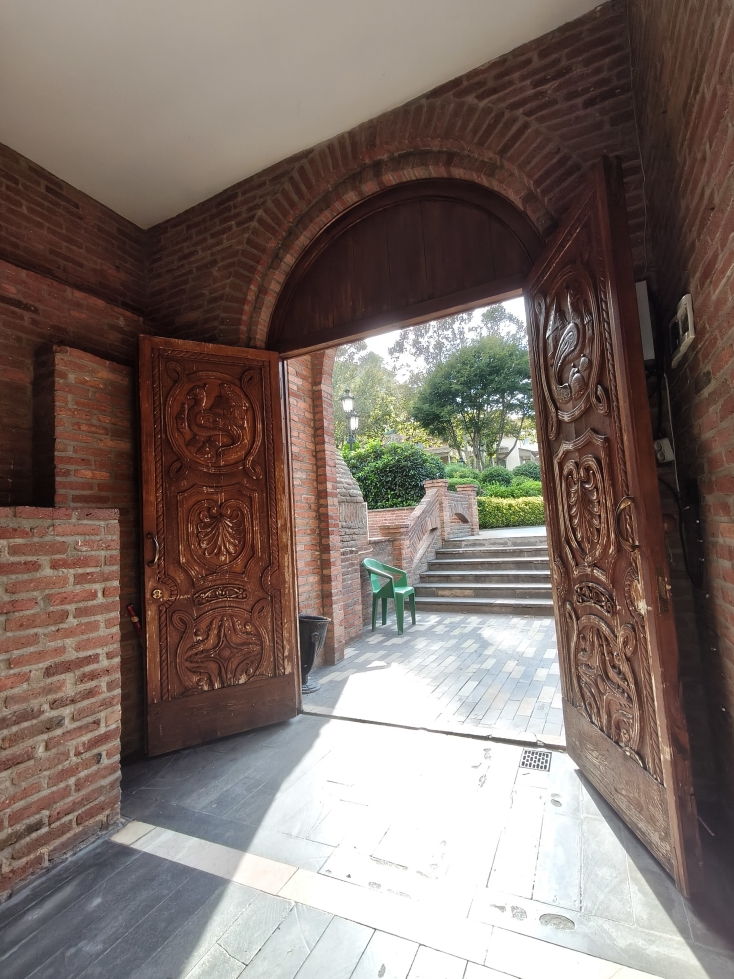
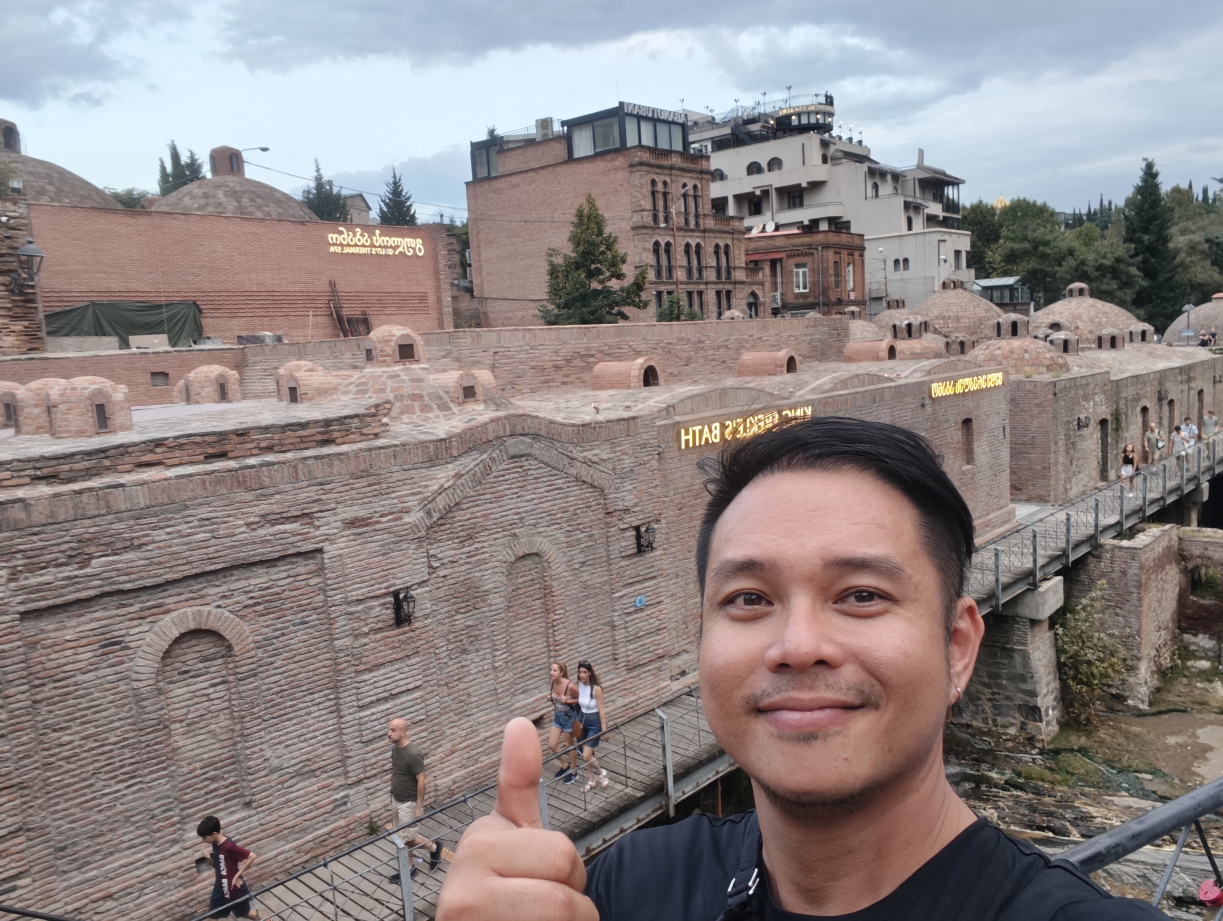
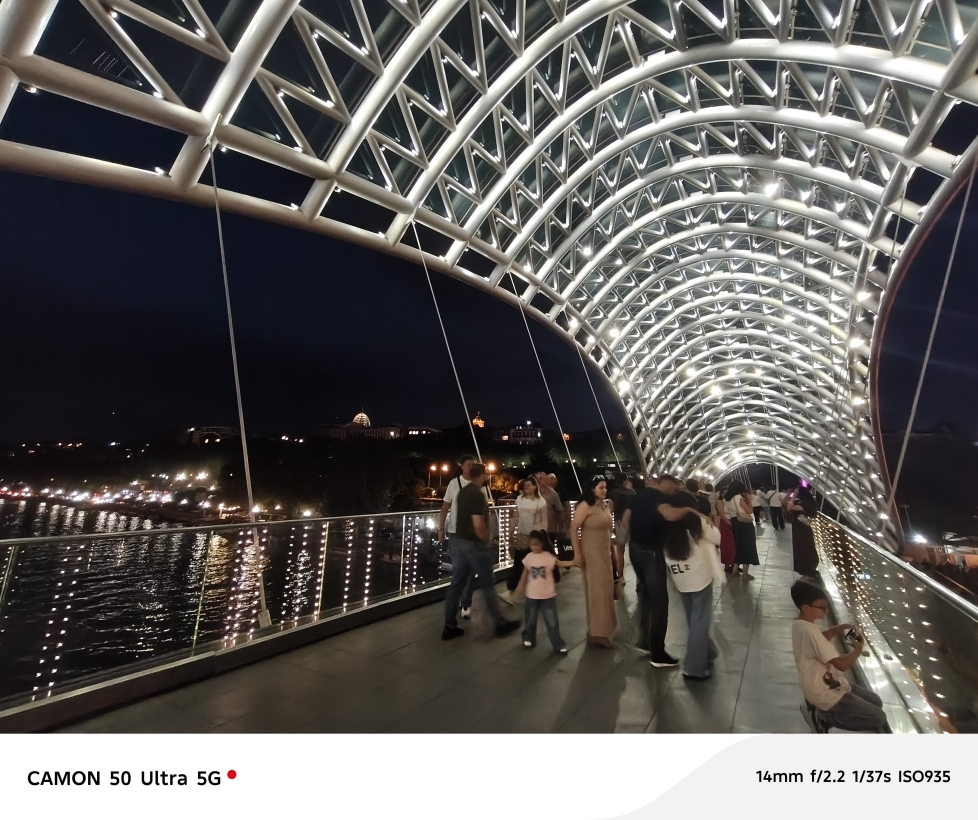
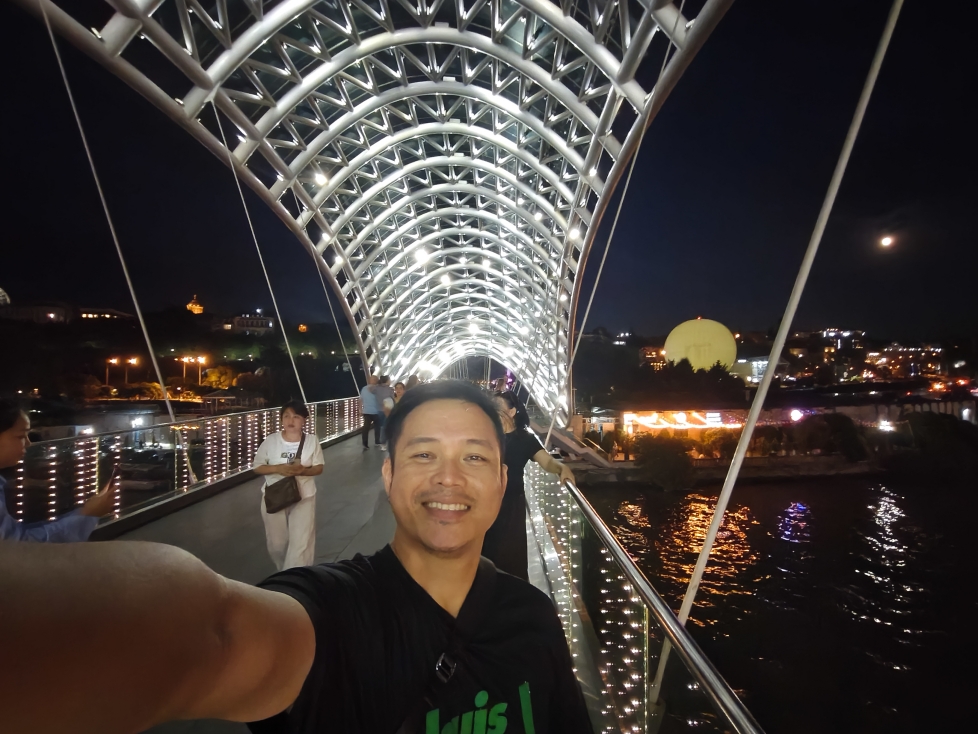
When choosing an area to stay, The Old Quarters of Tbilisi I believe is the best option. Georgians also have public baths where tourists can also use for a fee. I was able to experience this at No.5 Bathhouse shown in photo below. The place can easily be found and is a walking distance from the famous bridge of peace.

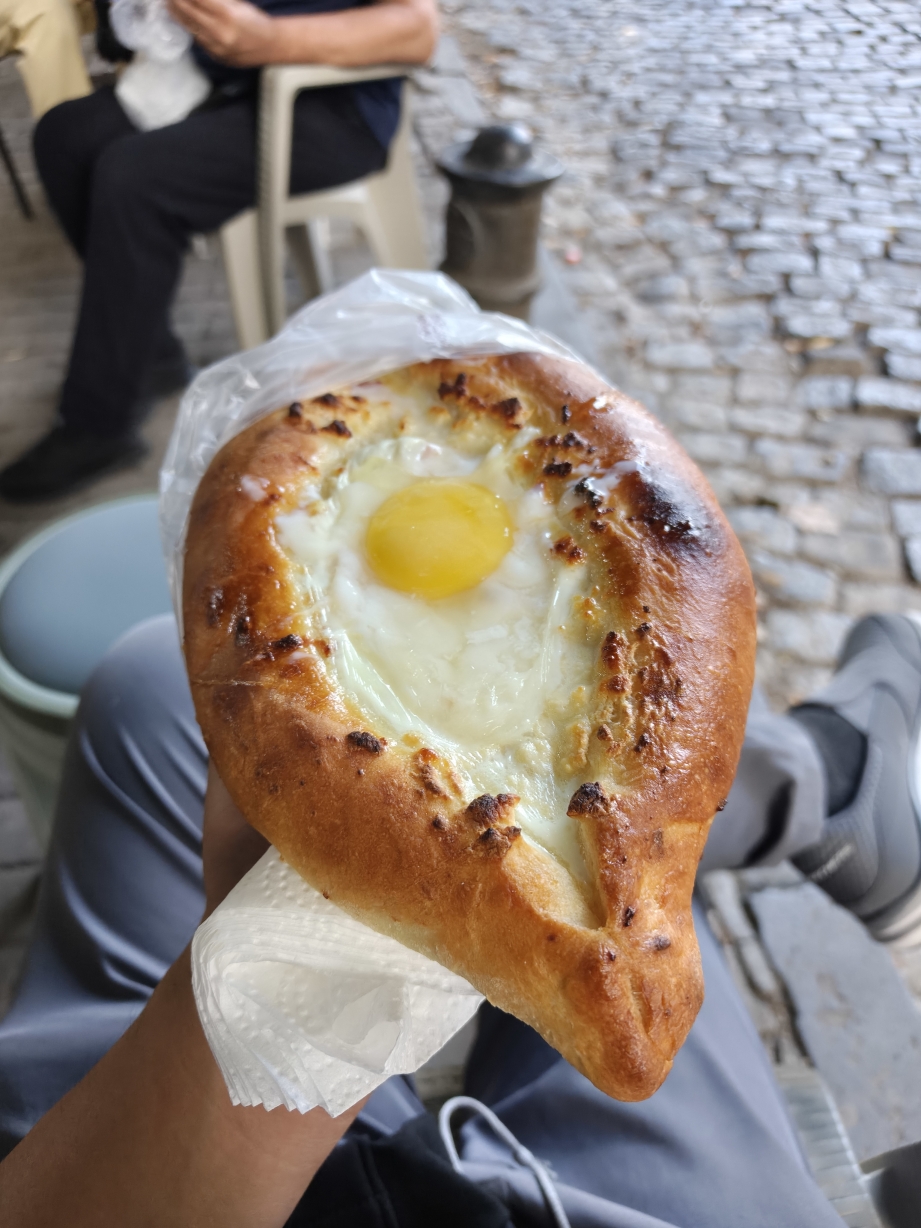
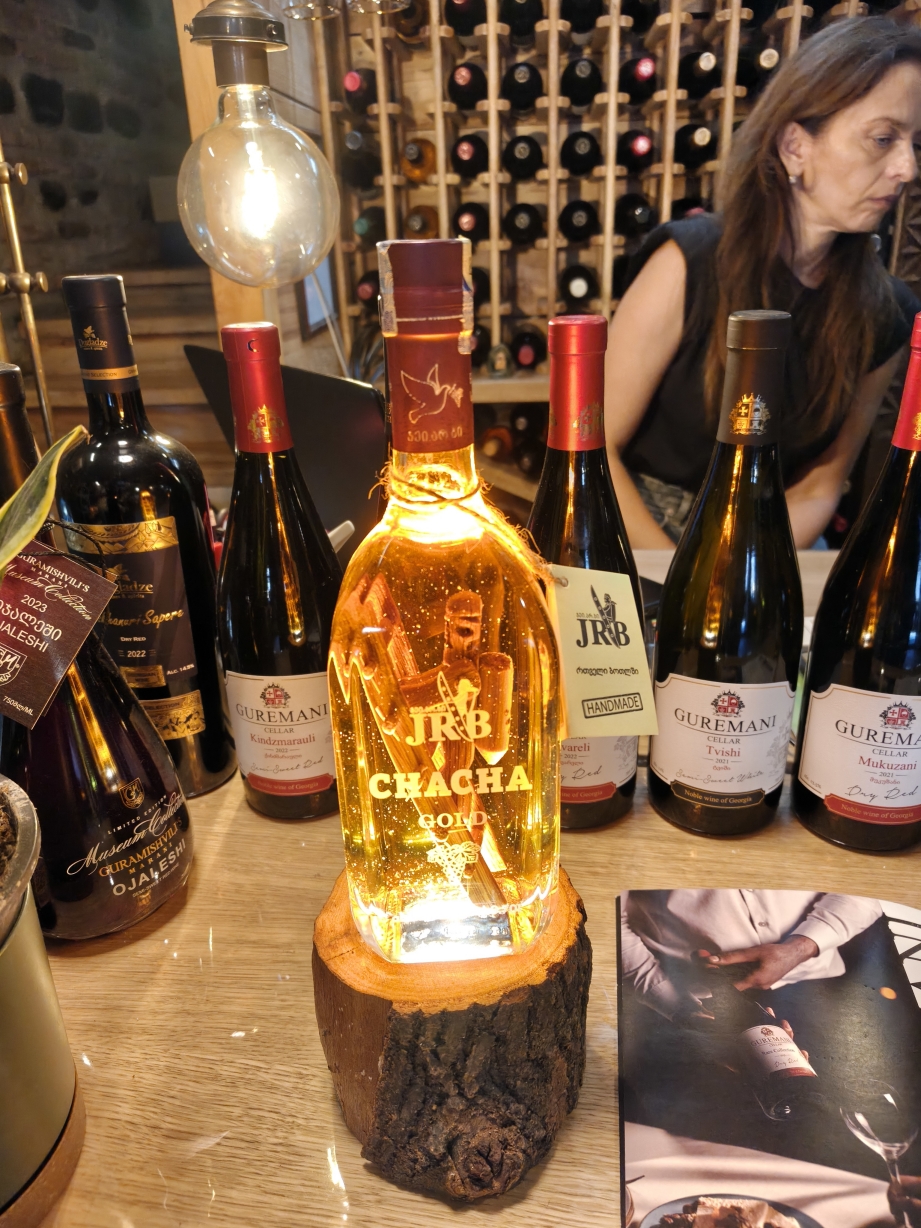
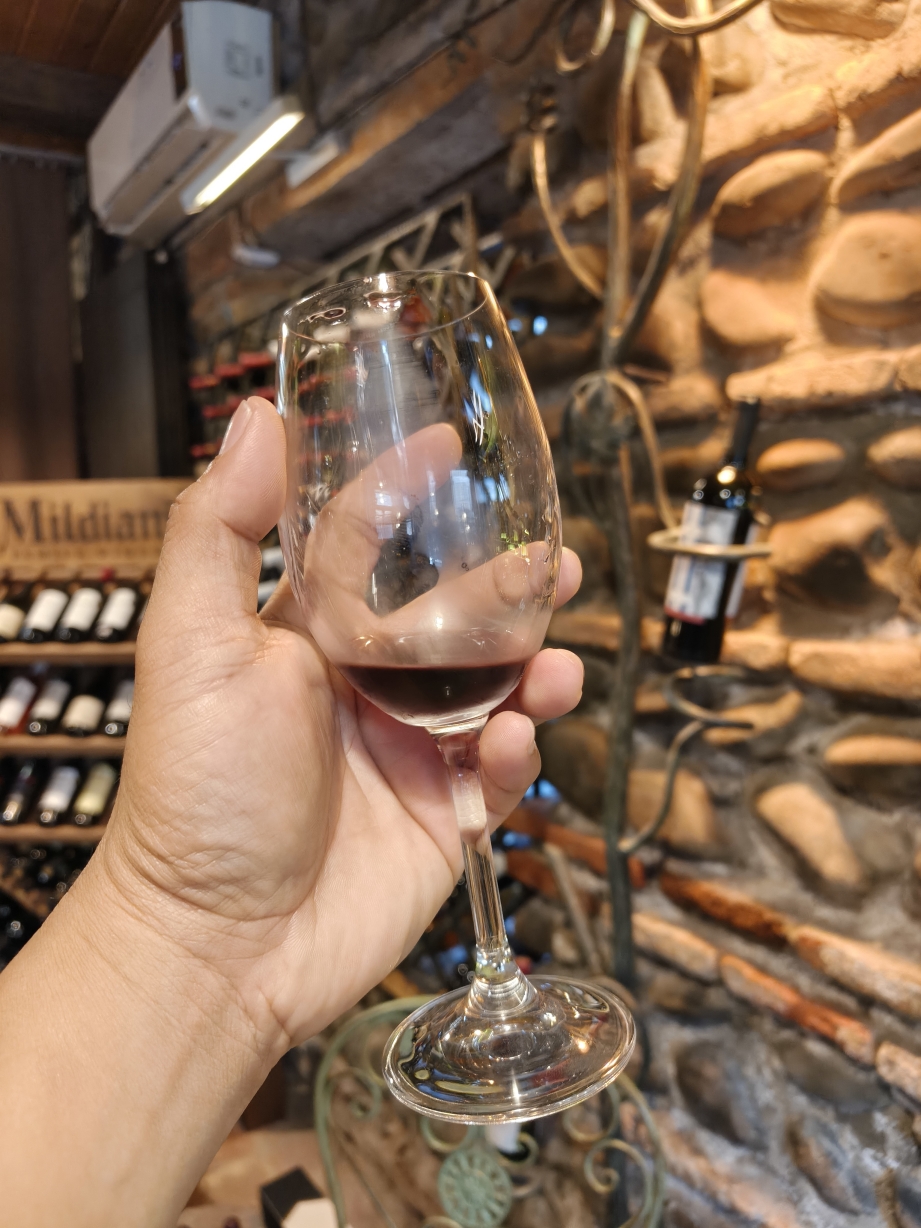
Here’s me enjoying Khachapuri and wine at the old quarters. Khachapuri is a Georgian dish of cheese-filled bread. The bread filled in the center with a mixture different kinds of cheese and a soft egg at the center. You’re supposed to tear a portion of the bread and dip in the warm cheese and egg mixture.

Note: Georgia is one of the oldest wine-producing countries in the world. The fertile valleys of Georgia were home to grapevine cultivation and neolithic wine production for at least 8000 years. Wine is cheap in Georgia.

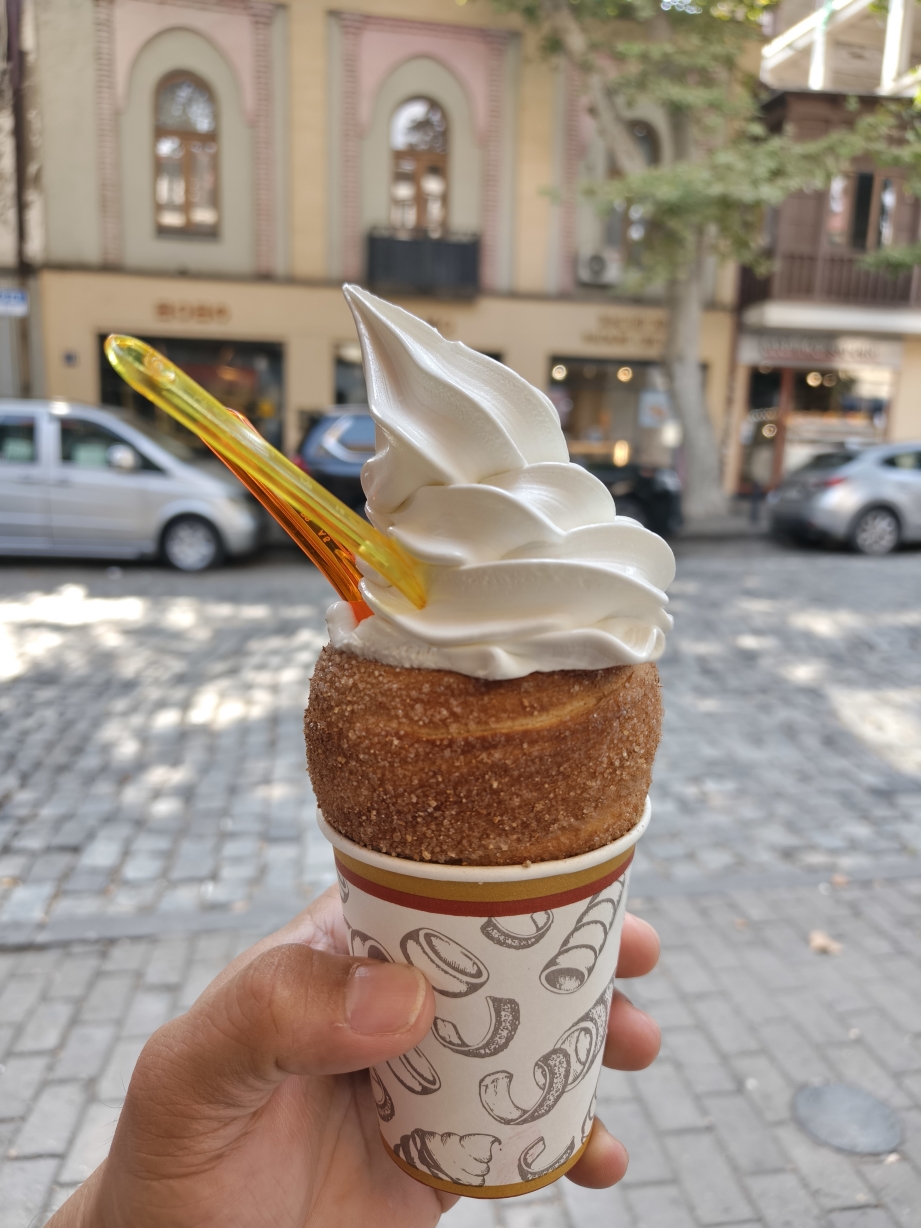
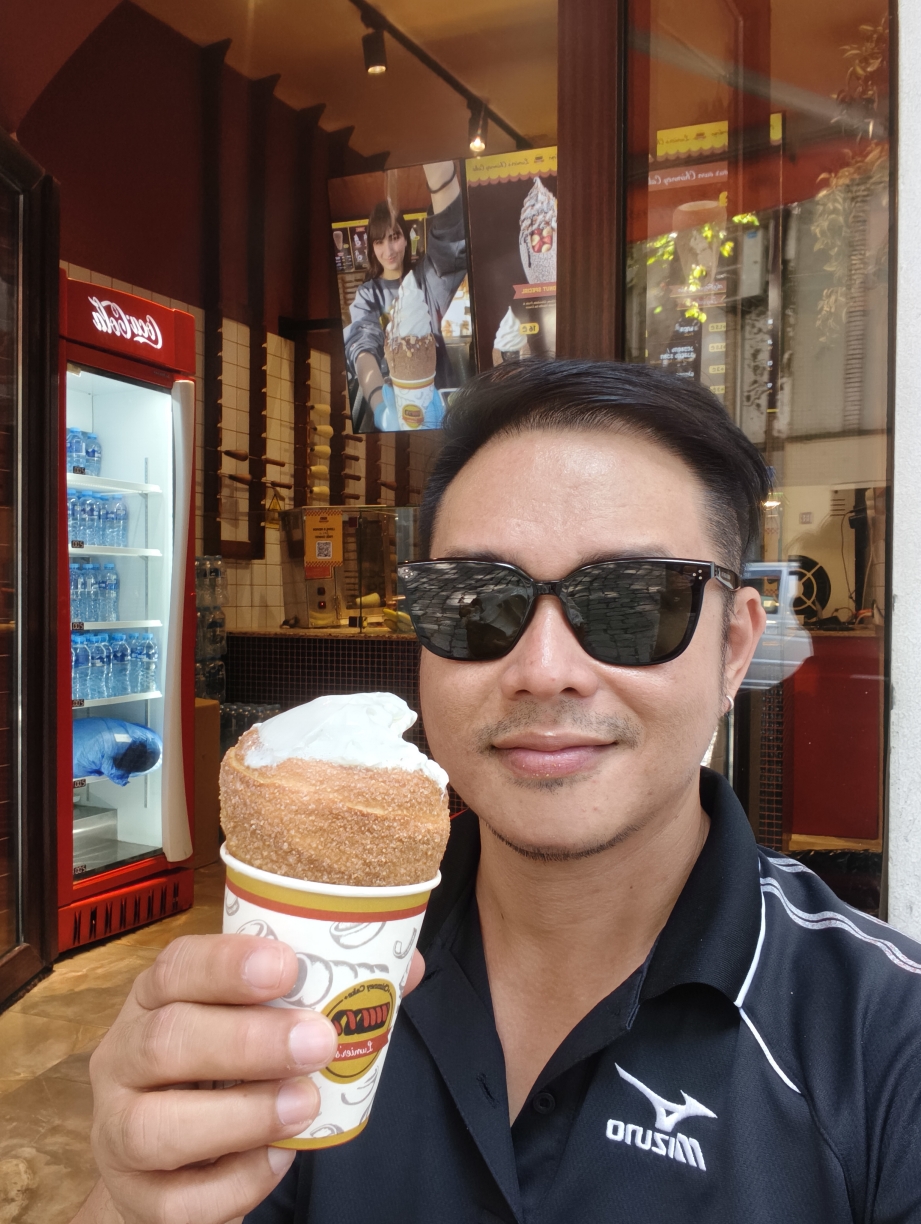
Another thing that I enjoyed in the old quarters was this milk ice cream-filled chimney cake, crusted with cinnamon and sugar.

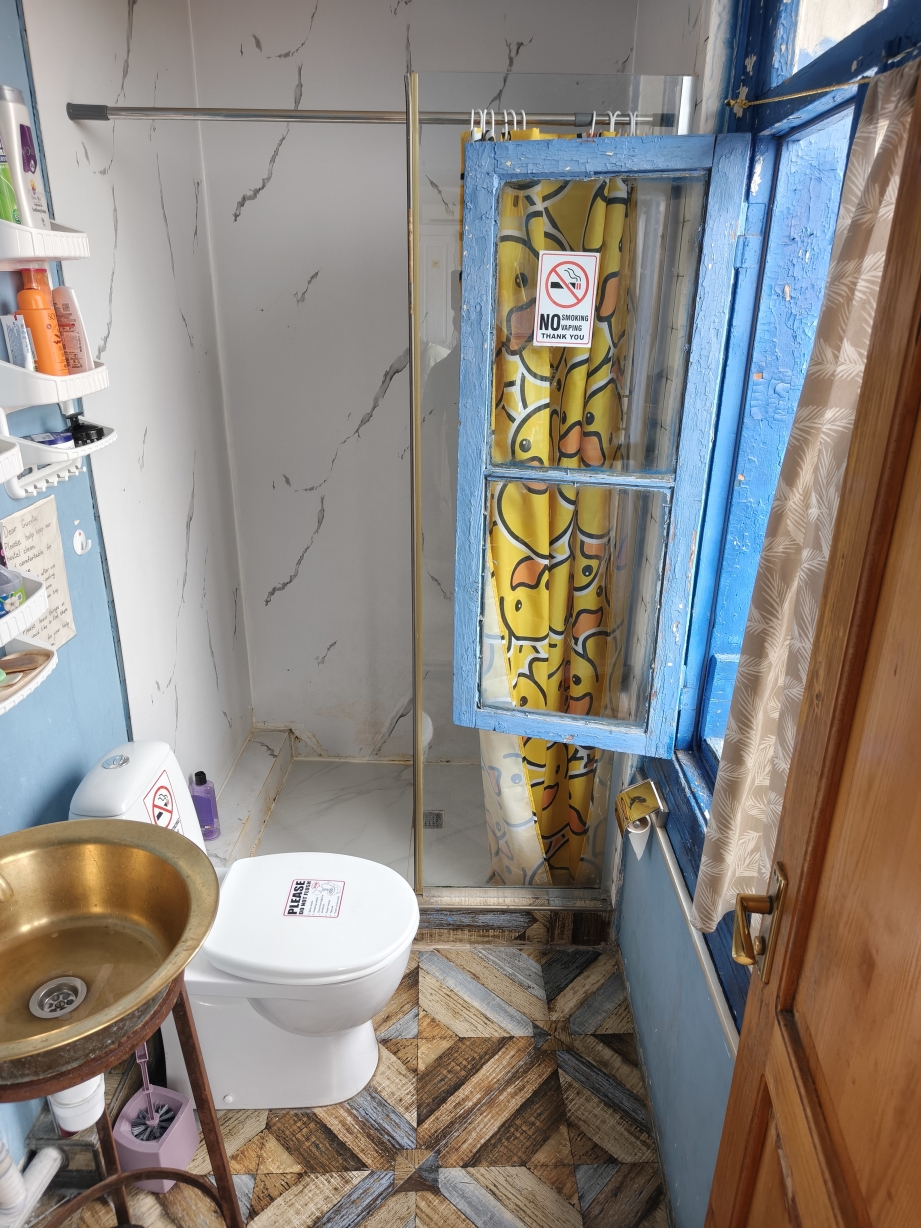
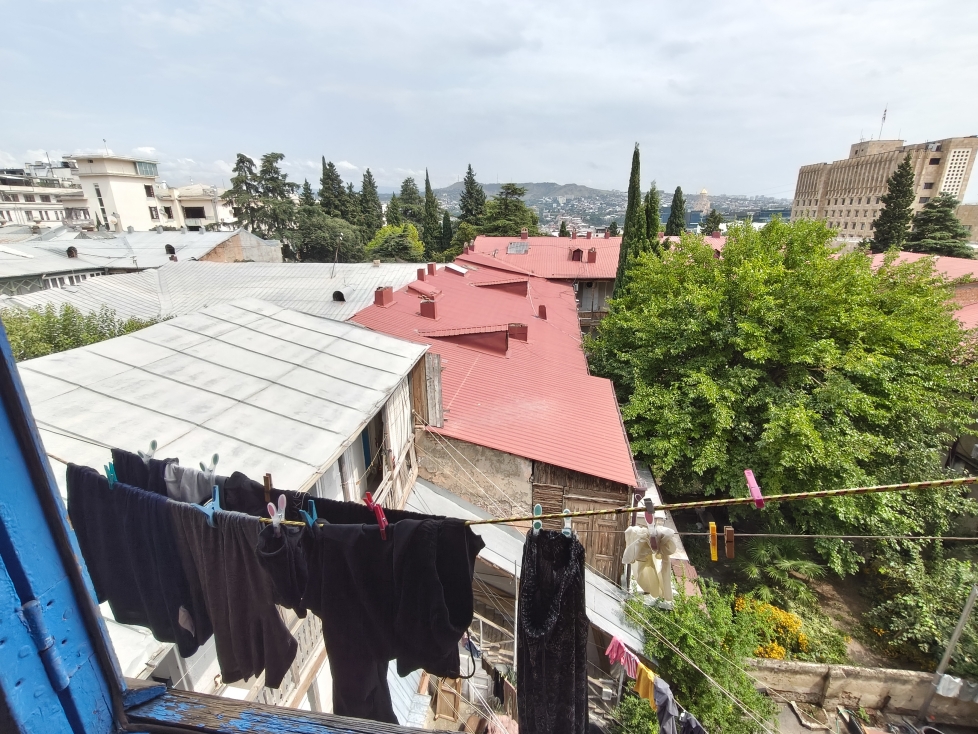
Where I stayed: Hostel Era, but I wouldn’t recommend it. there are better options elsewhere. The view from the toilet is nice though.

Highlights of Moscow & How to Apply for Russian E-Visa (Yes po,Online Lang!)

Sabi nga nila, it is common for Moscow to completely shift your perspective once you experience the city in person. Many people arrive expecting a strictly utilitarian, cold and bleak city thats stuck in the Soviet era, but instead find a vibrant, green and ultra-modern metropolis. Sobrang ganda ng Moscow.

If pangarap mo din marating ng Moscow, read on.

Securing a Russian E-visa for tourism. Yes po! Filipinos are qualified for E-visa; online application – NO Personal appearance at the embassy needed. Bongga diba?

This method is as of September 2026. Should you wish to apply in the future, it’s best to check embassy updates to confirm.

Getting a Russian E-visa for tourism is easy, but medyo tricky. Curious? Here are the conditions:

  • Visa is for tourism/holiday purpose. Though the website mentions business purposes as well, I highly suggest getting the full visa for this case, as you might also need to present documents during business transactions.
  • Maximum of 16 days stay only
  • Single Entry only
  • Entry/Exit at specific Russian cities only. Moscow and St. Petersburg are among them.
  • Apply no earlier than 86 days and no later than 4 calendar days before your expected date of entry.(Source:https://philippines.mid.ru/en/consular-services/)

Documents to prepare/submit online:

  • Scanned colored copy of valid passport Bio Page. Jpeg file size should not exceed 500kb
  • Passport sized photo w/ white background. Jpeg file size < 500kb.
  • A medical insurance policy with a minimum coverage amount €30,000 from Russian-accredited agencies. I got mine from GoingRus.com , purchased online for less than 1,000 Pesos.
  • No Invitations Needed: Hotel bookings, tourist vouchers, or formal invitation letters are NOT required.

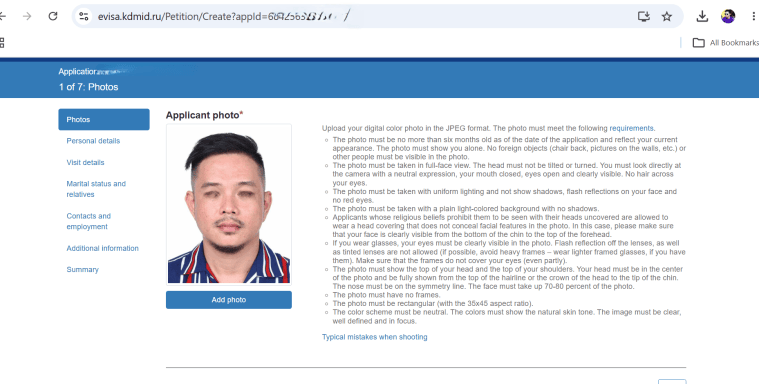
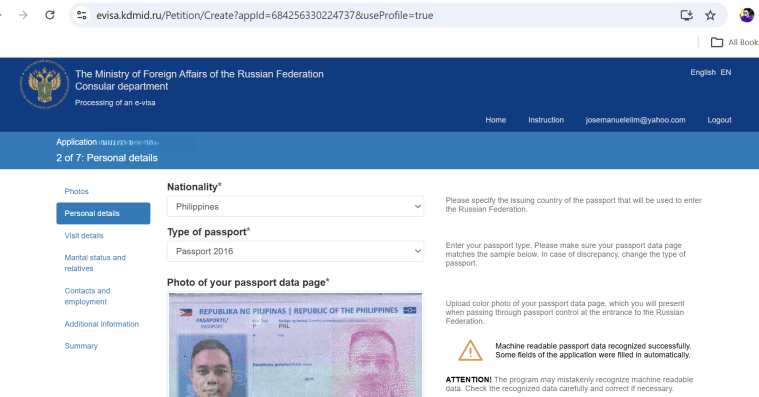
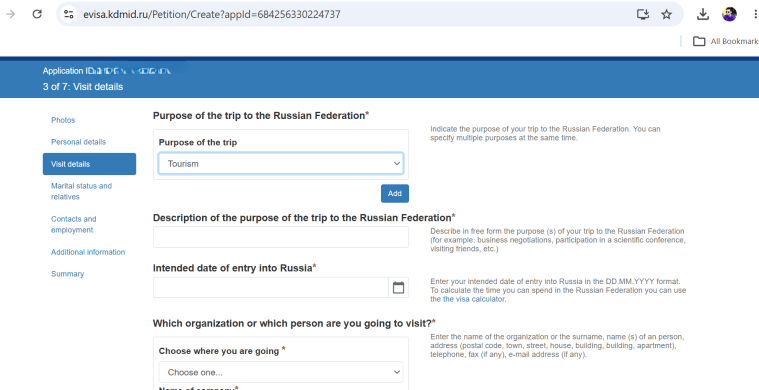
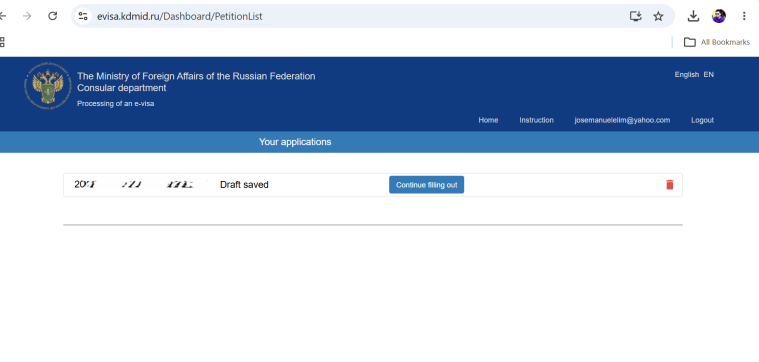
See screenshots below for website process reference. If you tried applying for US visa, the process is relatively similar. Create an account first, fill up the online form truthfully and upload the scanned files required. The Website will prompt if the file (size/format) is acceptable.

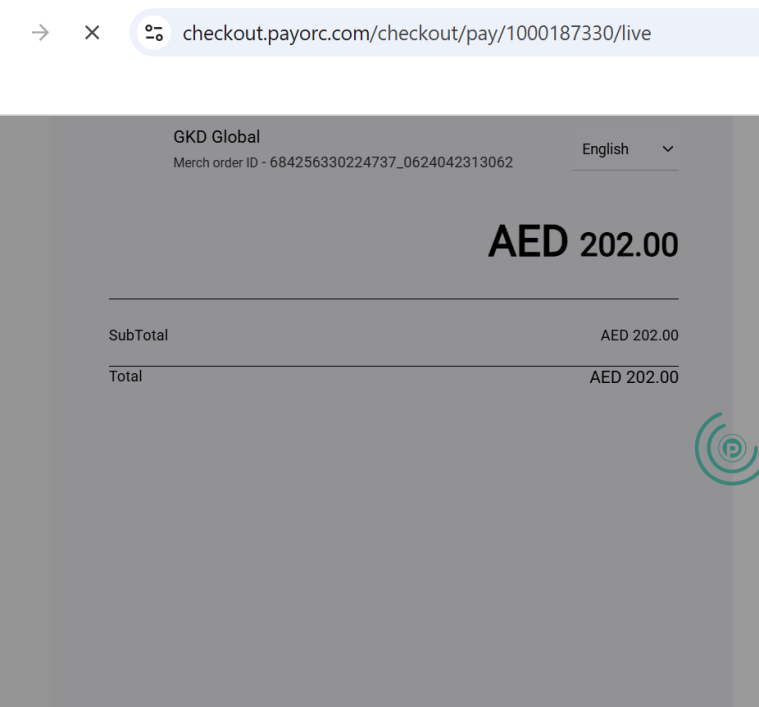
Once complete, a separate link (GKD Global) will be prompted for payment via VISA or Mastercard. GKD is based in the UAE, so AE-Dirham is the expected currency. VISA and Mastercard don’t work in Russia. That’s the reason why payment is done via third party.

Got the Result via email after 5 working days.

When planning a Moscow trip, here are some additional points to consider:

Booking an Accommodation: Upon arrival in Moscow, a booked accommodation will be asked. Here’s the tricky part. Agoda does not work in Russia. So I booked my hostel via OSTROVOK Website. Site accepts Visa/Mastercard payments. Russian Immigration was pretty straightforward. No hideous questions. I just presented my e-visa. I was only asked where I’ll be staying.

Internet Connection is very limited in Russia. Ok here’s the thing, I purchased an E-sim via YESIM App(with positive reviews). But upon arriving, the E-sim did not work for the first 24 hours. Moreso, I installed a VPN but it did not work with my purchased E-sim. VPN only worked with my hostel wifi. Throughout my trip, I barely had access to the internet.

The Necessary Apps:

Yandex MAP – Download offline map of the city. Google does not work.

Yandex Translate – though expect very little effort from Russians to reply. Generally, they are not as conversant.

Yandex Go – if you plan to get a taxi ride, but I did not use this. Metro is very efficient, linking the airport to city center by a 45 mins. fast train, for only around 70 pesos.

Yandex Metro – Biggest help. Works offline.

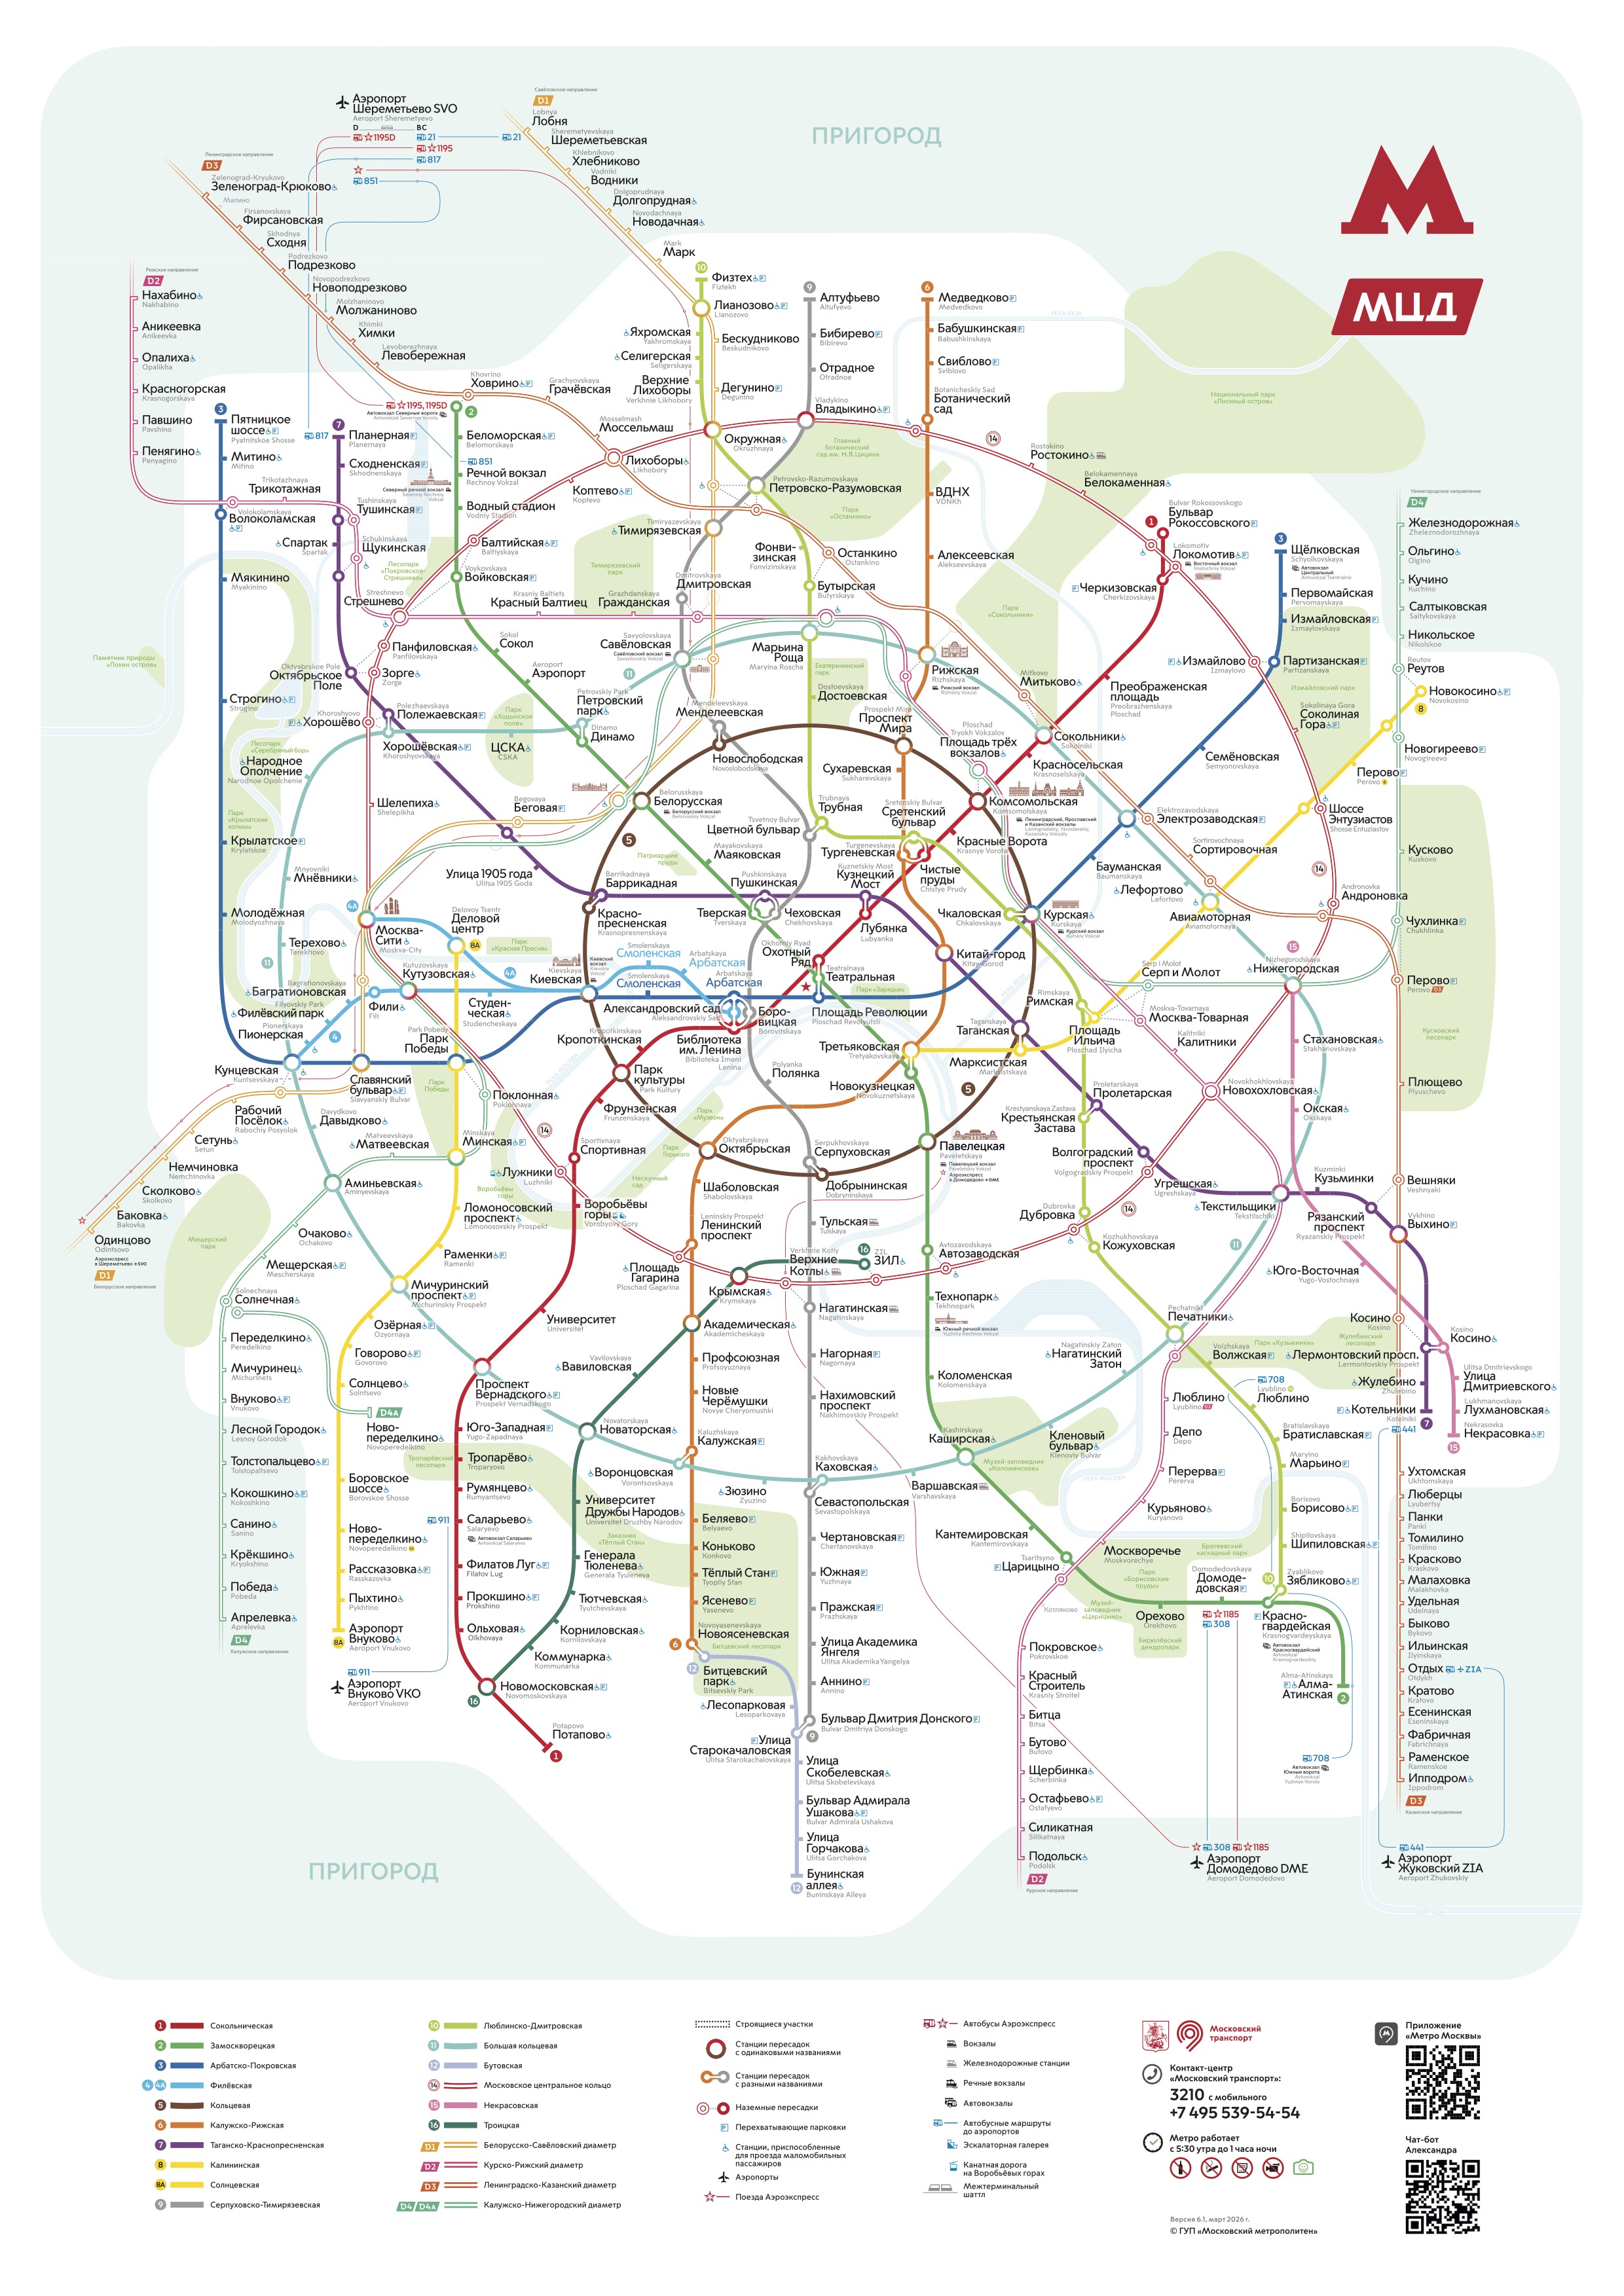
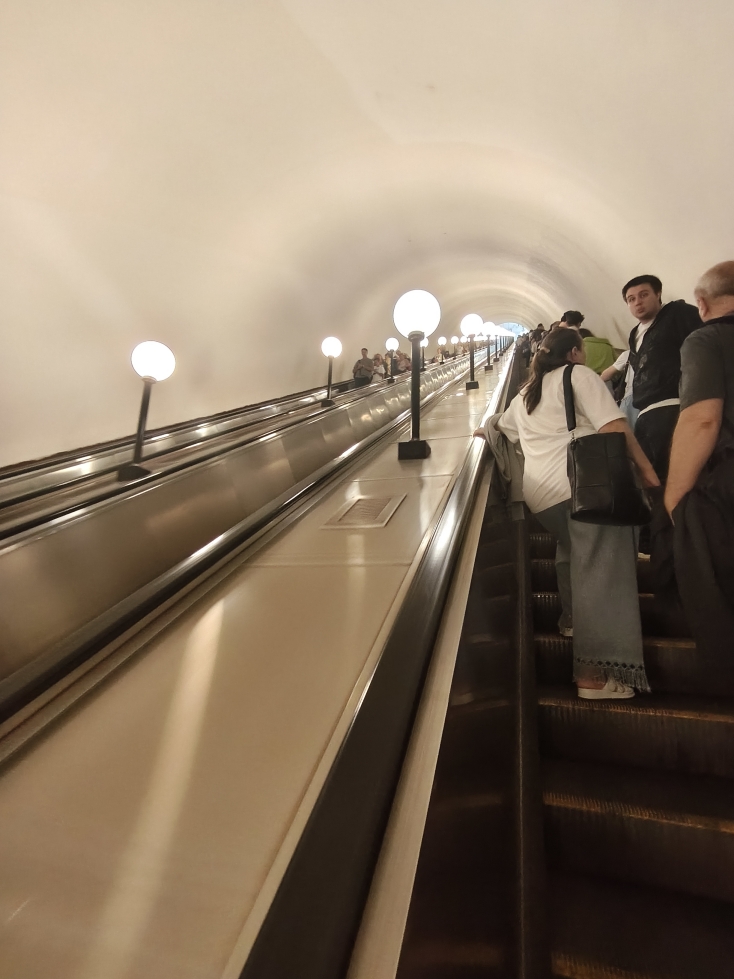
Metro train in Moscow is one of the world’s most complex with over 300 stations in 15 lines. It just takes extra common sense because there are no English announcements, and the Russian pronunciations are quite difficult to comprehend. Example “Arbatskaya” Station is pronounced as “Arbatskie”. Riding the Moscow is already an adventure. Yes, overwhelming, but you’ll get the hang of it after successfully pulling off your first or second transfer.

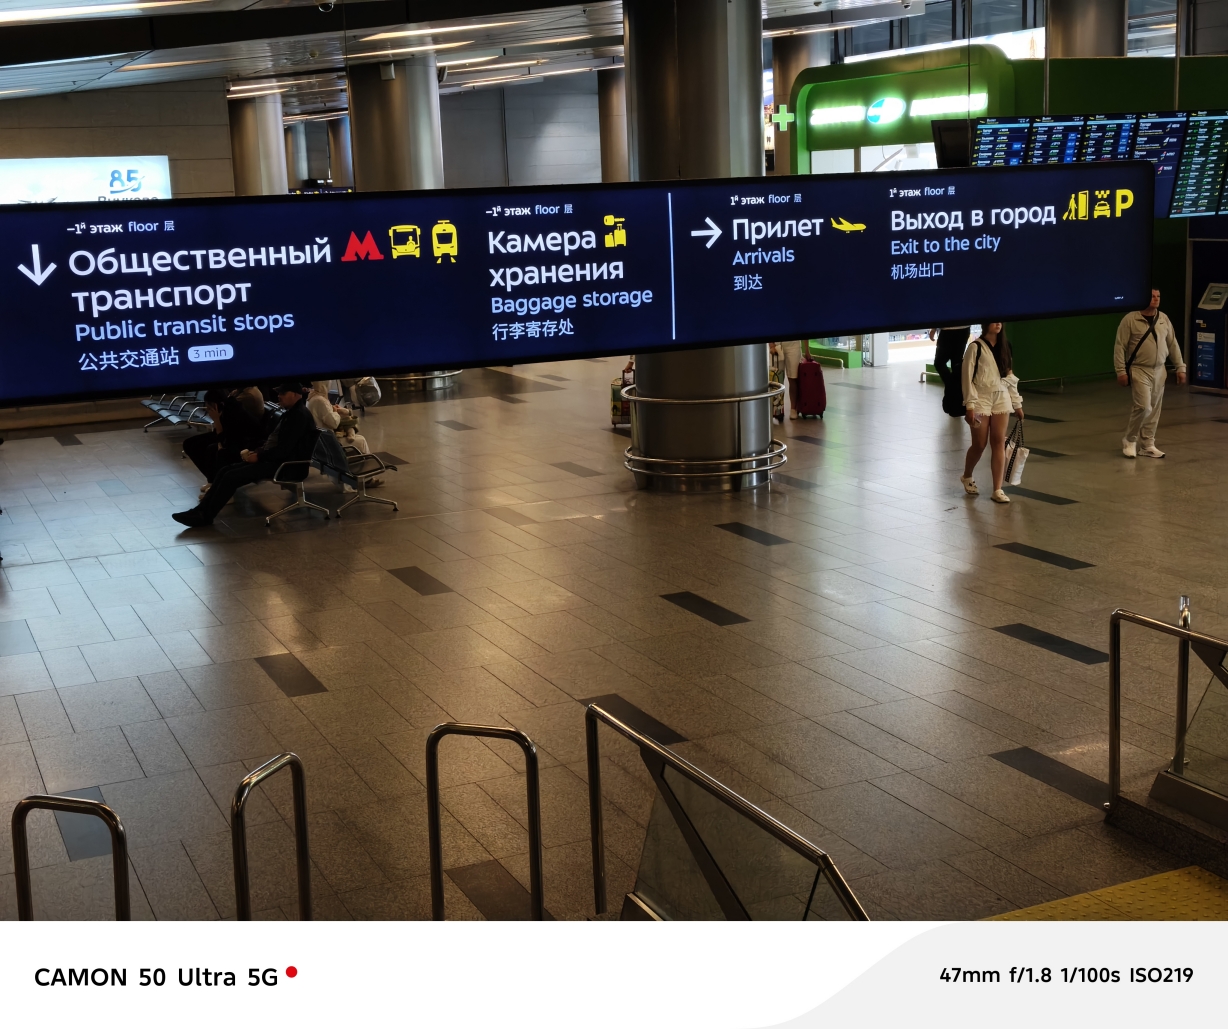
Money Changing. Visa and Mastercard debit and credit do not work in Russia. Exchange your EU, USD or even Chinese Yuan and UAE Dirham at the airport. Rates are poor at the arrival hall (VKO Airport). Better go up the Departure area at the upper floor.

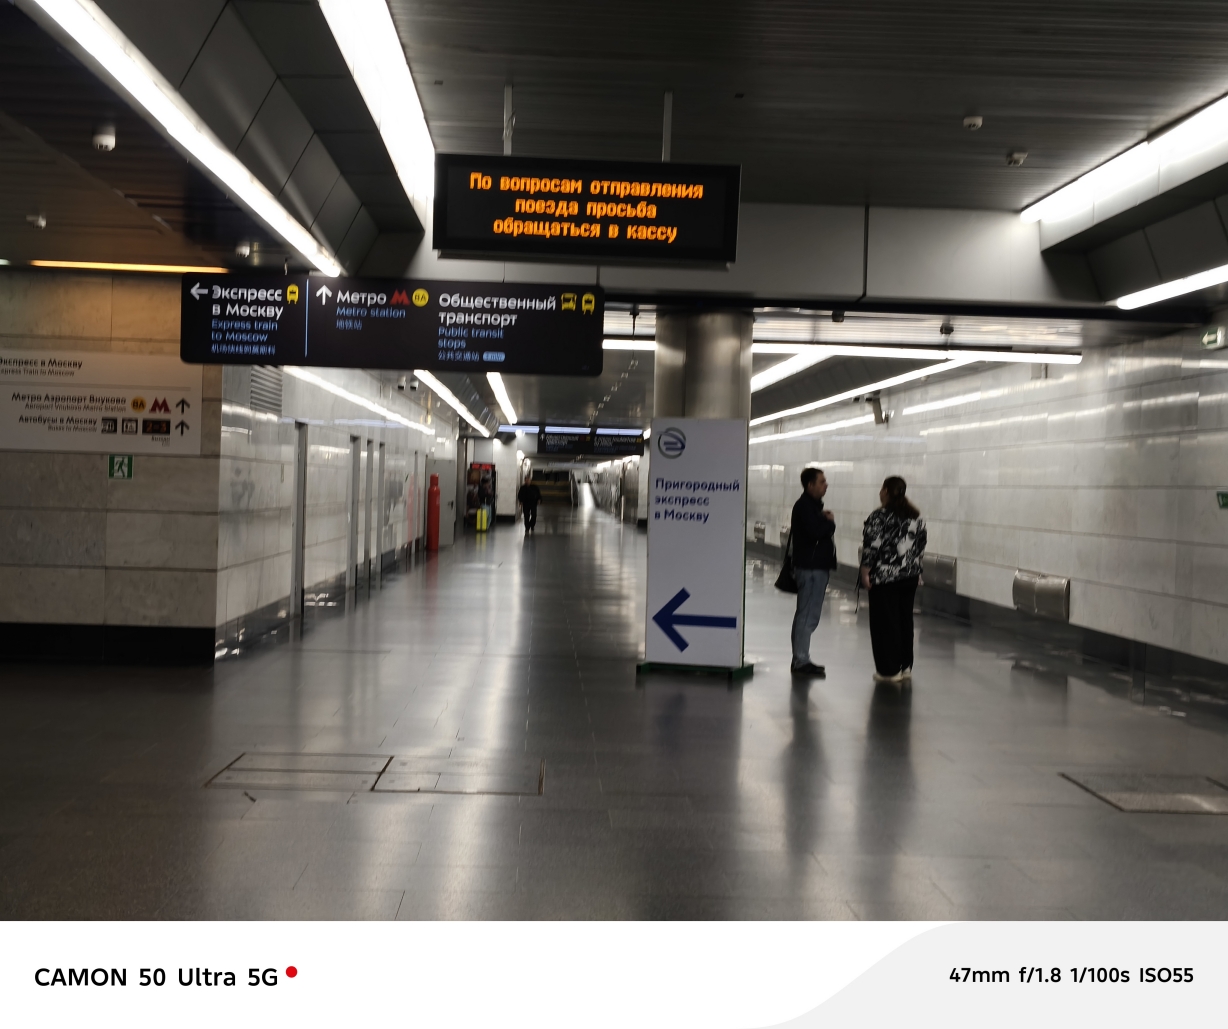
Airport to City: VKO Airport is directly linked to City Center by Metro train (Yellow Line). The trip takes around 45 minutes with 23 stops for only 90 Rubles ( 70 Pesos converted).

Note: There is also an aero express train from the airport that goes directly to Kievskaya Railway, which will then link you to other Russian Cities.

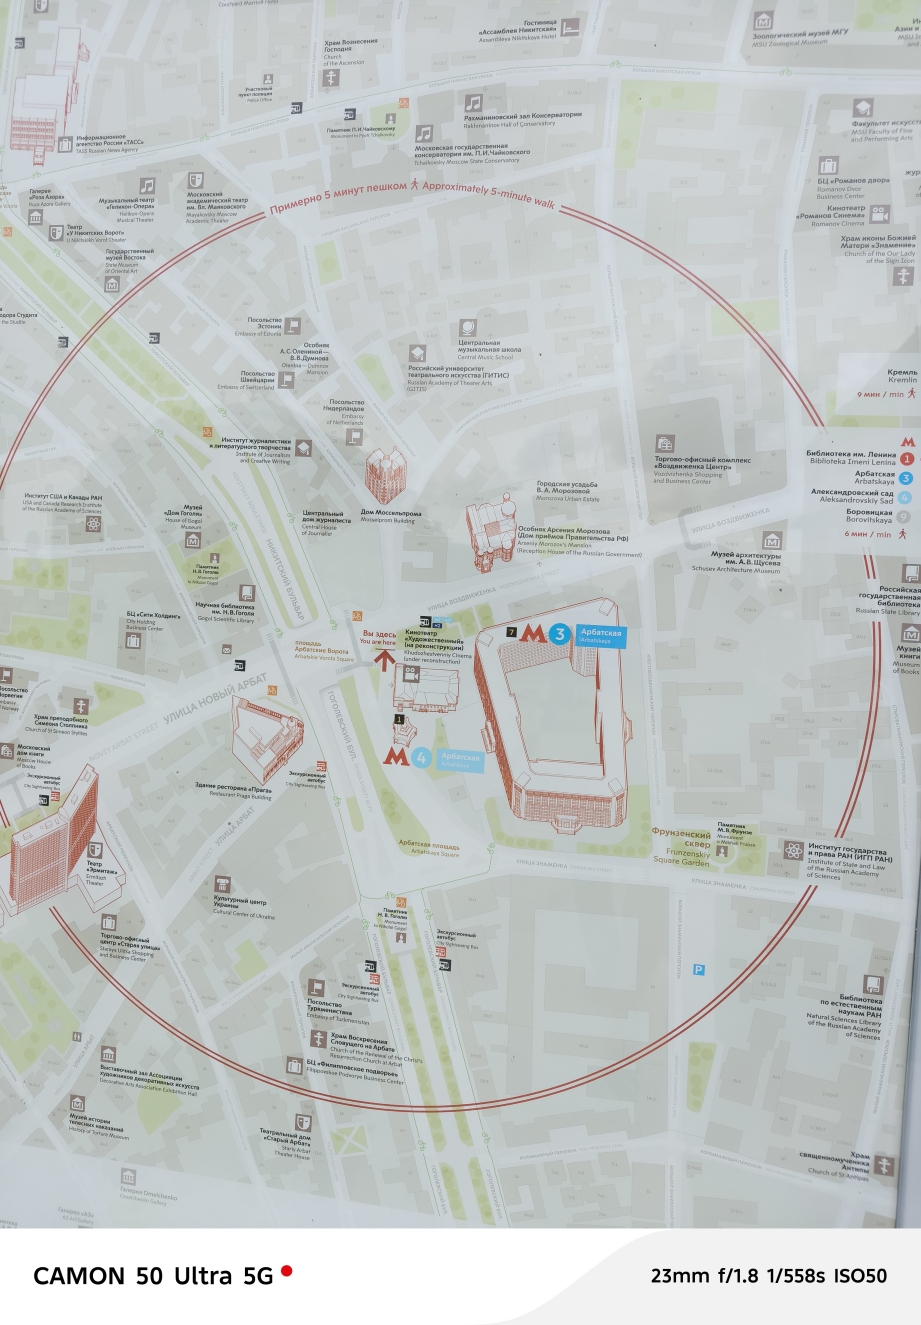
Since you will be arriving to the city center without data, then goodluck to you. You can also look for printed maps that are posted on all train stations. Metro train station is one challenge, finding the right exit is another. This is where the maps come in handy.

Detailed Moscow Itinerary will be posted on a separate blog.

Highlights of Uzbekistan (And How to Get E-Visa)

A vibrant, predominantly Islamic country located in the heart of Central Asia, Uzbekistan is a land rich in history and glorious, well-preserved Islamic architecture. Ancient cities in Uzbekistan served as the geographic and economic center of the Silk Road; an unavoidable crossroad connecting traders between China, India, Persia, and the Mediterranean/Europe.

Silk Road was the massive network of ancient land routes that connected China, the Middle East, and Europe (around 600 BC until 1453 CE). In the early days when Galleon trade (large maritime trading, colonial ships) were not yet a thing, the silk road was the main channel for trading, as well as sharing religion, beliefs and exchange of knowledge and technologies. The Silk Road got its name from the main trade product of Ancient China, which is the silk fabric. Other than silk, Chinese merchants traded tea, porcelain, and jade while the Romans/Persians traded spice, gold, silver, wool, and in later times, glassware.

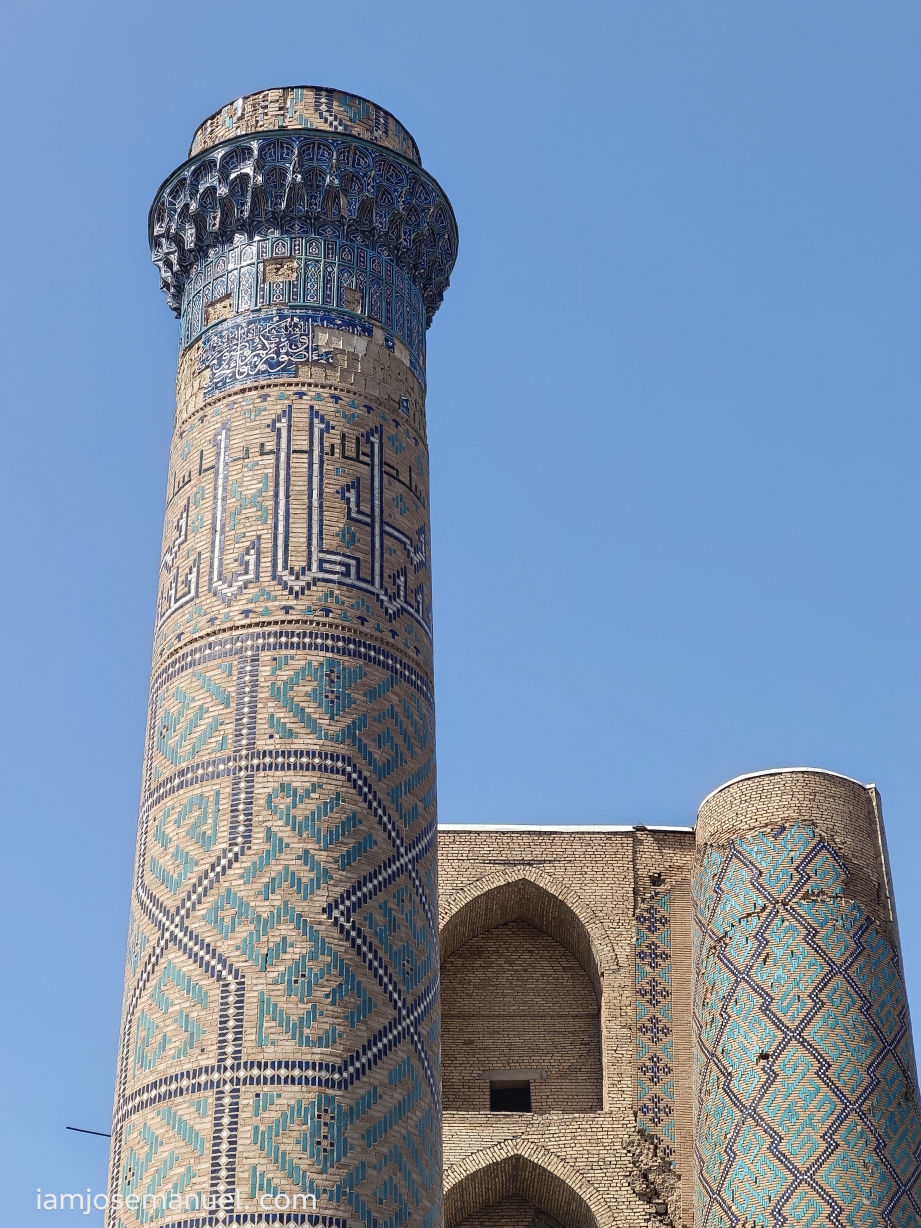
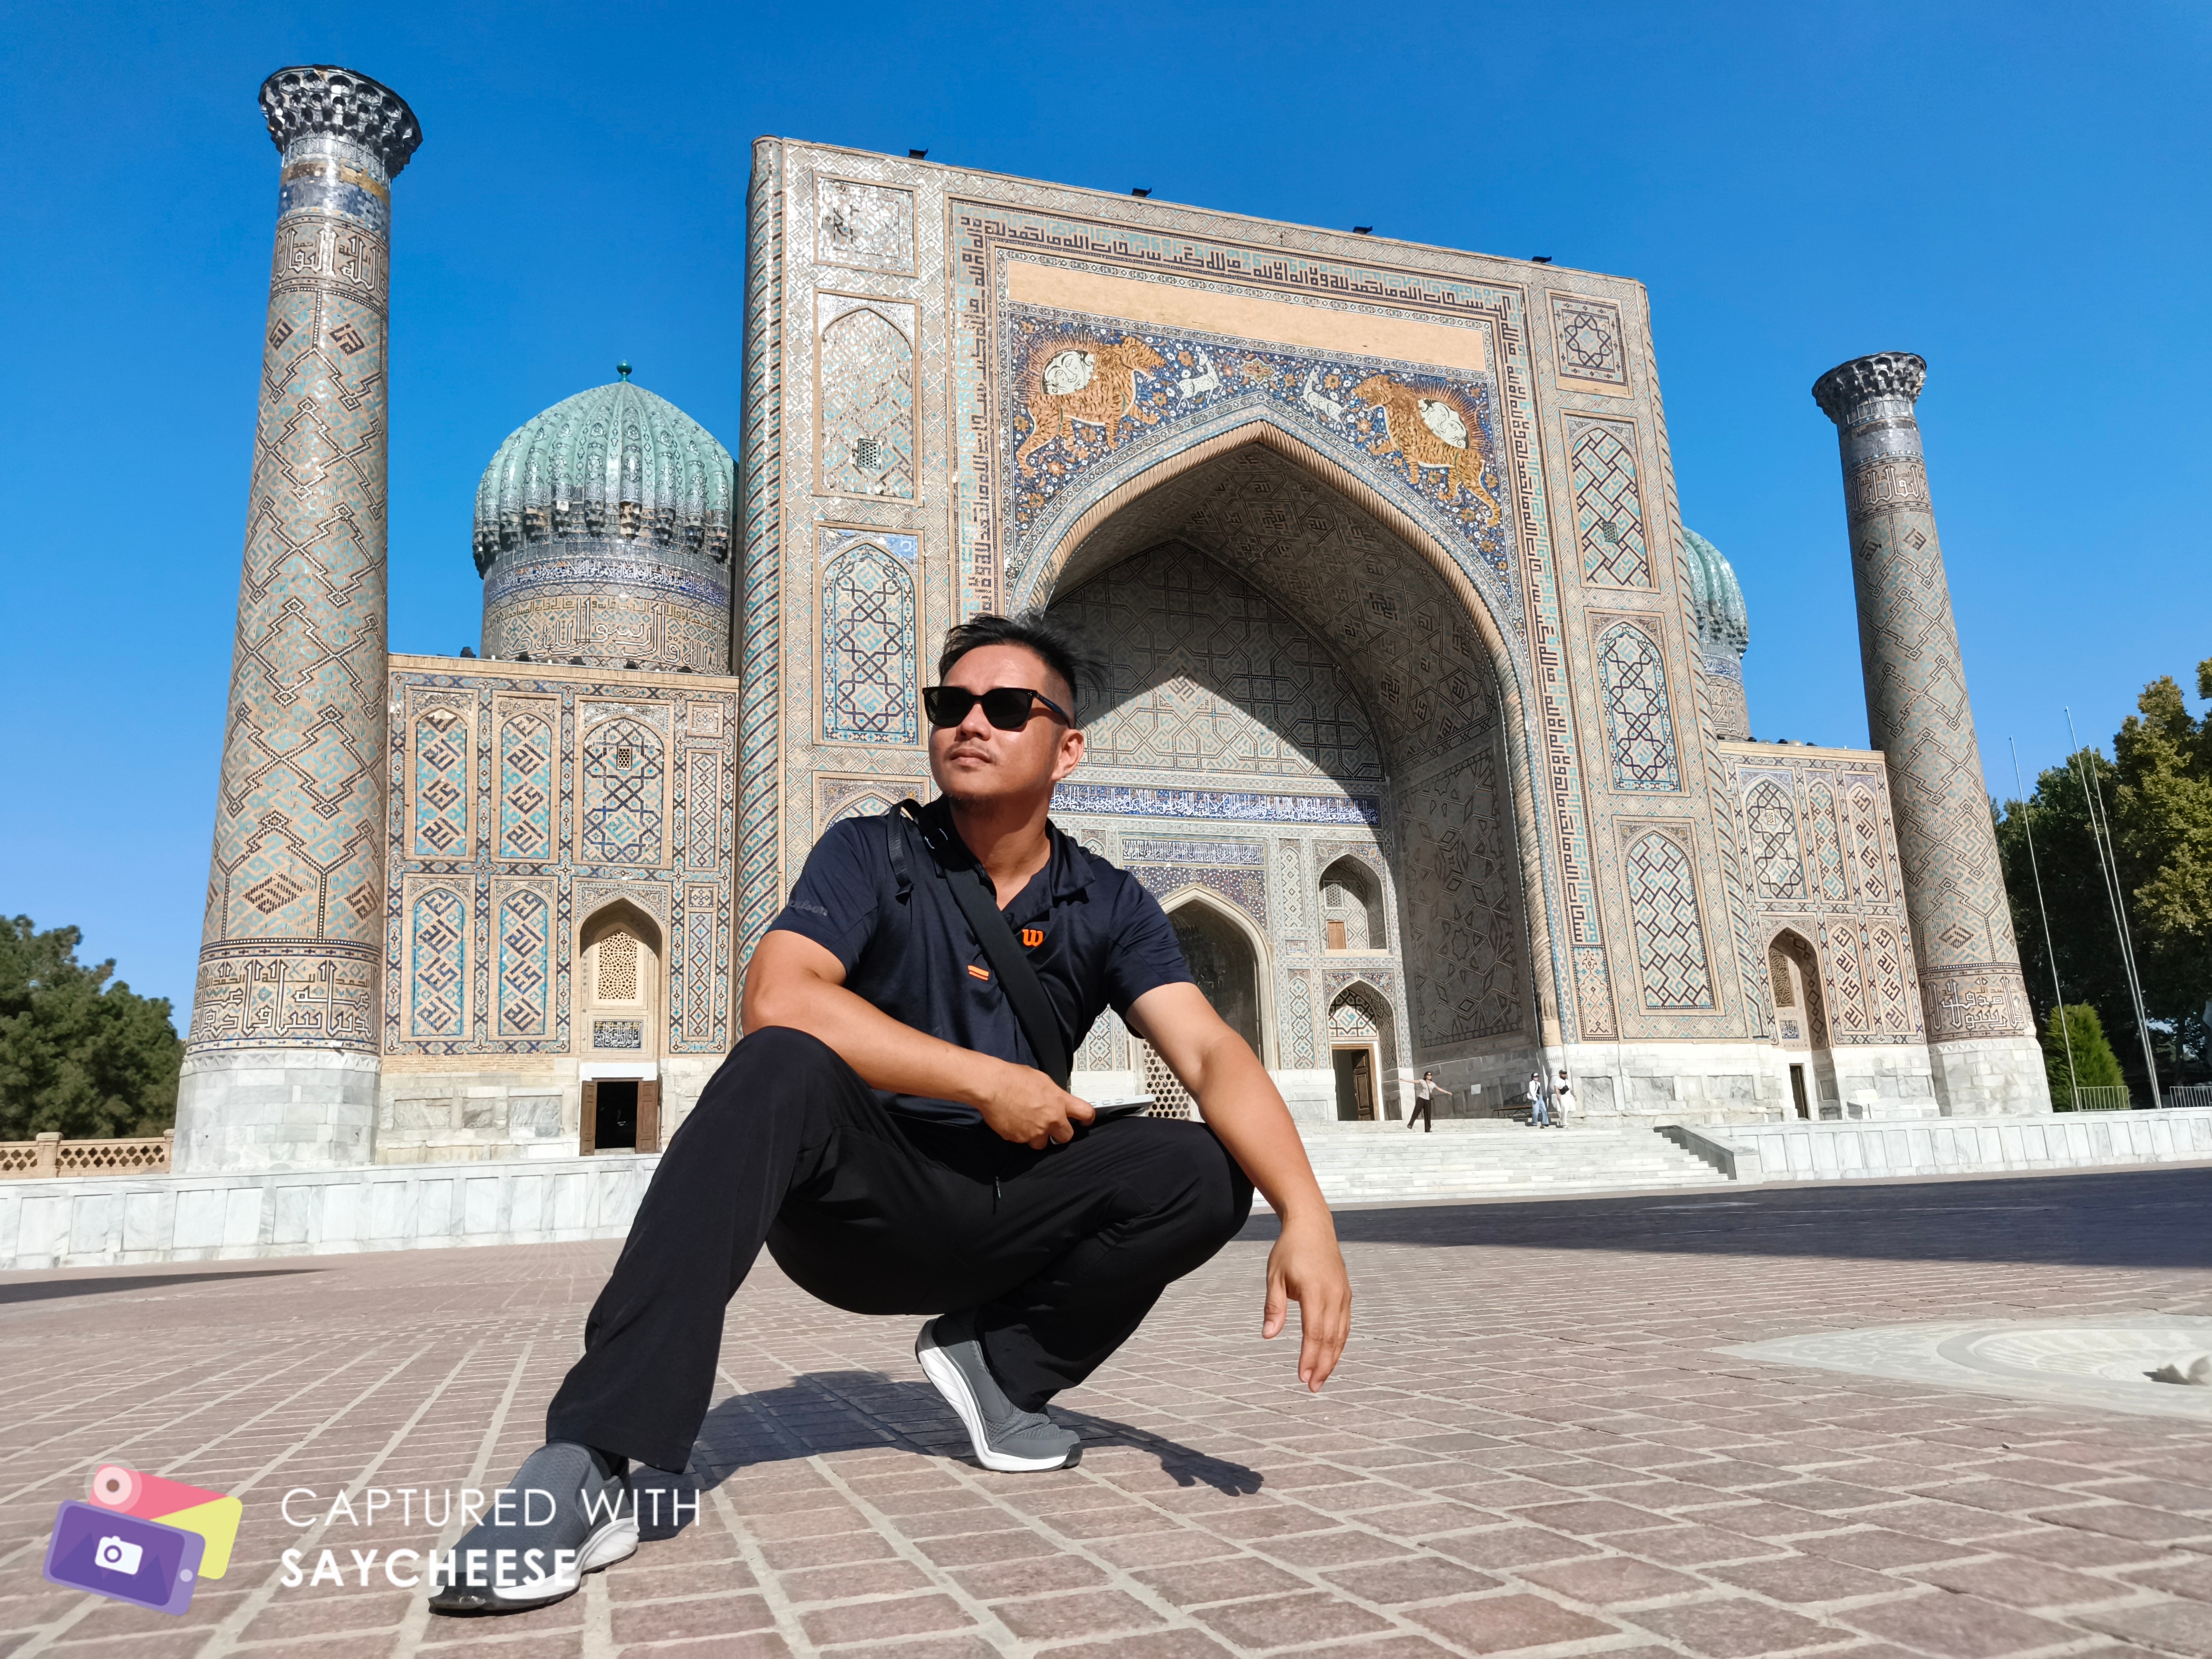
Samarkand, Uzbekistan’s oldest city, was founded around 650 BC; while Tashkent and Bukhara trace its roots back to the 1st millennium BC (that’s even before the time of Jesus). Back in the days, Samarkand and Bukhara were already known and documented under these ancient names. Today, these cities live and continue to tell its stories.

During my Central Asia trip, I intentionally planned to stay in Uzbekistan the longest so I had enough time to visit Tashkent, Samarkand and Bukhara. Uzbekistan was definitely the highlight of the entire trip.

E-Visa Requirements to prepare:

  • Valid Passport: Scanned colored copy of bio page in jpeg format. file size less than 1 MB.
  • Digital Photo: A recent color passport-size photo in jpeg format. file size less than 1 MB.
  • Accommodation details in Uzbekistan. Contact information including phone number and email. Booked mine thru Agoda. Since I intended to visit three Uzbek cities, I provided my first night hostel details, which is in Tashkent.
  • No flight details required. just the intended date of entry and exit.
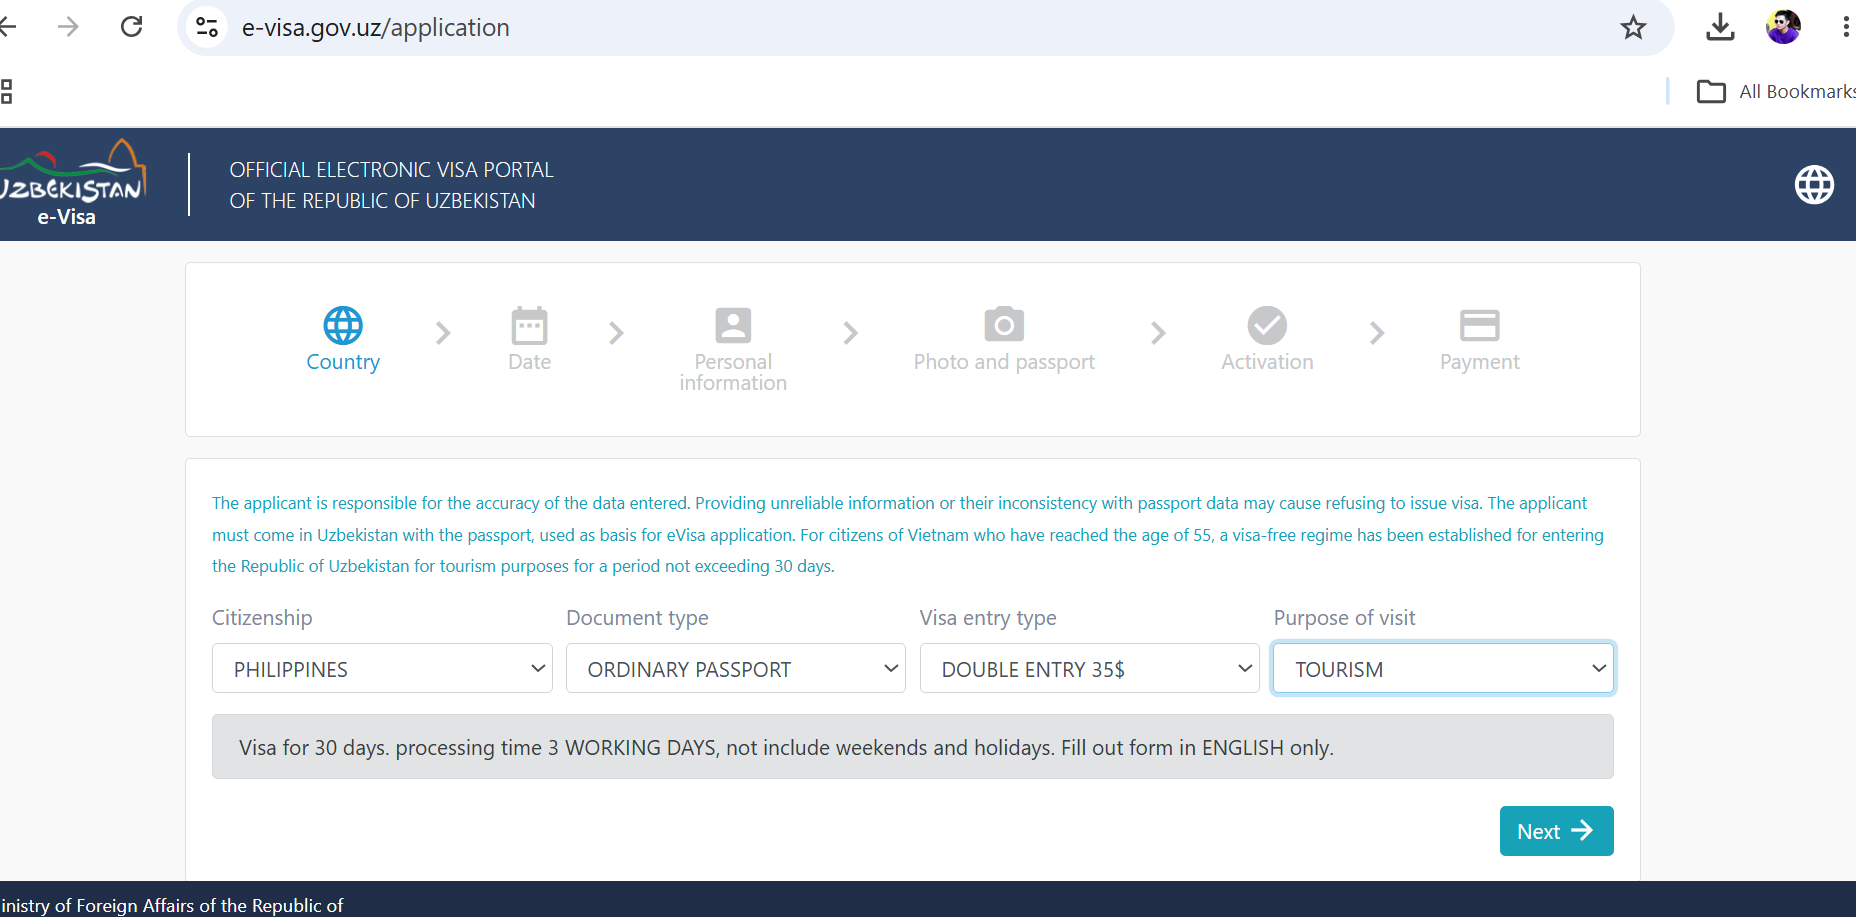
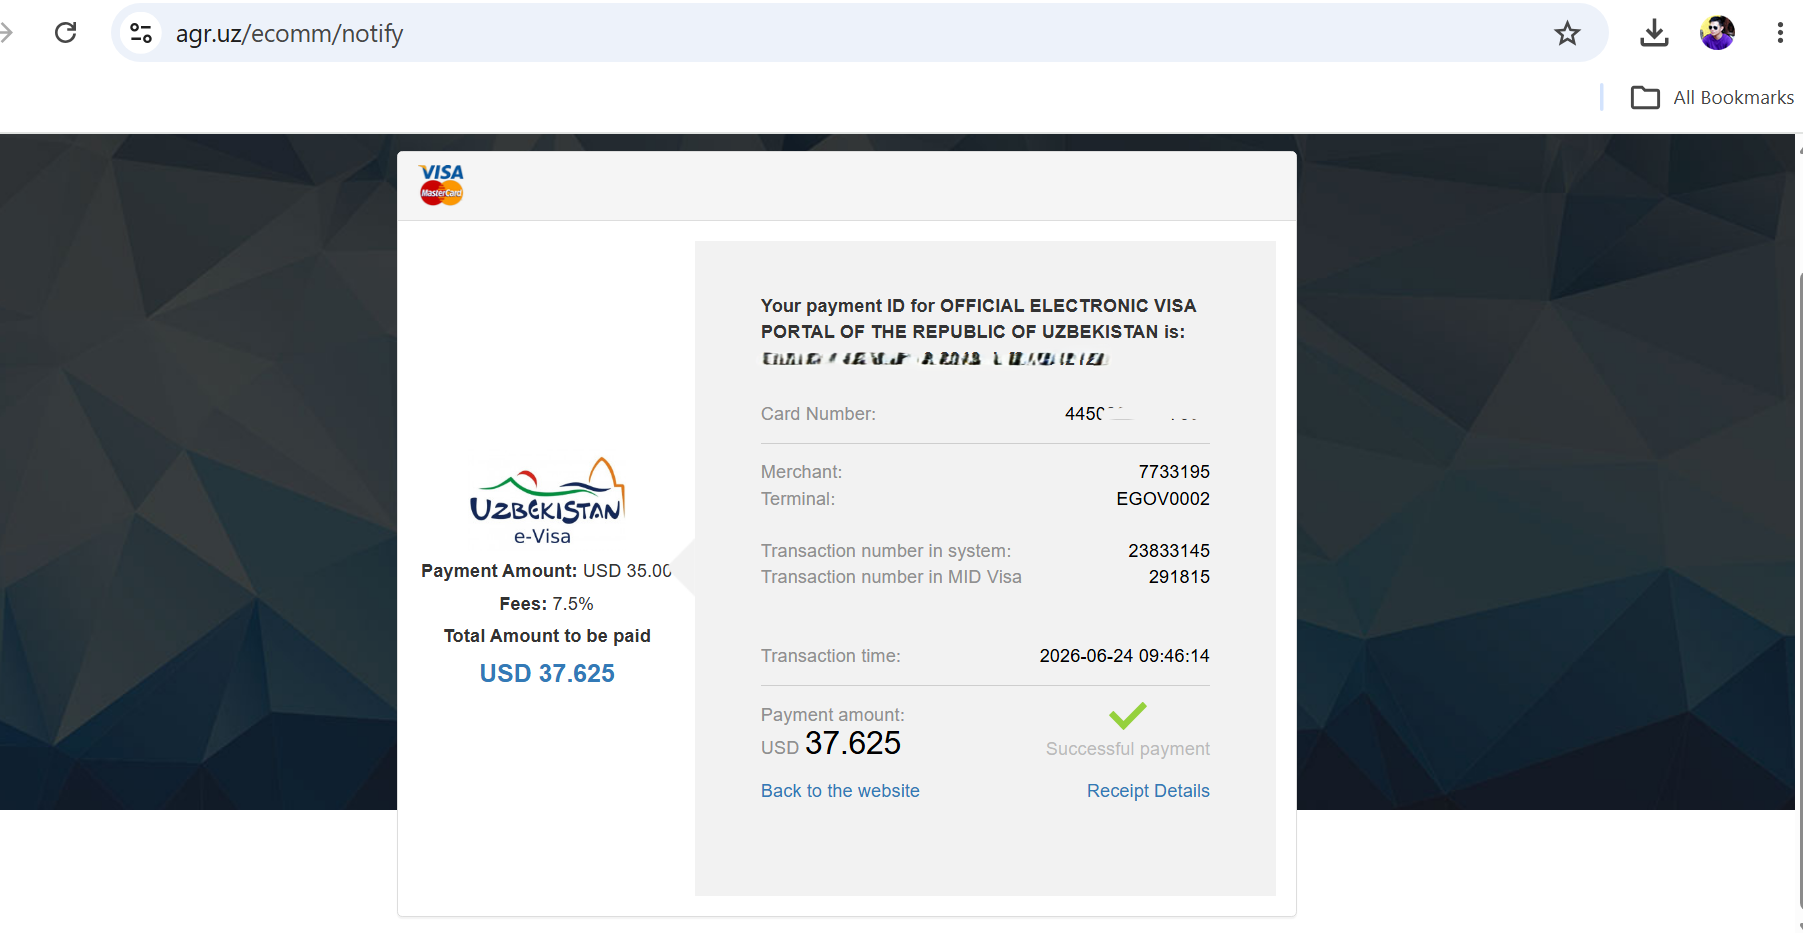
  • Payment Card: A valid Visa card to pay the online fee. 20 USD – Single Entry, 35 USD – Double Entry, plus a small processing fee. I applied for double entry since I intended to visit the neighboring Tajikistan by day tour.
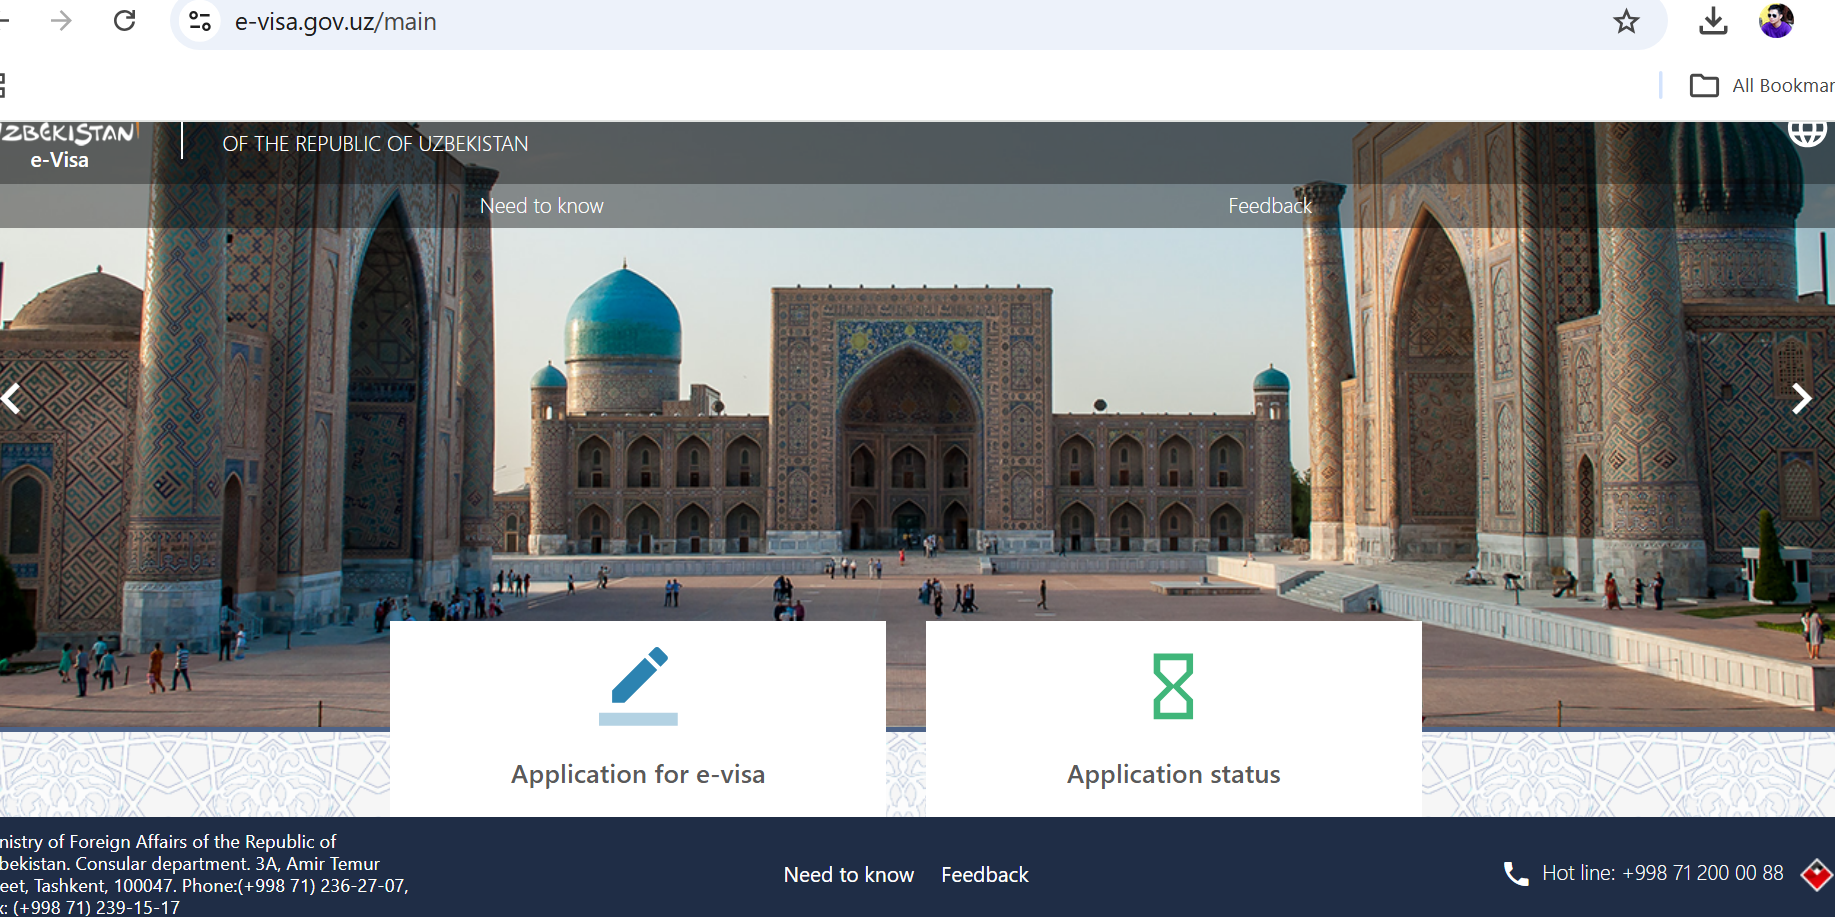
  • See E-Visa website screenshots below for reference.

Online application form/interface was simple and straightforward. I applied for E-visa 60 days before my intended trip. Got the approval within 3 days via email.

My Central Asia route: Fly to Almaty,Kazakhstan > Bus to Bishkek,Kyrgyzstan (4 hrs) > Fly to Tashkent,Uzbekistan (1 hr)> Regional Train to Samarkand,Uzbekistan (3 hrs) > Day trip to Panjakent,Tajikistan by van(1.5 hr) then back to Samarkand > Regional Train to Bukhara,Uzbekistan (3 hrs).

I flew to Central Asia via China Eastern Airline Manila – Shanghai – Almaty. Details of the flight are posted here.

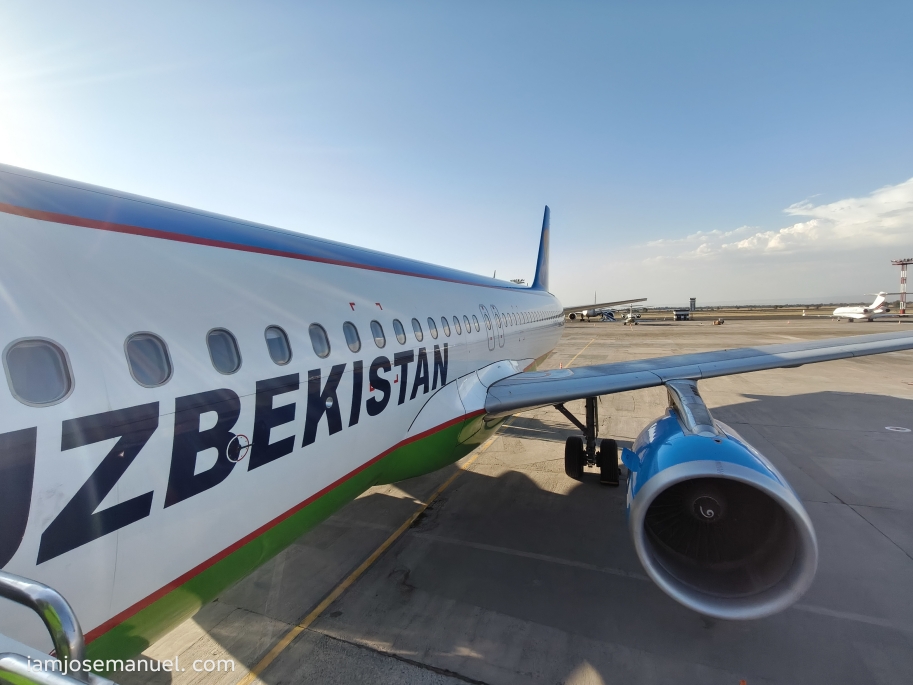
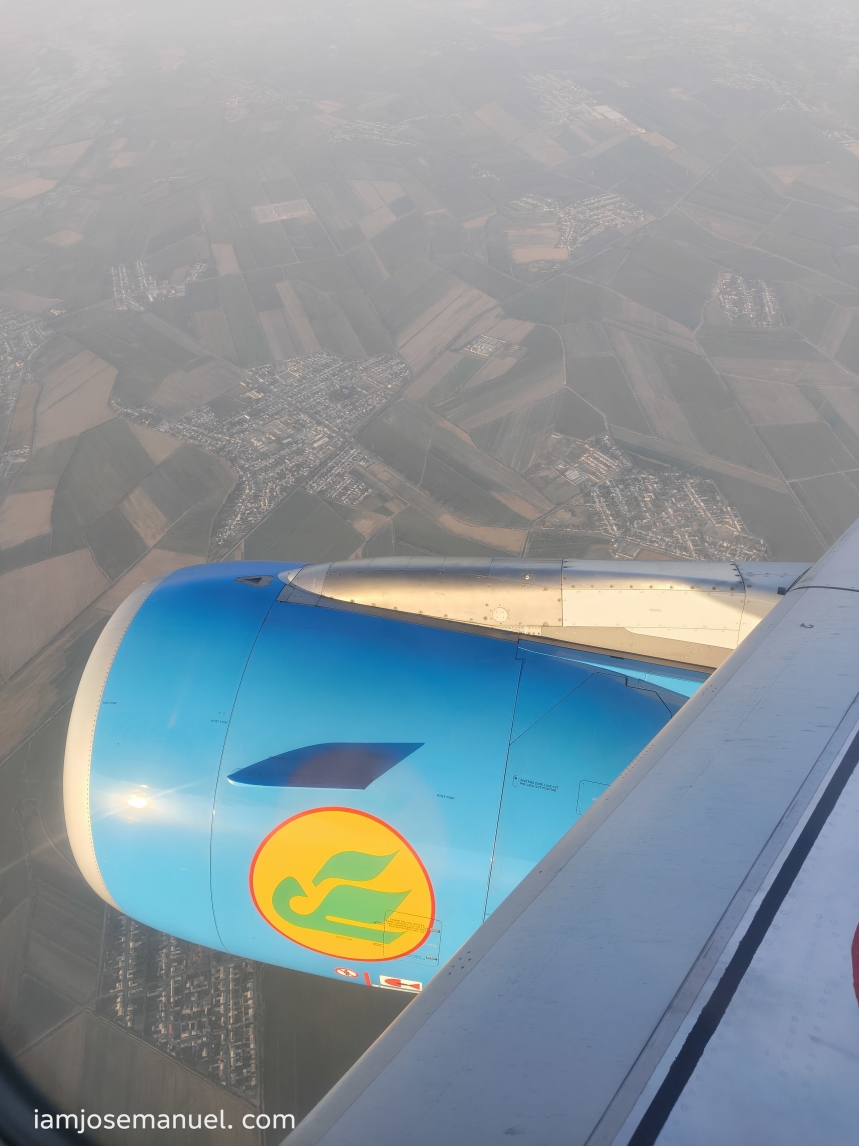
Option: Bishkek to Tashkent can be done by bus+train combo, but it takes so much time since dadaan ulit ng Almaty. As such, I opted to take an hour flight with Uzbekistan Airways. Flights between Central Asian cities are relatively inexpensive.

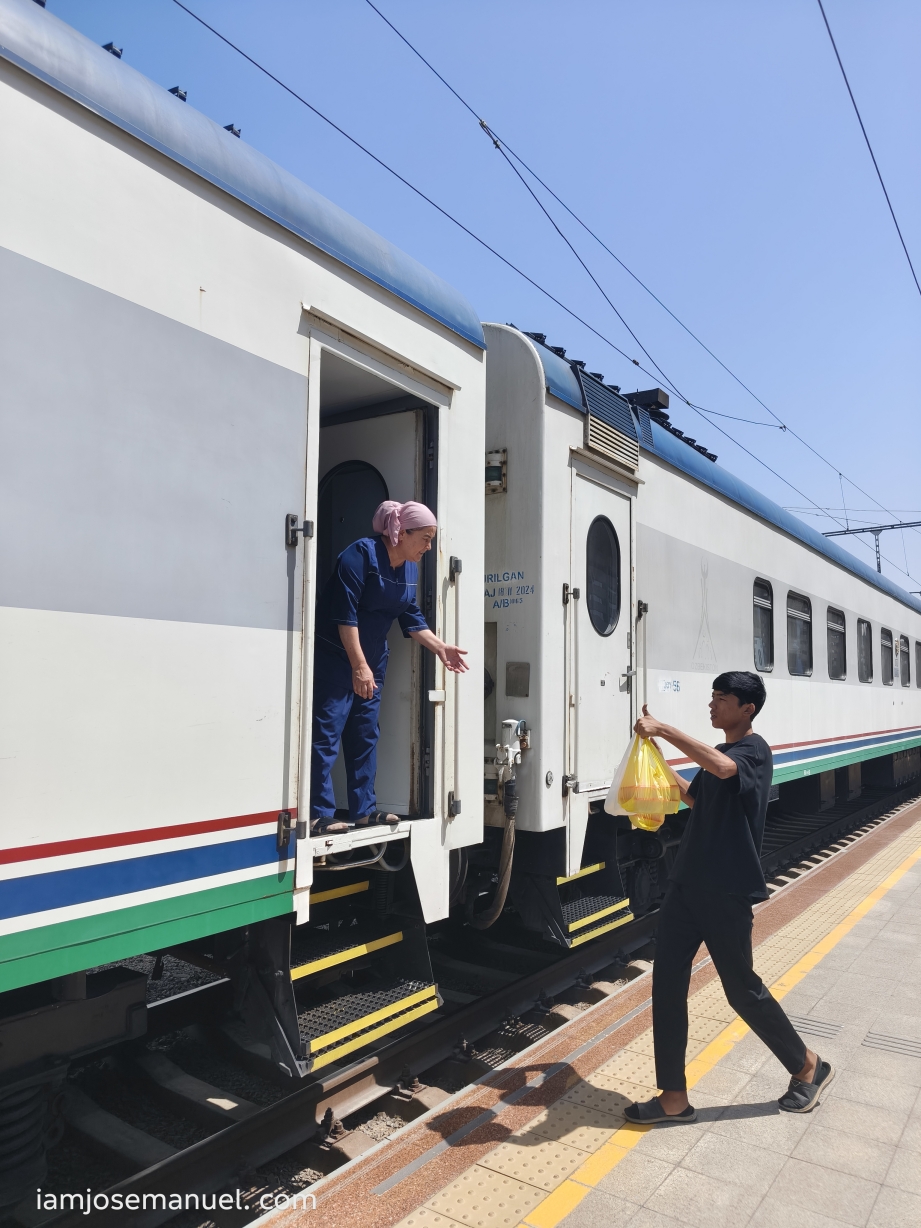
Where I booked my Regional Train Tickets: 12go.com . The Uzbek Train official website did not accept my local credit cards as payment. 12go was easier to use, with a small convenience fee. I booked my train (SHARQ) tickets around 45 days before my intended trip. Online booking only open 45 days prior. sometimes 30 days. I highly suggest joining UZ travel forums on facebook for exchange of info.

Highlights of Tashkent, the capital city and major/modern gateway of Uzbekistan.

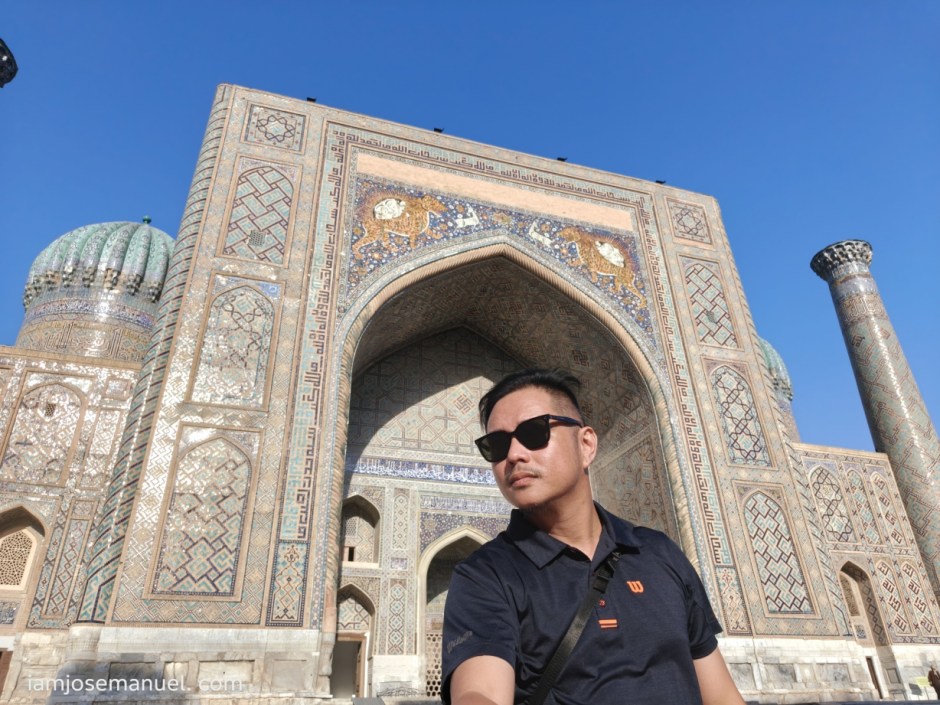
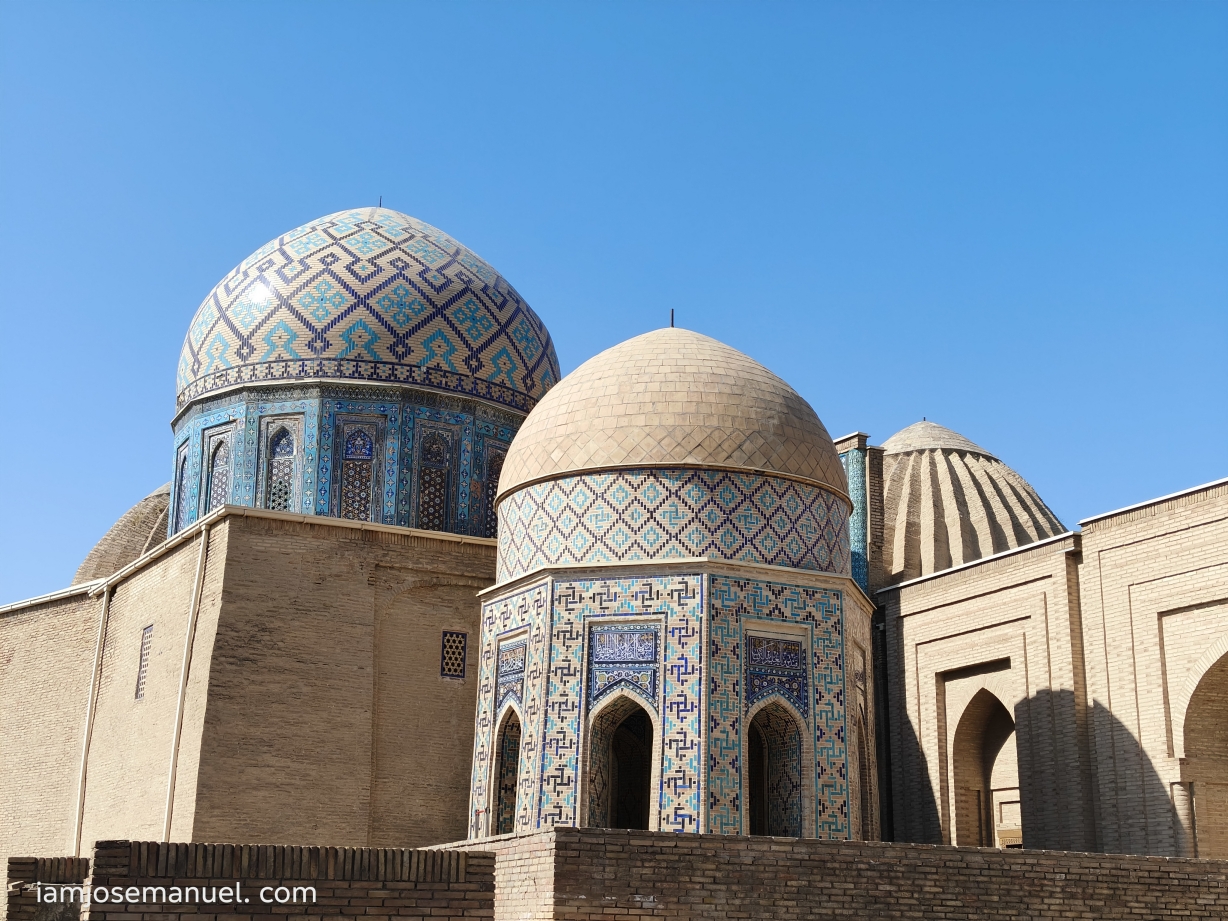
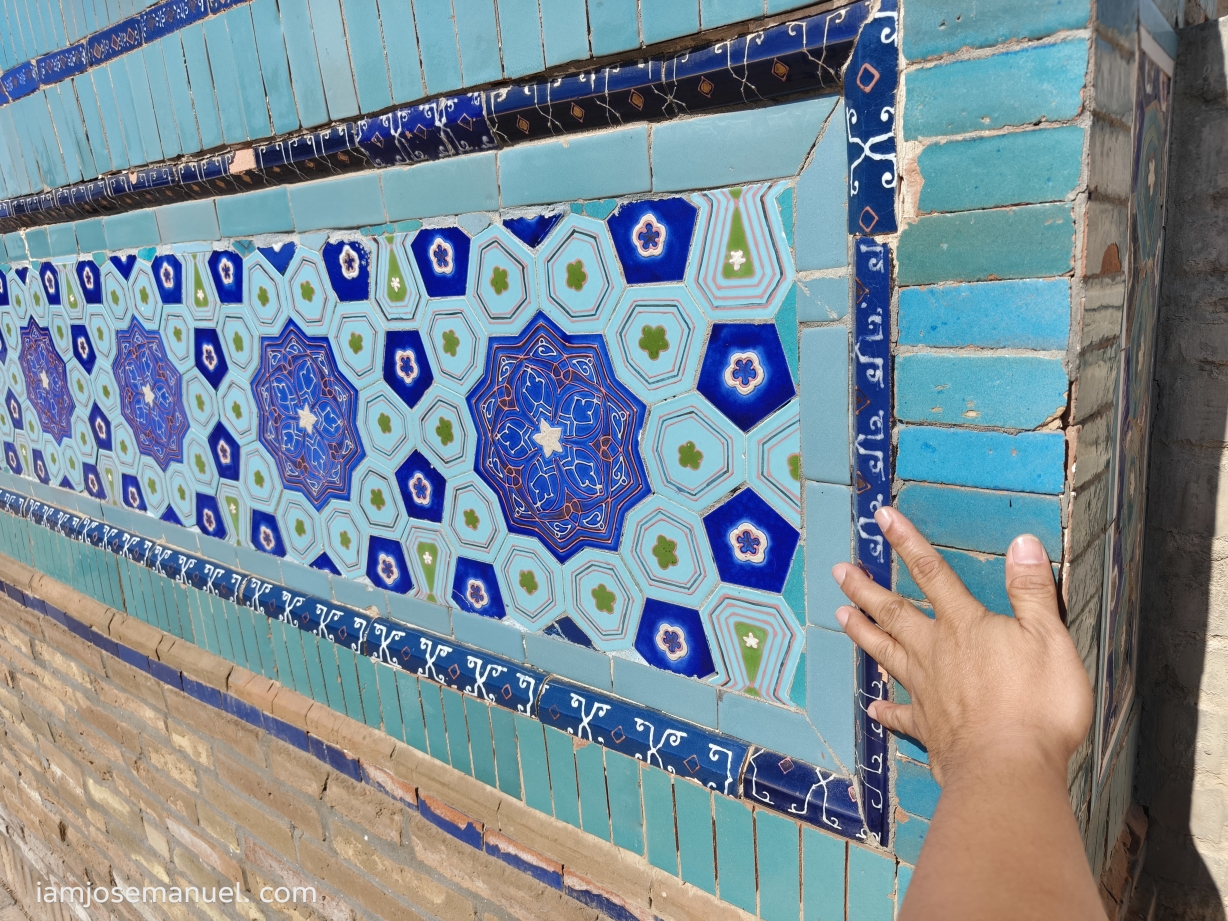
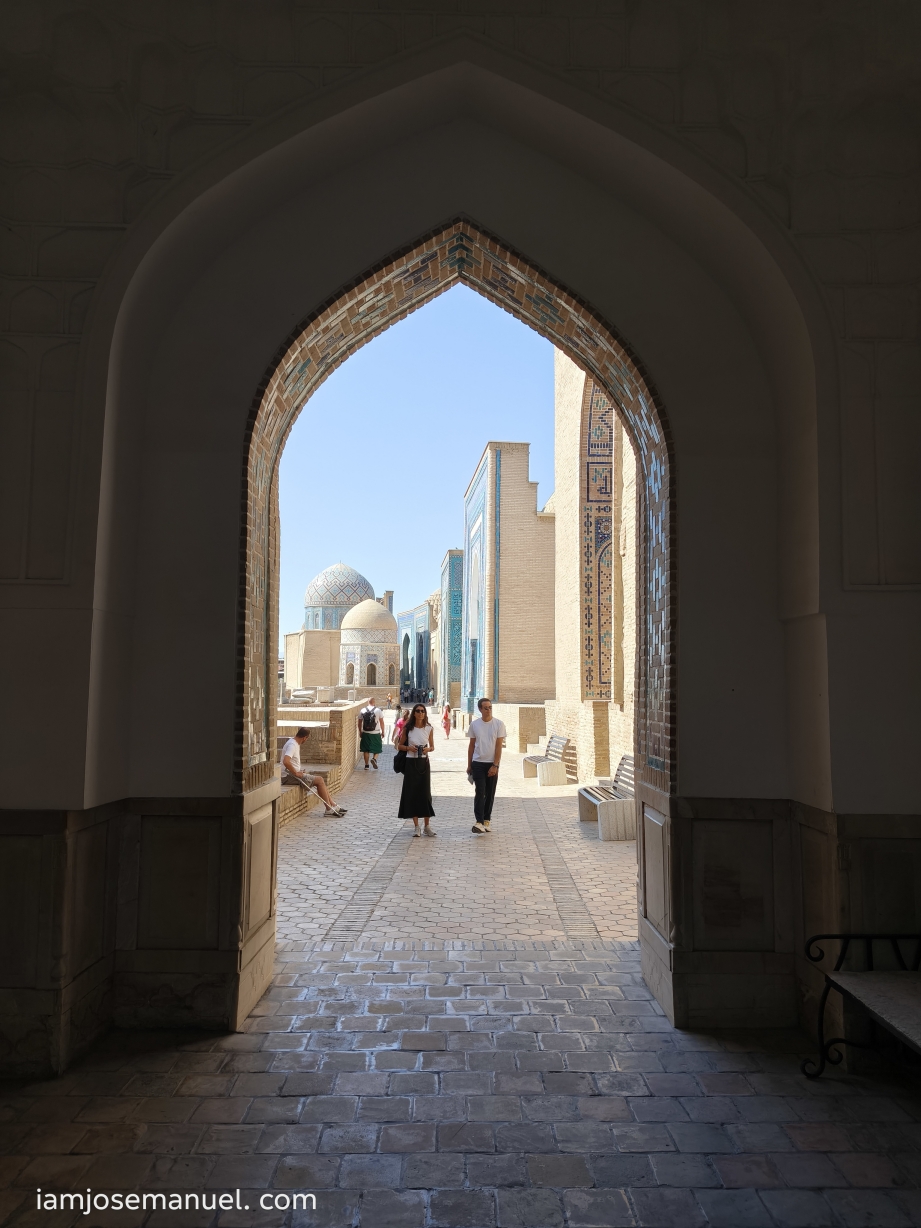
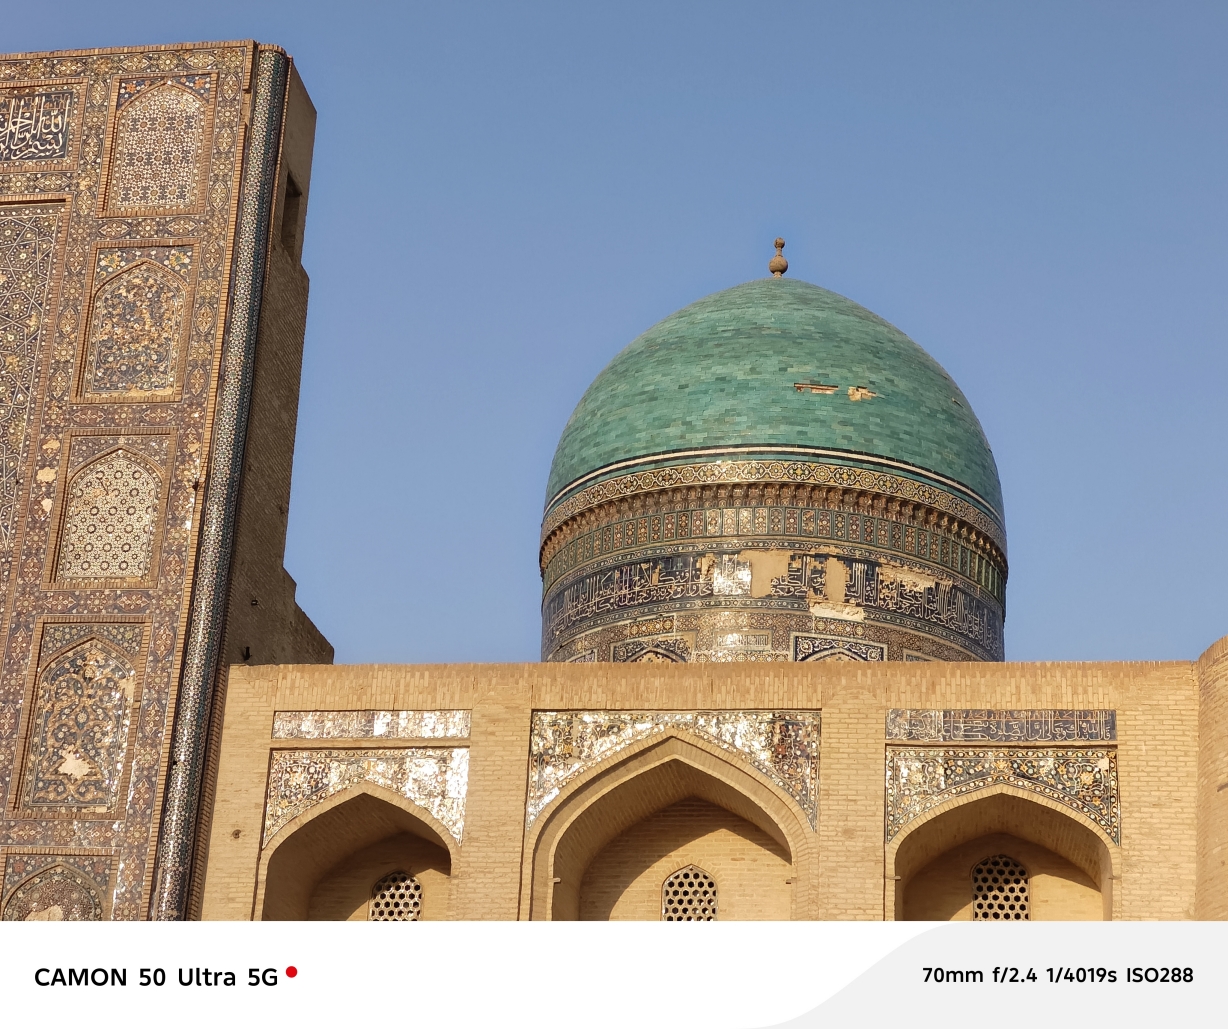
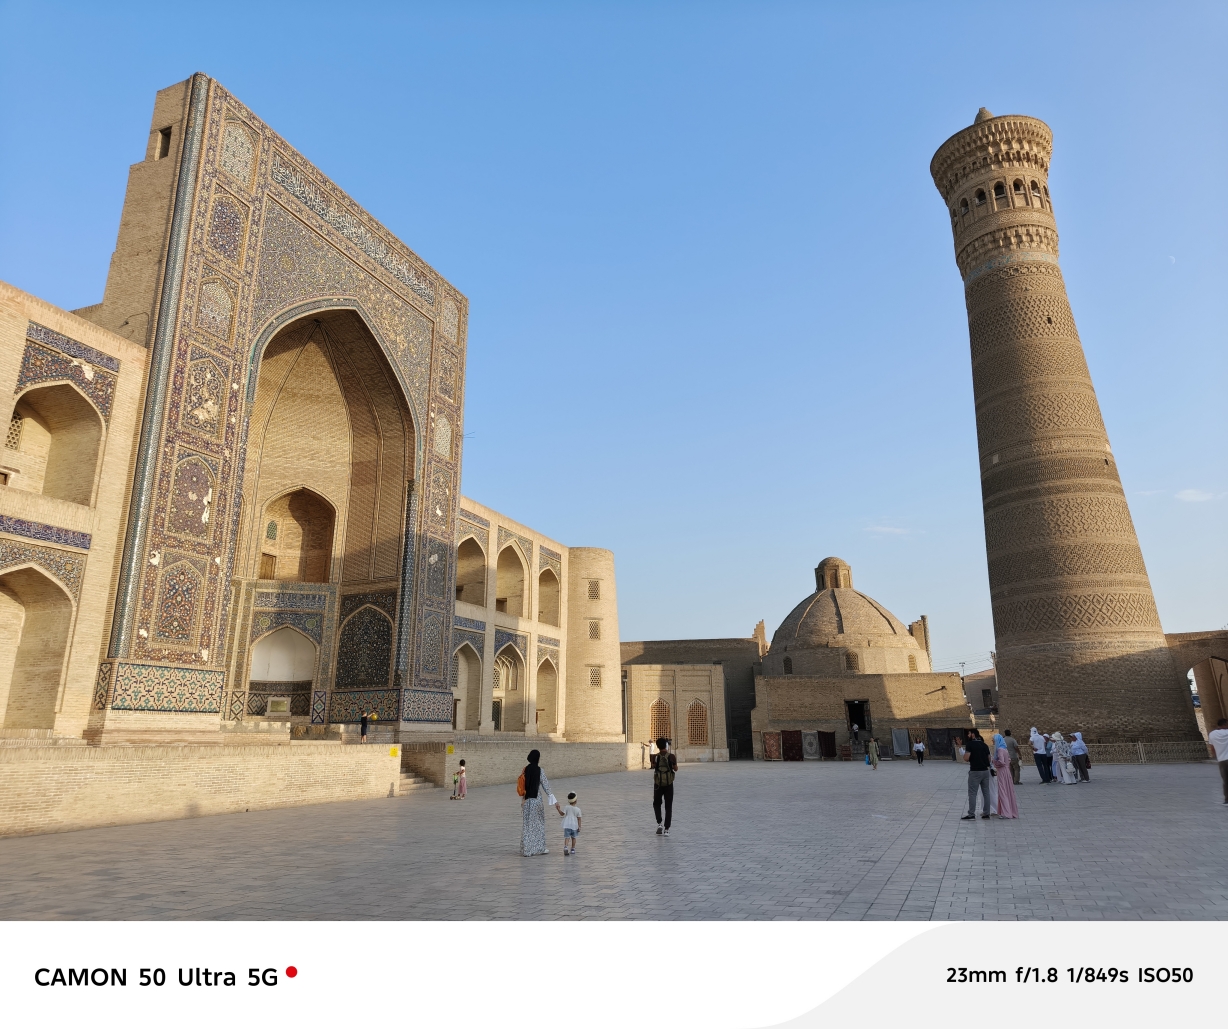
Highlights of Samarkand. Standing for over 2,700 years, it is one of the oldest continuously inhabited cities in Central Asia. Founded in 650 BC, it is as old as Rome and Athens. Samarkand is famous for the glorious Islamic Architecture, polished turquoise blue domes and perfectly restored mosaic tileworks on Mosques and Madrasa Building(school).

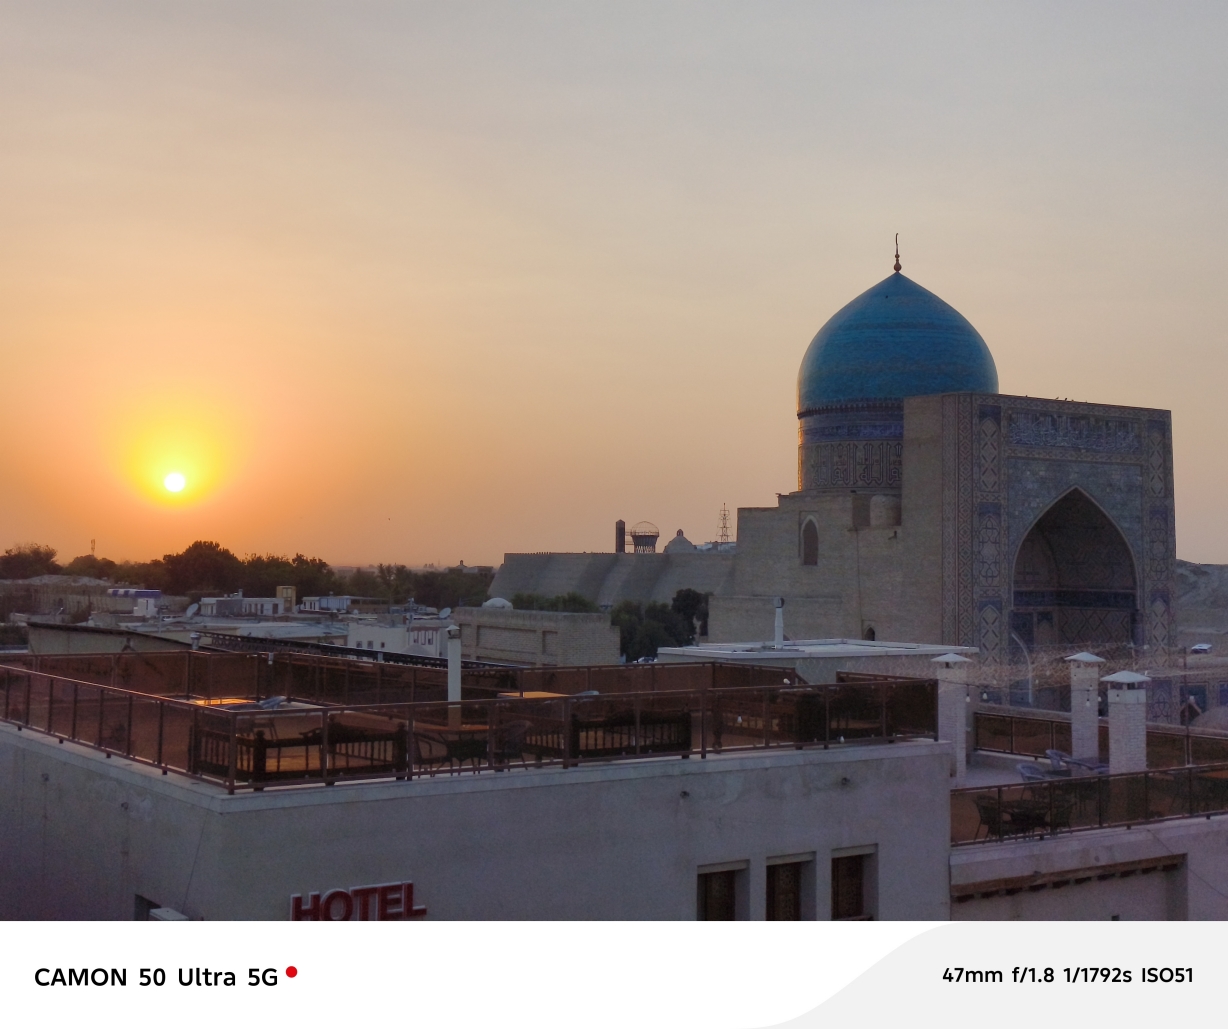
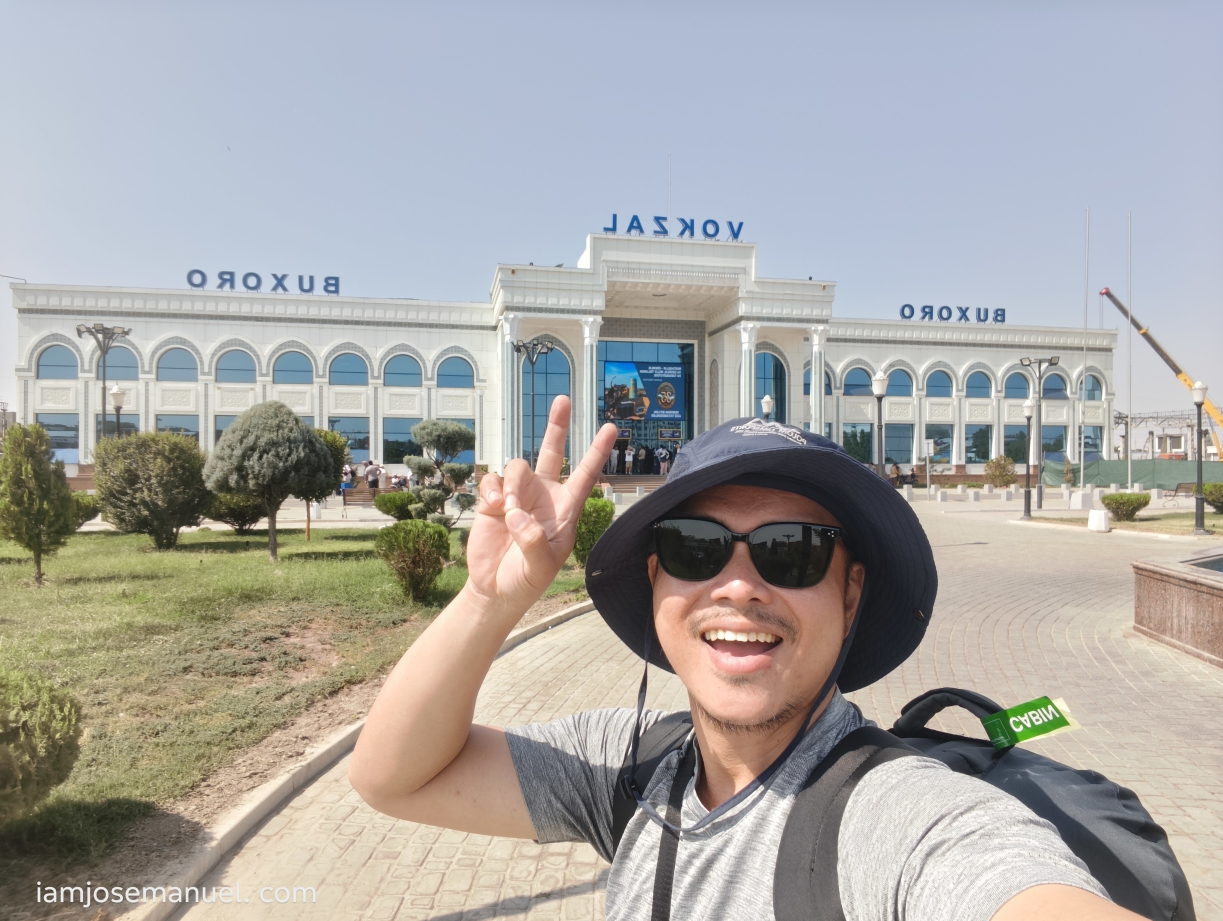
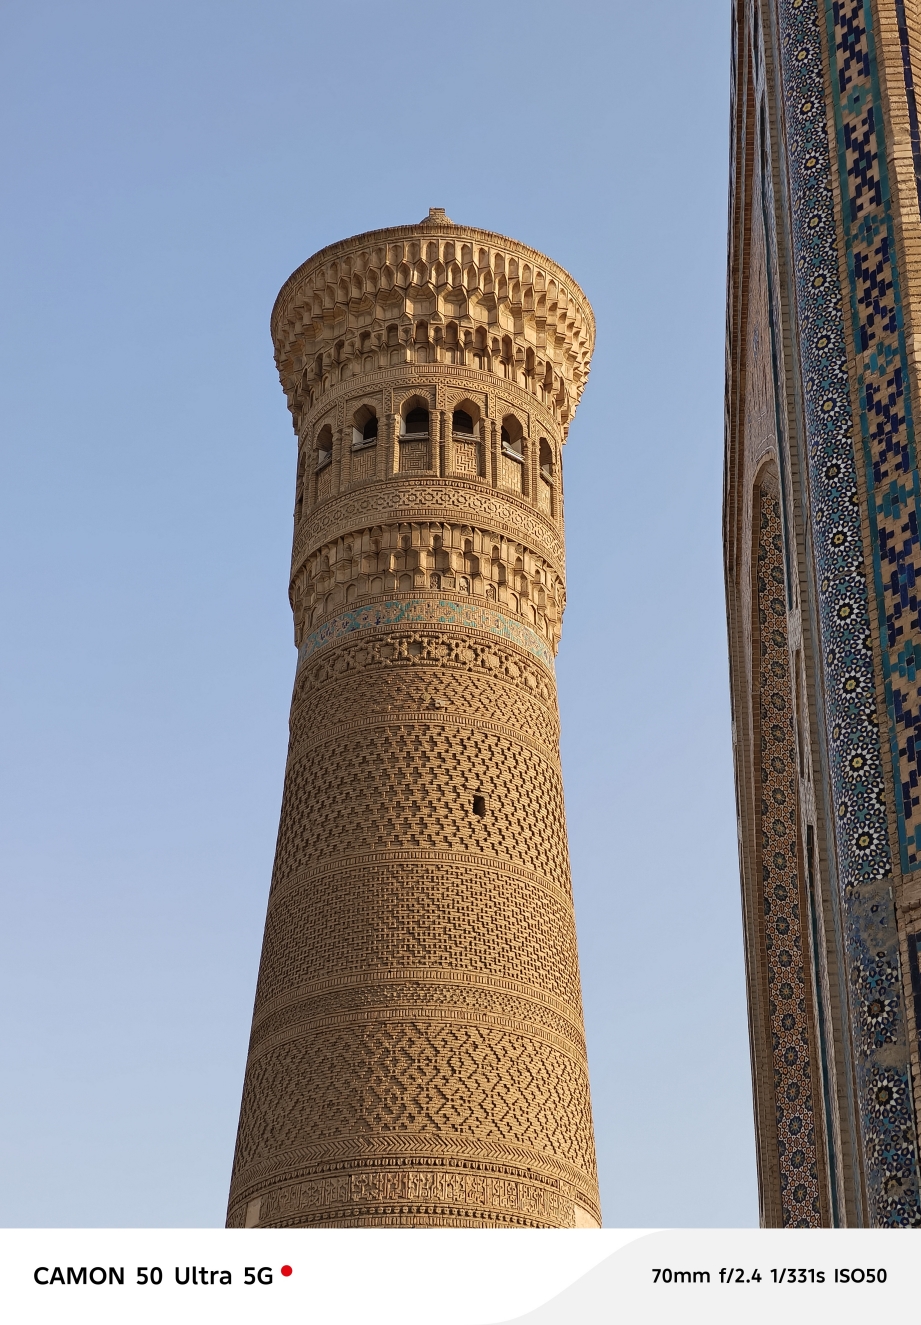
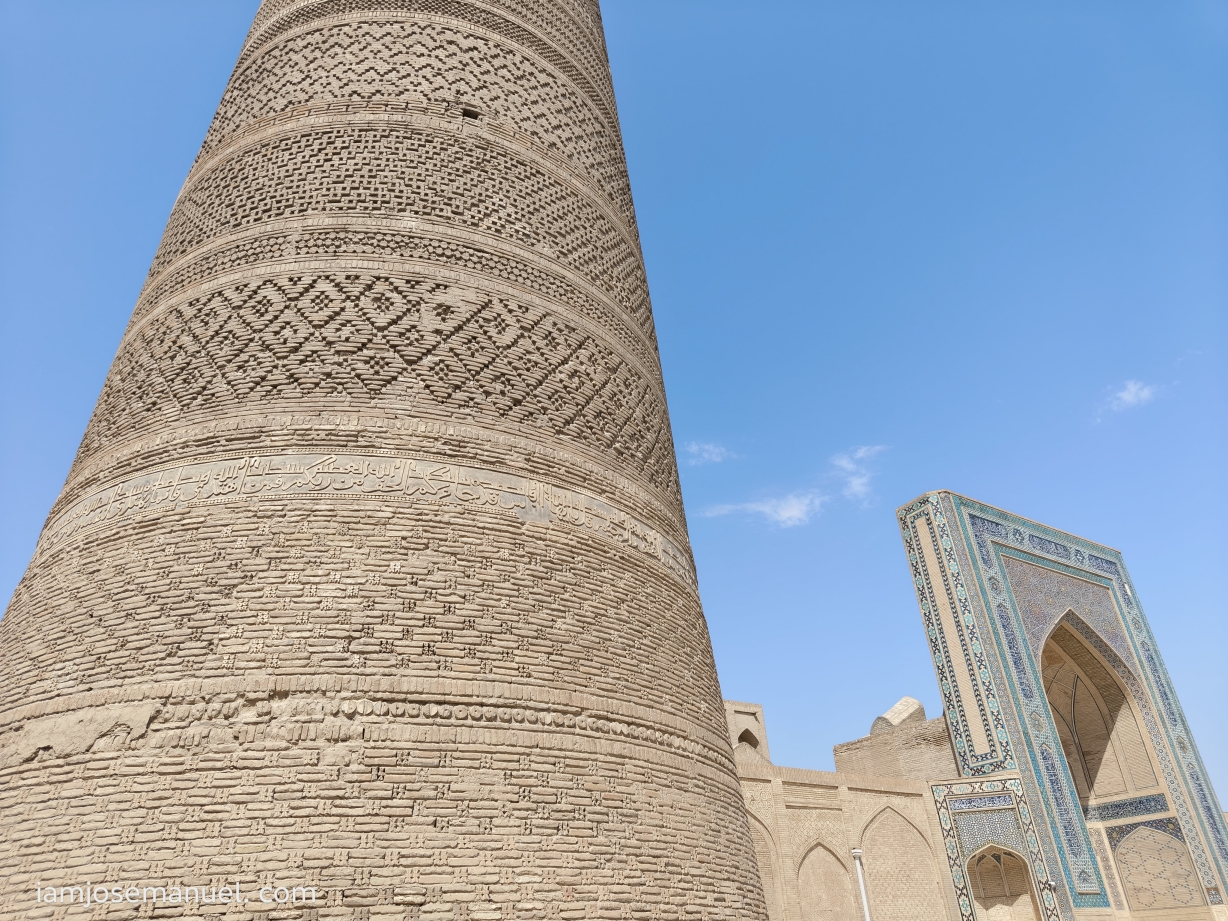
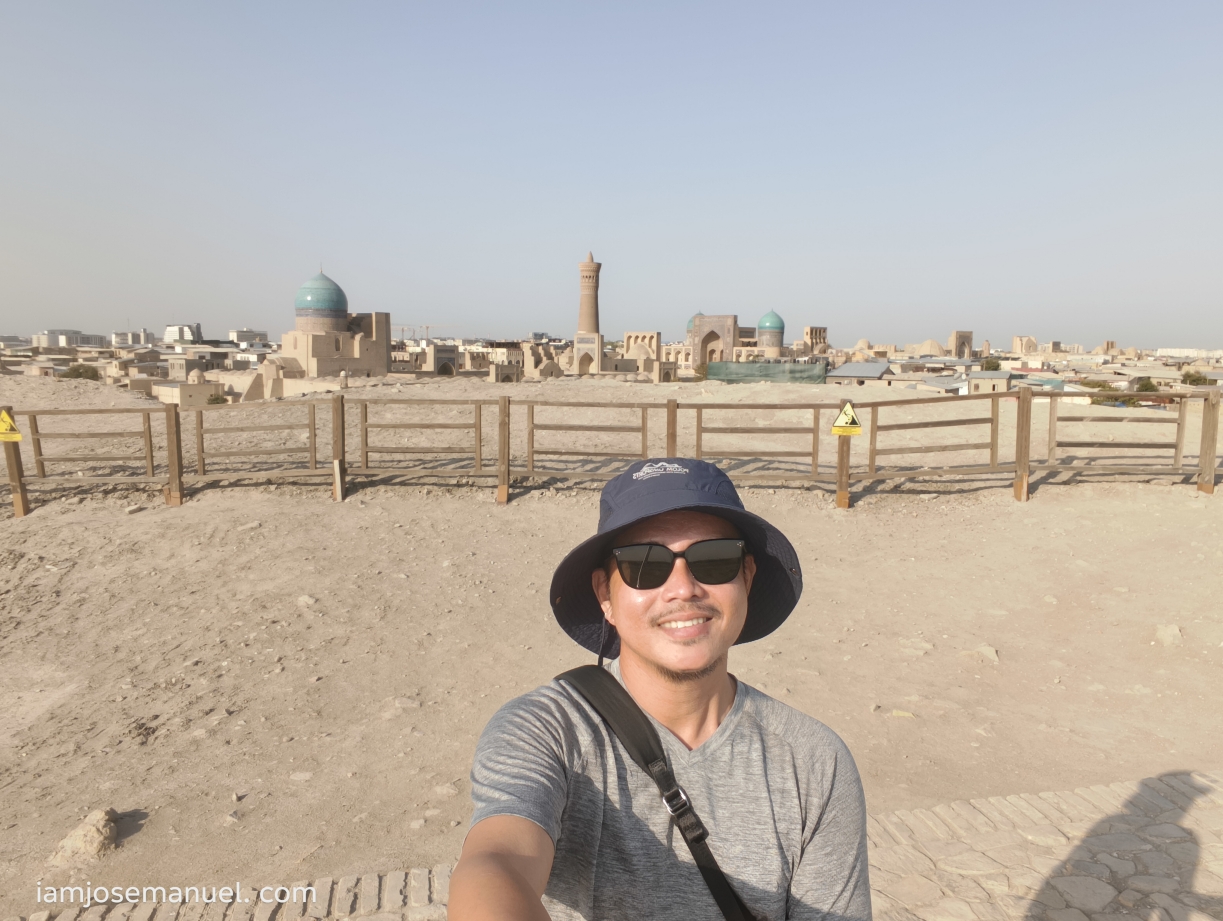
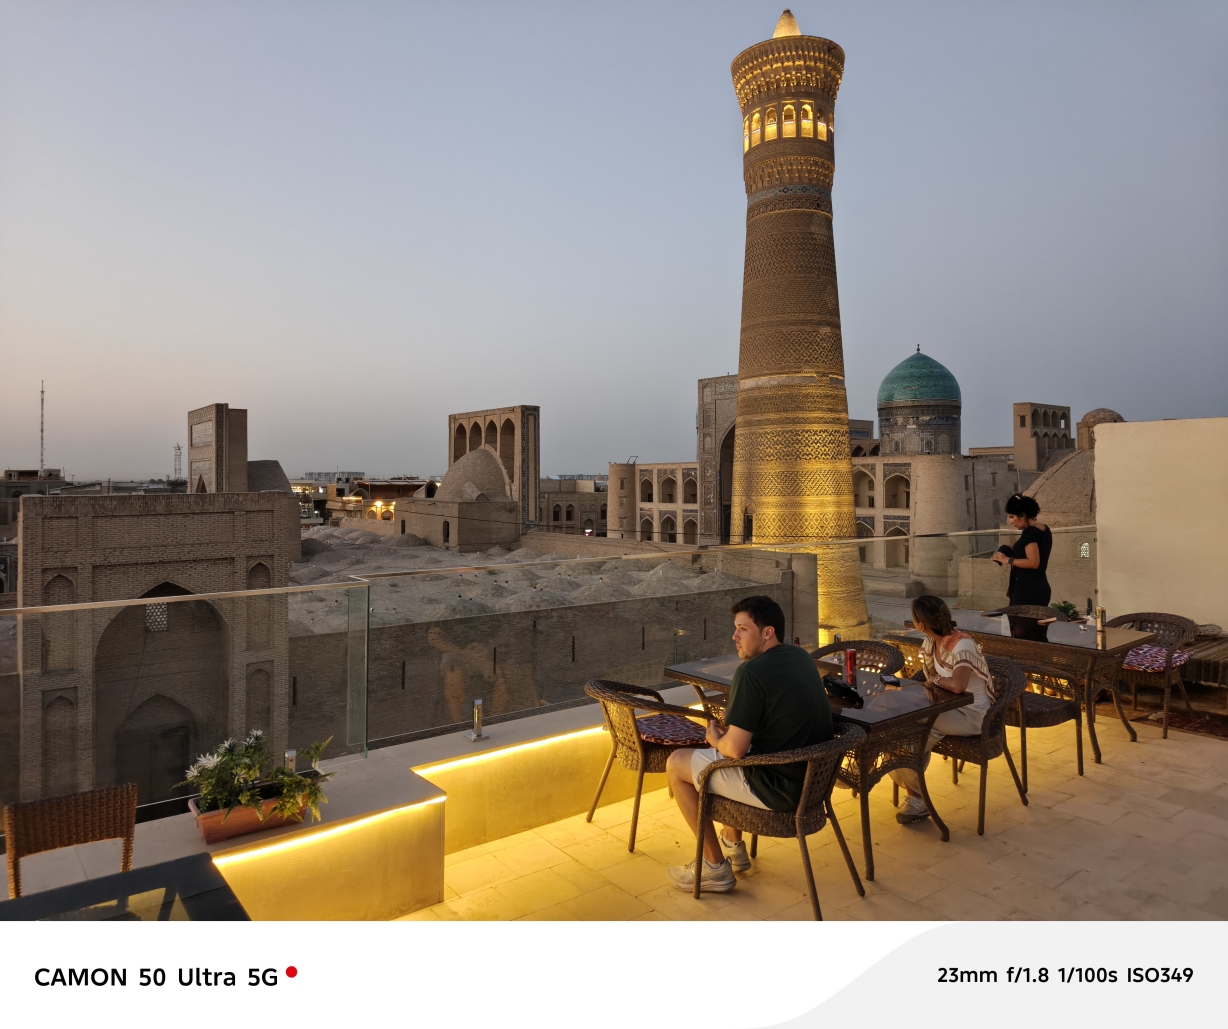
Highlights of Bukhara. Designated a UNESCO World Heritage Centre, the old quarters is somewhat like an open air museum, with well preserved Islamic Architecture elements like the Poi-Kalyan minaret (call for prayer tower), mosques and mausoleums. Compared to Samarkand, Bukhara is more rugged and unpolished/rough on the edges, offering an old world feels. It is also relatively smaller. I stayed at a guesthouse in a community just outside of the old fortress.

Helpful Travel Tip: Yandex Apps are your best friends in Central Asia.

  • Yandex Go– for my taxi rides. Installed this with my Android, and registered an account BEFORE I LEFT THE PHILIPPINES, using my local smart number. Cash payment only. Taxi rides are cheap in UZ; in the whole of Central Asia actually.
  • Yandex Map (as an alternative to google) for city bus and metro train/subway rides.
  • I used Gcash Visa Card for all my bus rides in Uzbek, as well as metro train. Contactless/tap and pay.
  • I did not buy na a local sim card on arrival. Instead, I purchased an international physical sim from Shopee (one sim for Central Asia etc-Kazakhstan, Kyrgyzstan and Uzbekistan. laking tipid nito), 10 GB. I did not have any problem with the sim. Matic transfer of network when border crossing between stan countries.
  • Pwede rin naman E-sim if you like. YESIM ang trusted esim ko for travel. Intall the app before leaving PH to avoid trouble.
  • Yandex Translate – English is very limited. Translators will come handy.
  • Money changers are not very common in Bukhara and Samarkand. Change bills in Tashkent upon arrival. Or you can just withdraw at the ATMs. Credit card payments are only accepted on bigger stores and restaurants. Even the guesthouses that I stayed in only accept cash. When going to UZ, take note of this.

Will upload a separate blog for each Uzbek city. Coming up.

Highlights of Bishkek,Kyrgyzstan (And getting an E-visa)

Kyrgyzstan is another Central Asian country than can easily be accessed from Almaty, Kazakhstan. Four hours lang by public bus, for less than 10 USD. If you have extra time during your stay in Kazakhstan, pwedeng ma-add ang Bishkek sa travel route mo. However, unlike the visa-free Kazakhstan, may extra preparation lang for Filipinos, since we need to get a KGZ visa prior. Though easy lang naman. I’ll share it here. But first, quick intro muna.

Kyrgyzstan sits south of Kazakhstan, with Uzbekistan to the west, Tajikistan to the south, and China to the east. Magkakalapit lang sila. But of all the neighboring countries, the land border with Kazakhstan is the most accessible for international travelers. As far as I know, the land borders with Uzbekistan and Tajikistan are not easily available for tourists. But you can get a flight naman as alternative. Airfare between Central Asian countries are relatively cheap.

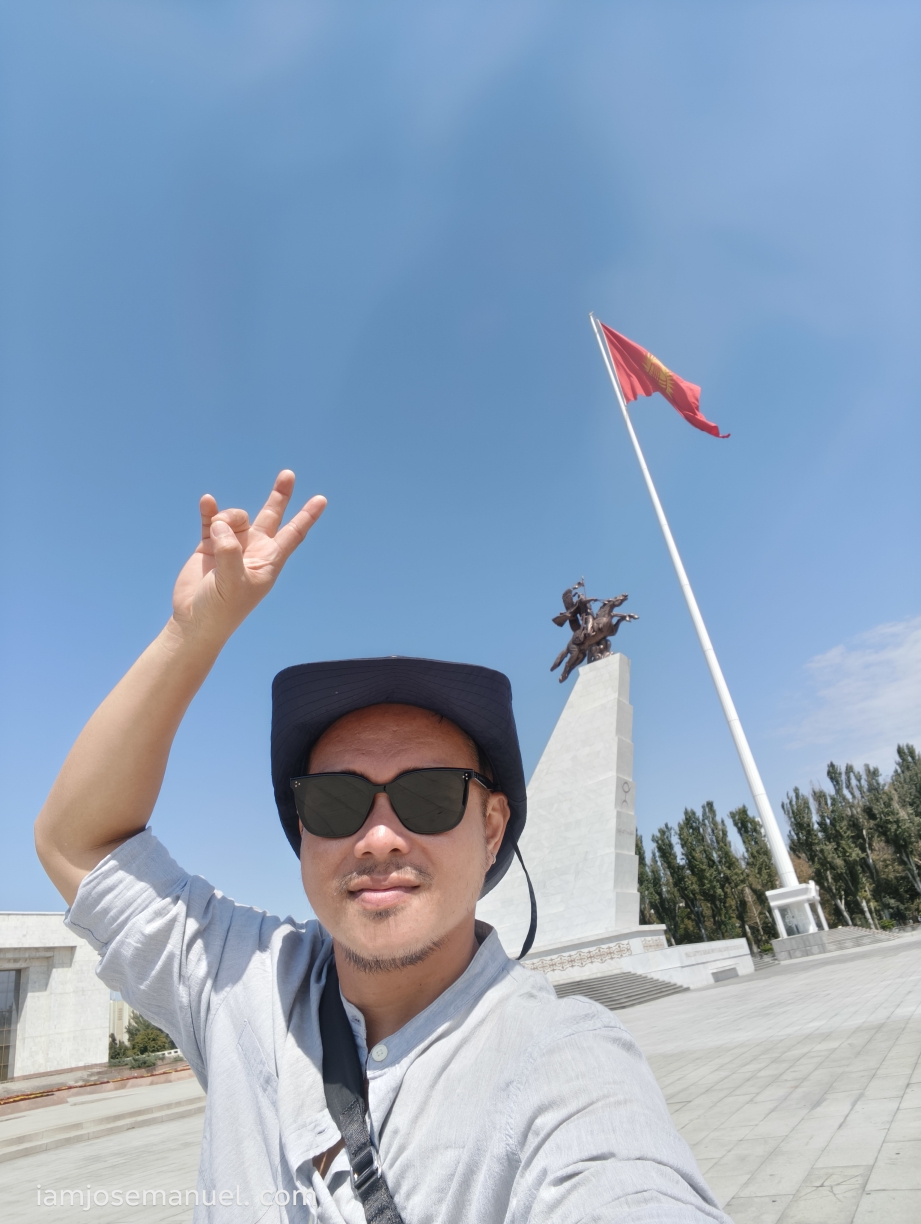
Kyrgyzstan is best known as the “Switzerland of Central Asia” for its dramatic mountain ranges, pristine alpine lakes, and deeply rooted nomadic traditions. But if you are not into hiking and mountaineering, I think Bishkek City is still worth visiting for it’s food scene, colonial soviet architecture and vibrant bazaar atmosphere. Bishkek is the capital and the biggest city in Kyrgyzstan. Compared to Almaty, Bishkek is more low-key, more culturally-rooted and is less westernized, in my opinion. But overall, the similarities between these two neighboring/sister countries are very obvious, especially on food and local produce. And just like other Central Asian countries, KGZ was also colonized and was part of the Russian Soviet Union. KGZ got its independence in 1991.

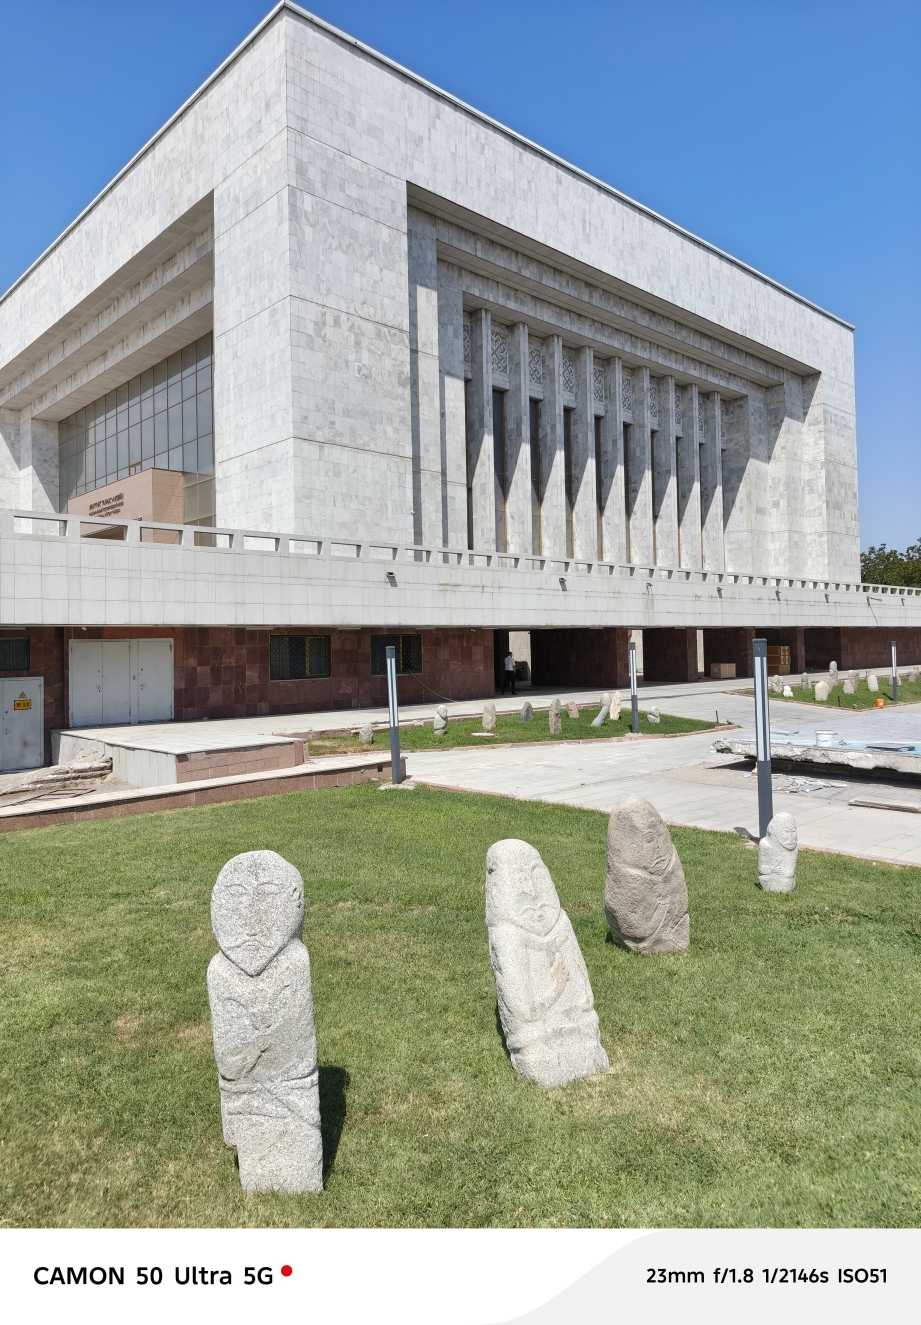
The National Museum of Krygyzstan housing the vast collection of artifacts from early nomad settlers and from the prosperous days of the Silk Road, to which Bishkek was a part of.

Getting the E-Visa: Apply on this site shown below. Application is straightforward and quick. If you’ve done Japan or US before, this would be very easy for you. Note, make an account first with basic personal info before starting an application.

Requirements to upload online:

  • Valid Passport – Bio Page, Clear scanned colored copy in Jpeg format. File must be less than 1MB.
  • Digital Photo: A recent, passport-type color photograph with a white background. File must be less than 1MB
  • Travel Details: Proof of accommodation or place of stay, and return tickets. In my case, i did not submit an entry flight ticket, since I will be entering by public bus from Almaty. I prepared a cover letter stating this. I did however submit my exit flight ticket, which I think is more important.
  • Payment Card: A valid Visa or MasterCard credit or debit card to pay the consular fees online. Single Entry is around 50 USD. Not cheap.

Got my approved E-Visa after 3 days by via email. Easy. Though Visa on Arrival is also available naman for Filipinos, but only when arriving at Manas International Airport in Bishkek. E-visa is a ‘Must Have’ for land border crossing.

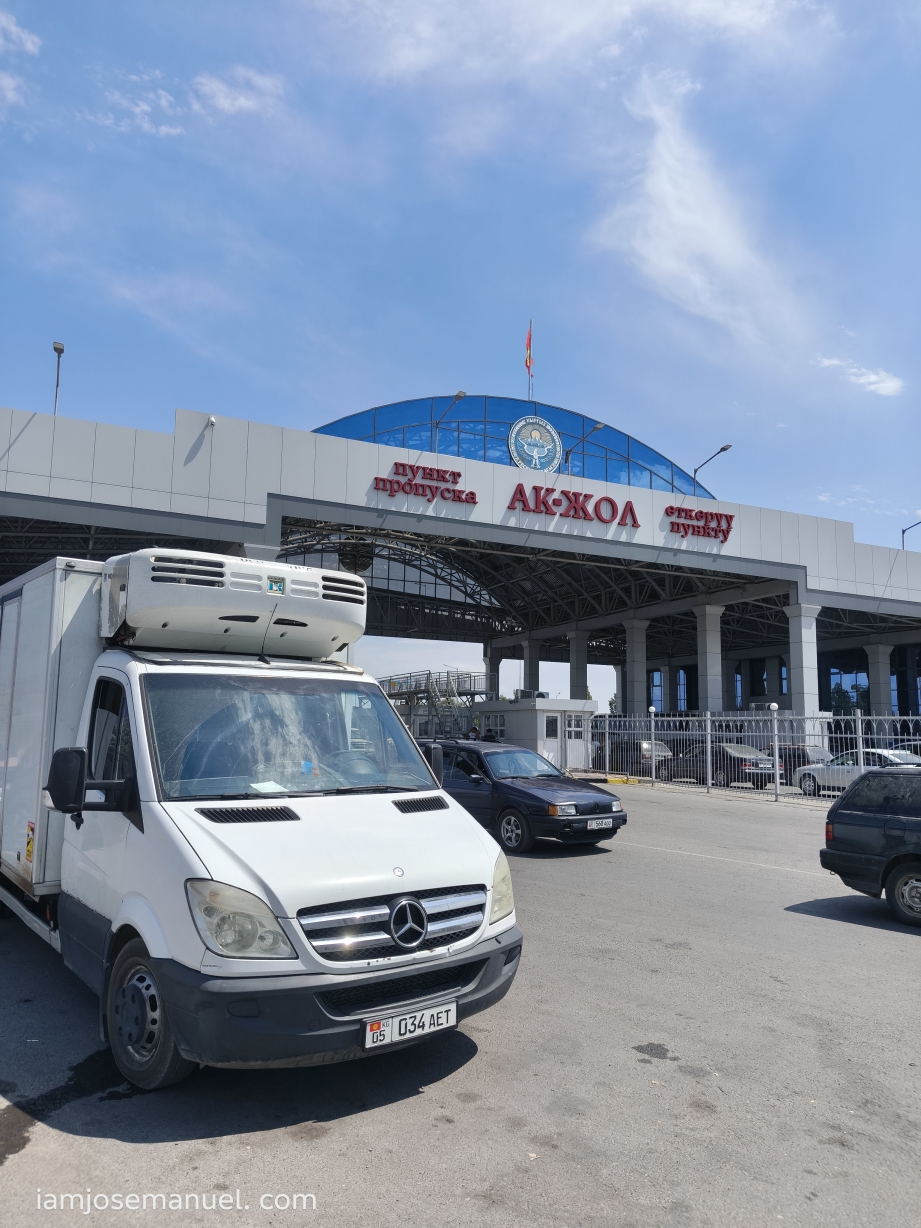
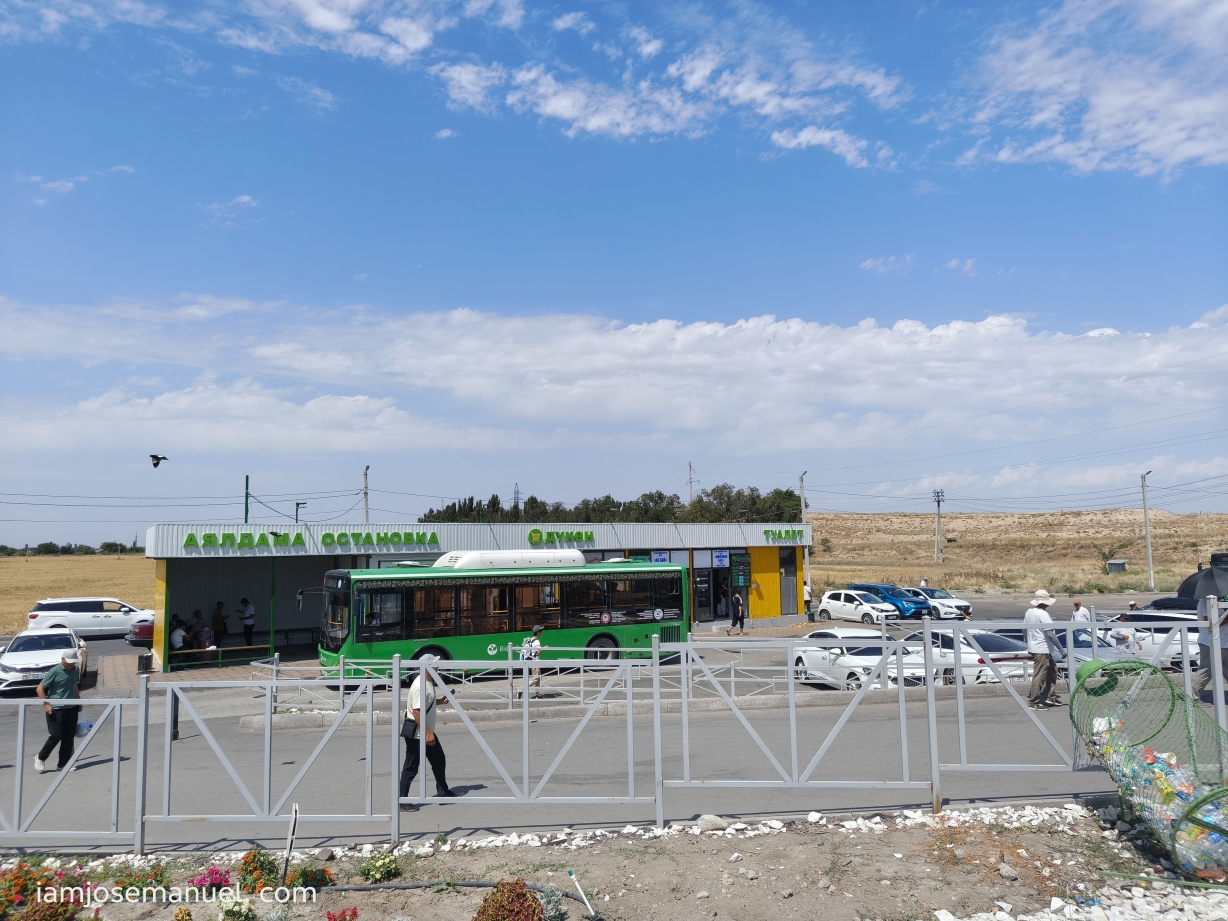
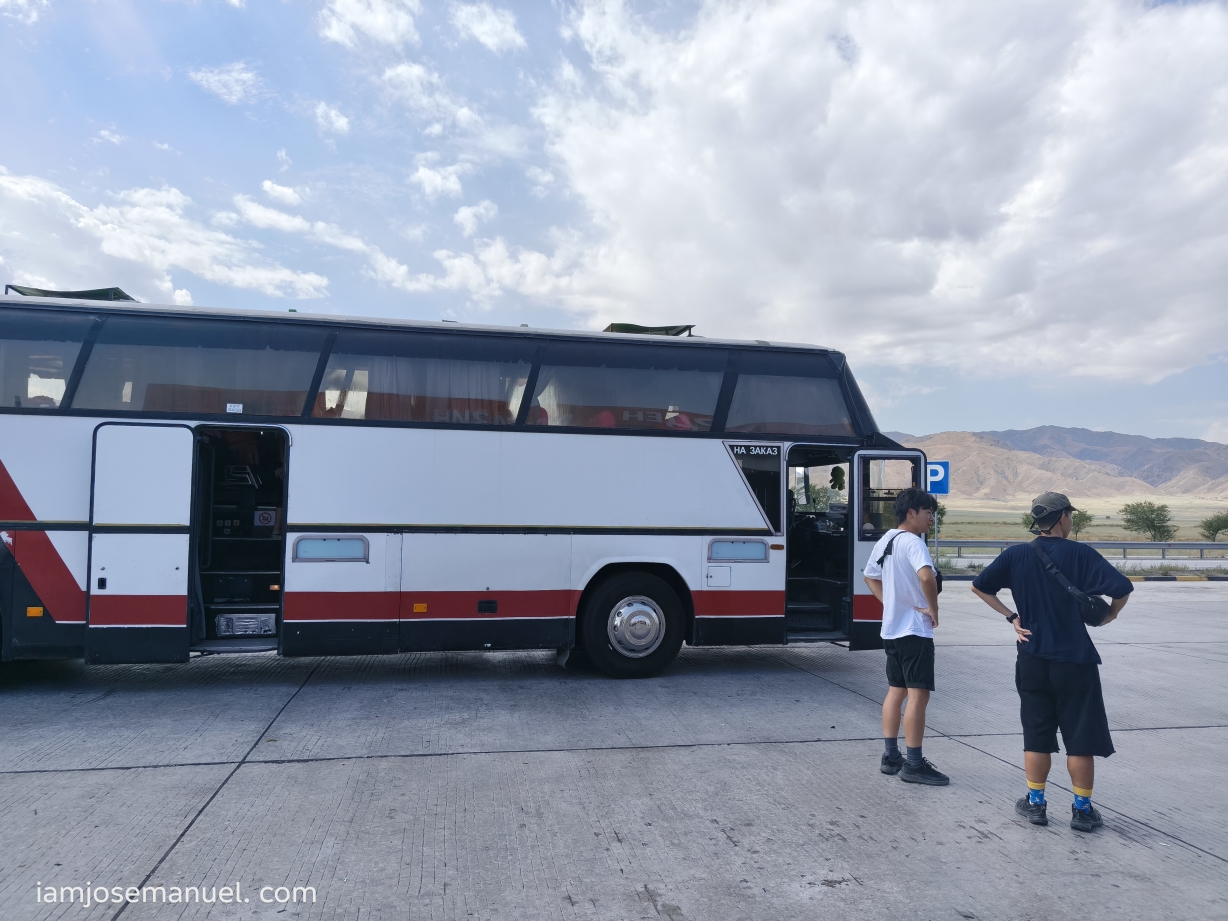
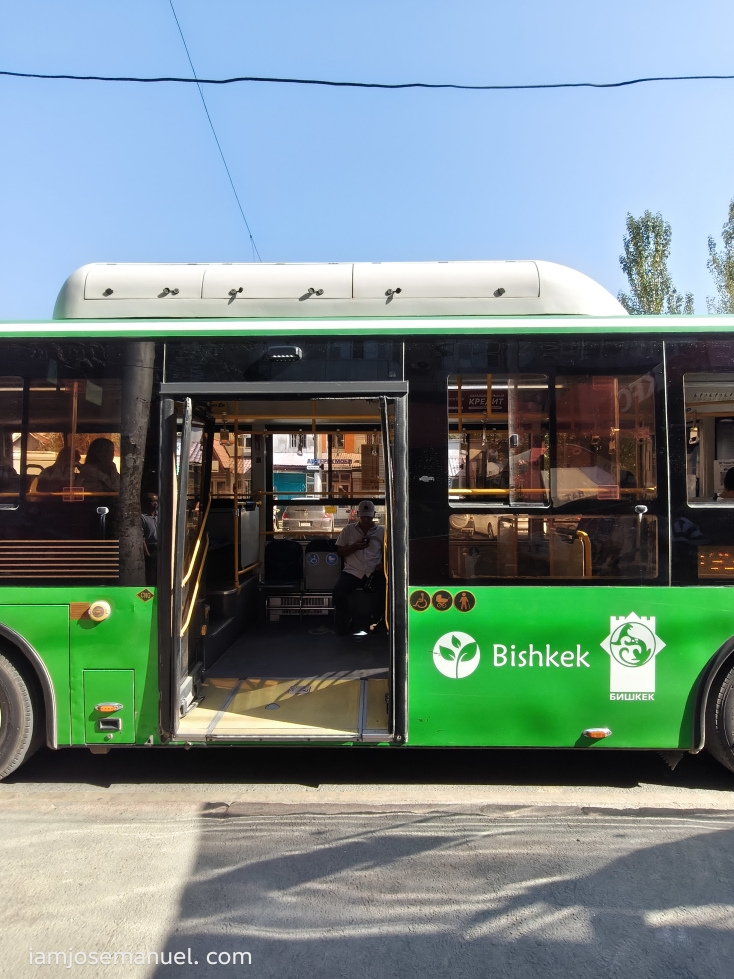
The Bus Ride from Almaty KZ to Bishkek KGZ, I uploaded a video of it (Click link) on my tiktok account . For reference, Ito itsura ng bus and the land border(Immigration Office Bldg.). Almaty to Border is 4 hours bus, and Border to Bishkek is just 20 minutes by taxi, booked with Yandex App. Having a data connection is an advantage. Sa Border, KGZ side, there are money changers na and cafes with wifi. There is also a public city bus 51 (the green one in the Photo below) that goes to Bishkek City center from the border, but its not the easiest.

More details on bus ride-Almaty side, are posted here.

English speakers are very few, and translation apps are very helpful. Though

The capital and largest city is Bishkek which lies on the northern border with Kazakhstan. Ethnic Kyrgyz make up the majority of the 7.5 million people, followed by significant minorities of Uzbeks and Russians. Konte lang po population nila.

I stayed for only two nights in Bishkek. I did not go out of the city anymore to do hiking trails. Instead, I opted to have a very restful stay in a pleasing accommodation, and just enjoyed the bazaar and the local food highlights.

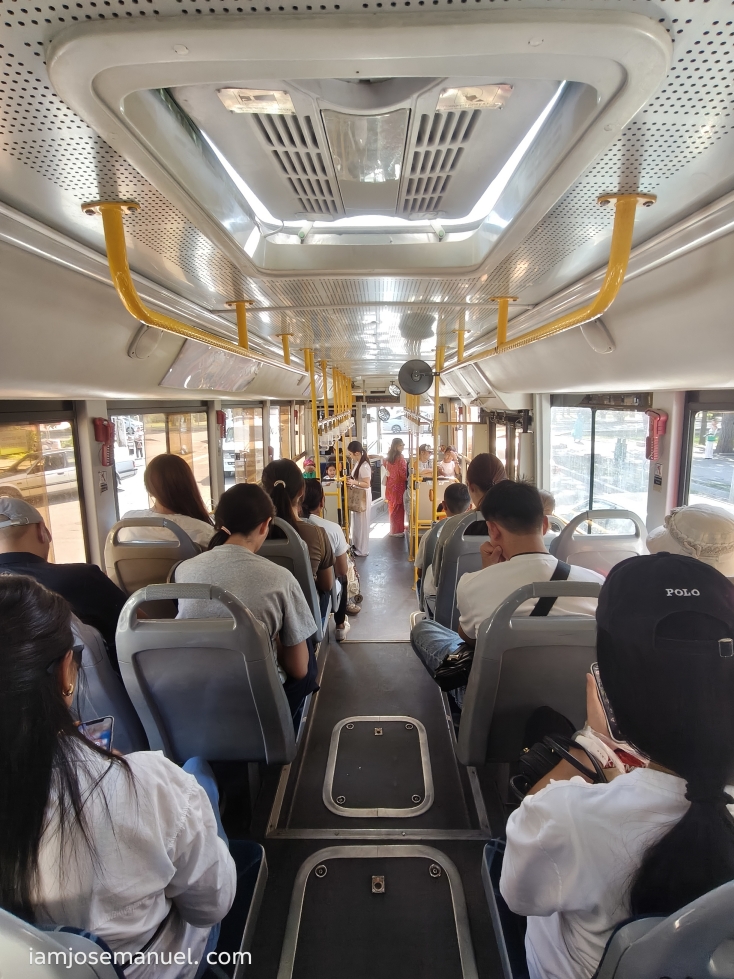
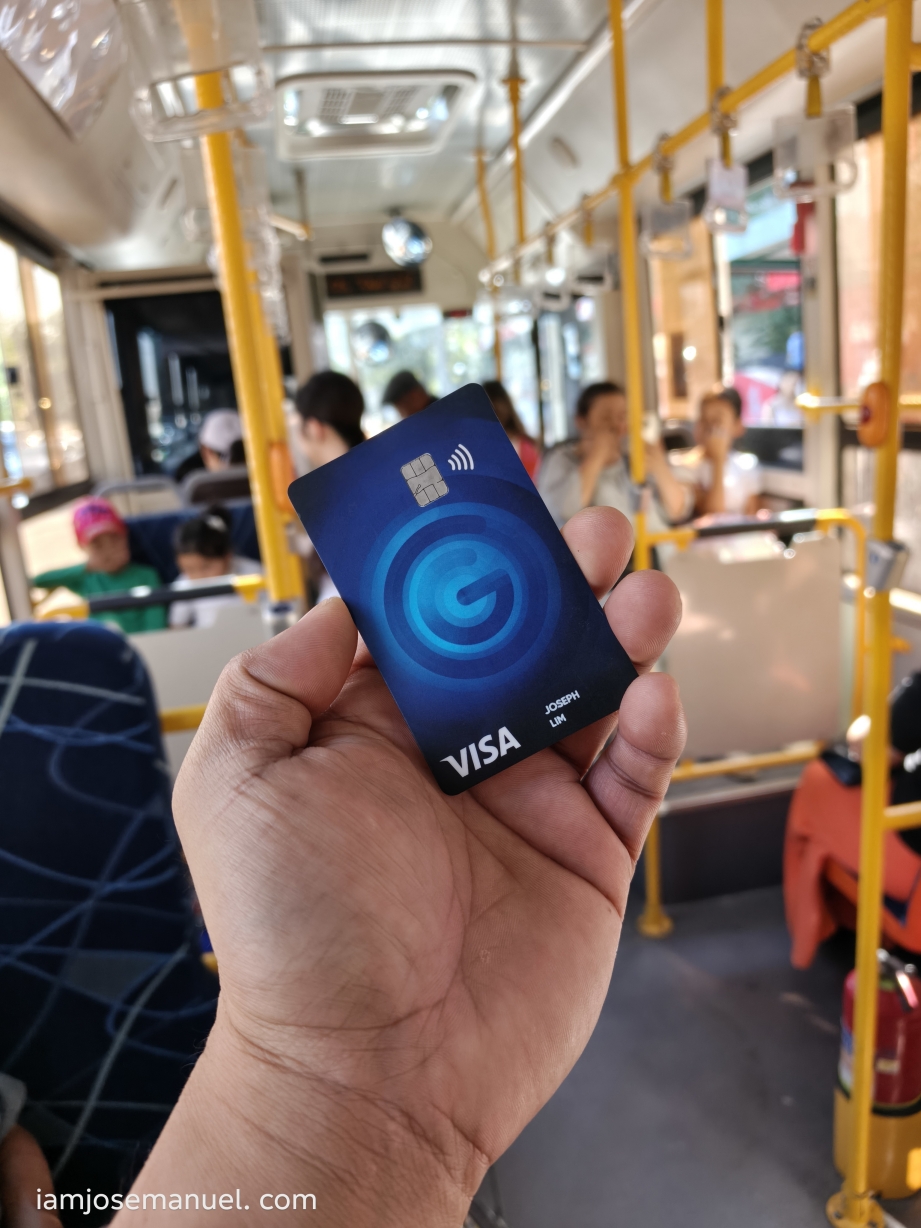
Interestingly, I was able to use my Gcash Visa Card to pay for all my bus rides in Bishkek. Tap and go lang. Nice!

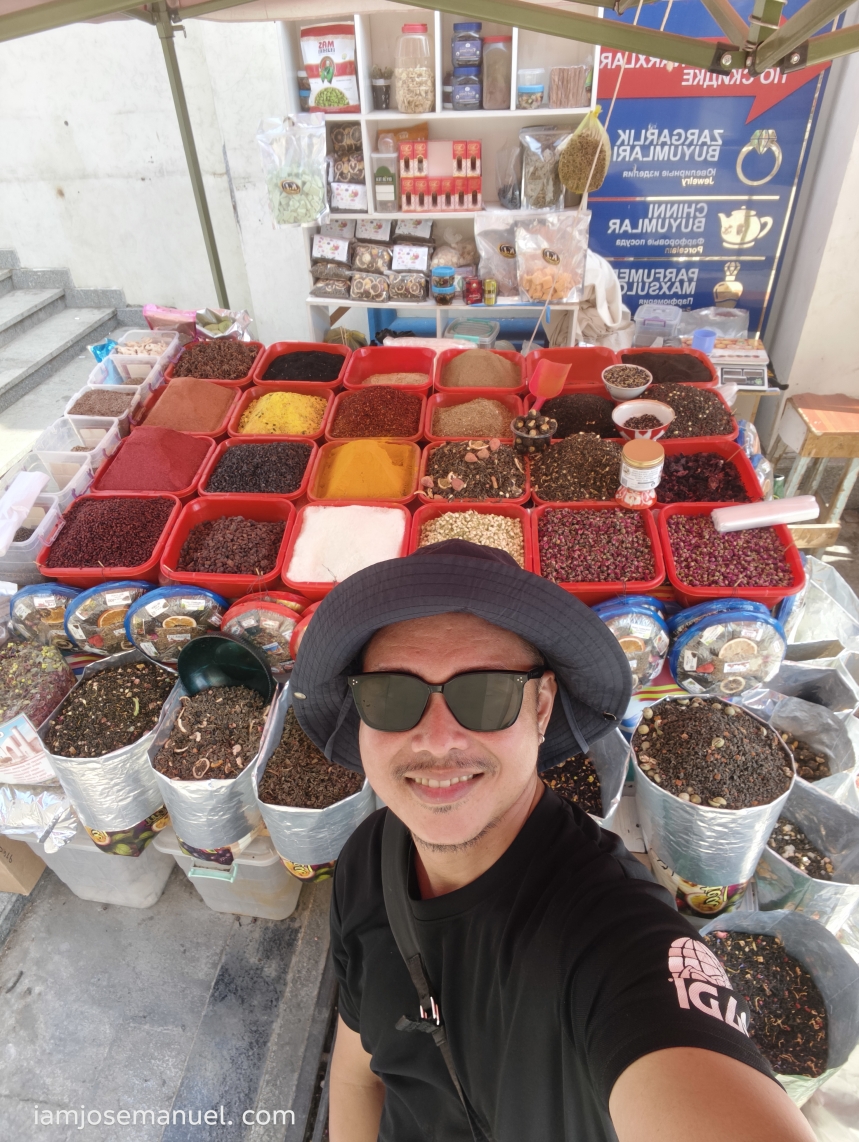
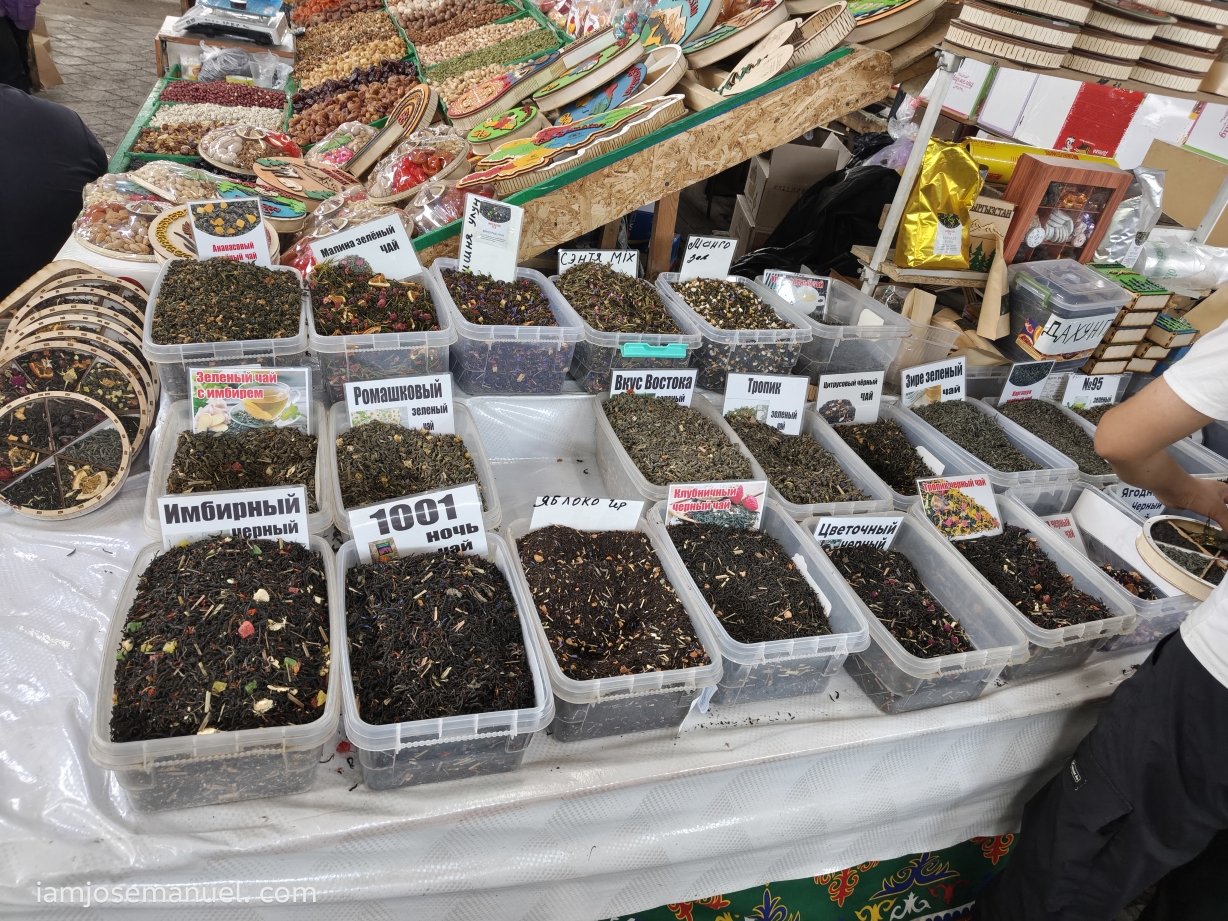
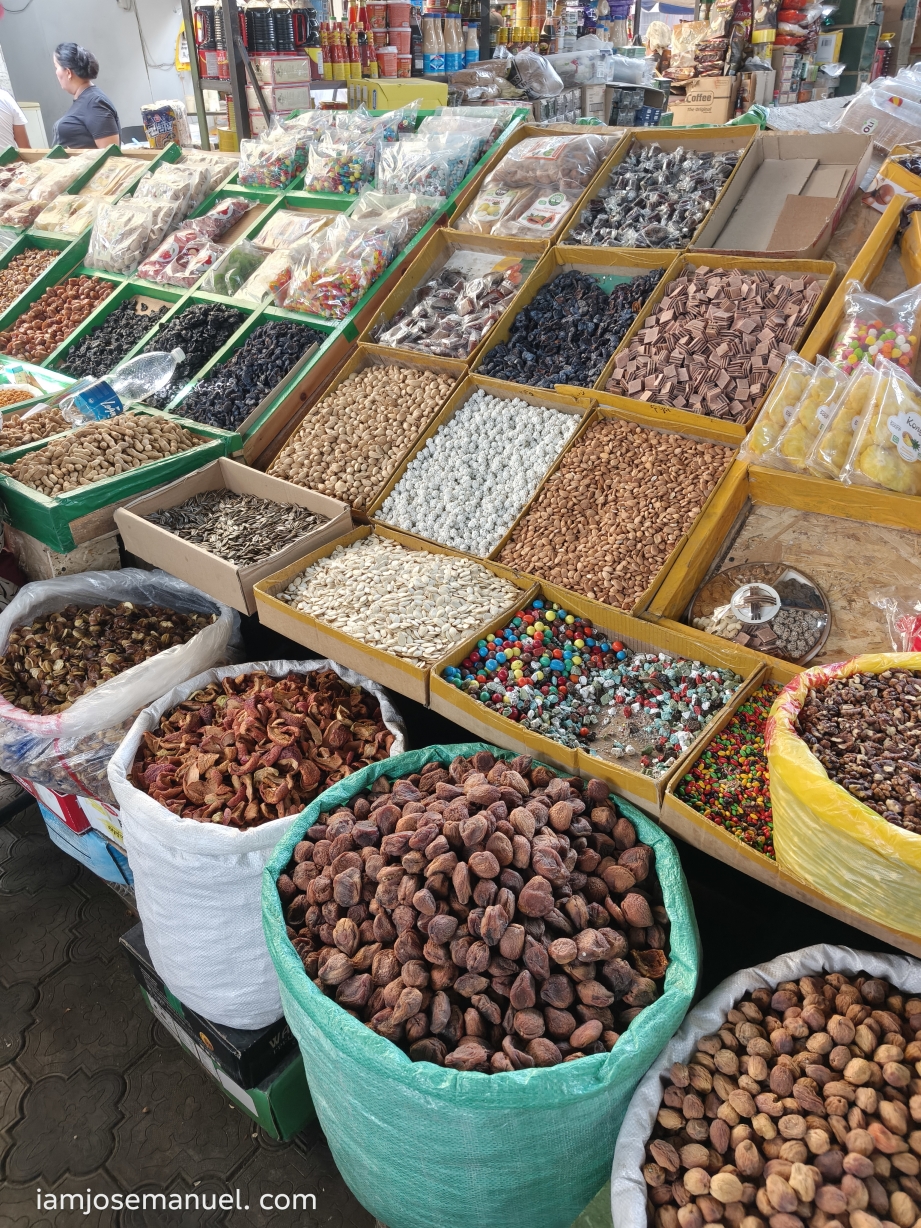
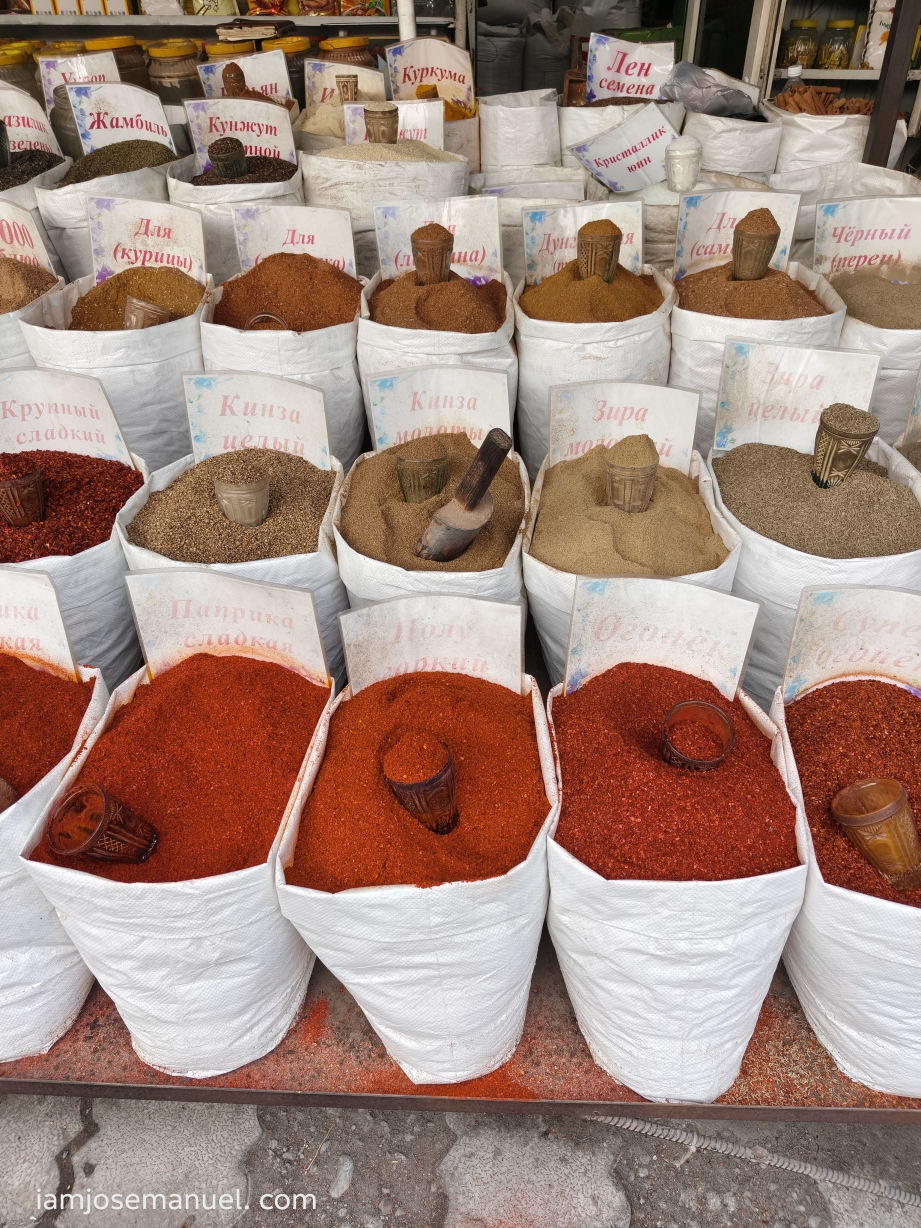
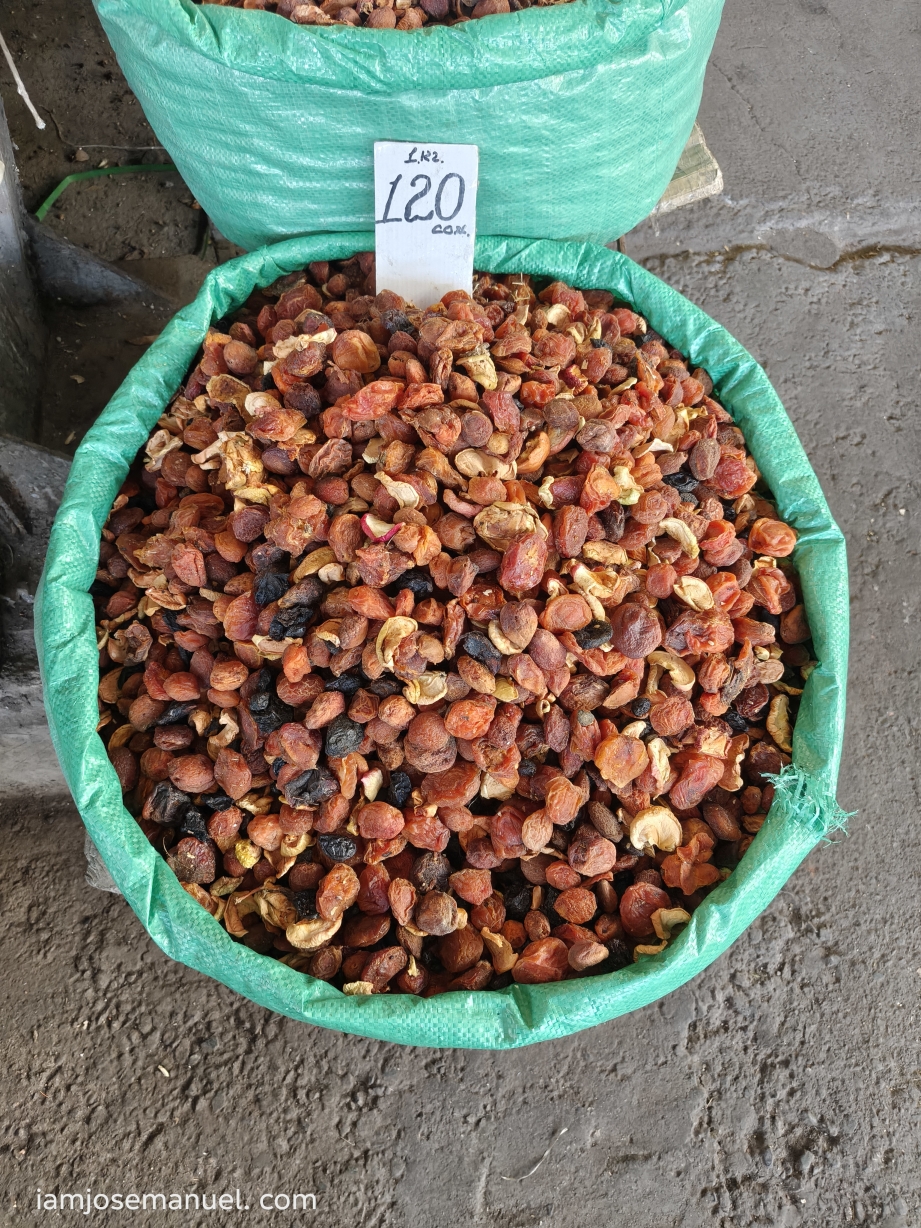
I stayed at Koisha Hotel, just a few minutes walk to the popular Osh Bazaar, which is the center of trade and commune of Bishkek. Osh Bazaar has the most spices, dried nuts, berries and tea leaves that I’ve seen in Central Asia.

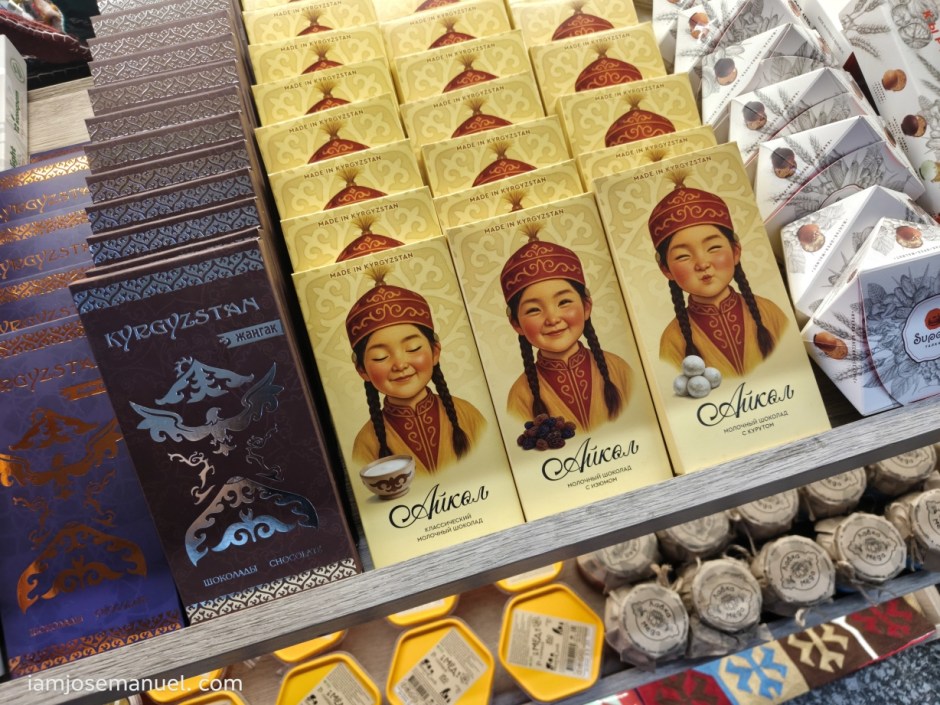
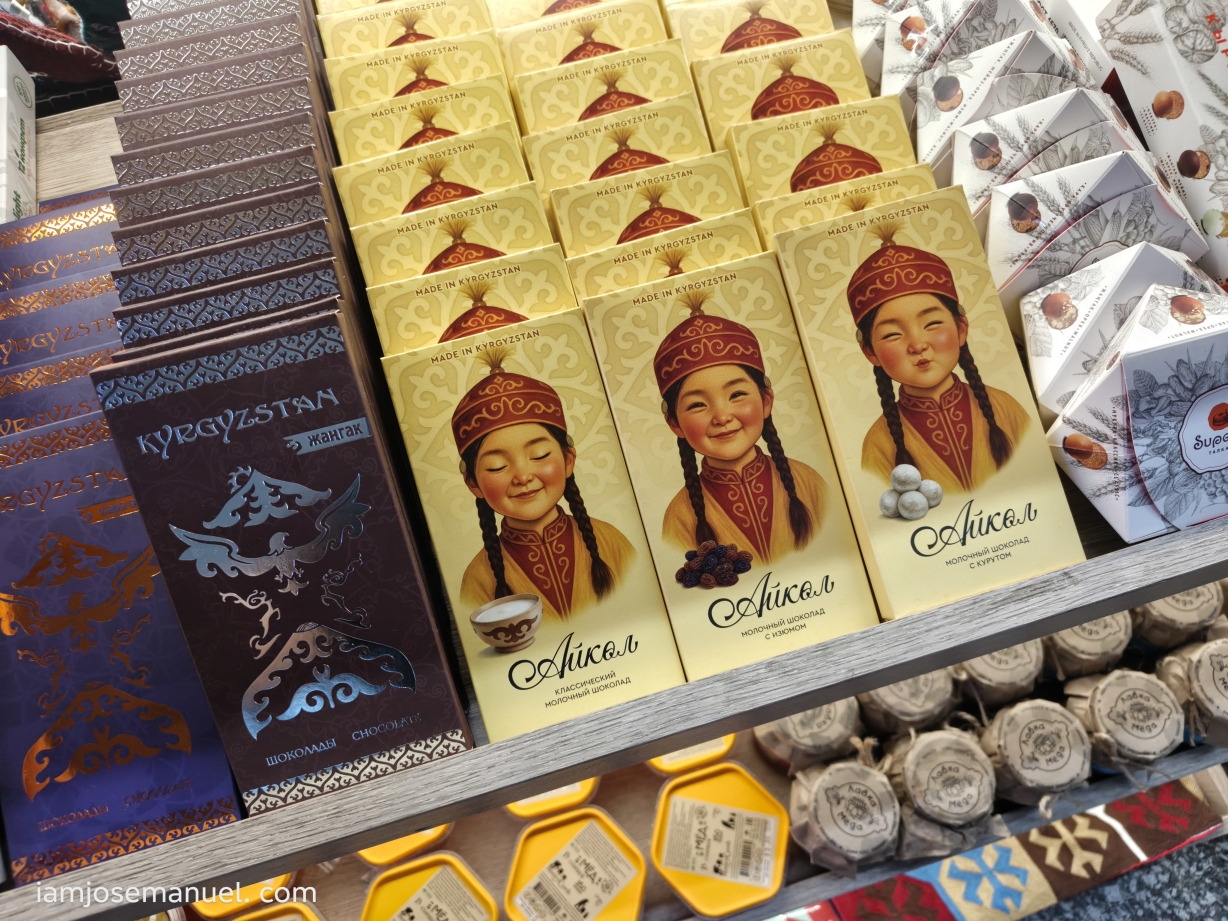
Osh Bazaar is also a good place to buy souvenirs and local produce. It is cheaper compared to Almaty. KGZ also takes their chocolate industry seriously. Dami options to choose. Cute packaging as well.

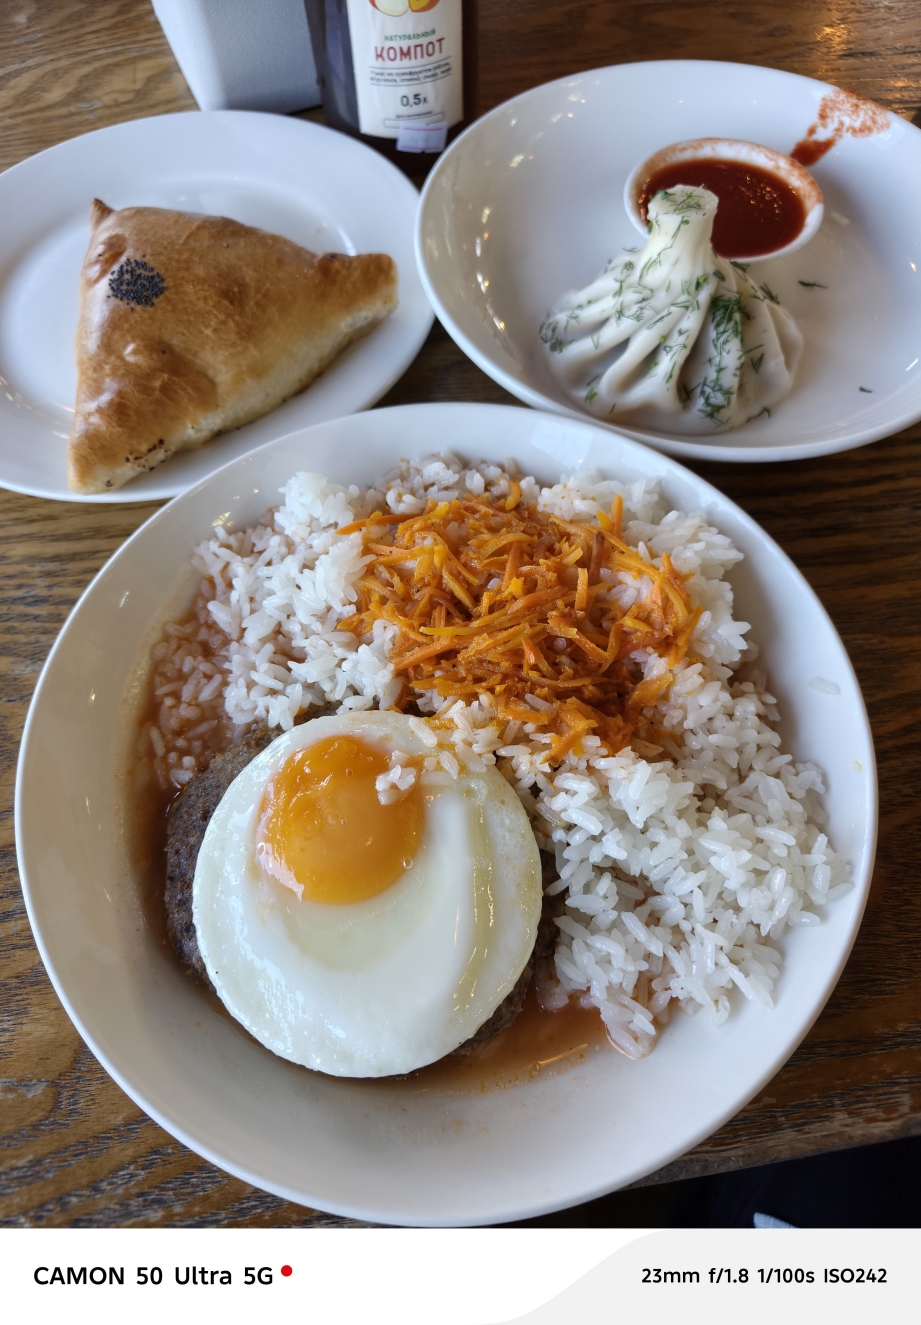
Kyrgyz Food. Compared to Almaty, Bishkek is more low-key, culturally-rooted and is less westernized, in my opinion. Having said that, mas naenjoy ko ang local/regional cuisines ng Central Asia dito sa Bishkek, compared to Almaty. Food here is cheaper to. Wayy cheaper.

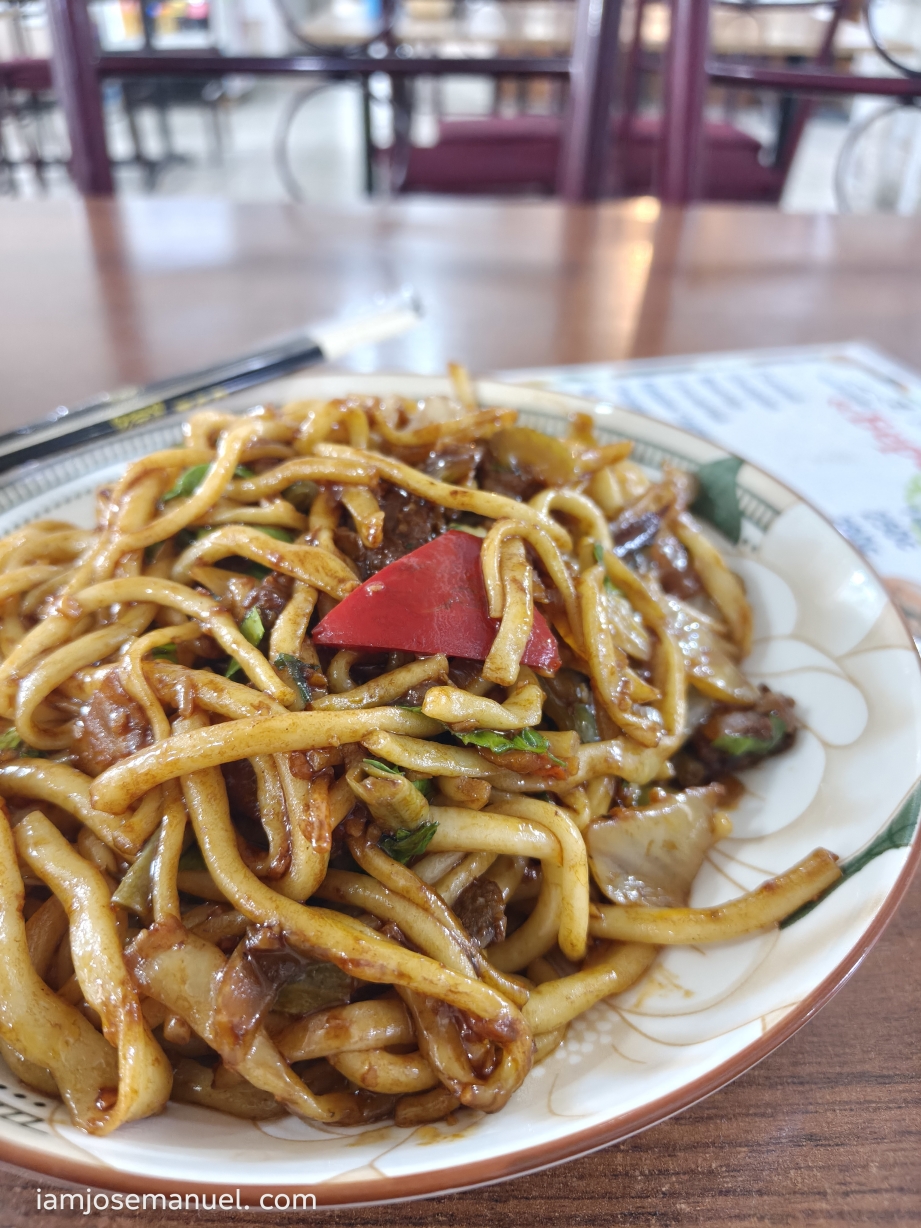
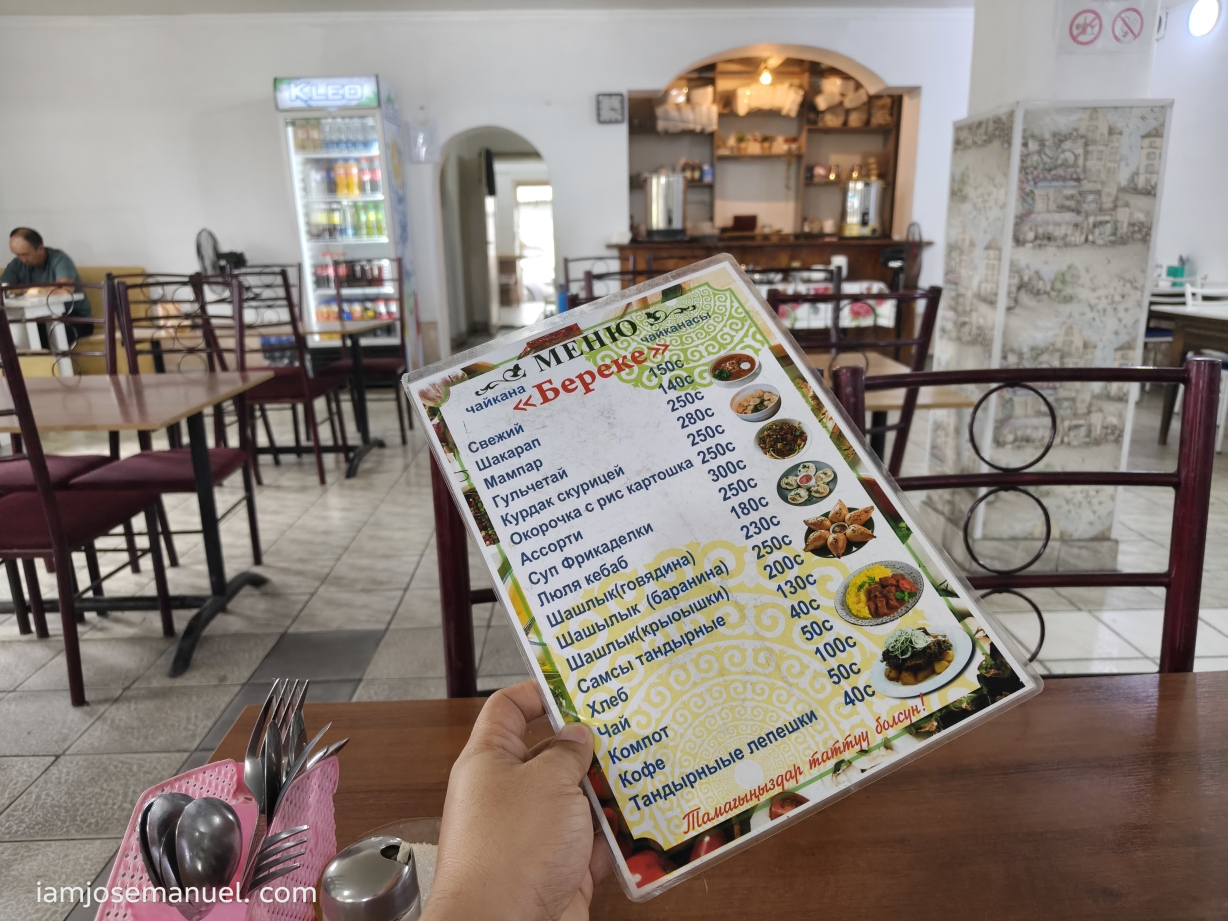
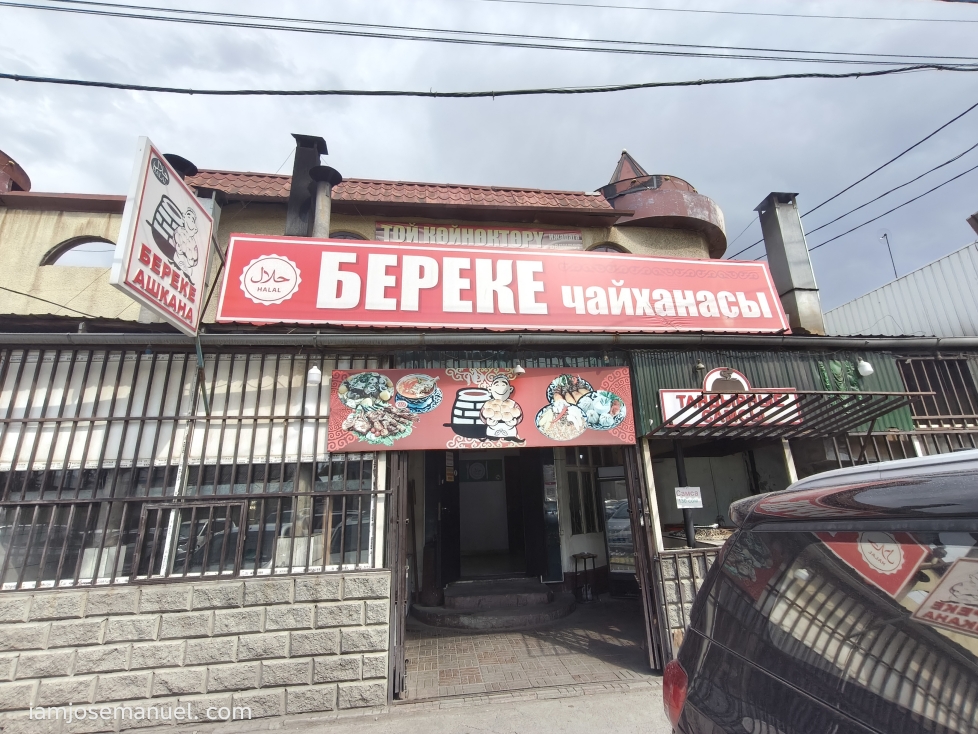
Lagman/Lachman is a traditional Central Asian dish of hand-pulled noodles, tender meat, and spiced vegetables, that is considered a national dish in countries like Kyrgyzstan, but widely popular across Uzbekistan, Kazakhstan as well. I had a good one in Almaty, but the Lagman I had in Bishkek was way better and felt more authentic, as I got this from a local eatery/family kitchen named “Bekele”, outside of the bazaar(Found it from the google reviews). I actually ate twice in this eatery. On peak lunch and dinner, this place is packed with locals. The place has not english menu, which made the dining experience even more exciting.

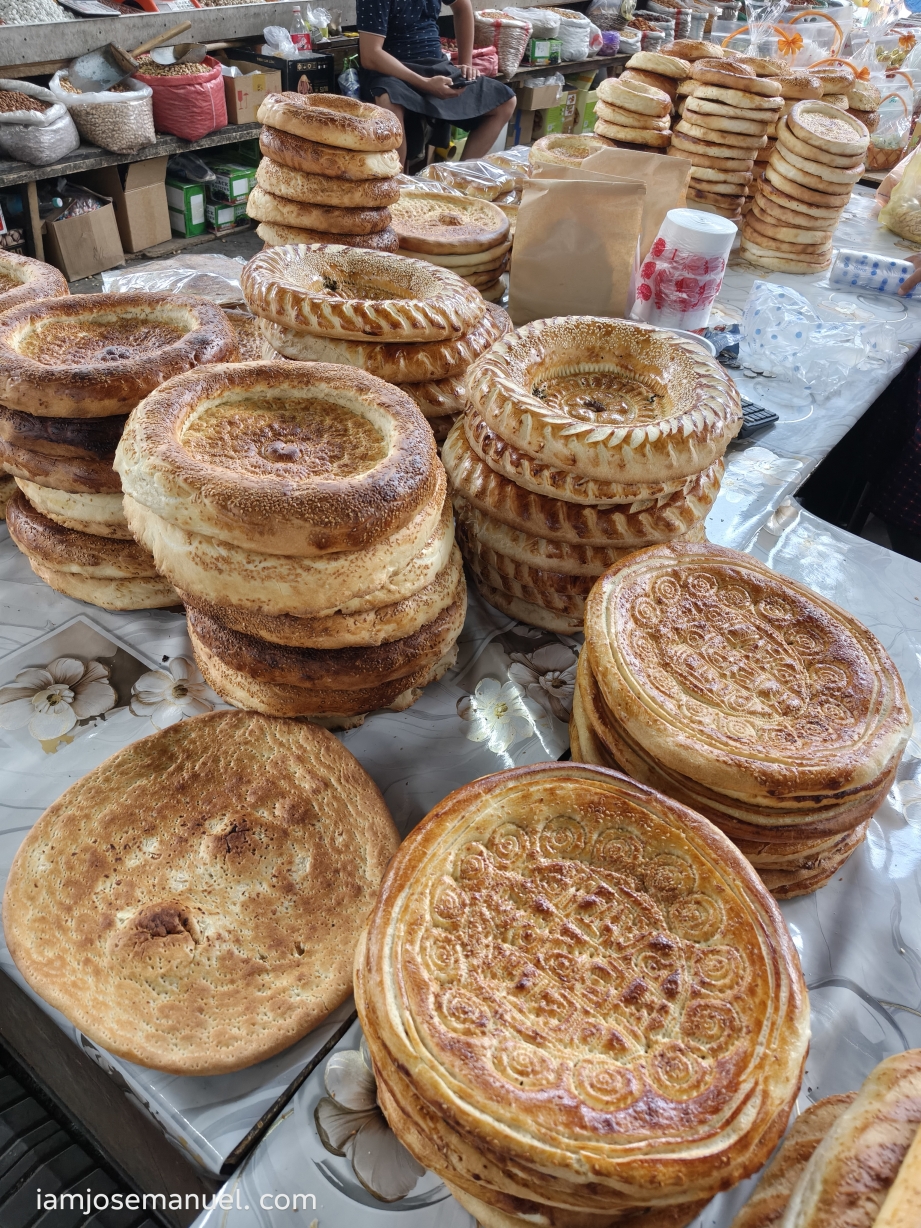
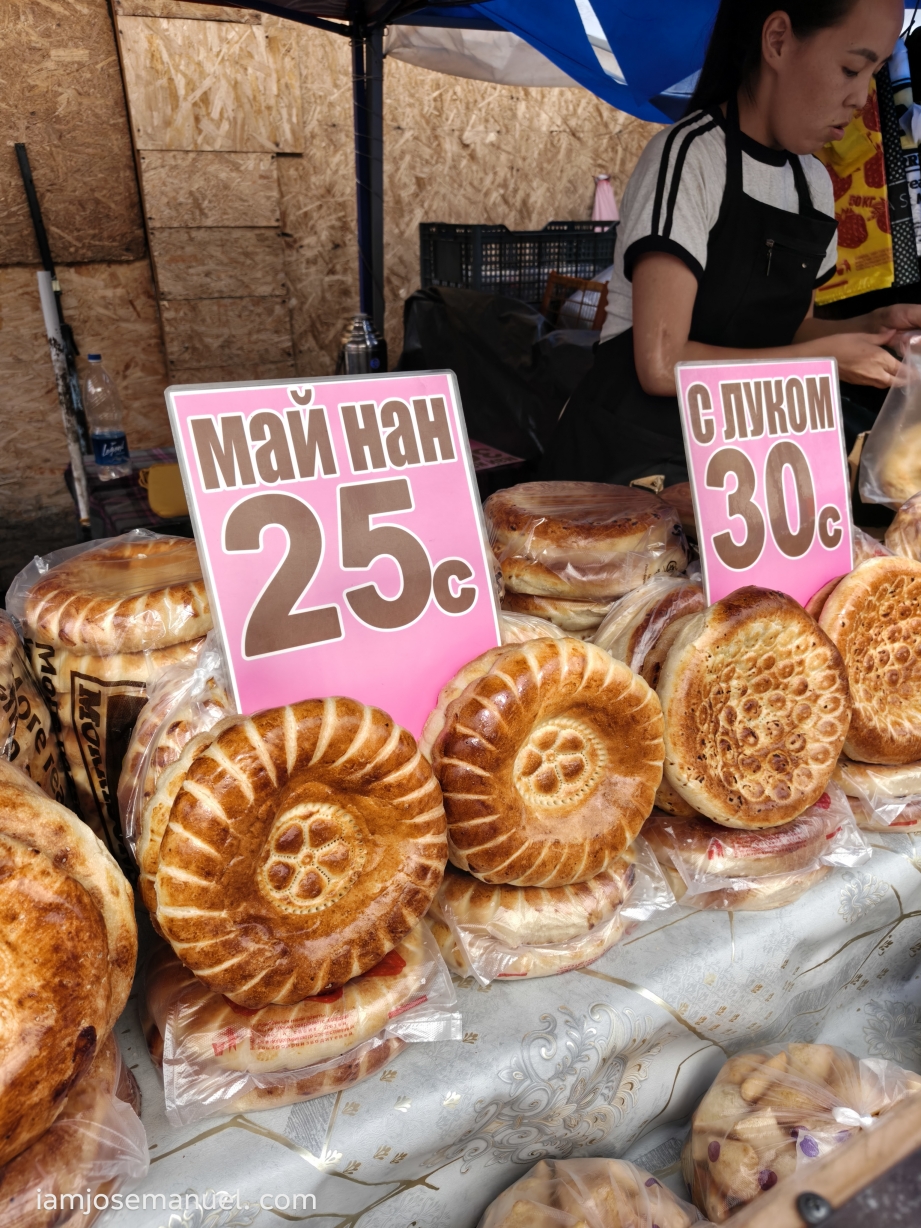
Kyrgyz people take their Bread seriously. Bread holds a central place in Kyrgyz cuisine, symbolizing hospitality, sustenance, and cultural identity. Locally known as Tandyr Nan – a round, flatbread with soft, puffy edges and a crisp center, baked in a traditional clay tandyr/brick oven.

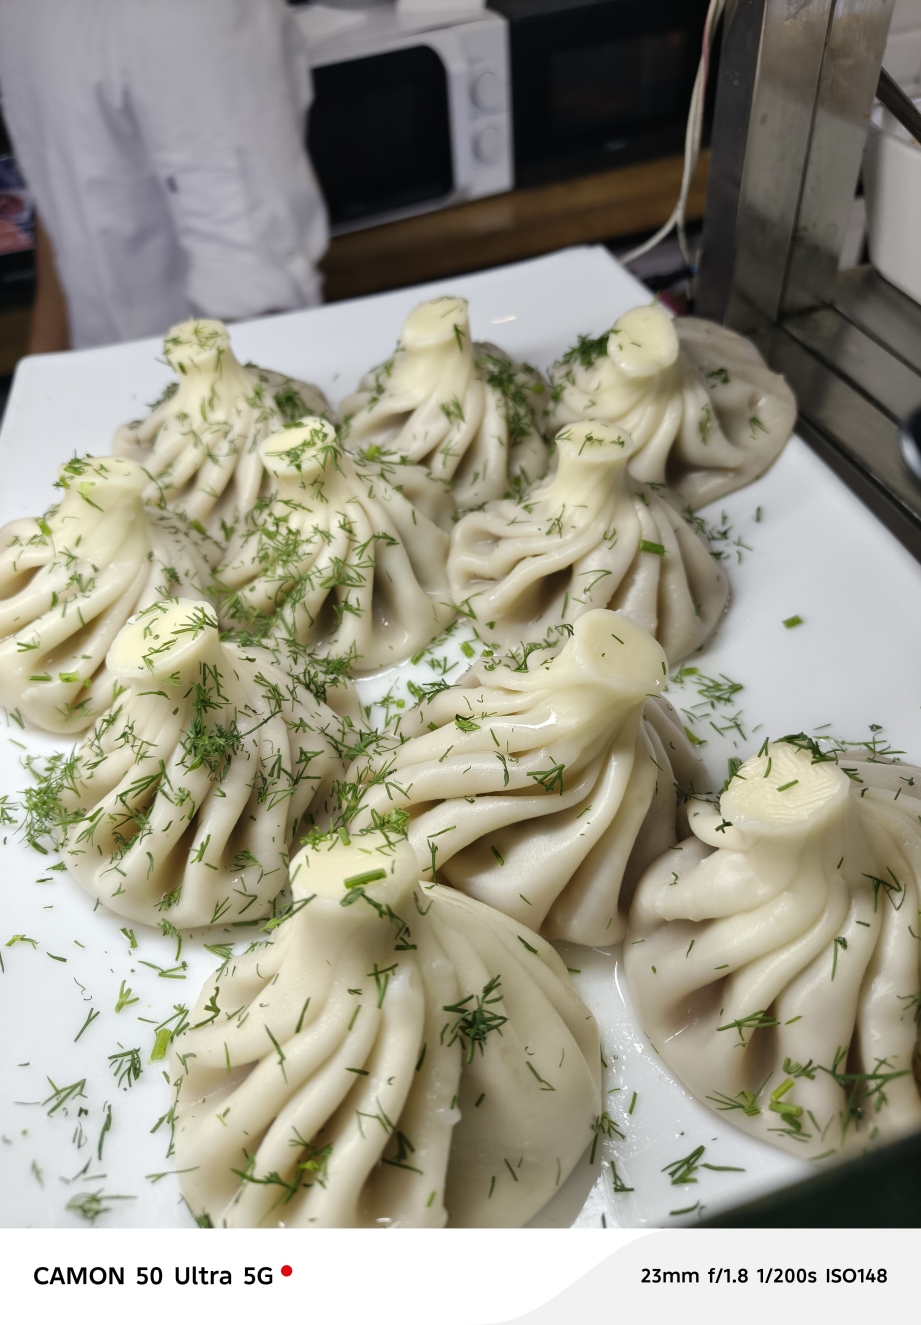
Manty (or manti) is the most famous and beloved traditional dumplings in Kyrgyzstan. The filling is a hearty mix of minced or hand-chopped lamb, beef, or horse meat, mixed with plenty of juicy onions and fat. Vegetable variations like pumpkin or potatoes are also common. Manty is somewhat similar to the Chinese Xao Long Pao, but are bigger, like around 4 inches round.

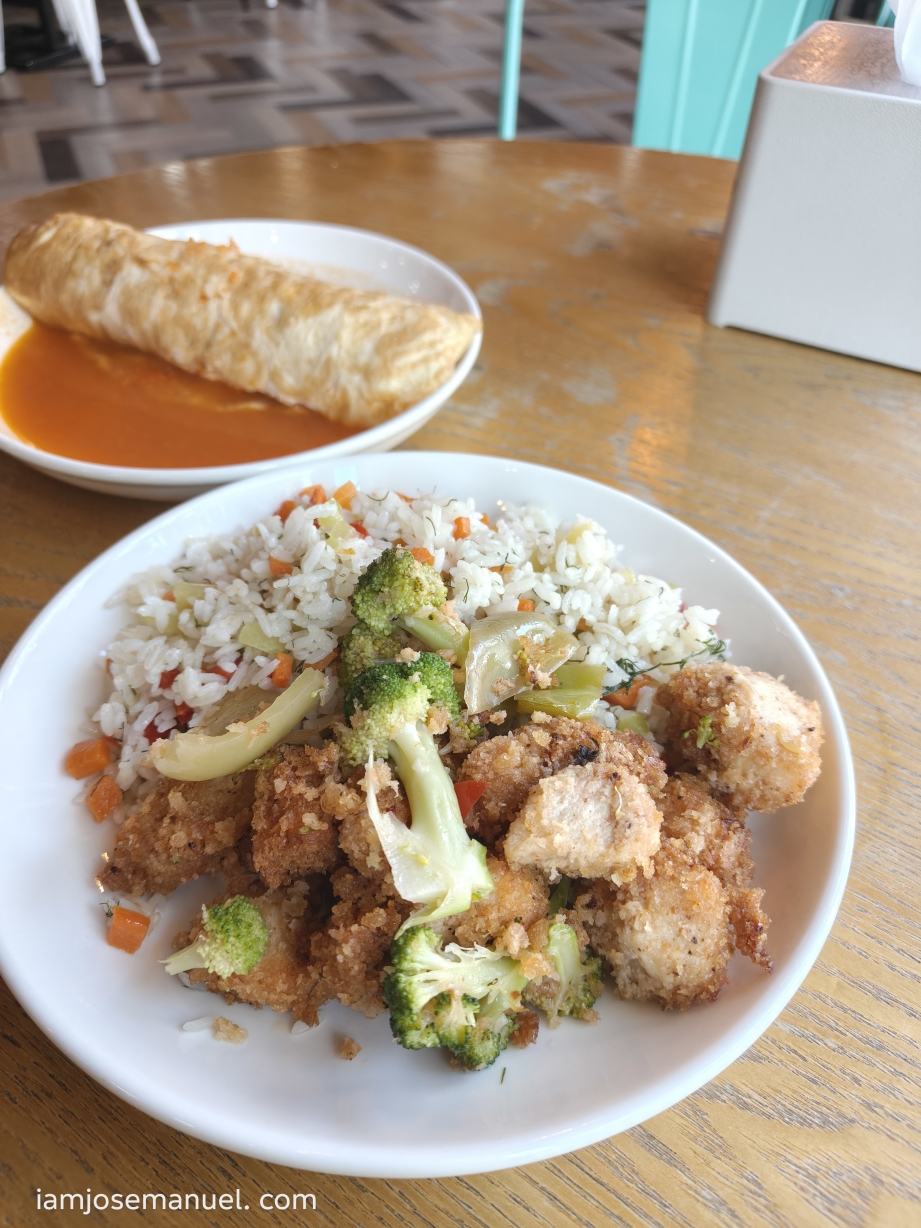
Kyrgyzs are also consumers of rice. Filipinos will never go hungry in KGZ. They have a thing for sweets as well, but are more simplified.

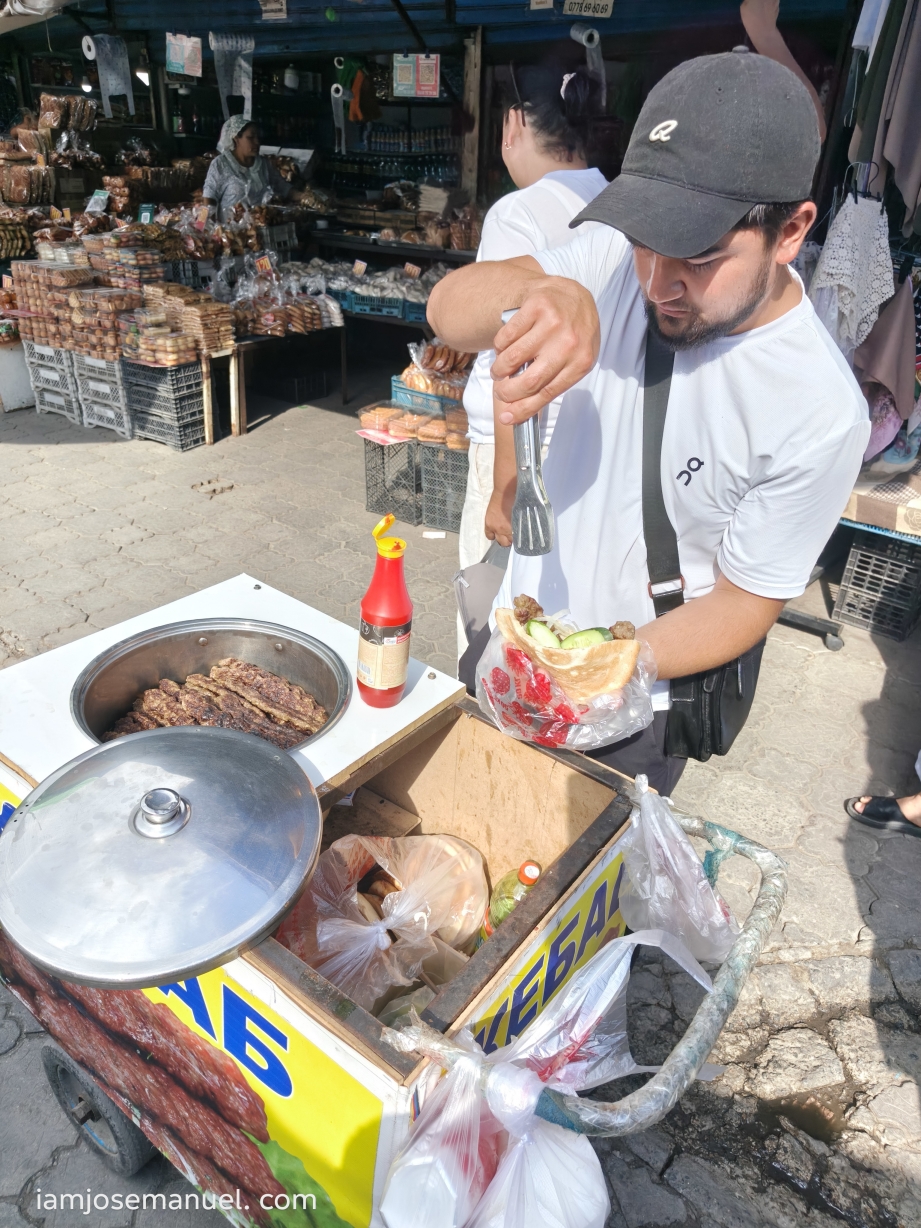
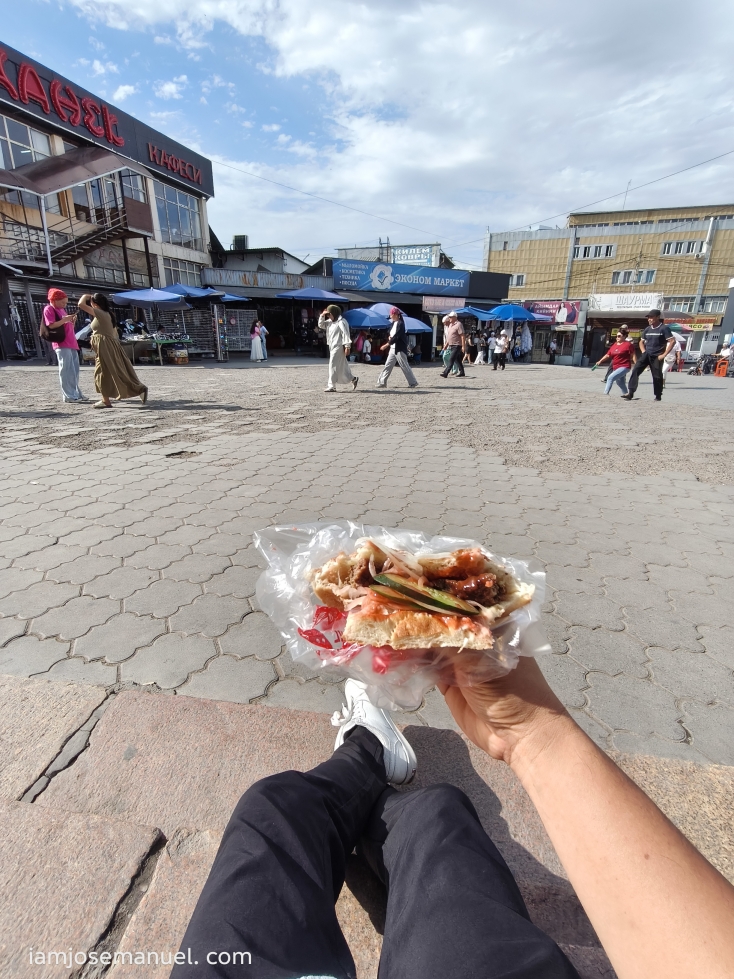
Street Kebabs are also a thing in Bishkek. Clearly a regional cuisine influence from the Middle East. This kebab cart, I found from tiktok. And luckily, my accommodation is very near the Osh Bazaar, where he is stationed.

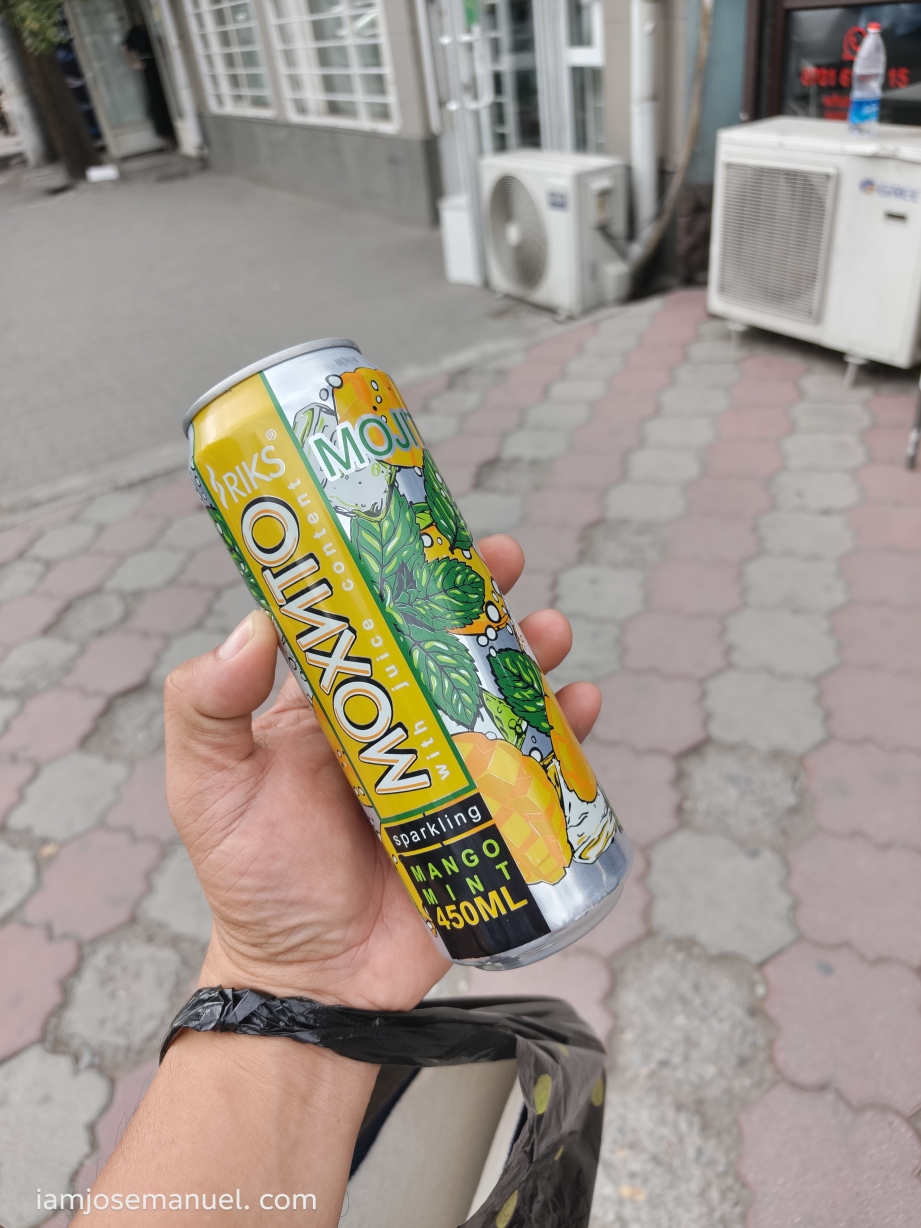
Sparkling Mango Mint. My Fave drink in Bishkek.

Kyrgyzstan’s history spans a variety of cultures and empires. Although geographically isolated by its highly mountainous terrain, Kyrgyzstan has been at the crossroads of several civilizations as part of the Silk Road along with other commercial routes.

Will post a separate blog re the complete Central Asia route that I did. I’ll keep you posted.

D.I.Y. – US Tourist Visa Application 2025

OK, step by step guide on how to apply for Tourist VISA to the USA. I’m making this post as simple as possible, with screenshots, so you know what to expect. DIY po itong application ko. I did not apply through an agency.

Disclaimer lang muna. First, this process is as of July 2025. There may be updates in the future, along with the transitioning of the US Administration. Second, this guide solely gives light on US Tourist Visa Application for Filipinos living in the Philippines; Non-immigrant po at walang plano mag TNT. To be specific, B1,B2 ang term nila for regular tourist visa. Lastly, this guide does not guarantee your approval. Depende po sa ganda. Charot! Pero di nga, if you find visa application overwhelming, mag agency po tayo for more chances of winning. ems! If mag agency po, please check on reviews first kase dami scammers today.

My application in a gist:

  • Magpapicture ng 2×2
  • Accomplish the DS 160 Application form online (For tourist B1,B2)
  • Pay the Visa fee
  • Schedule Appointment for Photo & Biometrics at VAC, then for Interview at the embassy
  • Personally attend the scheduled Photo/Biometric and interview

First step: Magpapicture sa studio. inuna ko ito kase the softcopy/jpeg file is needed during the second step. You will also submit 2 copies of this during the interview at the embassy.

Photo requirement: 2 x 2 inches, square, without borders. The applicant’s head (measured from top of the hair to the bottom of the chin) must measure 25 mm to 35 mm (1 inch to 1 3/8 inch); the applicant’s eye level must be 28 mm to 35 mm (1 1/8 inch to 1 3/8 inch) from the bottom of the photo. NO EDITING OF ANY SORT. NO EARRINGS FOR MEN. You will need both the printed copy 2×2 and the raw file to upload. A US visa photo must be a JPEG (.jpg) file, 600×600 to 1200×1200 pixels, with a square aspect ratio and a file size no larger than 240 KB. 

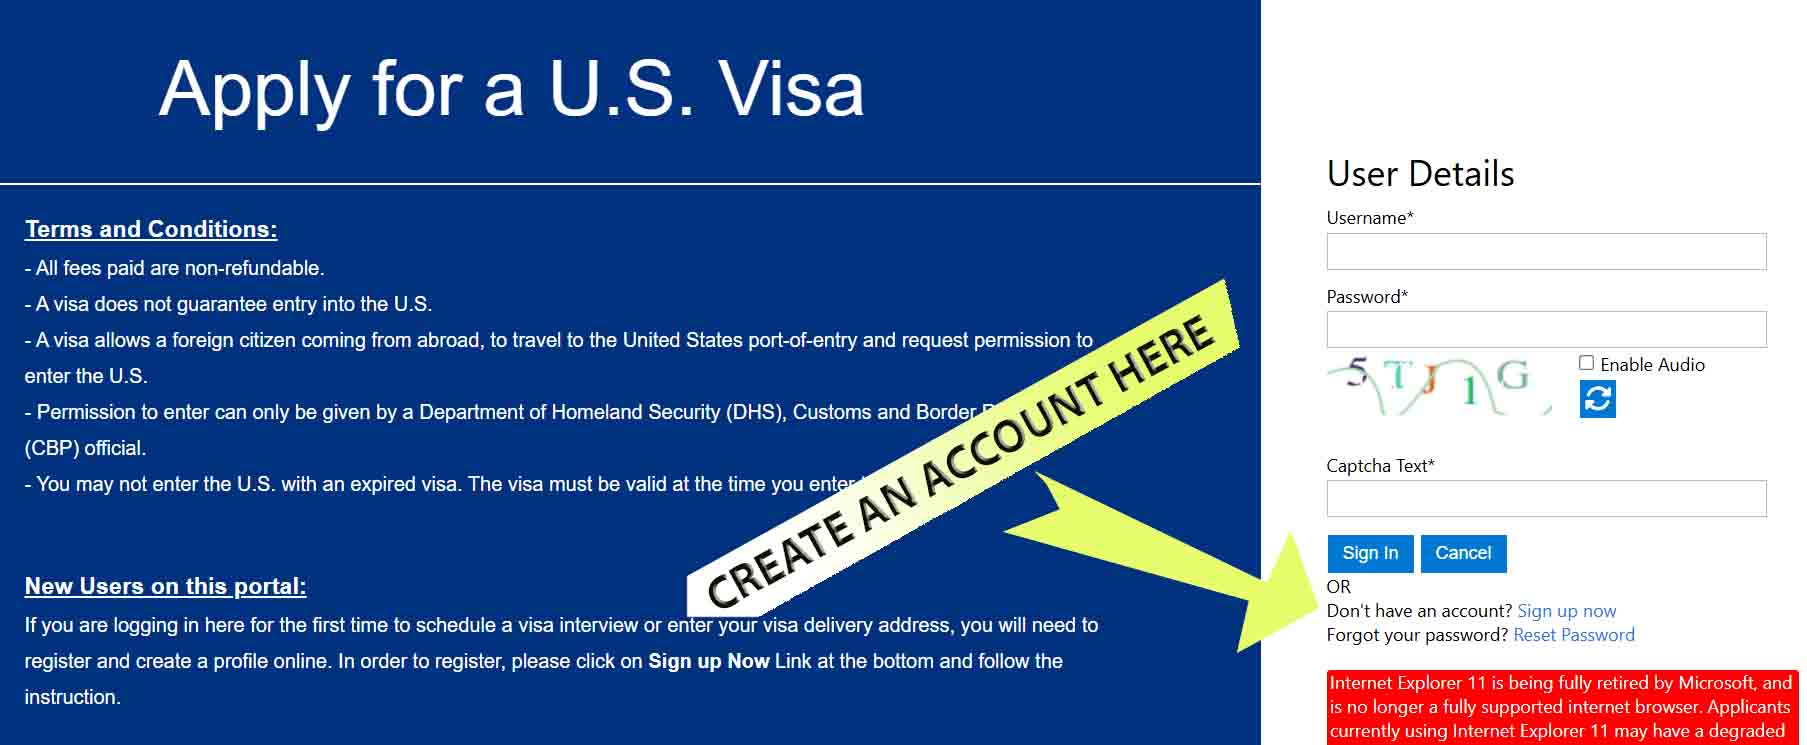
Second Step: Accomplish the DS 160 Application form online. Log in at ustraveldocs.com , choose Philippines as base and non-immigrant Tourist B1/B2 as visa type. You will be asked to create an account before proceeding. Sign up with your valid email, contacts and assign verification questions. For Reference, ganito to ang look ng site.

After signing up, you will automatically be redirected to the DS 160 page, as shown below. (https:// ceac.state.gov/genniv/). After sign up and all, select “Start an application” and you will be given a unique Application ID. Take note of this so you can retrieve your application if mag close. Note that you don’t necessarily have to accomplish this form in one seating. Pwede naman po save2x.

Ok, this is the part where you will give personal information, travel plans, work, education etc. See the screenshot below, ito po ang starting page. Mahaba po ito pero basic questions lang naman, just like any other visa application. Answer truthfully. Re the travel plans, not necessary naman po may return ticket na or what. Just give your intended dates and what you want to do.

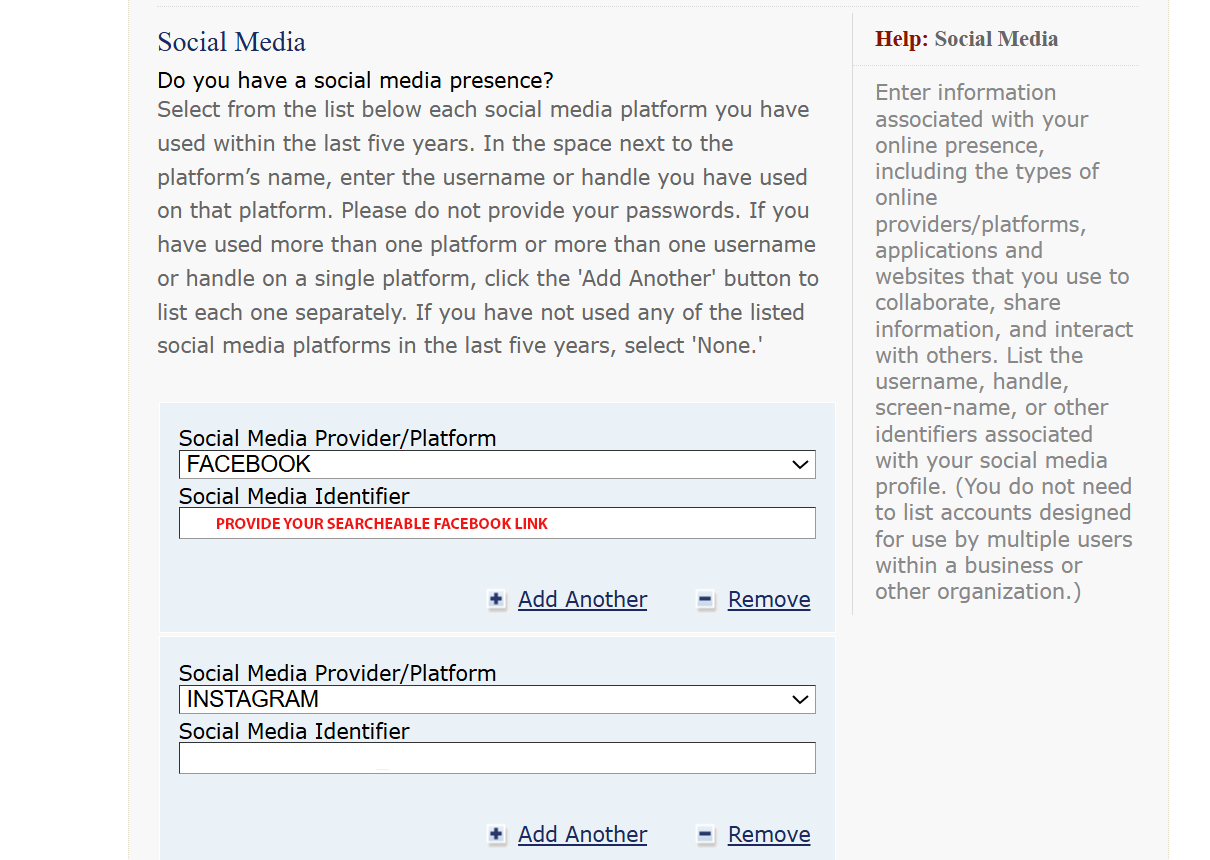
You have to declare everything that’s being asked. Your income, profession, your previous jobs, including the name of you ex-boss or HR, your travel history the last 5 years (if any), and yes po, DECLARE all SOCIAL MEDIA ACCOUNTS set on public mode. I submitted my Facebook, IG, Tiktok and this website that you are currently at.

DS 160 will also ask you for a contact person in the US. Friend, relative or what. Needed po contact and address niya. I was told na may cases, tinatawagan po ang declared contact for verification. Though hindi po tinawagan akin. You also have to declare the organizations you belong to.

Here are some other questions that you have to address. Answer truthfully lang po.

After completion, upload the 2×2 photo file, then review muna. Edit if you have to. Make sure kaya mo mapanindigan all the declared info, as these MAY be asked again during the personal interview.

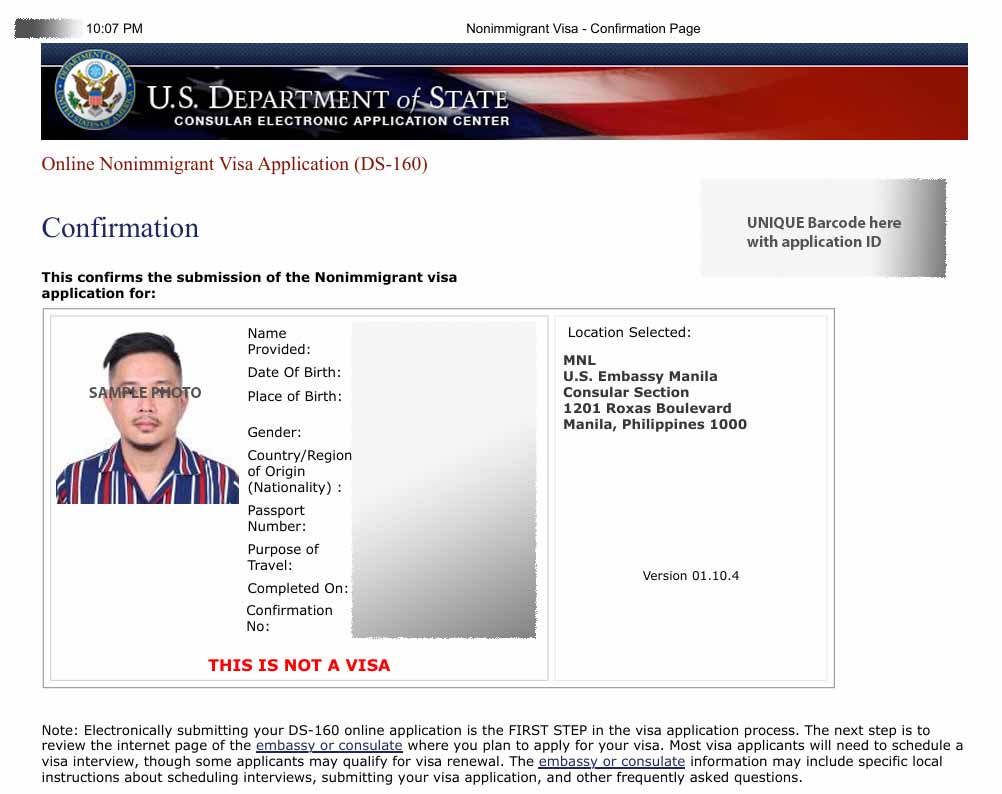
After submission, you will be given a CONFIRMATION LETTER. ganito yun.

Overwhelming ba mag DIY Application? oh mag agency ka na. If ok pa, the read on.

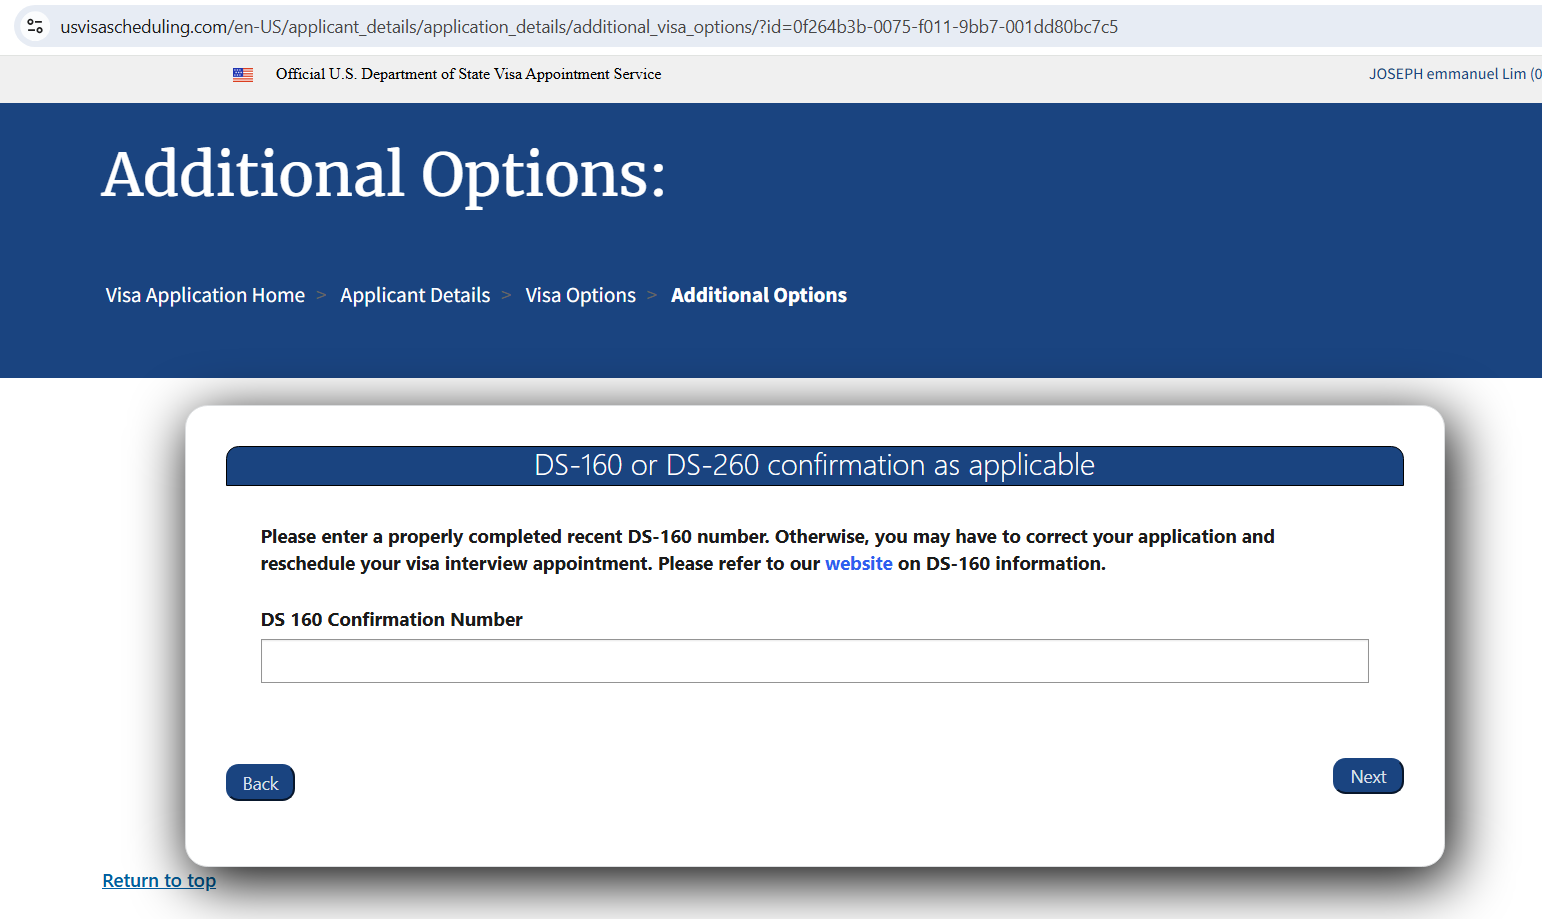
Third Step: Payment of Visa fee before you set the interview appointment. This is done at another website —> usvisascheduling.com. See screenshot below. Sign in with your valid email and contact, log in, then start new application for interview. You will be asked to encode the application number that was given to you with the submitted DS 160 form kanina; nasa upper right side ng confirmation letter.

Just go through the steps until you reach the payment interface. Yes po, payment muna before you get an access to available dates for interview.

The cost of Regular Tourist Visa B1/B2 is 185 USD or 11,100 Pesos as of July 2025. After this, you will be prompted with a Slip/Notice of payment with instructions on how and where to pay. Download and print this slip and submit nyo po sa teller, as they will need to encode also your details at time of payment. Sa RCBC po ako nag-pay, over the counter cash deposit. I also brought with me sa bank my passport at yung DS 160 confirmation letter, just in case. The slip looks like this.

After payment, sabi you have to wait 24 hours for validation. As in my case, I paid at the RCBC Branch nearest sakin at 9 am, and I had my payment reflected na sa website by 10 am. You can check this sa USVisadocs.com account ninyo.

Fourth Step: Select appointment date for Photo and Biometric (fingerprint scanning), and a separate date for interview with the embassy.

Yes po, two appointments: one for Photo/biometrics enrollment and the other for the interview at the embassy.

Previously, the collection of biometrics is done on the same date as with the interview at the embassy. But with the new visa application system, you are required to schedule a separate appointment to the newly launched Visa Application Center (VAC) at Parqal Mall in Parañaque (Manila) for your biometrics enrollment. I read may Visa Application Centers na din daw sa Cebu at Davao that accepts this step. Google nyo na lang. As with my case, Manila po ako nag-process.

To schedule, log in again on your USTravelDocs.com account. Once the payment has already been reflected in your account, you may now proceed with the scheduling. You will first select a date for the biometric, then afterwards, the site will lead you to the available dates for interview.

IMPORTANT: The date of biometric and the interview could be one week apart to a month. That is why it is crucial to apply for visa early, if meron po tayong fixed date or event kailangan mapuntahan sa US. I say 6 to 10 months prior to your desired date of flight.

Overwhelming na ba ng todo? again, pwede po mag hire ng agency to assist you.

After selecting the dates and respective time slots, you will be given slips with your details. Download and print this along with other documents necessary to submit.

Fifth Step: Attend to the scheduled appointments. Yes po, ako na taga Gensan, lipad po tayo to Manila on the dates, and mindful tayo sa timeslot assigned.

Photo and Biometrics Address: US Visa Application Center (VAC). Third Floor, Parqal Mall Building 8, Parañaque, Metro Manila. Phone: (02) 7792 8988. Pretty straight-forward transaction here.

Interview: Embassy of the United States of America. 1201 Roxas Blvd, Ermita, Manila, 1000 Metro Manila.

My interview was scheduled at 8 am, but I was already outside the embassy as early as 5:30 am. Mainit po around 6:30 na. FYI. Pipila po tayo sa labas tlga under the harsh environment. Madaming checking at stages before makapasok sa building mismo.

Essential Documents na dinala ko, as specified in the confirmation letter:

  • Current-valid passport
  • previous passports with travel history.
  • DS-160 Confirmation Letter: (DS-160). Color-printed. US Letter-sized paper
  • Appointment Confirmation Slips. Color-printed. US Letter-sized paper
  • Photographs: Dalawang 2×2.
  • Visa Fee Payment Receipt: Deposit Slip. Photocopy and original.

Supporting Documents na Dinala ko din: PSA Birth Certificate, Valid PRC IDs, Latest ITR ko, at latest bank statement with average daily balance; pero itong bank statement, hindi na po ito hinanap ng interviewer.

If you are employed, needed po to bring your company id and certificate of employment. As per my case, practicing professional po ako. So i brought my PRC ID and the ITR.

I highly suggest you place all your documents in a clear plastic envelope.

Nagdala din po ako black ballpen. I noticed madami nagbebenta ballpen sa labas for 50 pesos.

Hindi po ako nagdala ng Cellphone. Bawal po. Iniwan ko po sa hotel. Bawal din water or food.

The procedure inside the embassy: may initial validation with a filipino employee ng embassy. Parang front desk. Then after this, pasok po sa isang bigger room with windows for the interview proper.

– If your application is approved, they will take your passport.
– If your application is rejected or denied, they will tell you right away.

The Interview proper took only five (5) minutes sa case ko, o less pa. It’s very quick because most probably, applications have been evaluated even before the interview. Likely, they already have a tentative decision prior to your appointment, and the interview is just for validation/consistency of declared details as per your DS 160 form. As per my experience, I was only asked what my job is and the purpose of my travel to the US, which I answered “just for vacation/holiday”, and done!

So yun po ang process ng application ko. I clearly remember na generous yata sila sa pag-grant during our date. Lahat kami sa line, magkasunod na approved.

Formula to get an approval? Prove your ties with the PH. As per my case, I feel that my job as a Licensed Architect here for several years already, gave them an impression that I have no plans of finding work in the US, and that my job is stable. My travel history probably gave a good impression as well. Financial situation? I don’t think so, as the officer never asked me to show any document pertaining to that. Baka lucky day ko lang din gid.

In doubt with your chances? I say again, go get an agency to assist you.

Japan MULTIPLE Entry Visa Approved! (An Application Guide)

Yes, bes! I just got my passport back from the agent, with an approved Multiple Entry Visa to Japan, valid for 5 years. And I am sharing with you guys how I was able to complete the process.

PAANO at SINO BA ANG QUALIFIED FOR MULTIPLE ENTRY?

As per Japan Embassy website, here are the terms and conditions for issuance,

(1) Applicant with history of travel as temporary visitor to Japan in the last three (3) years ; has no known violation of domestic laws of Japan nor had problem with immigration regarding entry and status during the period of stay ; and has sufficient financial capacity to support expenses for travel and stay. This is where I qualified. Kailangan makapunta muna ng Japan within the recent 3 years. I’ve been to Japan once lang last Nov 2018.

(2) Applicant with history of travel as temporary visitor to Japan in the last three (3) years; has no known violation of domestic laws of Japan nor had problem with immigration regarding entry and status during the period of stay; and, has several history of travel as temporary visitor to G7 countries (excluding Japan) in the last (3) years.

Screen Shot 2019-01-21 at 10.41.29 PM.png

(3) Applicant with abundant financial capacity, kahit di pa nakapag-Japan. This is very vague because it doesn’t say how much funding should be shown as proof. baka 1 Mn.

(4) Spouse or Child of (3) above thru affidavit of support. Ask your lawyer about this.

—-0—-

Now moving forward, here are the steps I did.

(Step 1) I tapped with a recognised travel agency for this application, since DIY/Personal application is NOT accepted by Japan Embassy.  The visa application fee costs P 1,700.00. I made it clear that this is not my first, and I am applying for multiple this time.  The agency provided my with blank forms to fill, though downloadable naman din from the embassy website. I spent P 1,700.00 because I am based here in Davao City. I’ve read that fees in Manila could go for as low as P 950.00 only.

(Step 2) Here are the requirements I’ve submitted. Basically, similar lang din as what I’ve submitted for my first application.

  1. Valid Passport
  2. Completed Visa Application Form  but check the (✔)Multiple option. The agency gave me a set of this. They also check/correct.
  3. 2 copies Colored Photo, 4.5cm x 4.5cm , white background with name,birthdate and signature at the back. most recent lang po pwede (do not repeat what you submitted for other visas)
  4. Daily Schedule in Japan or the Tazai Yoteihyo (to be discussed below)
  5. Bank Certificate (latest)
  6. Income Tax Return 1701 clear Photocopy for the self employed (latest)
  7. DTI Registration for the self employed
  8. Request for Multiple Entry Form. The agency gave me a sheet of this, which looks like this. download.jpgOn the bottom box, you make a statement on why you are requesting for Multiple. I stated there that I am going on March, and again on September with the family, and also hoping for the Olympics 2020. Your statement should make them accept that you have valid reasons to revisit. Make or break this part.

(Step 3) Submit documents to the Agency . Pay the fee ( P1,700 yung akin sa Davao). 

(Step 4) Magpa Novena ka na walang palpak sa mga papeles mo. lol. Sit back and wait lang. The agency naman  will most likely check your documents if they comply.

I submitted my documents December 15,2018 and got the result January 3,2019.

thumbnail

—0—-

Other Tips and Tricks:

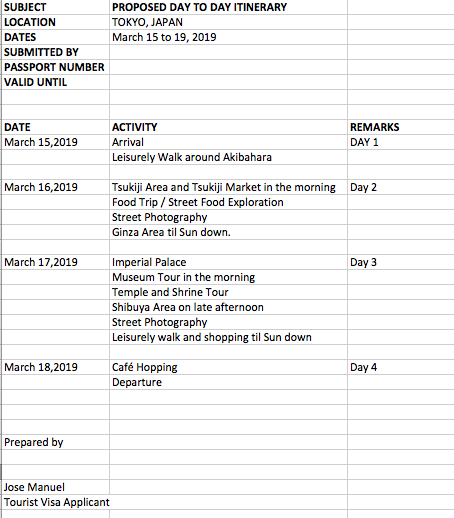
(1) Ito ang Itinerary format na sinumbit ko for my supposed March 2019 trip.  Mock up IT lang po,no need to strictly follow. screen shot 2019-01-21 at 10.32.06 pm

(2) For employed, provide ITR 2316 photocopy, plus valid employment certificate with salary detail and approved dates of leave for the upcoming trip. Photocopy company ID also.

(3) Kung government employee ka, kailangan mo mag secure ng Authority to travel from your head (plus bring your ID) kasi yung Immigration Officer naman ng NAIA ang sisita sayo without the approved document.

(4) Airline Ticket and Hotel Bookings are NOT required. However, on the form, you will be asked for an address and contact No. in Japan.  I just gave them the address of the hotel from my first visit.

(5) When to apply? The earliest is 90 days before the intended trip. as per blogs.

(6) How much bank funds I showed for this? Around a 120k.

(7) I did not submit na PSA Birth certificate since I am a returning tourist. B.Cert is only required for first timers.

(8) The beauty of applying thru an agency is that they will check your documents and forms for errors and they text you for update so sulit na din ang fee.

(9) First time applicant? click HERE.

(10) For application assistance, you may get in touch with Traveloft Travel and Tours,Inc.

(11) Cebu Pacific flies from Mactan Cebu to Tokyo (Narita) DAILY. Click here to search for your best dates.

GOODLUCK =)
Easy Japan Tourist Visa Guide for Filipinos

Hi Guys! I just came back from my Japan trip and I will be posting a series of blogs re the ups and downs of my journey for everyone’s future travel reference. So much stories to tell; from all the bento kiosks and good ramen shops that I found, to getting lost on Japan’s massively overwhelming train network. But first, fundamental requirement muna tayo guys. I will be discussing below the basic requirements for Tourist Visa Application. Hope this helps!Collage_Fotor_Fotor.jpg

Now is really a good time to visit Japan as Cebu Pacific will start flying Daily from Cebu to Tokyo-Narita and back, starting December 1, 2018. This direct flight made the travel time more practical for us living in Visayas and Mindanao.  Flight only takes 4 to 4.5 Hours. And we don’t have to go though any NAIA fiasco na. Cebu-Mactan Airport is more chill (I swear!) and Prettier.

BASIC TOURIST VISA REQUIREMENTS (SINGLE ENTRY)

  • Philippine passport. Must have a signature and at least 2 blank pages. Must have at least 6-months validity.
  • A duly filled up visa application form. You may download it at https://www.ph.emb-japan.go.jp/files/000163096.pdf
  • ID picture. 4.5cm x 4.5 cm. Write your name and birthdate on the back side. Paste it on the application form.
  • Birth certificate from PSA. Must be issued within the past one year. Old birth certificates issued with NSO logo is not valid anymore. Dapat yung colored paper na with PSA logo, which you can order and pay online via https://nsohelpline.ph .  If may alterations or errors on your birth details, settle that muna with the agency.
  • Marriage certificate from PSA. Only if you’re married. If not, deadma.
  • Daily schedule. Your itinerary in Japan. It doesn’t have to be super detailed. Just indicate your projected date of arrival and departure, and the places you wish to visit during your stay on a day to day format (Day 0, Day 1, Day 2 etc).
  • Income tax return Photocopy (ITR Form 2316 for employees or Form 1701 for self employed). I also submitted the receipt or Landbank Deposit Slip for the ITR.
  • Bank certificate. Issued within the past 3 months. This part is very subjective. Some blogs say you are supposed to maintain +++100,000 Pesos. But i know people who had 50,000 Pesos only for a proposed 3 days trip, and she still got approved.
  • Optional na, but it is also best to submit a certificate of employment with your salary, position and company contact information. This will help you prove that you are indeed returning to the Ph and will not be TNT there. If self employed, a copy of your DTI Registration will suffice.
  • Photocopy of other government ID’s like SSS, Tin, Pag ibig, Postal, if have lang. but optional. Photocopy of Company ID also if employed. provide 3 specimen signatures on every copy.

Tips and Reminders

  • All documents, application form, itinerary etc must be printed on an A4-size paper.
  • Do not Staple or fold your documents. Folder nyo lang with clip.
  • Printed or hand written application form is OK. Black ink is preferred. No erasures.
  • If you cannot provide ITR and employment certificate, you may still take your shot by writing a cover letter explaining your side. Pero magdasal ka na. lol
  • And as I always recommend to my readers, especially for first timers, that “if you are unsure of the process, get a travel agency to sort out your documents for a fee.” For Davao residents, Traveloft, Inc. can assist you. (https://www.facebook.com/traveloft.davao/ )
  • We are NOT required to book flight or hotel yet. However, the application asks for a flight number and an address in Japan. To get a flight number, just log on to Cebu Pacific website and get the regular flight details. For the address in Japan, just write down your desired hostel or hotel (realistic to your budget/bank certificate, of course). The travel agency can help you with this.
  • Unlike other visa processes, Japan visa application cannot be submitted directly to the Japanese Embassy. All applications must be submitted through an accredited travel agency.  For the list, visit https://www.ph.emb-japan.go.jp/itpr_ja/00_000253.html; or just go to your trusted travel and tour, they can probably connect you to the nearest accredited agency in your region.
  • Application fee is at 1000 to 1,500 Pesos.
  • Once approved , your passport with visa sticker will be returned to you via your chosen agency. Releasing time takes 5 to 10 working days.
  • Application may be submitted as early as 3 months before your travel date.  Single entry Visa usually allows 15 days stay, at 90 days validity upon approval.
  • And lastly guys, this guide, like any other guide blogs, do not assure 100% approval. Ang iyong kapalaran ay nakasalalay parin sa iyong mga sariling kamay, kung malinis ba ito o hinde. Charot! Just provide all necessary documents and pray for the stars to align in your favour. Charot again! Mag patulong kayo sa travel agency oi!

And that’s it! I hope this checklist will be of help sa mga mag aapply.  Please note that this application guide only tackles Single Entry Tourist Visa. For Multiple Entry Tourist Visa, I will post a separate blog on that, if I got one na. For other types of Visa such as business, seafarer or Fiance, please check the Japanese Embassy website for the specific guidelines. For Application with Guarantor or sponsoring relatives in Japan, refer also to the embassy for your specific process.

To check on flight schedules, click here official Cebu Pacific Website.


Australian Tourist Visa: DIY Easy Online Application for Filipinos

Hey,hey,hey! I just got my Australian Tourist Visa approval a few weeks ago. The process is relatively easy and is very much DIY-able. Aside from rejoicing for the approval, I am also thankful that the Aussie Immig was generous enough to grant a multiple entry ’til 2020. Cool, diba? As such, I will be sharing here the step by step DIY guide I did for this application, para naman sabay sabay tayo mag selfie duon with the Koala Bears!

This blog guide however, shall focus solely on Tourist Visa – Online Application for Filipinos living in the Philippines. If you are looking for Business, Study or Fiance Visa, I reco you visit the main Australian Immigration Website at https://www.homeaffairs.gov.au/ for the specific process.

Yes po, Australian Immigration now accepts visa application online. Meaning, no more personal interview. You only need to prepare and properly scan your valid requirements, submit online and pay by credit card. If accepted and approved,the grant certificate shall be emailed to you. No more submission of passport to the embassy for verification and stamping. Easy breezy!

If opted, you can still submit your traditional application personally at the Australian Embassy via VFS Agency. But since I reside in a city that is 2 hours away by plane from the capital, it is more practical for me to do all transactions via online.

The difference between personal and online application? Walang Visa Sticker when applied online. In lieu, a grant certificate shall be issued via email, which you have to print and carry with throughout the trip. The traditional sticker eklavu on the passport are only given when documents are personally submitted.

Online application however, may still be required a personal interview if the evaluators find your documents questionable. That being said, let me just cite na din my travel blogger idol Aileen Adalid’s disclaimer, “NO ONE can give you a guarantee on your approval — not even a lawyer, a consultant, a travel agent, or an embassy employee. Anyone who says otherwise is most likely going to be a scammer.”

So without dragging this further, here is the DIY step by step process I did,

  1. Prepare basic visa requirements.

    –Photograph file – Passport sized with very light gray background 500 KB Max. (Alam ng studio ang size, Raw file straight from camera, unedited, scanned photo not allowed )

    –Evidence of Family Composition -Scanned Copy NSO Birth Certificate in Colored Paper

    –Evidence of Employment – Current – Scanned Copy Employment Certificate with Salary Details and approved date of leave, signed by your boss.

    –Evidence of Financial Capacity – Scanned Copy Current Bank Cert, Bank account statement, Credit Card statement , ITR or Business Permit (If available, but I did not submit. Instead, I scanned property titles under my name. Insurance policy and bonds may also count. I submitted my PRU Policy. This is optional)

    –Evidence of Previous Travel – Scanned Copy of Past and Current Passport showing all stamps and visas.

    –Evidence of Planned Tourism Activity – I made a mock up day to day itinerary. Hotel Reservation is optional, but may help. Don’t pay for this muna.

    When scanning, only file formats .JPG, .PDF or .PNG are accepted. Each document must be of good quality but must not exceed 5MB in size. Except for the Passport photo which is ideally 500 KB size and of Jpg format. It i advised that filenames shall contain your name in it (example ” LIM,JOSE PASSPORT PHOTO.jpg”) . If this preparation is too difficult, then I recommend you rather apply though an agency than doing a DIY.

    Lastly, as you noticed, AIRLINE TICKET OR EVEN A RESERVATION is NOT REQUIRED.

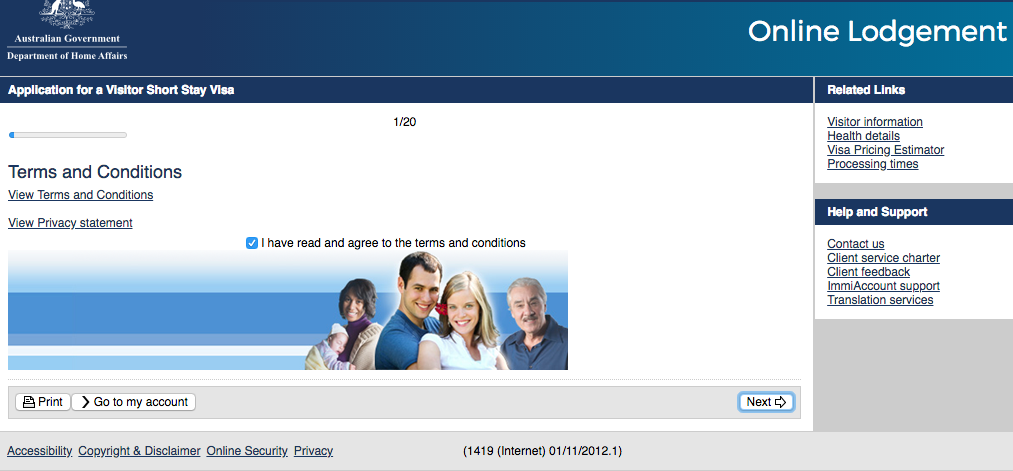
  2. Log on to Australian Embassy Official Home Affairs Website

https://www.homeaffairs.gov.au/Trav/Visa-1/600-/Visitor-e600-visa-online-applications . As a Tourist Visa applicant, your application shall be under “VISITOR e600” Category, no other! Website will look like this.

The page that will launch your ticket to a brighter future. click “start application“

2. The “start application” with then prompt you to create an ImmiAccount. ImmiAccount is the main portal for accessing the online services of the Australian government’s Department of Immigration and Border Protection. Parang facebook lang ito that you have to provide basic information, contacts, a valid email add and a strong password. An email verification will be done. This Immi account shall become your official access and monitor this application and for future transaction with AU immigration.

If you already created an Immi account, click login.

click New Application at the upper left

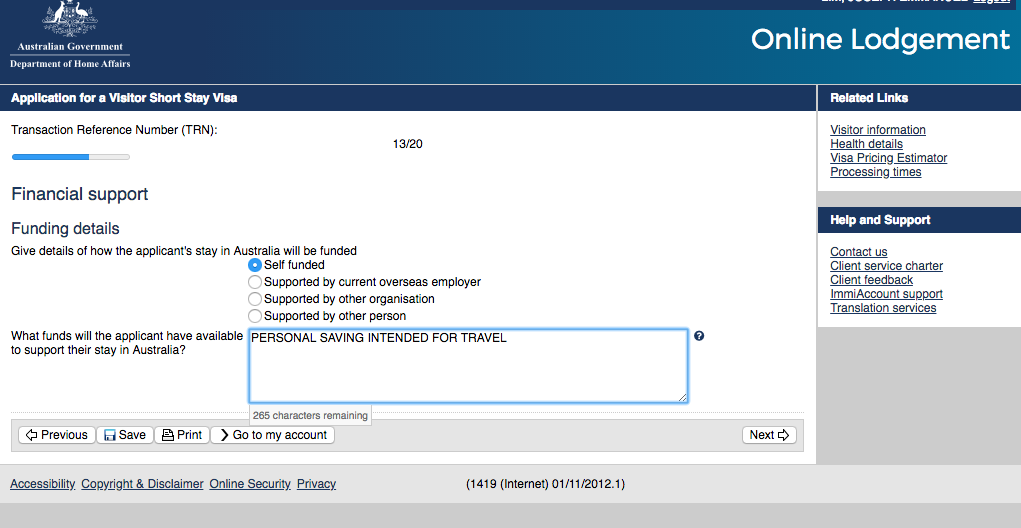
3. Start filling up your e600 form. Here is what you will likely see. Easy to understand.

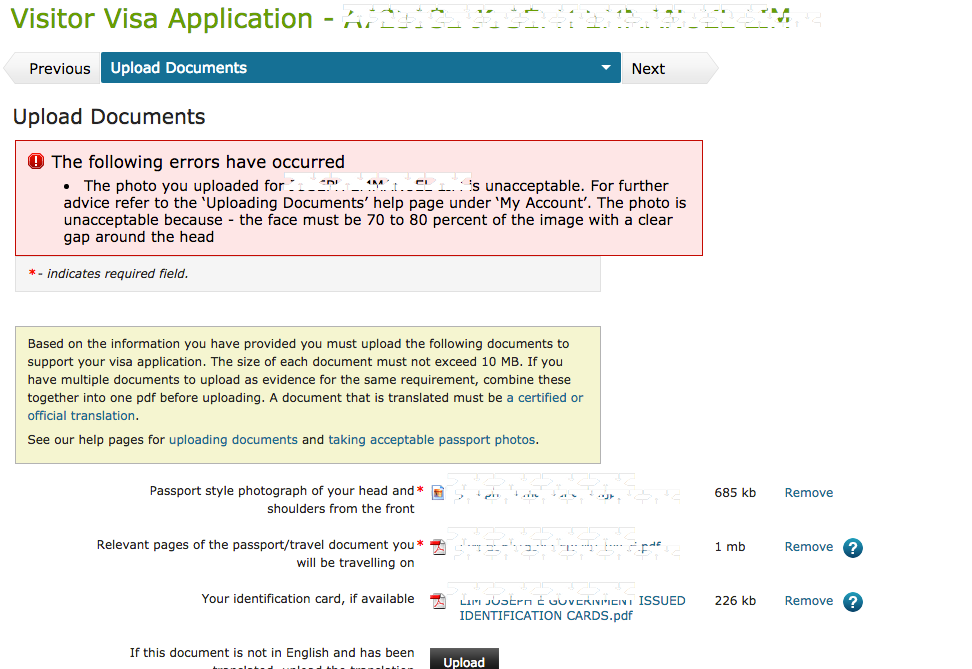
4. After filling up,you will be led to a document uploading interface which looks like this. inappropriate file type and size will be prompted. refer to requirements given above.

5. After all scanned files have been accepted by the online interface, you will be prompted to the payment page. I I paid mine via credit card for AUD 140 (Around 5,500 Pesos)

6. Submit and wait for Confirmation Email “Received”. This is the waiting time that your scanned documents will be evaluated. Also the perfect time for novena and pa-misa sa church for grace.

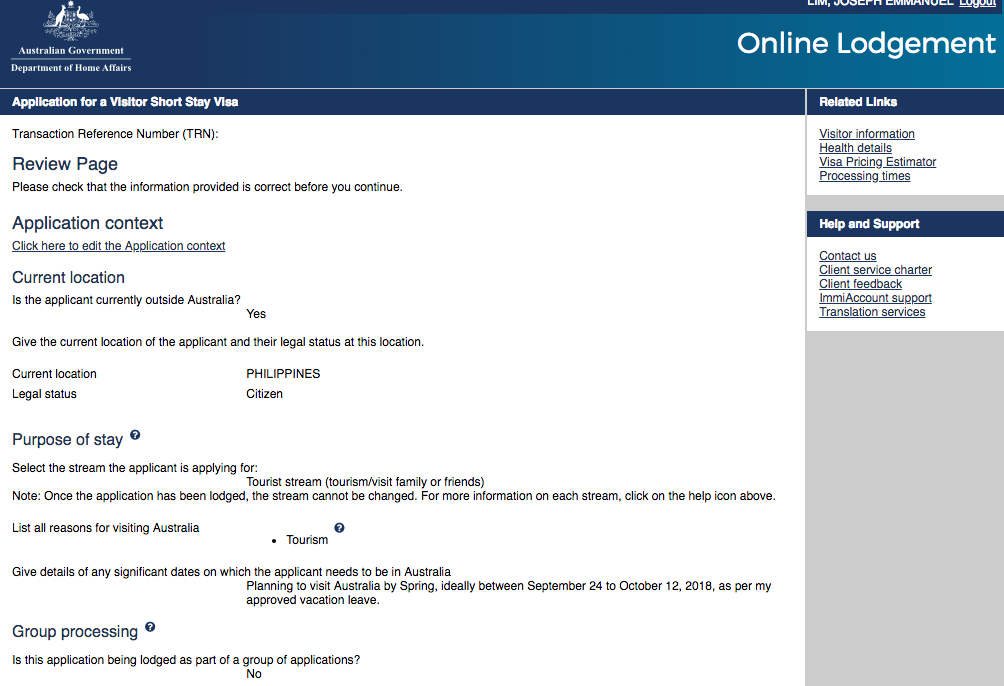
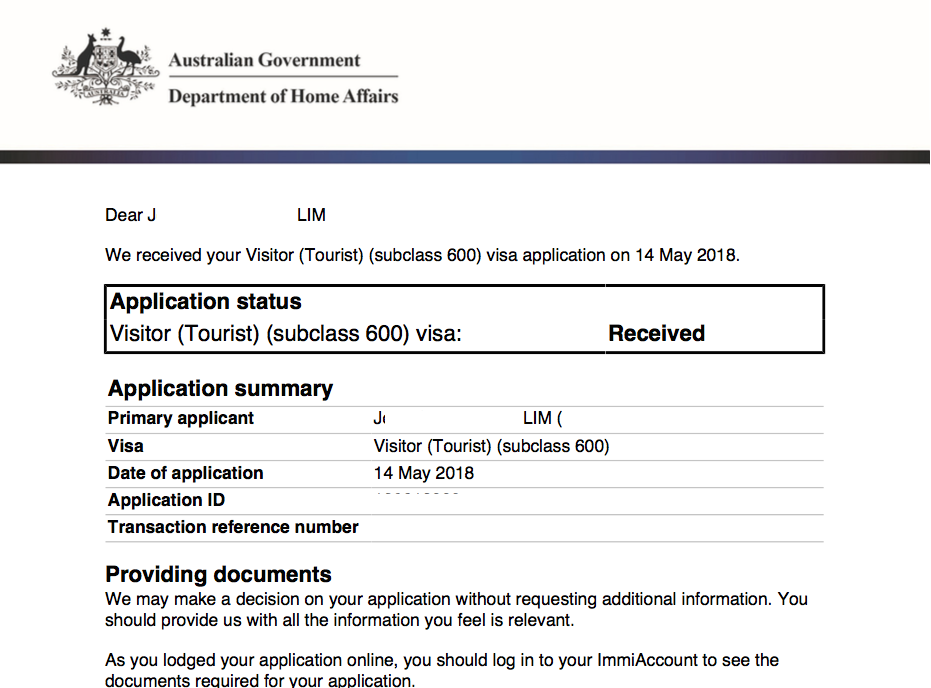
7. Receive decision via Email. I got mine after 10 days. The grant certificate will look like this. No need to submit your passport na to the embassy in Manila for verification and stamping. This certificate will suffice.

And that’s it! You have approval na and you’re ready to sell your kidney for travel funds.

Points to remember:

As per website, results are released 30 to 60 days after the submission. However, most of the recent applicants got their results earlier; provided, complete at valid ang scanned documents. I got mine after 10 days.

Since this is an online application, no need to print and submit paper requirements. Unless your uploads are not clear, then they may ask for those, or require you a personal appearance.

Bank account: As per usual travel blogs, bank accounts are ideally at 100 dollars x number of days stay x 2. better if more.

You can apply as early as 6 months before the trip.

Again, walang assurance ng approval. I feel that I got approved mainly because of the stamps I collected from my previous trips.

Lastly, IF UNSURE, WAG MAG DIY APPLICATION. Seek assistance from a reputable travel agency. PM me for recommendations. Chos! =)
New Zealand Tourist Visa for Filipinos 2018 – DIY Online Application Guide with Photos

LRM_EXPORT_406399622555966_20181002_222339421_Fotor

WAIVED NA PO ANG TOURIST VISA FEE FOR NEW ZEALAND!

True! Hindi po ito fake news. Before, it was mandatory to pay NZ$ 165. As of June 2017, A resolution has already been approved, stating that the Citizens of the Philippines do not have to pay anymore the fee or immigration levy for TOURIST/VISITOR VISA application, when coming to New Zealand for fewer than 60 days (Reference: https://www.immigration.govt.nz/new-zealand-visas/apply-for-a-visa/).

However, point out ko lang po clearly, NZ is NOT VISA FREE. It is only the big amount of fee that was taken out. We still have to submit necessary requirements to the NZ Embassy for the issuance of visa prior to our trip.

Traditional method of submitting paper requirements is still being implemented today. However, NZ Immigration already formulated a “Passport Handling-Online Application” method, which has taken visa application to the next level of easiness. With this method, applicants are only required to completely fill up a form on their website and then submit online the scanned copies of usual visa requirements. For this convenience,however,applicants shall pay a fee of less than 1,000 Pesos for the “Passport Handling”, which shall be discussed later. This is relatively a small amount compared to the big chunk of levy that has already been relieved from us. Passport handling fees may also be bank transferred na. This has made the application process more convenient, especially for us living far away from Manila/Cebu where embassy offices are located.
This guide blog focuses solely on Visitors (Tourist) Visa via Online Application. For other types of Visa, refer to https://www.immigration.govt.nz.
So without further ado (Char), here is a step by step guide on how I completed my application.

STEP 1 : Gather the visa requirements,

  1. Photo – passport sized (900 x 1200 pixels minimum), light colored background(except white, ideally light gray), JPEG Format straight from file. Bilhin nyo yung file ng picture sa studio. scanned from printed photo is not allowed; file size between 500KB and 3MB
  2. Valid Passport – scan pages with personal information; PDF Format
  3. Government issued Identification Card – either driver’s license, PRC, SSS, GSIS, TIN, Philhealth; PDF Format
  4. Proof of Employment – letter of approved leave from employer ideally with salary and other details ; PDF Format
  5. Evidence of Fund – Bank Certificate with ADB; Bank Statements; Updated Passbook; PDF Format
  6. Evidence of Onward Travel – Airline confirmed booking(meaning, ticket reservation from a reputable travel agency); PDF Format ; pwede rin Airline ticket mismo if you already have one, but not advised.
  7. Cover Letter – letter of intention. You may also put here your proposed day to day itinerary ; PDF Format
  8. Other Financial Document – Credit card billing statement, ITR; ; PDF Format
  9. For Self Employed – business permit, SEC or DTI registration. Annual ITR for the employed; PDF Format
  10. Record of Previous Travels – Scanned copy of your past and current passport with all stamps
  11. Copy of other Valid First World Visas (If available) – USA, Schengen, Japan or others; PDF Format
Re bank funds, some successful applicants mentioned “100 USD per day x # days stay x 2” maintaining balance. I guess we should prepare the same na din (or more) to prove our capacity to visit their country.

Step 2 : Go to https://www.immigration.govt.nz/new-zealand-visas/apply-for-a-visa

Select appropriate visa options. it will look something like this.

Click on the RealMe Link at the bottom to start application

Step 3: Create a RealMe Account which serves as your application form. This is where you will be uploading all your infos and scanned documents.

Provide usual infos, username and password. This step will also ask for an email verification.

After Email verification, your RealMe account will now look something like this. Click the “Visitor Visa” Highlighted in RED.

Step 4: Fill up RealMe Form in order that is given.

Fill up all the “Identity and Contact” requirements. one after the other. Save infos from time to time.

This may be intimidating, but just say No to all these entries, unless you seriously have a condition to declare.

The interface still asks for this stage even if you declared “single” early on. Samok ha!

This is the part where you upload your JPEG and PDF files

The good thing about this interface is that it prompts you for detected errors such as this. Cool! Very first world!

Step 5: Submit online your completed RealMe Form. In 24 hours, you will receive an email confirmation and instructions on where to submit your passport. This is not yet your approval.

Step 6: Payment of Passport Handling Fee thru Bank.

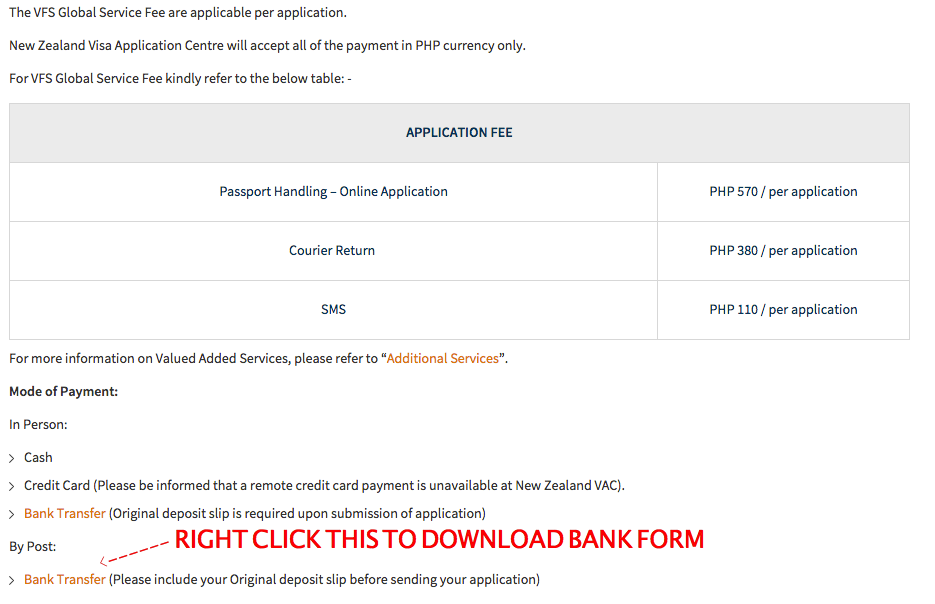
While it is most common for applicants to submit their passports personally, NZ offers an option to pay through Banco de Oro, which is very favourable for people away from Manila. Passport handling will be catered by VFS Global, which is NZ embassy’s partner agency. Details can be found at http://www.vfsglobal.com/NewZealand/Philippines/how-to-apply.html

Instructions on Bank Transfer Payments are detailed on this website.

For my application, I paid the 570 Handling fee plus 380 Courier Fee for them to return my passport after assessment. I did not avail the SMS assistance anymore, since the updates on my application can be monitored on my RealMe Account

Print the bank form and show to the bank during payment.

Step 7: Submit Passport to VFS Office for Assessment and Verification

Photocopy Bank Deposit Slip/ Transfer Slip and submit this to VFS together with your valid passport, the printed and signed bank form, a printed copy of “thank you” page and the Email Confirmation. Applicants from the province may send their documents ti VFS via any preferred courier.

Step 8: Result

Once the result is released, VFS will send your passport back to your given address. Courier fee for the return is part of the prior payment.

NZ Visitor Visa issuance is indeed fast. I got my approval 4 days after submission of passport to VFS.

Points to remember:

As per website, results are released 20 days after the submission. However, most of the recent applicants got their results within 3 to 4 days!

Since this is an online application, no need to print and submit paper requirements. Unless your uploads are not clear, then they may ask for those.

You can apply as early as 6 months before the trip.

Grant on duration of stay varies. Wala talagang template for this. But definitely, your stay will not exceed 59 days at a time.

For online application, No more sticker on your passport. The approval certificate that will be emailed to you shall serve its purpose.

—0—-

So there, hopefully this blog will be of help by the time you apply for your own. Though I am fully aware that this guide will not guarantee approval for everybody. Kaya sabayan nyo nalang din ng Novena for 14 days with miryenda cream bread and mayonnaise.

This guide,however, is focused purely on tourism/holiday visit. For other types of application, see https://www.immigration.govt.nz for details.

Re Waived visa fee, there is no information on until when this waived fee will last. So while we are enjoying the current privilege, might as well consider visiting this green country very soon.

Lastly, if you are unsure of your documents, or if you find the D.I.Y. online application too complicated, please get in touch na lang with a reputable travel agency to process your papers.  Life is short, wag na pa stress!