Visa Free Travel to Taiwan for Philippine Passport Holders

UPDATE: In case you missed it, Filipinos can now travel to Taiwan visa-free up until July 31, 2019! Taiwan’s visa-free travel program has been extended another year.

The Taipei Economic and Cultural Office has already made official that we,the Philippine nationals, who plan to visit Taiwan for the purpose of tourism, visiting relatives, attending functions or events, can enjoy VISA FREE entry to Taiwan, for a duration of stay up to 14 days.

According to Taipei Economic and Cultural Office(TECO), a Filipino visa-free visitor must meet the following requirement to Taiwan Immigration upon arrival:


  1. A regular Philippine passport with remaining validity of at least six months from the date of entry (diplomatic & official passport holders are not eligible for visa-free treatment);
  2. A return ticket or a ticket for the traveler’s next destination and a visa for that destination if it is required;
  3. No criminal record in Taiwan;
  4. A proof of accommodation (hotel) booking or host/sponsor’s contact information or arrangements of tour, travel, visit, events and meeting, etc.

Effortless na, diba?  However, this visa-free access will have a nine-month trial period until July 31, 2018. Kaya behave tayo dun mga bes, ha? wag mag J-walk, wag mag drugs, and landi responsibly!


For travellers intending to stay for more than 14 days, or for studying, working, employment, and other activities, you are still required to obtain appropriate visas before entering Taiwan.

For first time Pinoy travellers however, I personally recommend you to bring other supporting documents that may be asked by the Philippine Immigration before you can leave the country. Yes bes, it happens! Pwede ka pa rin hindi makalipad because the Ph immigration might find your travel plans to Taiwan questionable. As such, don’t forget to bring your company ID and certificate of leave pa din with complete details on approved date of  absences; and if possible, state the declared salary.  The purpose of this is to inform the Ph immigration officer that you have a stable work/living to return to here in our country, and that becoming a possible TNT in Taiwan is not your option. Panigurado lang. If the officer does not ask for these documents, then good! At least you were prepared. =)

Anyways, here’s a teaser vlog i prepared from my trip to Taipei last week. More details and tips coming soon.


Applying Schengen Visa Through The Netherlands Embassy in the Philippines

— April 22,2015, Wednesday, 10:00 pm, General Santos City —

Earlier today, I got my passport back from the Netherlands Embassy with a valid Schengen Visa Sticker. Approved! Grabe! Ilang araw ko din to inanticipate! I was kind of doubtful with my application at first because me and two other companions had difficulty in the personal interview, which I shall be detailing later on.

The waiting time of uncertainty felt somewhat to similar when I was waiting for my board exam result back in 2008. I was not confident at all. Parang natatae ako everytime I think about it. But then it turned out good. This is my first time to get such Visa approved. The application was “D.I.Y., with personal interviews and taxing requirements. Other visas from previous trips were VOAs or coursed through an agency. Sorry if you find this OA, but really, travelling is a big deal for me; And granted the opportunity to visit Europe is a dream come true. So, yeah!

So by the time this will be published, I am probably in Warsaw, Poland already. So, wish me safe and luck guys! Laban! =)

— xoxo —

Moving forward to a more serious and productive note, here is how I got my visa application approved. For those interested, I hope this would help in some ways.

Applying Schengen Visa can be done three months prior to your trip. As a golden rule, it is always good to patch travel requirements early.

Why I applied through the Netherlands Embassy?

When travelling to multiple Schengen States, application for visa should be submitted to the embassy where a person intends to stay the longest. The embassy is keen on this, as they will be examining the itinerary you will be submitting.

The Netherlands Embassy also carries in the Philippines all visa applications for Poland, which in my case, the country where I intend to stay the longest.

In addition, I have been told that it is fairly easier to apply through them as they have been generously granting Visas for tourism the past years, provided with complete requirements. But then this was not in our case since we had difficulty in the personal interview, which I shall be detailing later. However, the Embassy still granted us a visa, so, Hoorayy for that!!!! =)

Screen Shot 2015-04-23 at 12_Fotor

Booking a Personal Interview

  1. Netherlands Embassy requires applicants to pay the Visa Fee first through any Union Bank branch in the Ph. Fee is a non-refundable Php 3,700.00. This however includes courier service fee, since they will be sending your passport back to you, with whatever result it brings. A payment form and a photocopy of the passport shall be submitted to the bank. Some branches also require bringing the actual passport for verification.
  2. Schedule a personal interview; a day after the payment was made. This is where applying through Netherlands Embassy comes easier because you just have to book an appointment online through http://www.vfsglobal.com/Netherlands/Philippines/schedule_an_appointment.html . More information on the website.

2016 UPDATE: To schedule an interview, you pay at Unionbank Php 730.00 nalang, instead of the full amount.  Keep the deposit slip, the reference numbers there are important. And if you can’t find the ref number, ask the teller to highlight it on the slip, as you have to encode that on the scheduling website. Usually after One banking day, you can make a schedule na.  Remember also that you should complete the interview scheduling asap, as the receipt expires in 30 days.

Meanwhile, the VISA fee, amounting to Php 3,170.00, should be paid na on the day of the scheduled interview at the Embassy (before the interview, to be exact).

Others, such as the Italian embassy, require booking appointment via call center which charges Php 32.00/ minute call.

Apologies for being too wordy on this but I might as well make this post as detailed as possible, based our actual experience.

Below are the items I gathered for this Visa application, solely for purpose of Leisure and Tourism. For other types of visa, please check on the Netherlands website. The same requirements are also asked when applying though other Schengen State Embassies. However, It is advised to make further research for specific countries. Wise and detailed preparation would most likely result to better chances of approval =)

Requirements to submit during interview:

  1. Formal cover letter addressed to the Dutch Embassy, stating your purpose “For Leisure and Tourism”, a summary of your trip, Date of Fly in and Fly out and number of intended days of stay.
  1. Duly filled out and signed Schengen visa application form, downloadable from the embassy link given above. (present one original and one photocopy)
  1. One (1) recently taken passport-sized photo (not used in previous visas). 35mmX45mm White Background. No Nametag. Provide a Serious Face, with mouth closed and face straight to camera. Clip photo with the filled up form. Don’t paste. Bring extra copies.
  1. Current passport with at least 2 blank pages/ at least 3 months valid upon return
  1. Bring Previous passports , if there are any.
  1. Proof of travel:
  • Copy of the roundtrip airline reservation. The reservation should prove that the stay in the Schengen area does not exceed 90 days, which is the maximum for tourism. It is recommended not to buy the ticket until the visa is granted. Unless you found a cheap ticket on sale like my case, then that is a risk to take. Sale tickets are usually non-refundable. Ticket Reservation can be booked with KLM Airlines online for around 15 USD (non-refundable). If you have friends in a travel agency, then have them help you with this.
  1. Detailed itinerary of your stay in Schengen Area from day 1 to exit, ideally showing the following information in table format:

Date – City/Country – Activity/to do – Hotel Address – Hotel Booking Number

Interviewers are very keen on this, as it happened to me. I as was randomly asked what my expected activities are on certain dates. As such, it is better to study this, especially if will be going multiple countries.

  1. Proof of Travel medical insurance coverage (Eur 30.000 or USD 50.000)
  • The insurance must cover the entire period of intended stay, valid for all Schengen States and covering any expenses which may arise in connection with repatriation for medical reasons, urgent medical attention, emergency hospital treatment or death during the stay. I got mine with MAPFRE insurance for 2,700 Pesos, covering 45 days. Do check embassy website for other credited insurance companies.
  1. Proof of accommodation
  • Printed Hotel confirmation or hotel voucher to cover all days spent in Schengen Area. The Embassy needs this as your European Address. Ideally you can book this with Booking.com as they do not require downpayment.
  • Better chances of getting approved if you have a host or family in Europe. Provided, he/she must send you an Invitation letter from the Municipality + copy passport or residence permit.
  • If you are joining a group tour with accommodation, provide printed vouchers.
  1. Proof of financial means . One or more of the following documents may be submitted:
  • Bank certification, indicating Average Daily Balance, date of opening, and purpose as “ Schengen Visa”. Applying as a tourist to Europe, it is recommended that you prove to the embassy that you have sufficient funds to spend for a vacation, to omit the idea that you would be working there without proper papers. Although there is no required savings amount mentioned by the Dutch Embassy, a few travel enthusiasts recommend fund computation as shown below,

(100 USD per Day x # of days stay + Ticket cost) x 2.

Unless you have a host or a sponsor for your trip, then provide an Affidavit of Financial Support as proof. I have a friend who got this support from her mom, and her application was ok.

  • Recent personal bank statement or balance over the last three months. This can be requested from the bank or just download it from your online account, which I did. Better chances if your fund is moving, and not a “one time” deposit.
  • International Credit Cards with recent Statement.
  • Latest Income Tax Return
  • Optional : Rental income or Photocopy of Land Titles and Assets under your name , just to prove your worth in your own country, and that you have obvious reasons to return home. I prepared this, it was not asked from me though =)
  1. Proof of occupation

If employed:

  • Certificate of employment indicating monthly pay, position and date of employment. Provide as well 3 months payslip, if there is. This was asked from me.
  • Certificate of leave of absence.
  • Company ID and other proof of employment such as work contract. This is again just to prove you will be returning back to the Philippines.

If self-employed:

  • DTI/SEC registration of business
  • Income Tax Return etc.
  1. If travelling with spouse and/or children : § Marriage contract § Birth certificates of children
  1. For spouse of EU nationals travelling with or meeting the EU citizen: Visit the Dutch Embassy Website for this.
  1. Photocopy of passport/s with old and new visa stamps from any countries. Impress the embassy with your previous leisure travels.

 Processing time is 15 days from the date of interview. However, we got our passports just 7 days after, which came as a surprise. =)

 How the interview went …

To my surprise, the interviewers on the day we were scheduled, were Filipina Staffs on all three counters. And it was not as quick as I thought it would be. My interview lasted for almost 20 minutes, to think that only 10 minutes was supposed to be allotted as per schedule.

As I understood, the interviewer was trying to squeeze out how much I know my documents and my Itinerary. She randomly asked me what activities I am scheduled to do on certain dates, so as to check how well I know my planned Itinerary, since my trip was a “Do it Yourself”, no group tours whatsoever.

These submitted itineraries however, are for visa purposes and may still be changed, provided you just stay in Schengen until the allowable maximum days granted on you; A week, a month, 90 days max, it depends on how well you defend your Itinerary.

I was asked for a company ID. I forgot to bring any. (On cue, heart attack!)

I also lacked a page in my hotel booking, forgot to print. ( another heart attack!)

She also asked me how I earn and save, which she found unimpressive, I guess, given the length of stay I requested, (Hahaha) which got me thinking about the savings formula of “expected spending x 2”. Or provide more if you can, so as to establish your worth and that you have a reason not to over stay there for whatever purpose. After all, this application is for tourism, as such, certain funds are expected.

I was also asked for additional documents from my friend in Poland, who is hosting me. There were lacking documents, which was the cause of another tiny heart attack for me. However, I was allowed to just email them to the embassy, after the interview.

On other days, Dutch citizens do the interview, which some say, are easier to talk to; And would not drag the interview longer than 5 minutes, when provided with complete documents. It is either you are good, or not.

In all honesty, I was not confident the moment I finished the interview. I went home sad. If not for the lacking documents and all, my interview could have been easier.

But despite those, I was granted the Visa still! Its like I won a battle I almost accepted I’d lose. Thank God things turned out well!

So here na ako . Wish me luck =) Hello Europe and Hello World ! =)
Backpacking Kathmandu Nepal with VISA on Arrival

Getting a Nepal Visa On Arrival (VOA) in Kathmandu is easy; Probably the most lenient entry  I’ve been to so far. Almost all nationalities, Filipinos included, can avail the Visa On Arrival in Kathmandu Airport.

What to Bring ( As of April 2014):

1. One Passport Sized  ID Picture , with white background (or you can avail of the services at the airport but its expensive.)

2. A Photocopy of passport containing Details.

3. Filled up VOA Form, available at the Arrival Area

4. Tourist Visa Fee : (All visas are multiple entry.  Nepal Immigration prefers to accept US dollars for the visa fee payment.)

—15 days or less, 25usd.

—30 days, 40usd

—90 days, 100usd.

Nelal Visa on Arrival for Tourist
Nepal Visa on Arrival for Tourist

For whatever reason, the Intl. Airport in Kathmandu was very relaxed and tolerant on arriving guest.  When I arrived , my backpack did went through the x-ray machine, but as i’ve observed, the officer did not even bother to check the x-ray monitor. Not Good !

Tribhuvan International airport (Kathmandu)
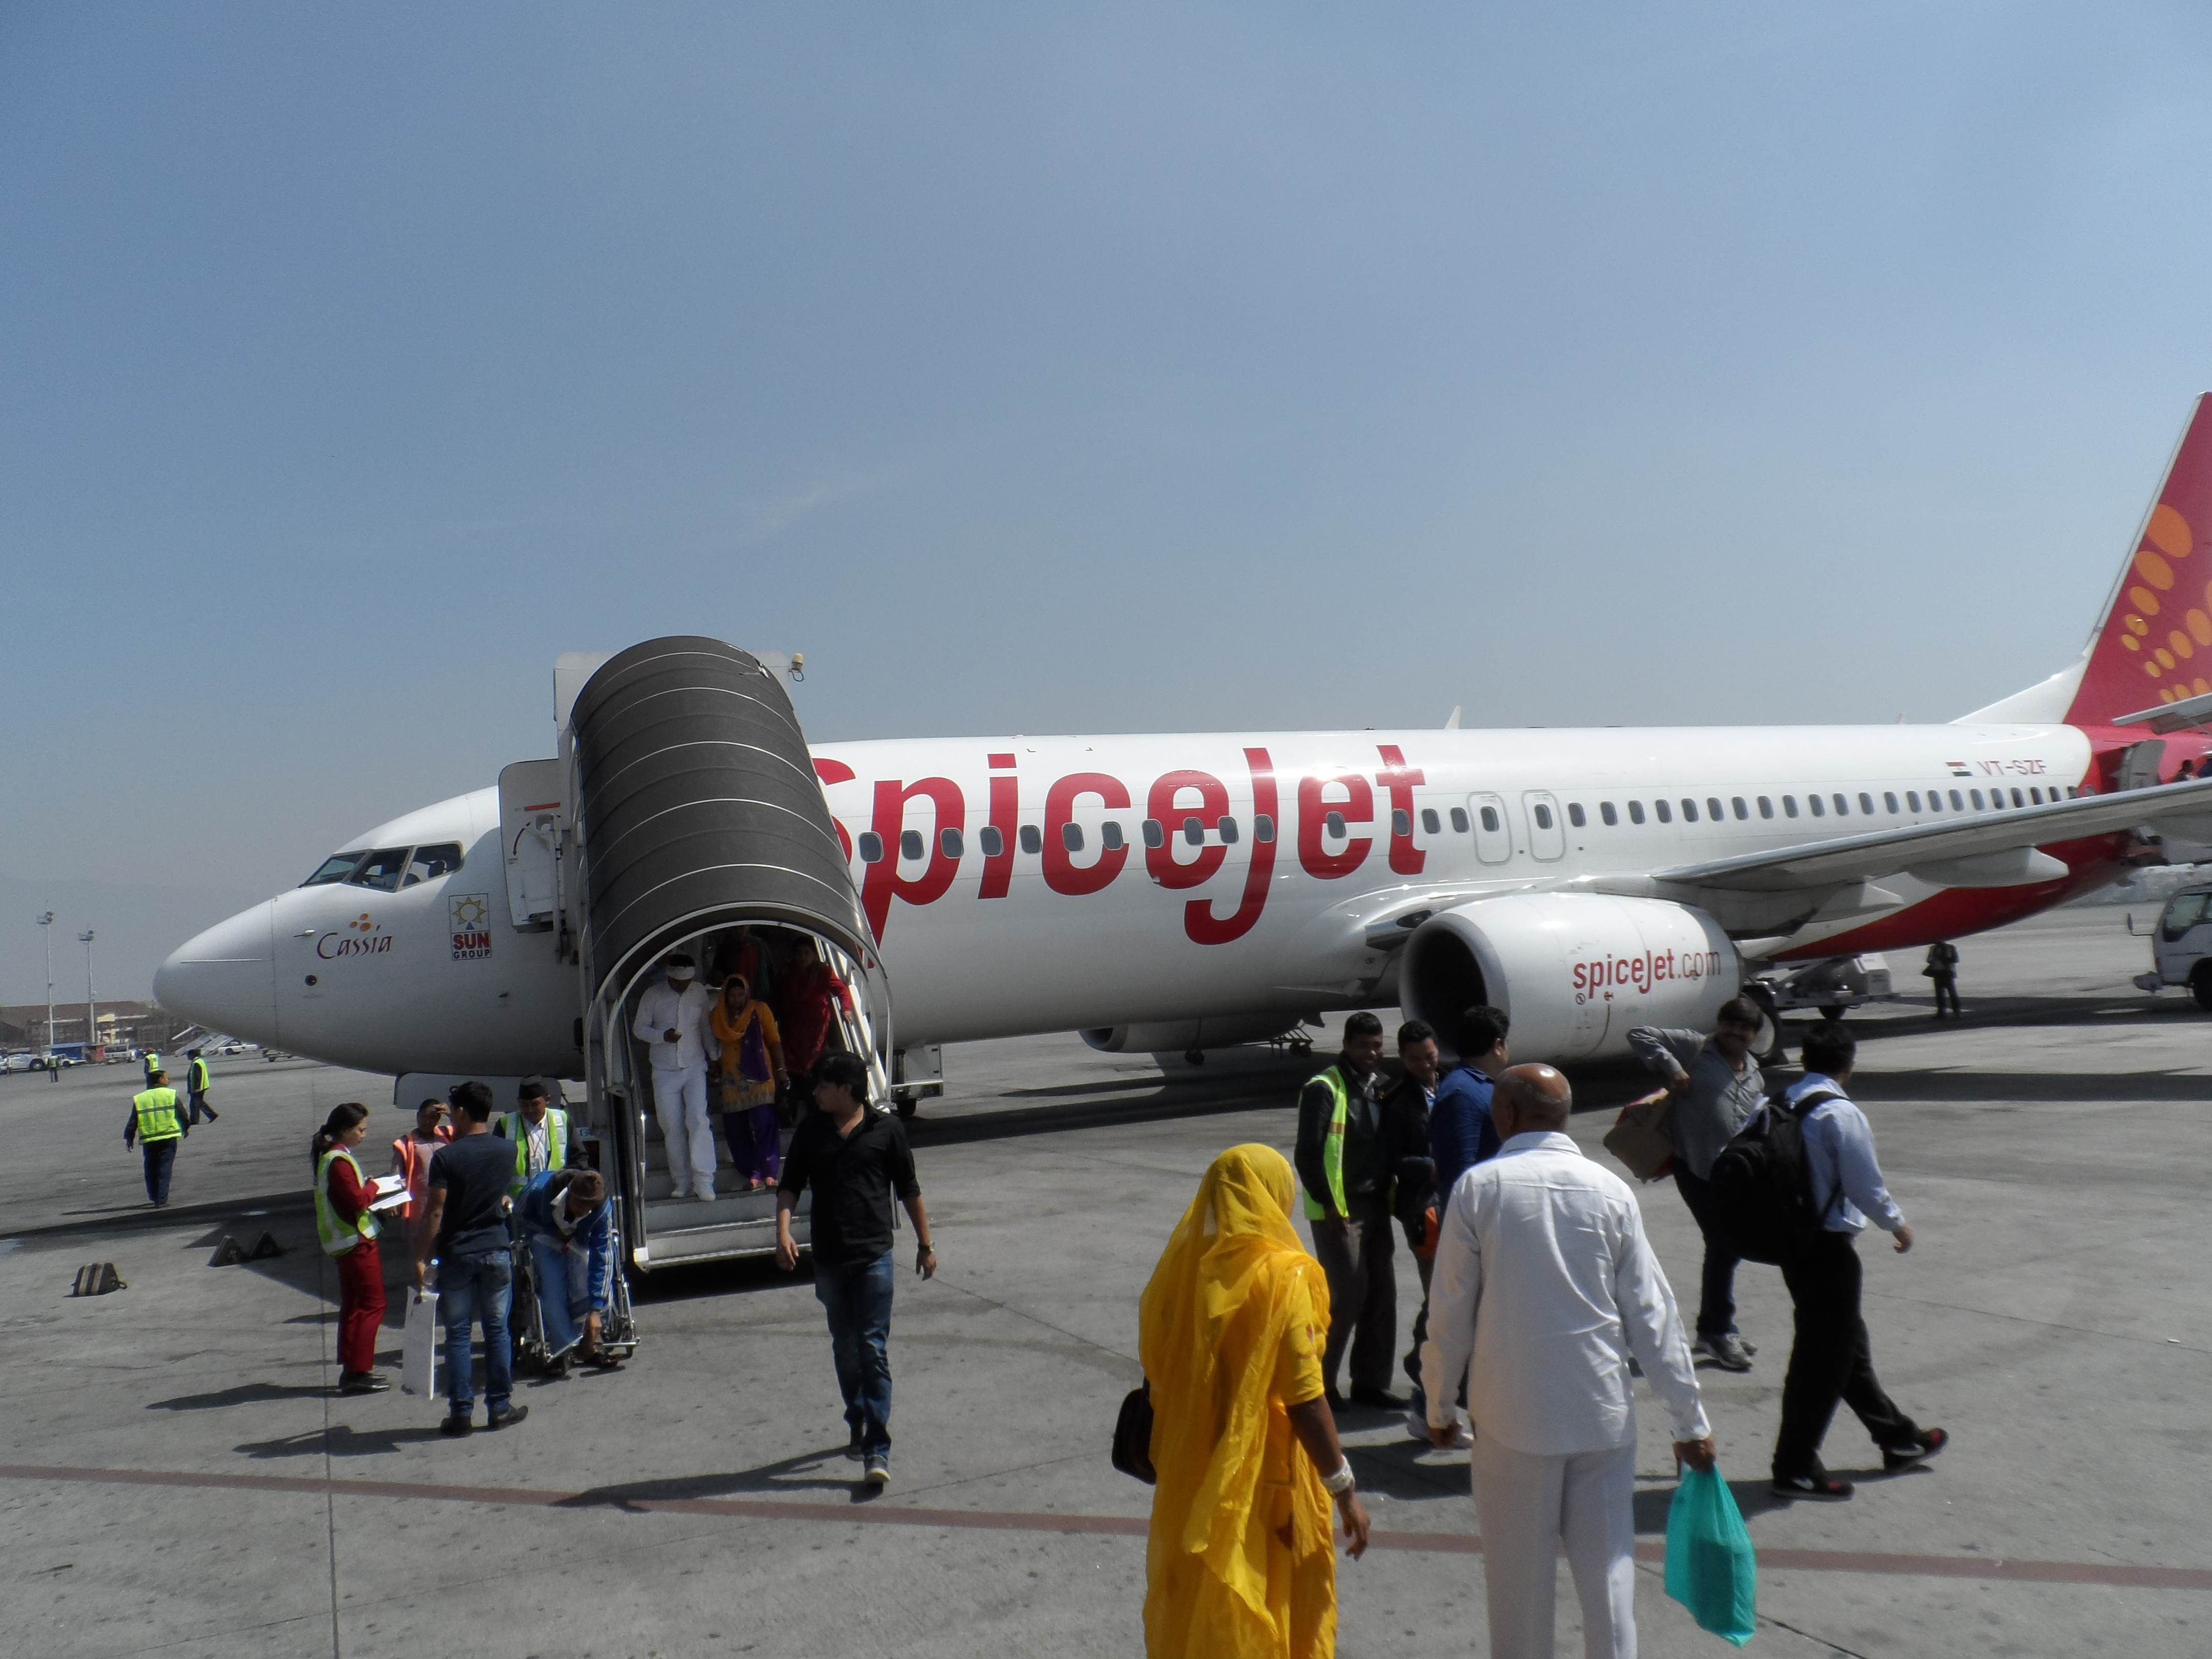
My flight from Delhi to Kathmandu .  2.5 hours
My flight from Delhi to Kathmandu . 2.5 hours

Prepaid Airport Taxi is the best option to take you to the city center, for 750 NPR ( 8 usd ) . It would be ideal if you find a fellow tourist to share taxi with. After all, almost everyone would probably head to Thamel , which is the known tourists’ area at Kathmandu City Center.  As I’ve read, Public Transpo can be a bit unpredictable in Nepal, since the supply and cost of Fuel is also unstable .  The time I visited, there are no public buses that can take you out of the airport directly to the city center.   Airport to Thamel is around 45 minutes.  Roads are tight and dusty everywhere in Kathmandu, and seldom do you find an Air-conditioned Taxi, so prepare for that.

Where I Stayed :

Stayed at Happily Ever After Hostel at Thamel Marg, and you might have to get some directions from Google , as the roads in Thamel are like spider webs ! Its when hopping in a fix priced prepaid airport taxi comes in good use.

An overnight stay with Happily Ever After Hostel only cost me around 4.5 USD with breakfast.  Expect to share room with 10 people. But Beds were decent and comfortable. Dorms are not Air-conditioned, but it was Spring the time I visited Nepal so the weather is soothing and comfortably cool ( around 18 degrees C at daytime).

The Hostel Has a nice roofdeck , Crowd is more of yuppies and mountain climbers. No Kids allowed.

Happily Ever After Hostel where I stayed in Thamel

Nepal is relatively cheap to explore . Usual Food and Accommodation are cheap.  Just to give you a picture ,  1 USD is  around 100 NPR (Nepalese Rupee).  With an appetite like mine, I say that 5-7 USD /day food allowance is enough.  Bottled Water is also cheap in Nepal (30 NPR/ 0.30 usd per liter), as the country is abundant with fresh spring water. Small convenient stores are all around, just like Sari Sari Stores in the Philippines.

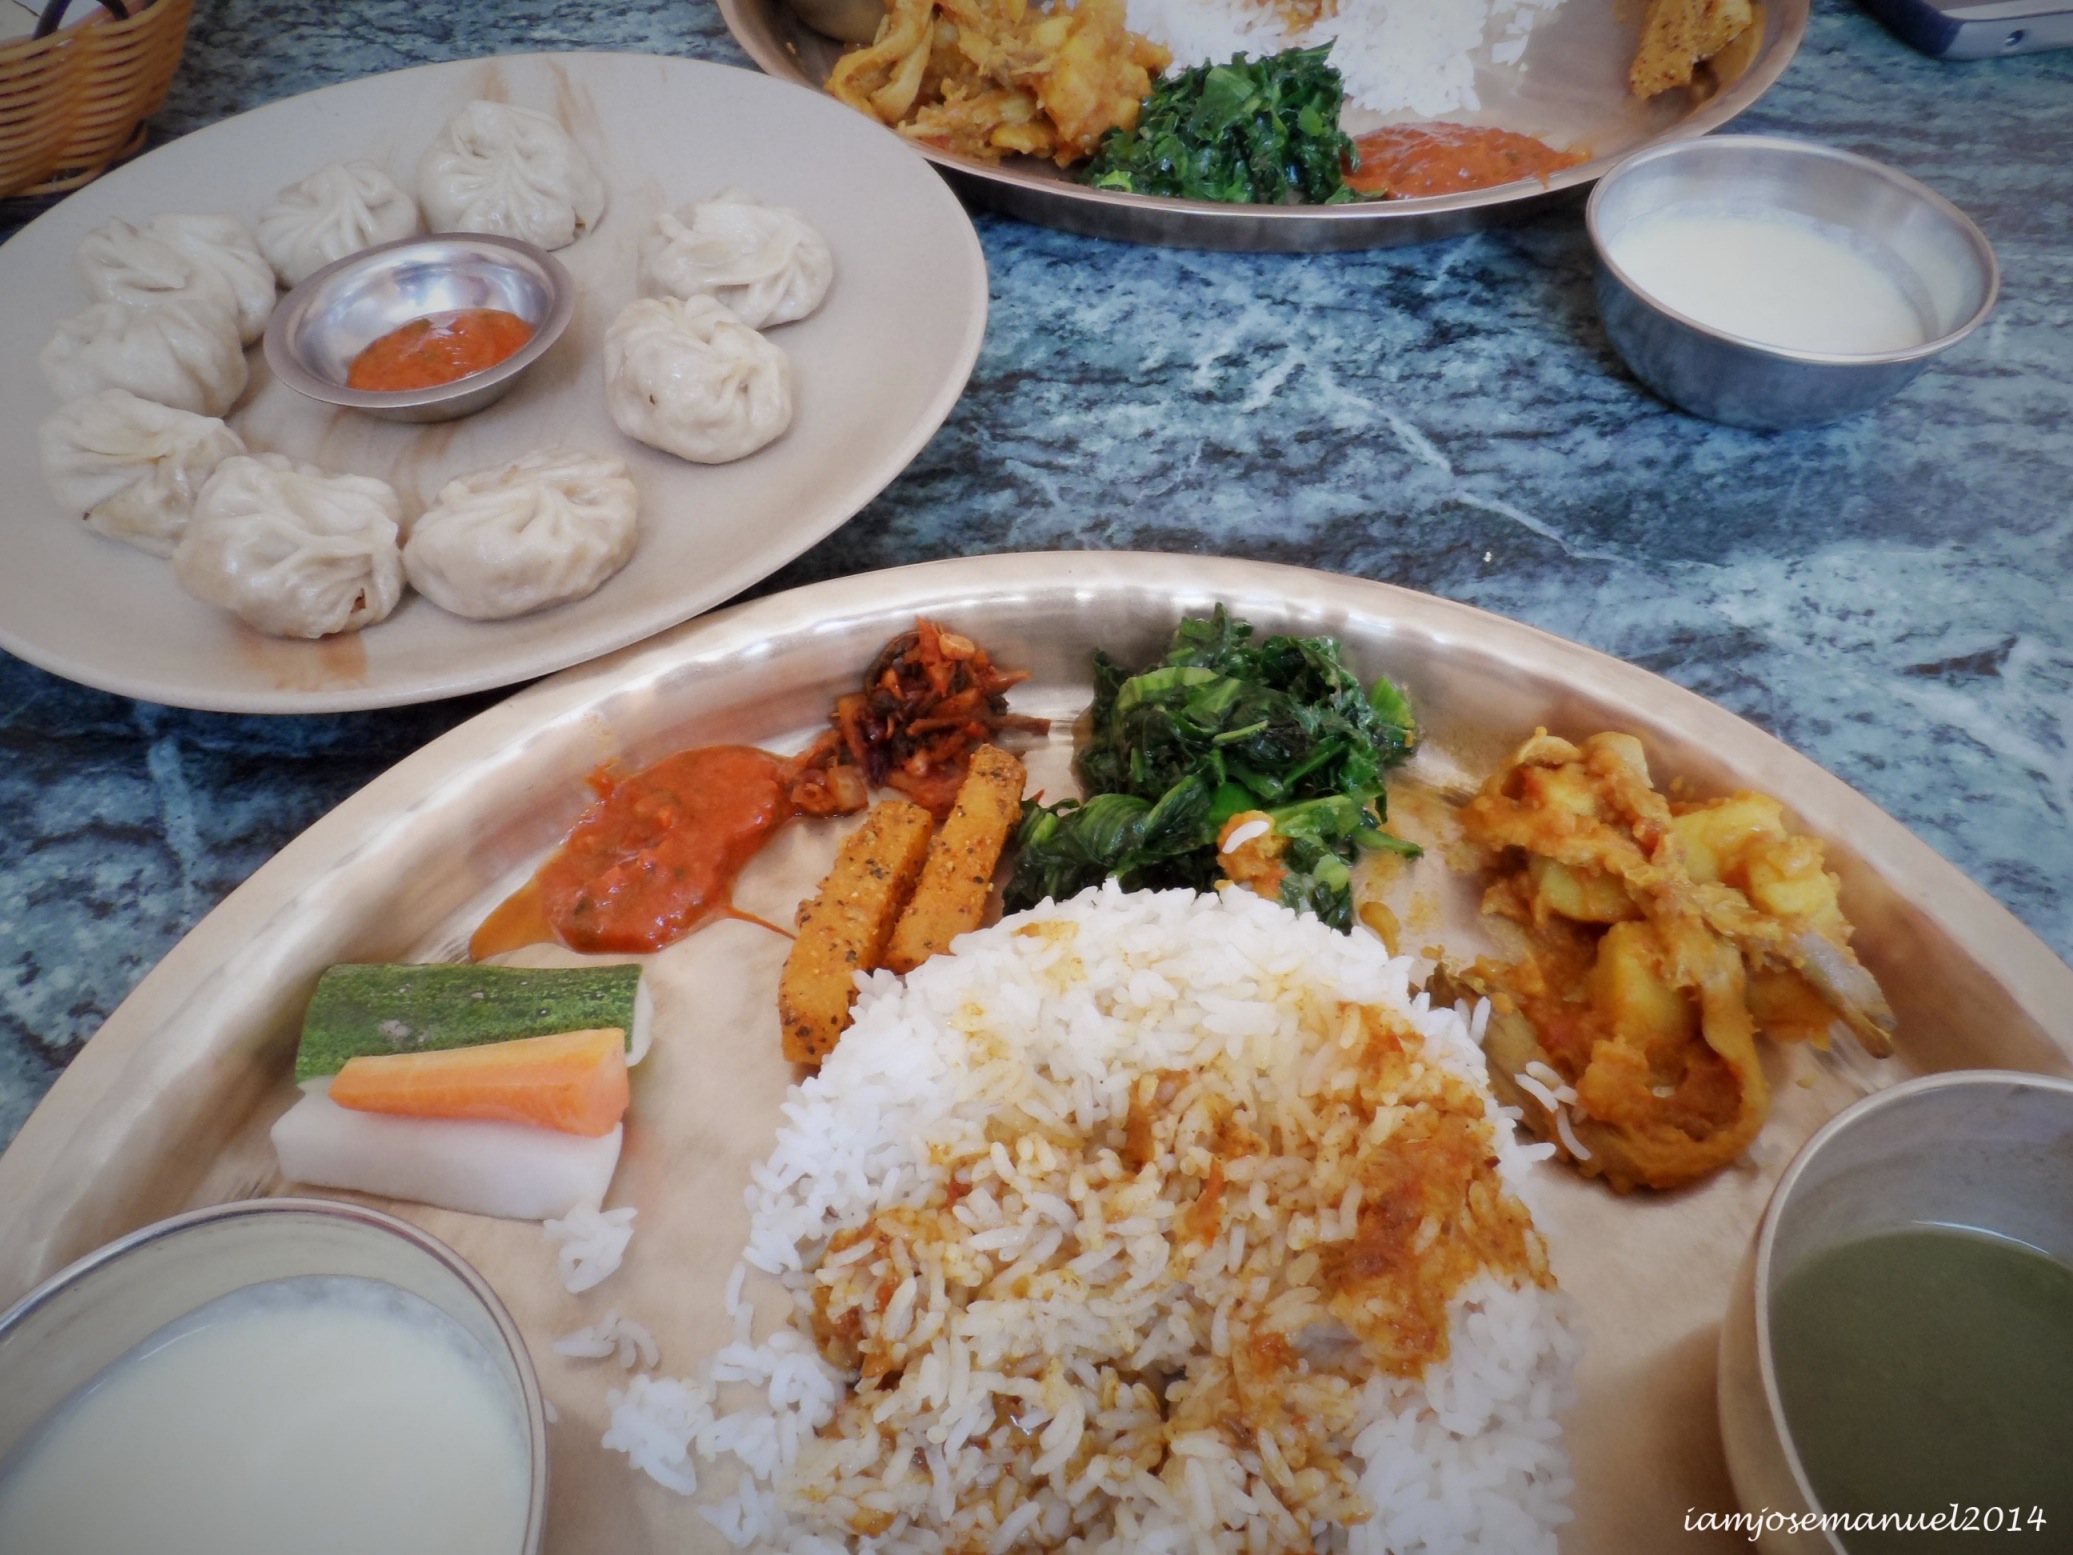
A usual full vegetarian meal   ( they call it “Daal Bhat “) will cost you 160 NPR  , with unlimited refill of Side dishes and Rice on most places !. So thats just around 1.5 usd for a heavy lunch.

Daal Bhat , Nepali Traditional Vegetarian food . with some momos/dumplings
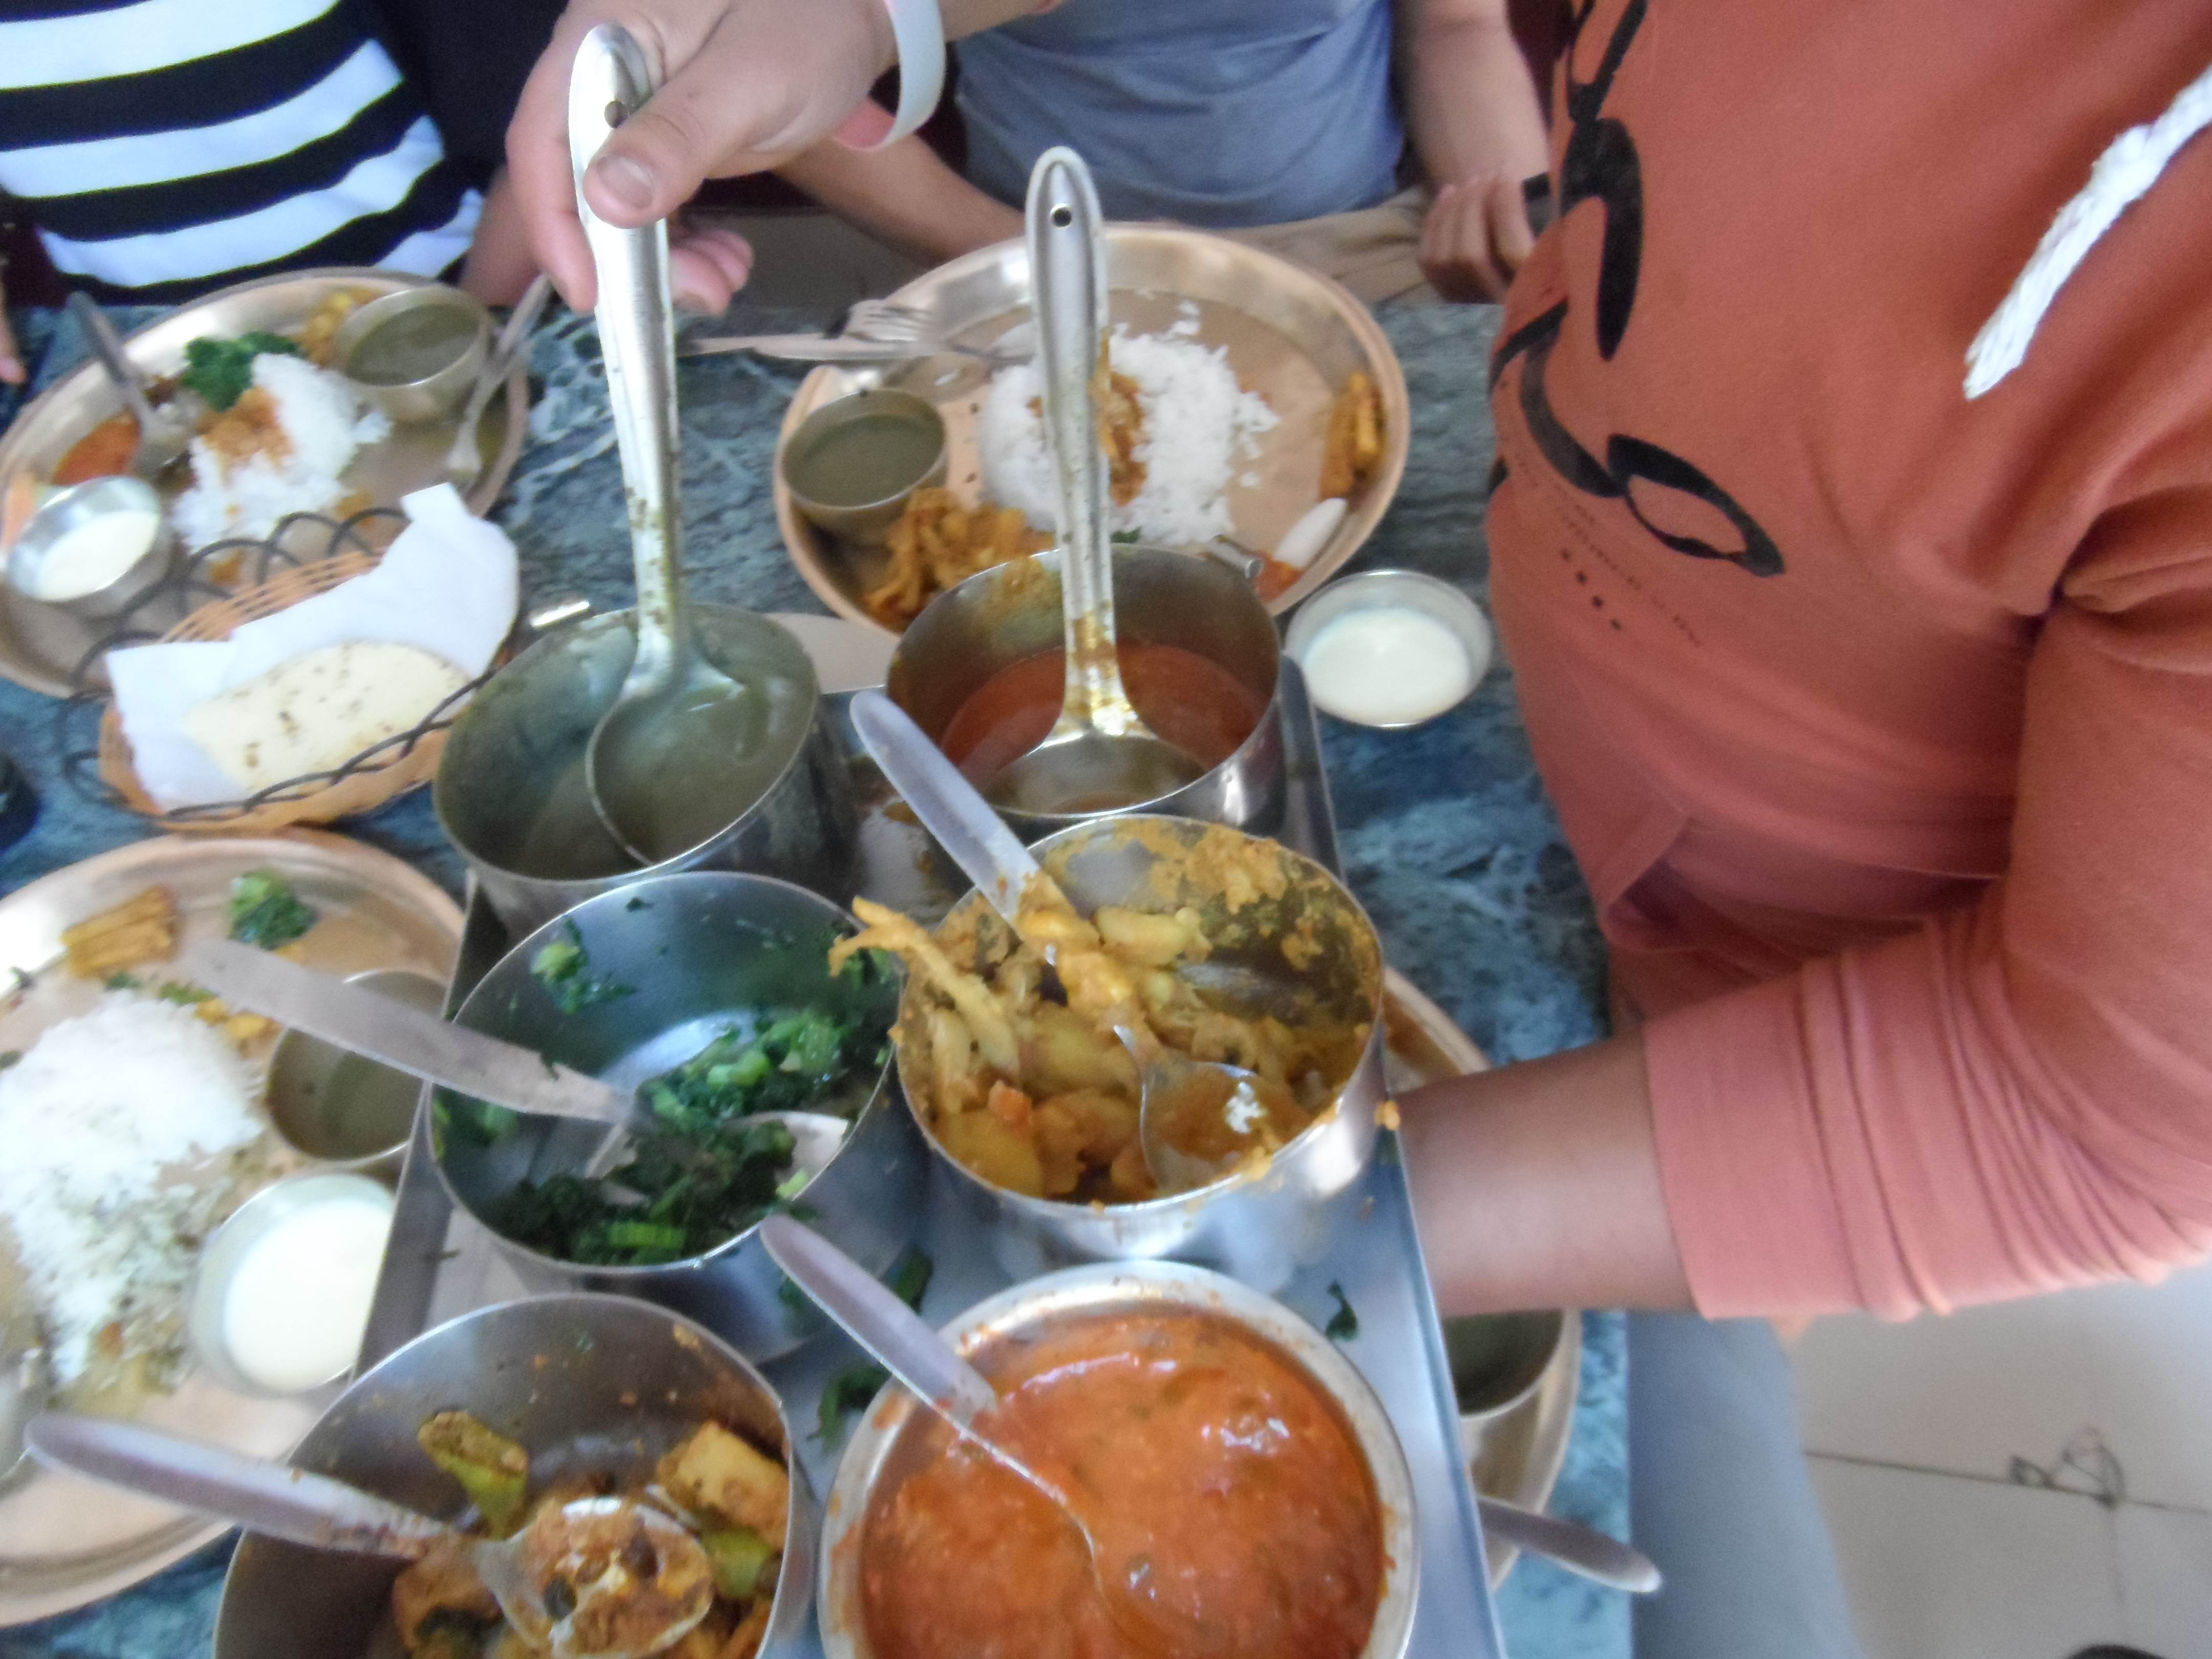
Thakali kitchen in Thamel. Unlimited Side dish refill
fellow backpackers I met in Kathmandu

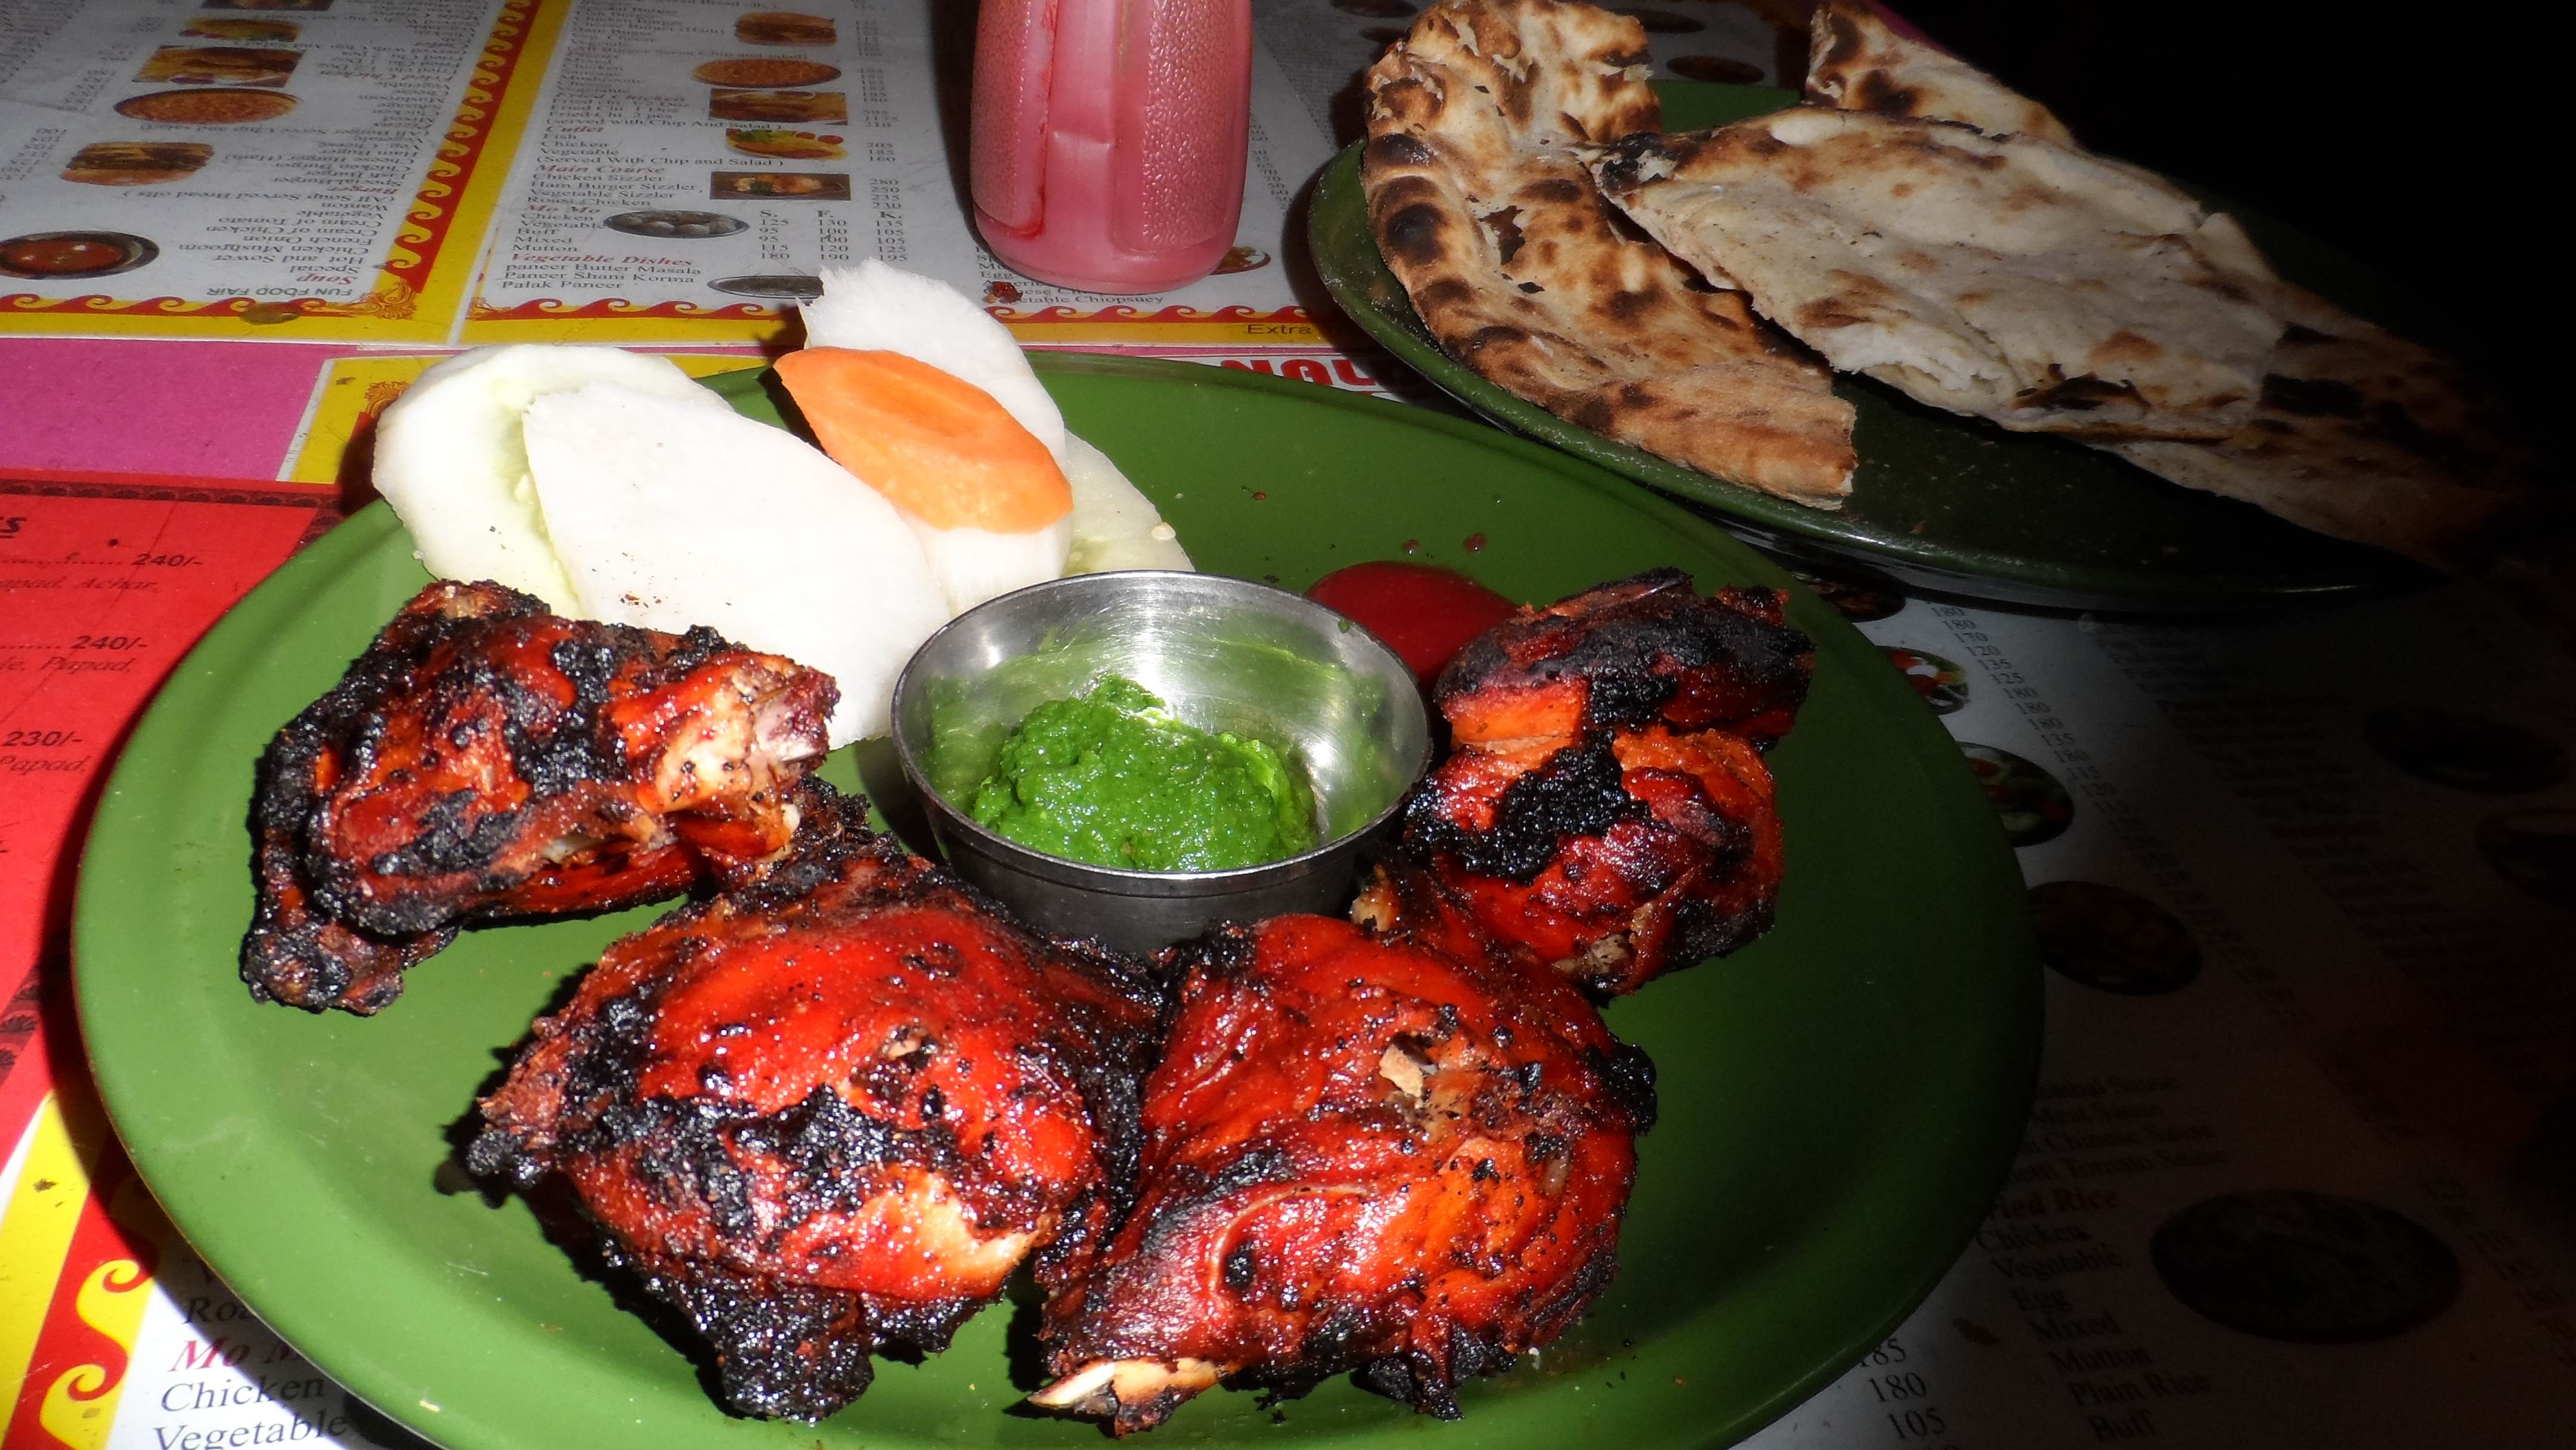
Meat /chicken BBQ’s will cost you around 350 NPR ( 3.5 usd ) but it can be shared. Heres a picture of Afgan Chicken from a basic restaurant along Thamel named “MacDonalds” . ( Yes ! its like a pirated name. haha )

Afgan style bbq chicken . smoked on a traditional clay pot

Other Affordable but satisfying meals I had around Kathmandu , which are less than 1 USD.

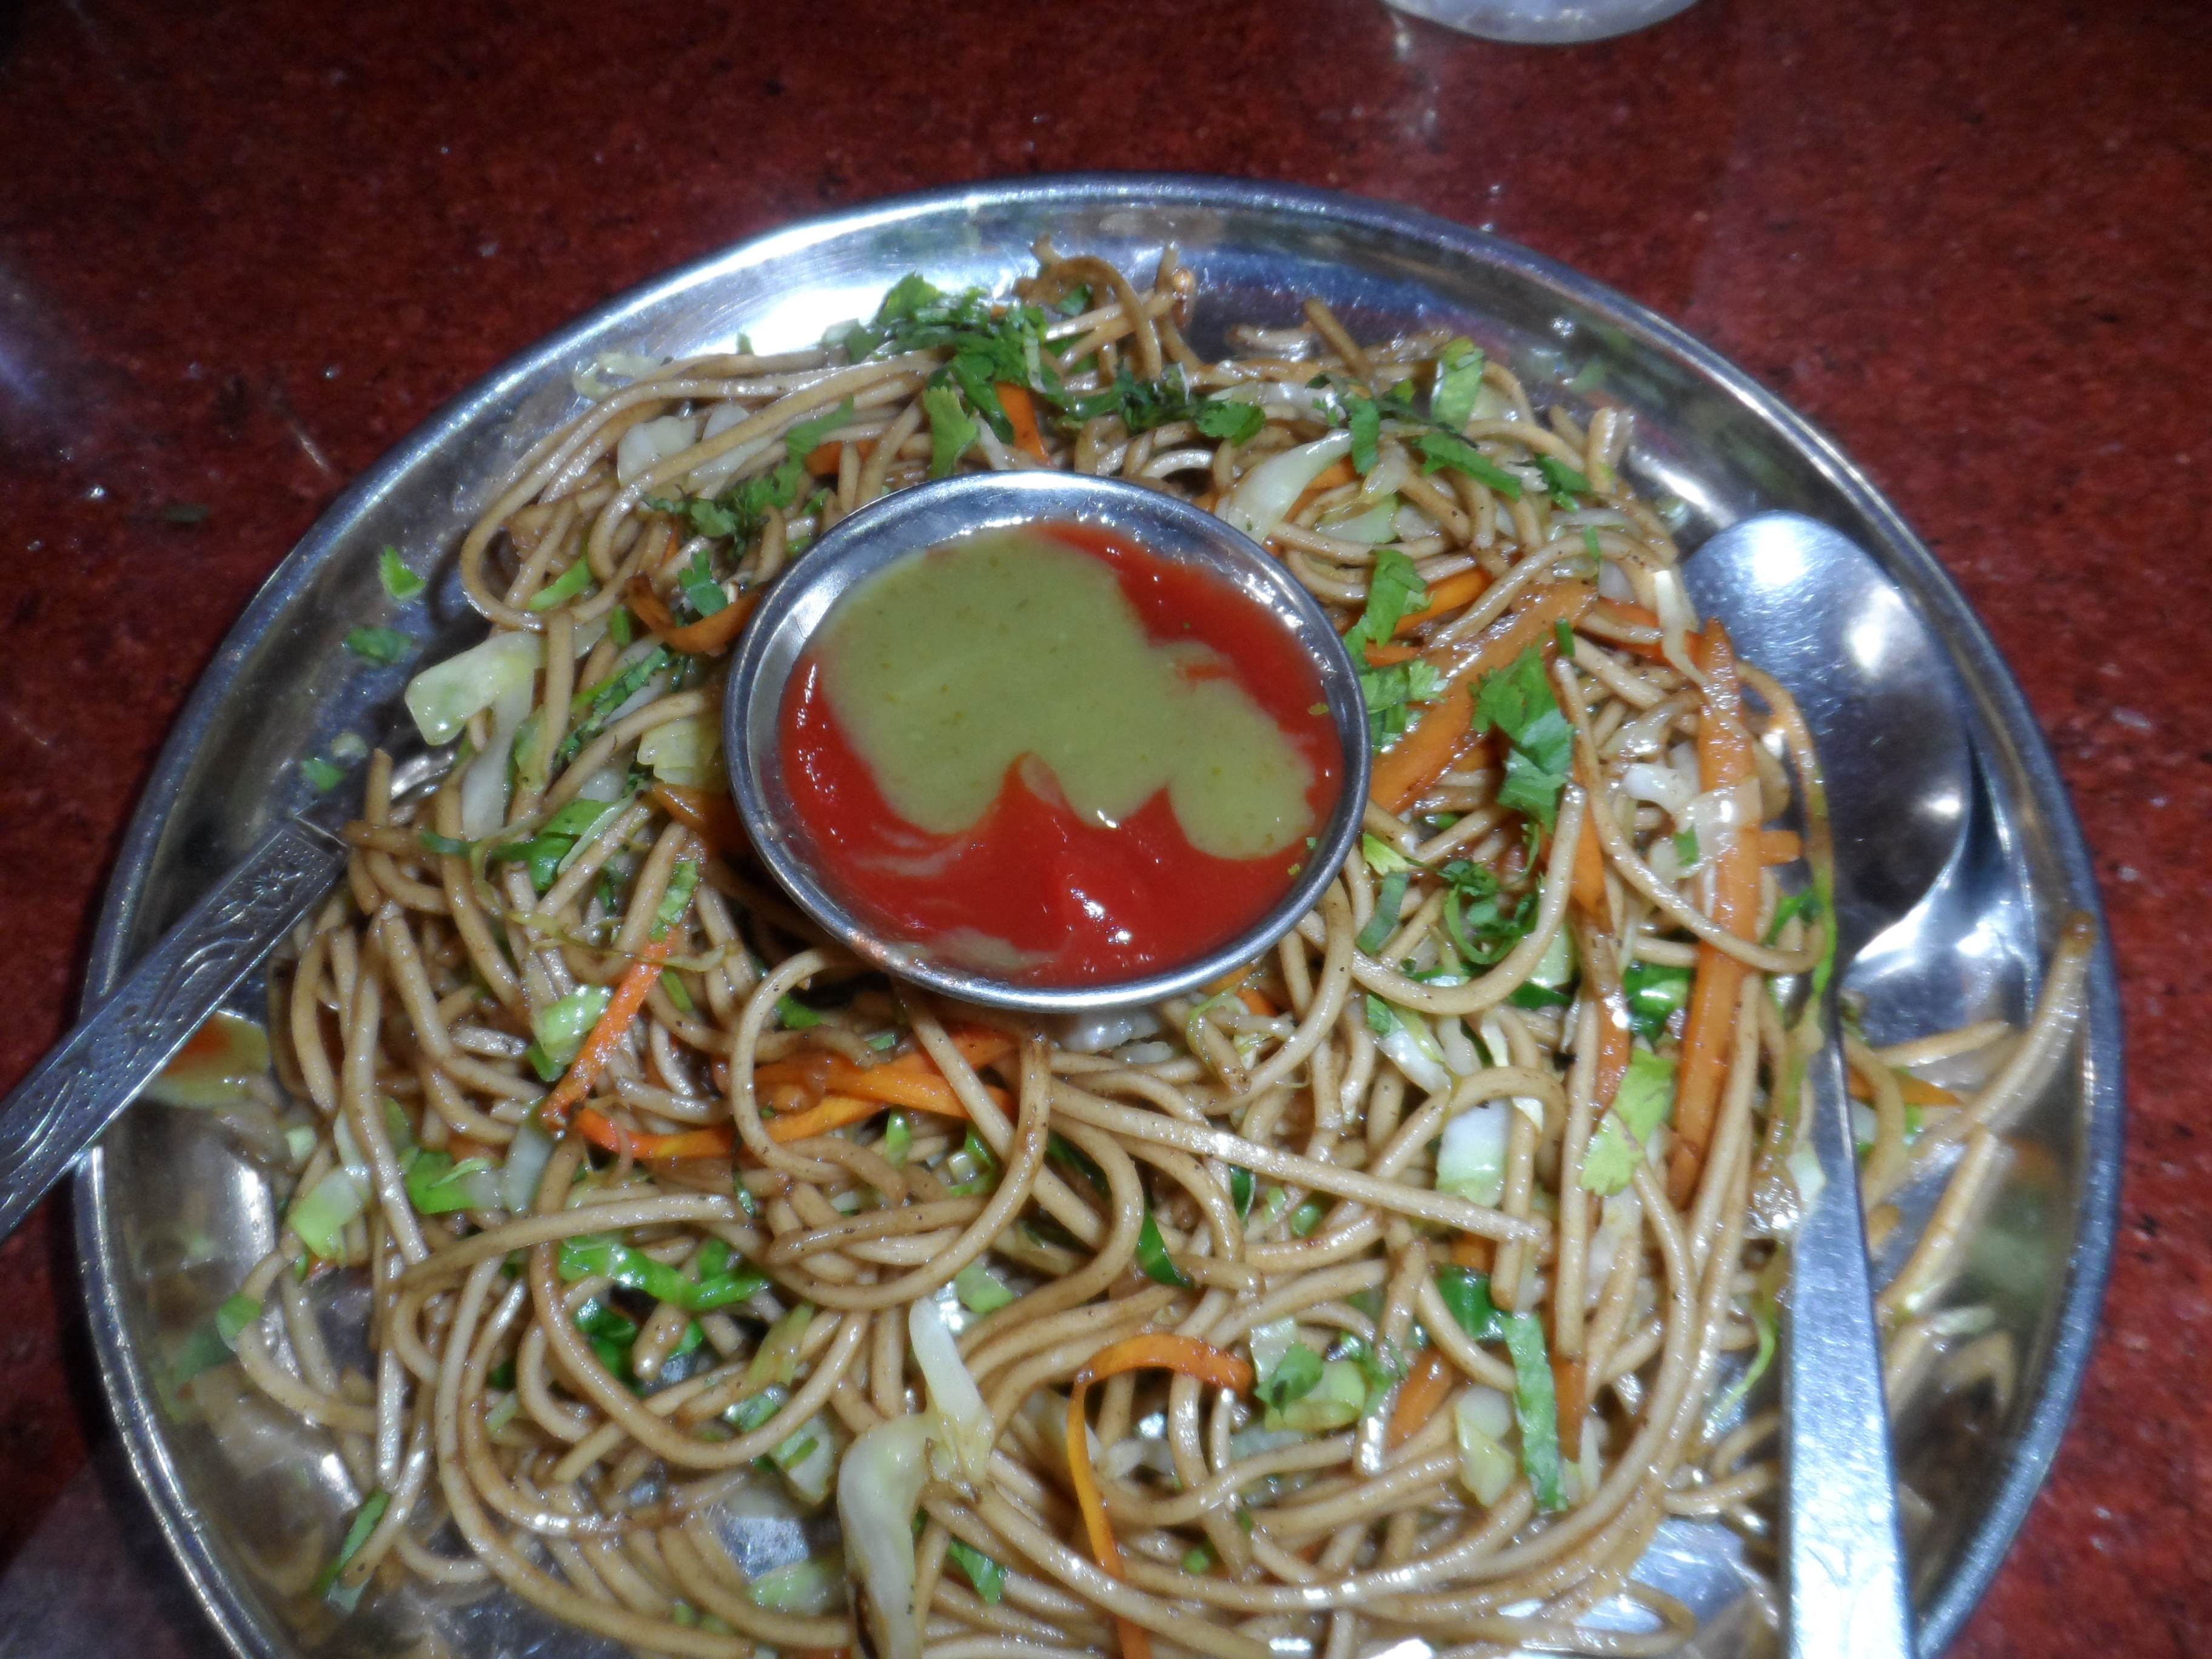
The Delicious Vegetarian Chow Mien.  just outside Pashupatinath Temple. Yummy!
The Delicious Vegetarian Chow Mien. just outside Pashupatinath Temple. Yummy! costs only around 60 NPR
Vegetarian Momos.
Vegetarian Momos. 100 NPR , for sharing

Seedless Grapes are cheap in Nepal, just around 200 NPR per kilo . Its fun munching on this while walking around the city. I just bought a bottle of cold water to wash the grapes, and soaked them a bit to chill.

Mobile Fruit stand
Mobile Fruit stand

Trying out something new ! Pomegranate fruit !

pomegranate fruit. very textury

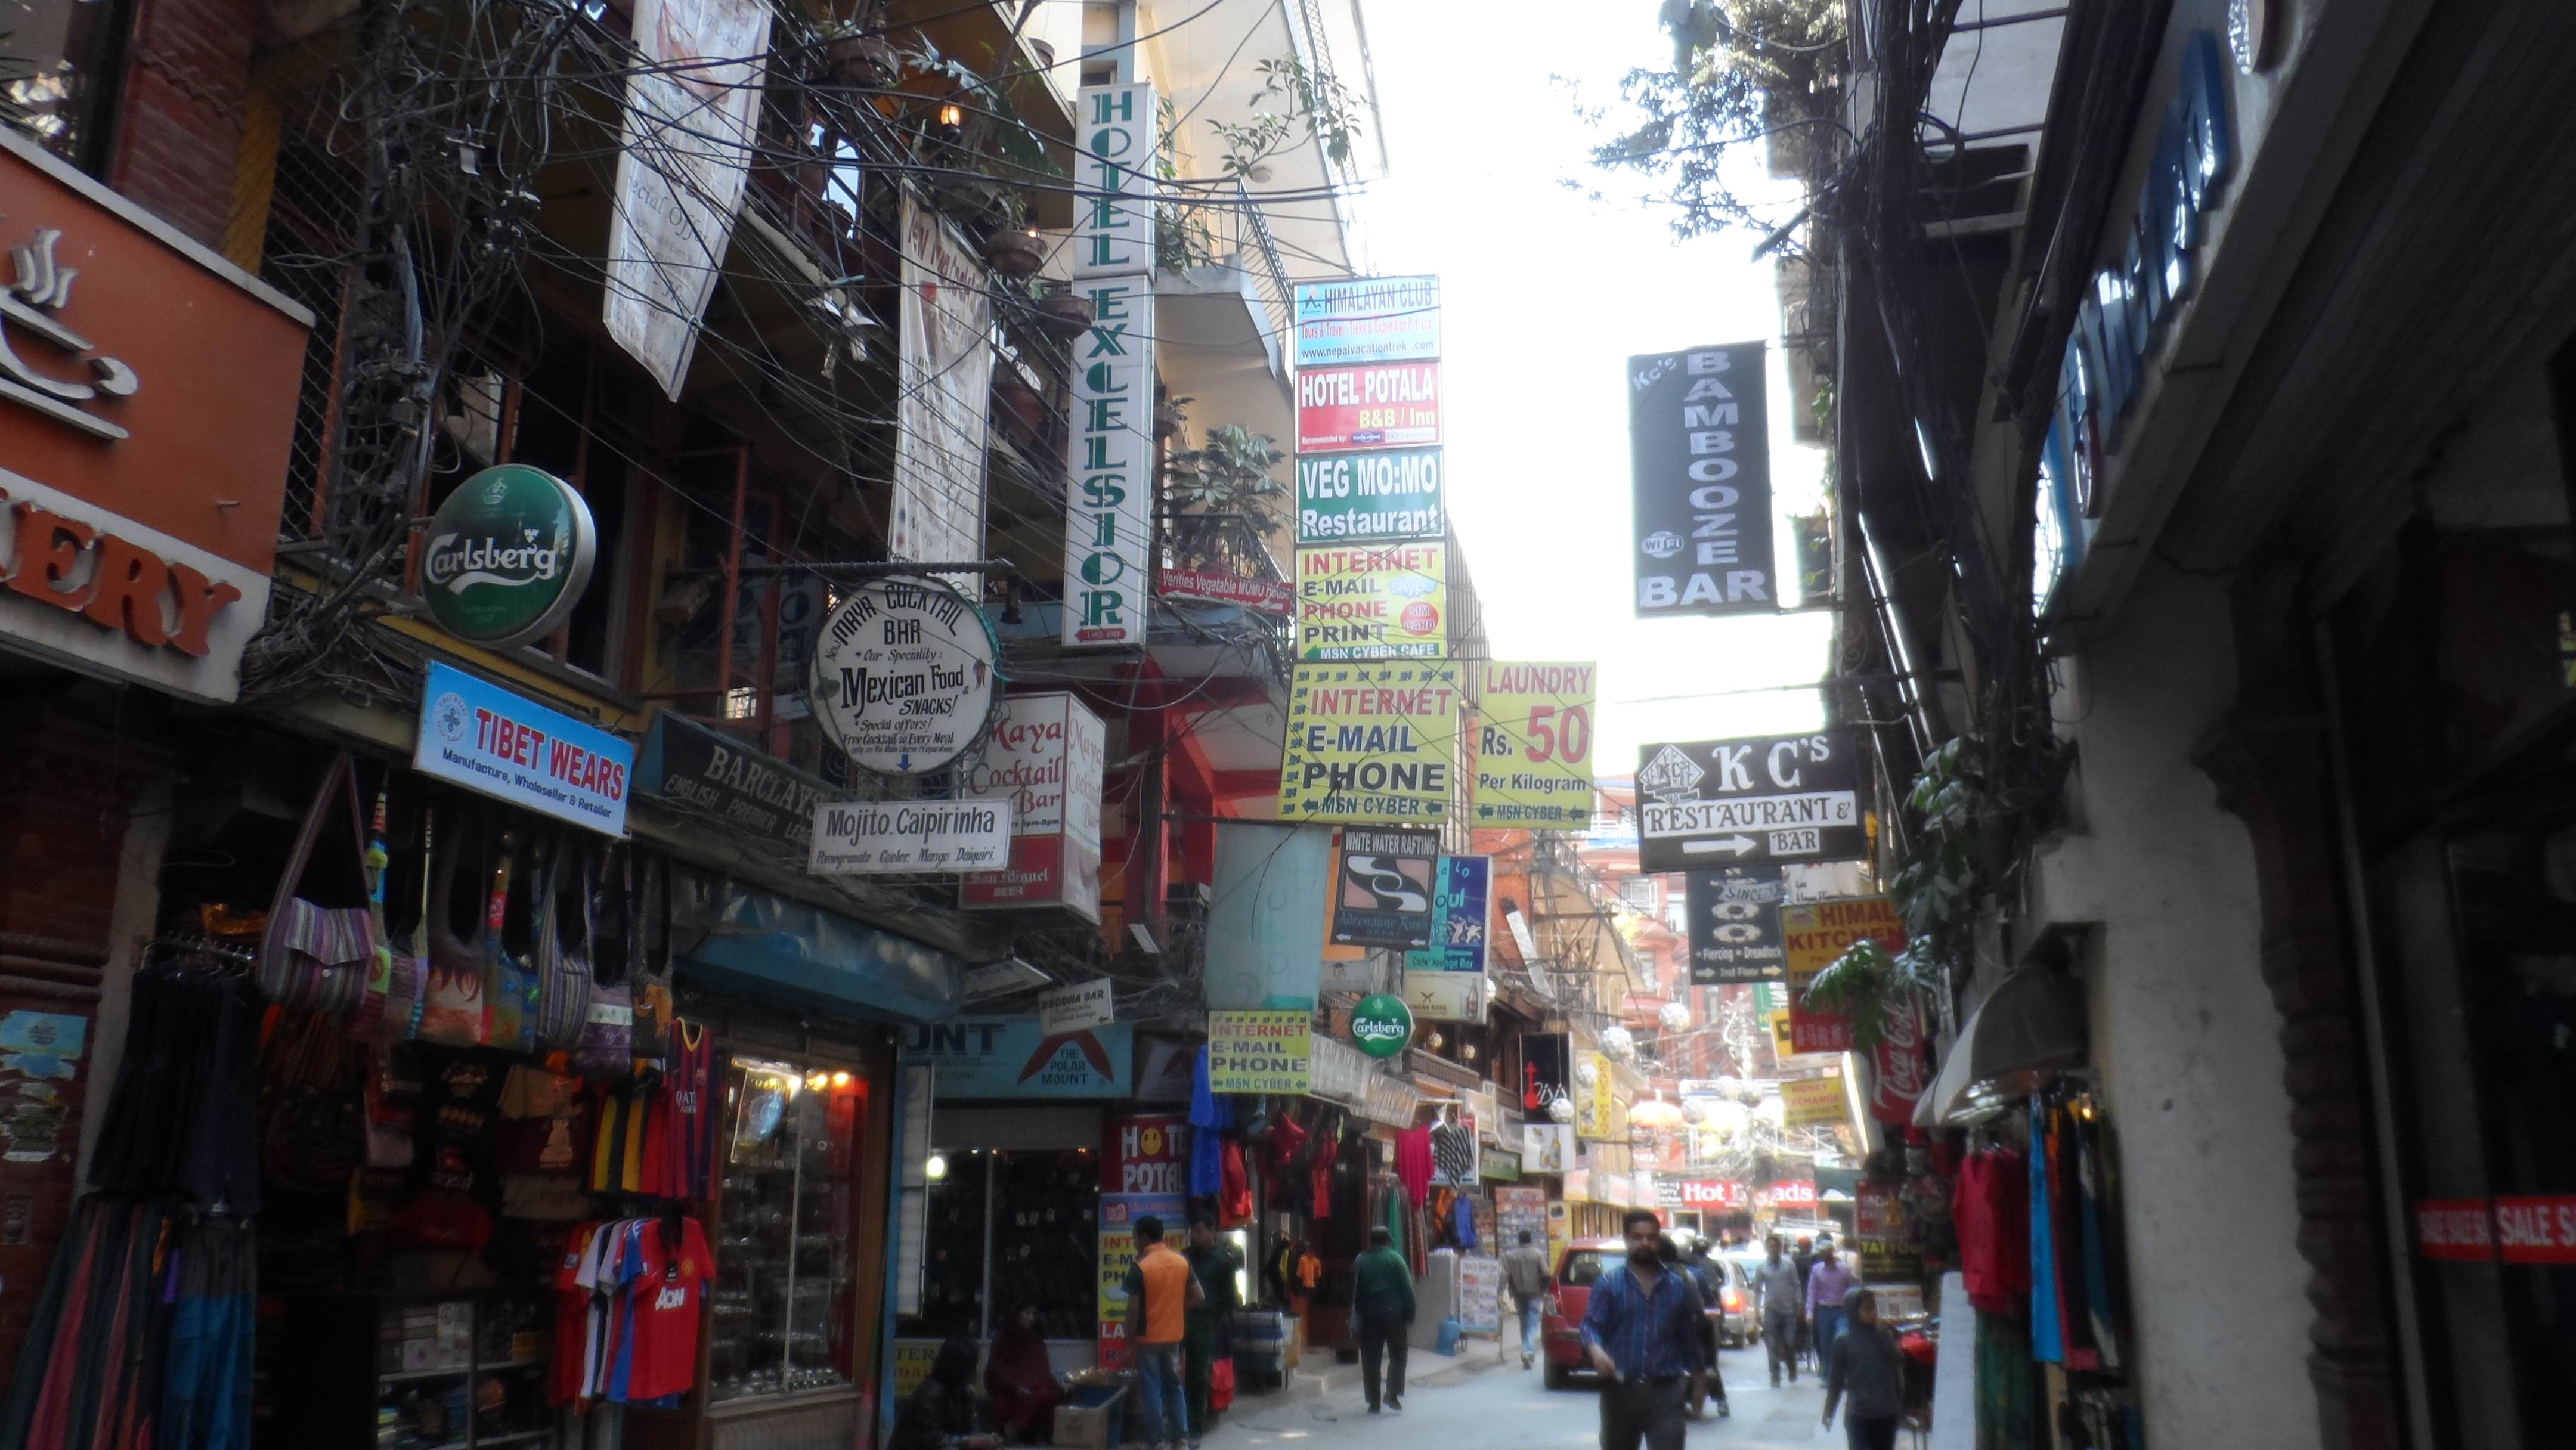
Heres a Glimpse of Thamel , the backpacker’s place in Kathmandu.  Reminds me a bit of India, but the streets are more tame and less noisy =)

A view of Thamel
A view of Thamel
Thakali Kitchen, at Thamel. Highly recommended.
Couchsurfing friends in Nepal.
At mommy Rita's House
At mommy Rita’s House

This is the famous cheap Rhum in Nepal , costs only around 60 NPR (  less than 1 USD ) But in some stores, they sell it at 80 NPR on tourists.  This rhum is 28% alcohol but surprisingly the taste is quite nice ( compared to Tanduay ) .  Unicorn Rhum has a bit of mild Ginseng Taste to it.

Nepalese rhum with 28 % Alcohol!  We had this almost every night during my stay in Kathmandu  . Fun !
Nepalese rhum with 28 % Alcohol! We had this almost every night during my stay in Kathmandu . Fun !

Beer is not so cheap in Nepal as compared the the Philippines. A Grande (750 ML ) is around 200 NPR ( 2 usd )

Nepalese Beer is good . But  Ph's Red horse is still awesome !!
Nepalese Beer is good . But Ph’s Red horse is still awesome !!

Check out the must Visit Places around Kathmandu Here  =) … ( https://iamjosemanuel.com/2014/06/18/getting-around-kathmandu-in-a-day/ )

India Visa on Arrival for Pinoys (UPDATED Feb. 2015)

Its no secret that a lot of people, including me, factor in “the need for VISA” whenever we choose which country to visit next. Airline tickets to some favourite destinations may be cheap if booked on promo, but still , we think twice , because of the VISA Requirements , which is an added expense and is very taxing to secure, and especially for me, living hours flight away from the capital region where all the foreign embassies are. But fortunately , some particular dream destinations of mine offer Visa on Arrival . India and Nepal were among the top of my list. Back when I was planning my trip India , It was such a relief to know that we Filipinos need not go through the Visa approval process with the Indian Embassy in Manila, since we are granted to enter India via “Tourist VISA on ARRIVAL” on certain International airports. Kolkata included, which is probably the cheapest flight route option to enter India, with Airasia Promo. Other countries are Finland, Japan, Luxembourg, New Zealand, Singapore, Cambodia, Vietnam, Laos, Indonesia and Myanmar. (as of 2011) . From April 15, 2014 it was extended to include South Korea ( GOINDIA.ABOUT.COM) . The visas are issued at Delhi, Mumbai, Chennai, Kolkata ; and from August 15, 2013, Kochi, Trivandrum, Hyderabad and Bangalore.Maximum validity of a tourist VOA is 30 days. A VOA is strictly for tourism purposes and is not applicable for other types of visa. What I brought with me :

  • Passport with 6-month validity
  • 2 passport size photographs white background (They took only 1 photo.)
  • Photocopy of passport
  • Hotel booking, even for just the first night.  (the TVOA form requires an Address/contact in India)
  • Return ticket or Exit ticket to Nepal in my case
  • Bank certificates , credit card statement for the recent two months , and related documents to prove the availability of funds sufficient for the duration of stay in India.
  • 60 USD TVOA Fee , or in the case of Kolkata Airport , they asked me for 3,600 Indian Rupees .  Good thing I already changed some of my dollars to INR when I was still in KL.

UPDATE :  As of January 2015, securing Visa on Arrival to India now requires online application , for at least 4 days prior to travel . Documentary requirements given above are still applicable. Check out  this link to start the application process .  https://indianvisaonline.gov.in/visa/tvoa.html

my tourist VOA Stamp. If you get your visa at the Embassy in your city, you will probably get the Sticker Version of the Visa

Arrived at around 12 MN in Kolkata, and it took me an hour to wait at the immigration office for the TVOA . The indian officers that time were quite relaxed, there were only two of us getting the TVOA. The other two were indonesians. Of all the documents I brought, they only took One picture, the payment, and photocopied my passport ( they did not accept the Photocopies I brought with me).  I just filled up the form they provided, and they did not even bother to check my e ticket, hotel booking , and funds documents etc.  The officers were probably tired at that hour.  But still, I recommend you bring all those documents, just in case. KEEP the  3,600 INR VISA Receipt! Getting the TVOA in Kolkata was surprisingly easy for me. It was even more difficult to get through Philippine Immigration at some point.  The Immigration officers we have are sometimes OA .

SAM_3891
at Kolkata Airport

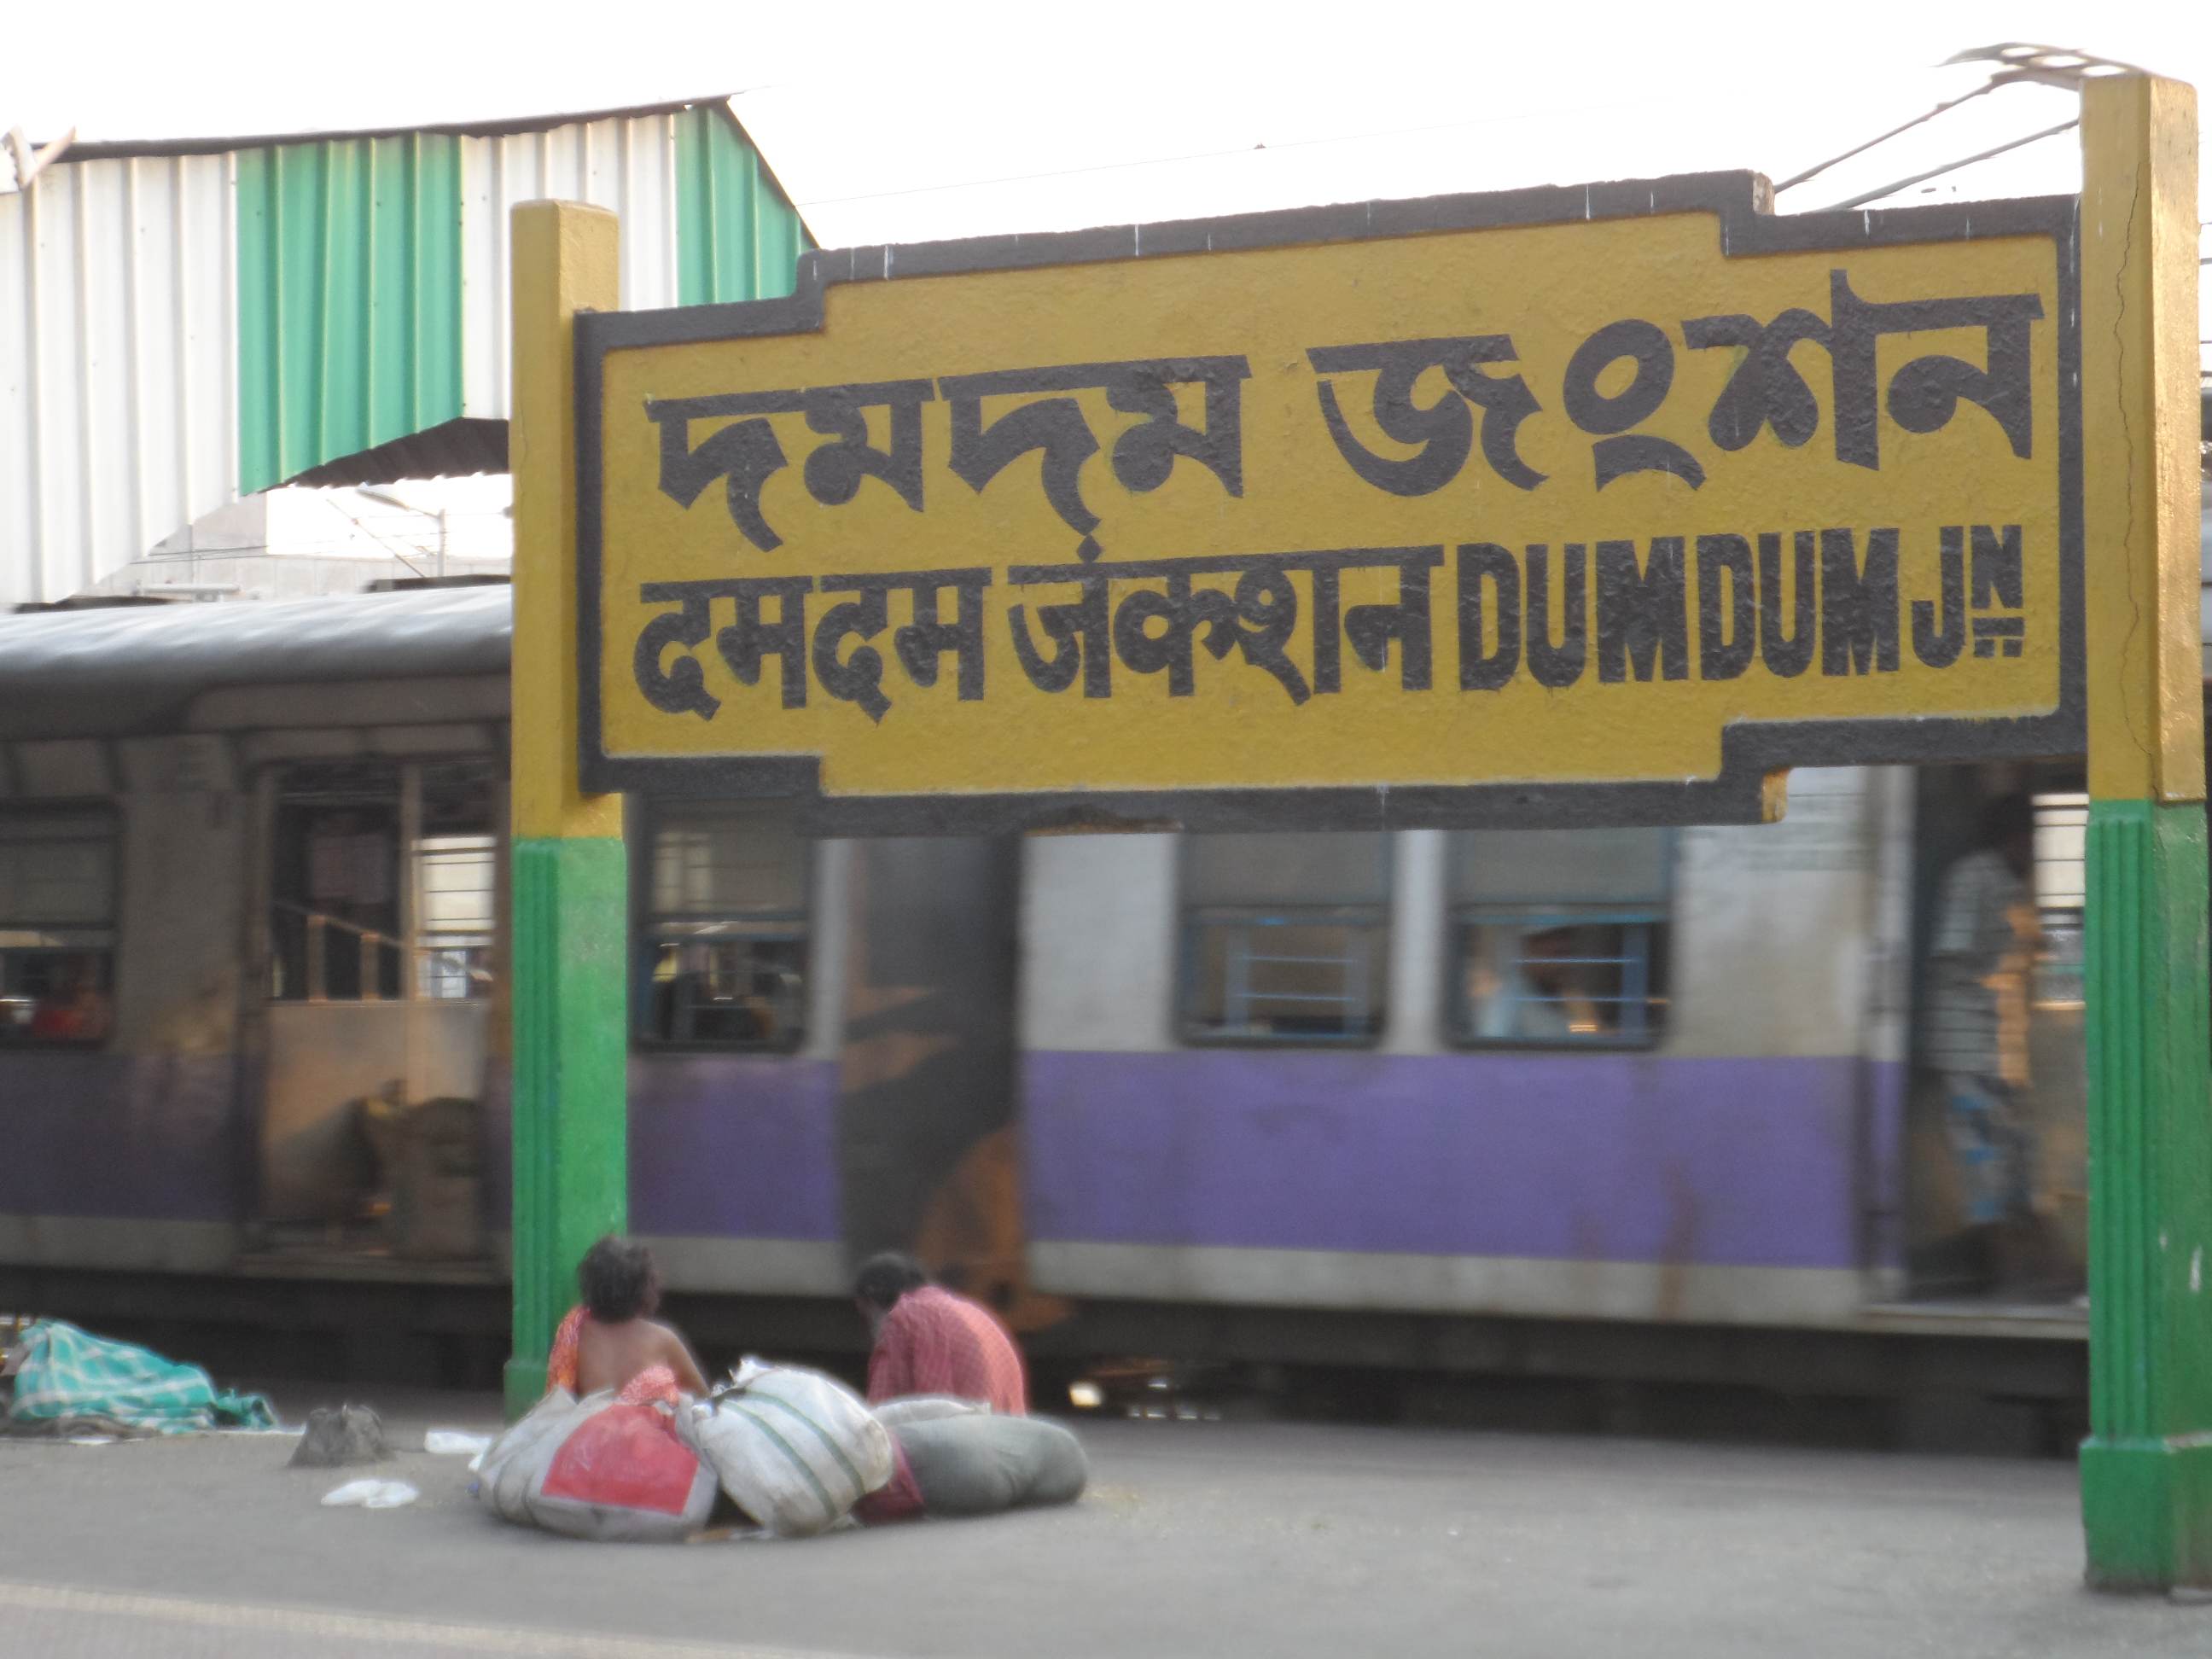
Getting out of the Airport to Kolkata City Center, Since I arrived pass midnight, I opt to spend the night at the airport, which was recommended by some forums. It would be difficult to commute at that hour, and doing that also saved my One night hotel expense. So I just had find a corner in that huge, super cold airport, spread my jacket and lay on the floor. There were not much people sleeping at the airport, as compared to my SG or KL  experience. Netaji Subhash Chandra Bose International Airport ( Kolkata Airport ) is modern and relatively new, the terminal two where we landed started operating 2012. It was nice and all, but the Toilet bowl was , uhm…. skidmarked ! which was a welcoming sight for me in India. This sight occured many times in almost all cities Ive been. hahaha. But carry lang =) around 6 am , I checked on the exit to find the local bus. but apparently,  Buses start at 8 am… So I opt to get an airport taxi instead for 150 INR (2.5 USD) to take me to the nearest train station, which was DumDum Metro Train , around 10-15 minutes crazy overspeeding ride crossing highways and cows and goats are everywhere lounging at the middle of the road. My First taste of Indian RUSH ! haha At Dumdum , It was also tricky to find the right METRO STATION to the City , as this train station is interconnected to the rest of the provinces. Do not go up the first train station building, as this is the inter city railway routes.  Ask the locals to lead you to the METRO STATION , which is just a few walks away . From there, I had my first Non Air , Full packed , Indian Train Ride to the City center. And my Indian backpacking experience went on …. =)

SAM_3898
This is the upper deck of dumdum station, which holds the inter city routes. Dont ride here… go down the stairs , to the metro station below
SAM_3900
dumdum inter provinces train junction
SAM_3897
typical view at kolkata. taxi will probably drop you at this place near under the railway.
SAM_3902
peeing station for men .

SAM_3908 SAM_3903