
OK, step by step guide on how to apply for Tourist VISA to the USA. I’m making this post as simple as possible, with screenshots, so you know what to expect. DIY po itong application ko. I did not apply through an agency.
Disclaimer lang muna. First, this process is as of July 2025. There may be updates in the future, along with the transitioning of the US Administration. Second, this guide solely gives light on US Tourist Visa Application for Filipinos living in the Philippines; Non-immigrant po at walang plano mag TNT. To be specific, B1,B2 ang term nila for regular tourist visa. Lastly, this guide does not guarantee your approval. Depende po sa ganda. Charot! Pero di nga, if you find visa application overwhelming, mag agency po tayo for more chances of winning. ems! If mag agency po, please check on reviews first kase dami scammers today.
My application in a gist:
- Magpapicture ng 2×2
- Accomplish the DS 160 Application form online (For tourist B1,B2)
- Pay the Visa fee
- Schedule Appointment for Photo & Biometrics at VAC, then for Interview at the embassy
- Personally attend the scheduled Photo/Biometric and interview
First step: Magpapicture sa studio. inuna ko ito kase the softcopy/jpeg file is needed during the second step. You will also submit 2 copies of this during the interview at the embassy.

Photo requirement: 2 x 2 inches, square, without borders. The applicant’s head (measured from top of the hair to the bottom of the chin) must measure 25 mm to 35 mm (1 inch to 1 3/8 inch); the applicant’s eye level must be 28 mm to 35 mm (1 1/8 inch to 1 3/8 inch) from the bottom of the photo. NO EDITING OF ANY SORT. NO EARRINGS FOR MEN. You will need both the printed copy 2×2 and the raw file to upload. A US visa photo must be a JPEG (.jpg) file, 600×600 to 1200×1200 pixels, with a square aspect ratio and a file size no larger than 240 KB.
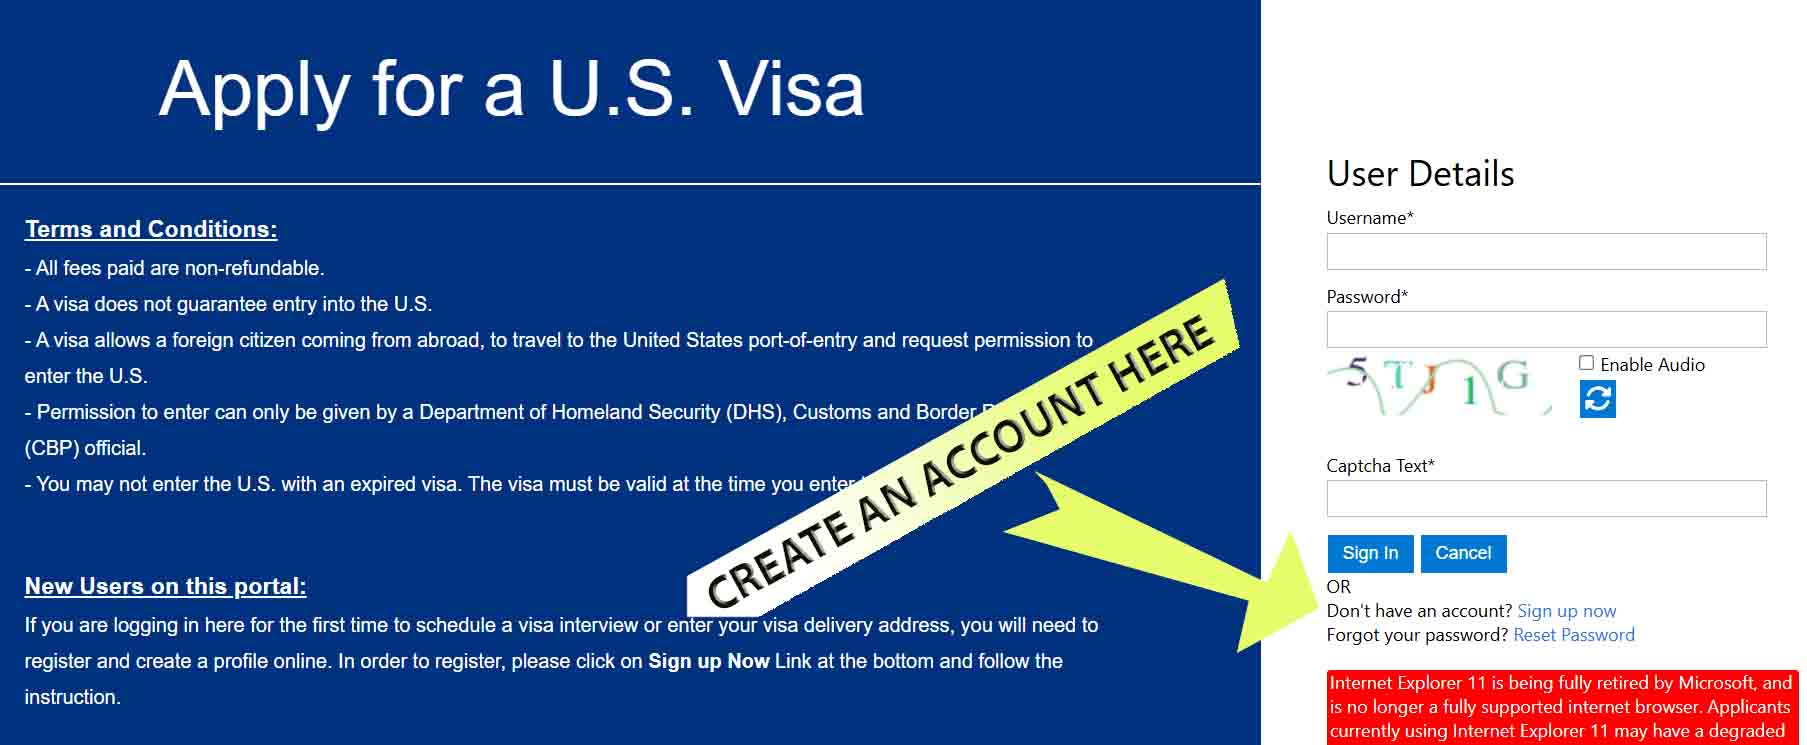
Second Step: Accomplish the DS 160 Application form online. Log in at ustraveldocs.com , choose Philippines as base and non-immigrant Tourist B1/B2 as visa type. You will be asked to create an account before proceeding. Sign up with your valid email, contacts and assign verification questions. For Reference, ganito to ang look ng site.


After signing up, you will automatically be redirected to the DS 160 page, as shown below. (https:// ceac.state.gov/genniv/). After sign up and all, select “Start an application” and you will be given a unique Application ID. Take note of this so you can retrieve your application if mag close. Note that you don’t necessarily have to accomplish this form in one seating. Pwede naman po save2x.

Ok, this is the part where you will give personal information, travel plans, work, education etc. See the screenshot below, ito po ang starting page. Mahaba po ito pero basic questions lang naman, just like any other visa application. Answer truthfully. Re the travel plans, not necessary naman po may return ticket na or what. Just give your intended dates and what you want to do.

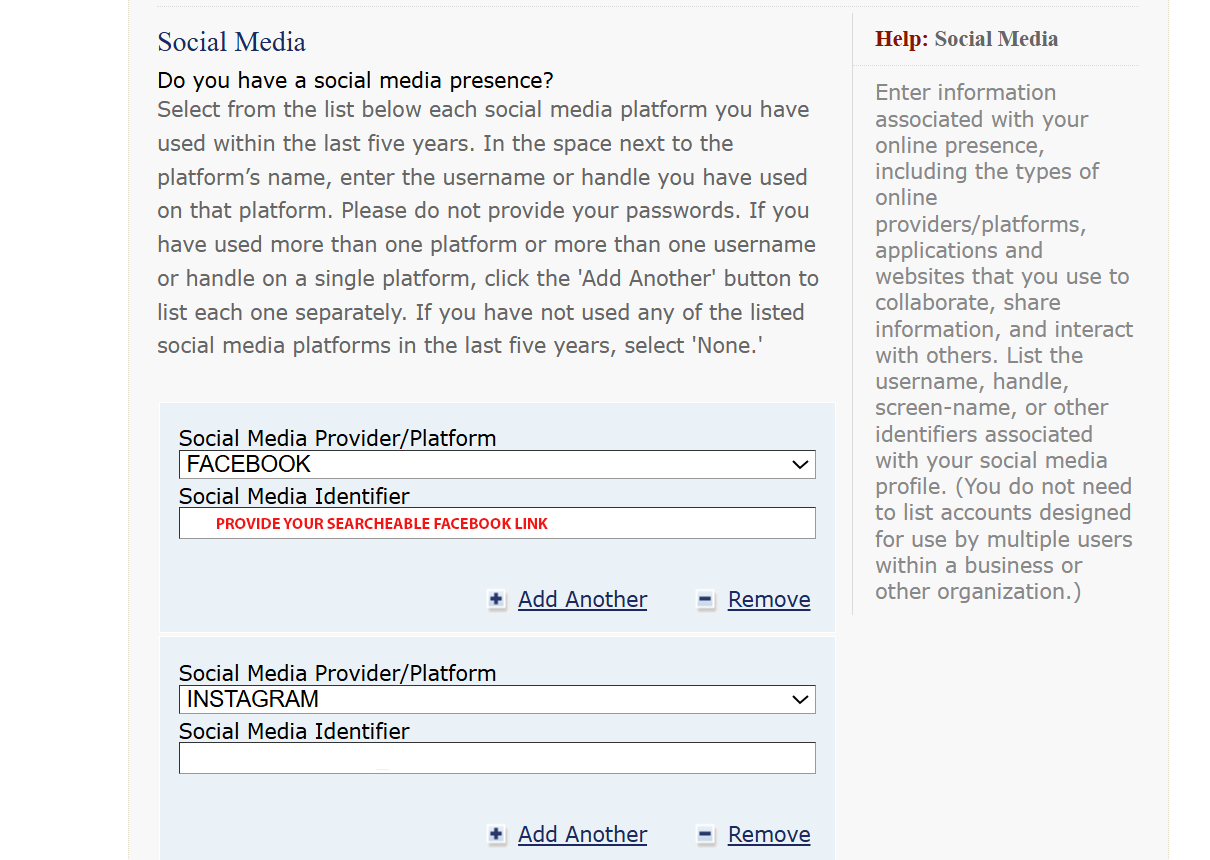
You have to declare everything that’s being asked. Your income, profession, your previous jobs, including the name of you ex-boss or HR, your travel history the last 5 years (if any), and yes po, DECLARE all SOCIAL MEDIA ACCOUNTS set on public mode. I submitted my Facebook, IG, Tiktok and this website that you are currently at.
DS 160 will also ask you for a contact person in the US. Friend, relative or what. Needed po contact and address niya. I was told na may cases, tinatawagan po ang declared contact for verification. Though hindi po tinawagan akin. You also have to declare the organizations you belong to.
Here are some other questions that you have to address. Answer truthfully lang po.

After completion, upload the 2×2 photo file, then review muna. Edit if you have to. Make sure kaya mo mapanindigan all the declared info, as these MAY be asked again during the personal interview.
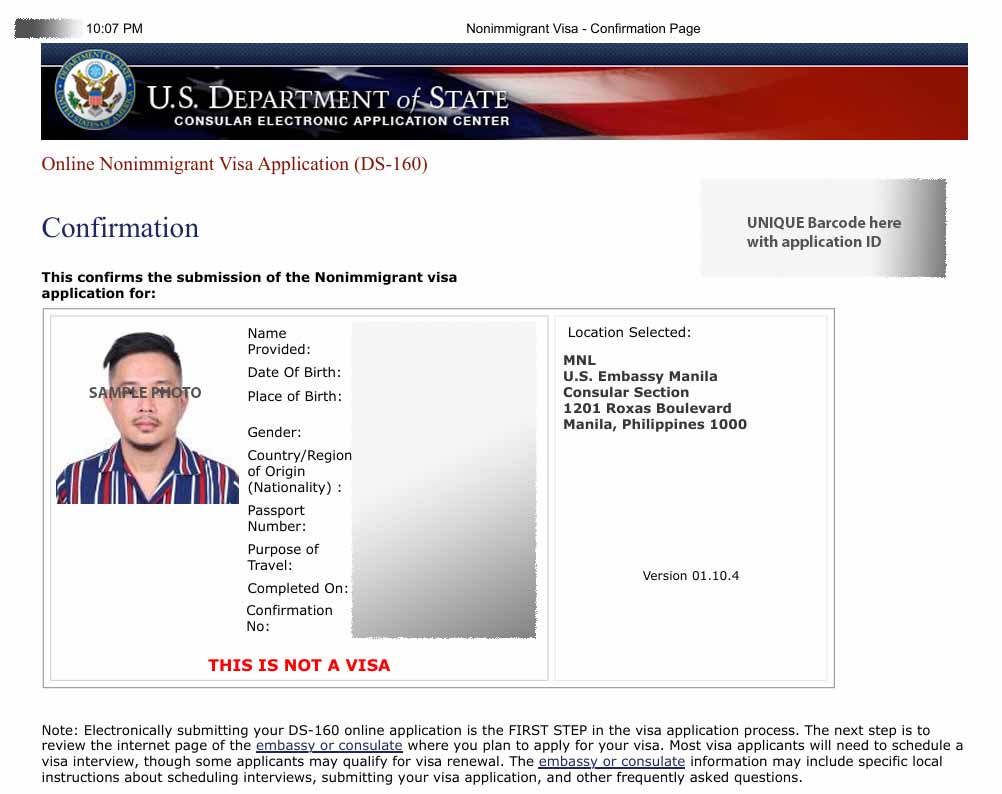
After submission, you will be given a CONFIRMATION LETTER. ganito yun.
Overwhelming ba mag DIY Application? oh mag agency ka na. If ok pa, the read on.
Third Step: Payment of Visa fee before you set the interview appointment. This is done at another website —> usvisascheduling.com. See screenshot below. Sign in with your valid email and contact, log in, then start new application for interview. You will be asked to encode the application number that was given to you with the submitted DS 160 form kanina; nasa upper right side ng confirmation letter.


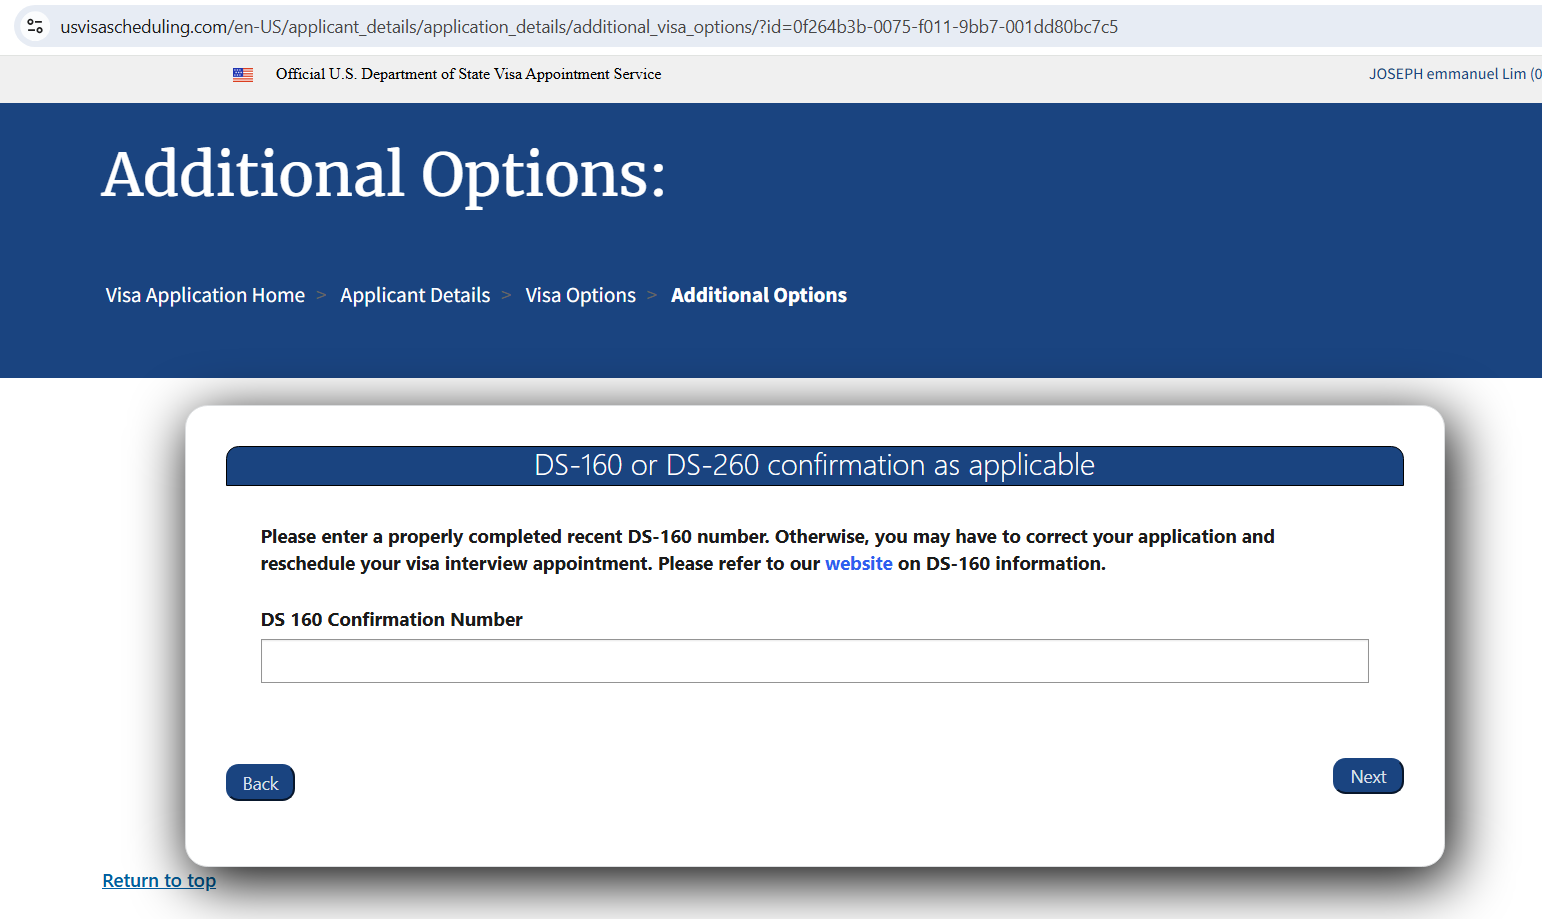

Just go through the steps until you reach the payment interface. Yes po, payment muna before you get an access to available dates for interview.
The cost of Regular Tourist Visa B1/B2 is 185 USD or 11,100 Pesos as of July 2025. After this, you will be prompted with a Slip/Notice of payment with instructions on how and where to pay. Download and print this slip and submit nyo po sa teller, as they will need to encode also your details at time of payment. Sa RCBC po ako nag-pay, over the counter cash deposit. I also brought with me sa bank my passport at yung DS 160 confirmation letter, just in case. The slip looks like this.

After payment, sabi you have to wait 24 hours for validation. As in my case, I paid at the RCBC Branch nearest sakin at 9 am, and I had my payment reflected na sa website by 10 am. You can check this sa USVisadocs.com account ninyo.
Fourth Step: Select appointment date for Photo and Biometric (fingerprint scanning), and a separate date for interview with the embassy.
Yes po, two appointments: one for Photo/biometrics enrollment and the other for the interview at the embassy.
Previously, the collection of biometrics is done on the same date as with the interview at the embassy. But with the new visa application system, you are required to schedule a separate appointment to the newly launched Visa Application Center (VAC) at Parqal Mall in Parañaque (Manila) for your biometrics enrollment. I read may Visa Application Centers na din daw sa Cebu at Davao that accepts this step. Google nyo na lang. As with my case, Manila po ako nag-process.
To schedule, log in again on your USTravelDocs.com account. Once the payment has already been reflected in your account, you may now proceed with the scheduling. You will first select a date for the biometric, then afterwards, the site will lead you to the available dates for interview.
IMPORTANT: The date of biometric and the interview could be one week apart to a month. That is why it is crucial to apply for visa early, if meron po tayong fixed date or event kailangan mapuntahan sa US. I say 6 to 10 months prior to your desired date of flight.
Overwhelming na ba ng todo? again, pwede po mag hire ng agency to assist you.
After selecting the dates and respective time slots, you will be given slips with your details. Download and print this along with other documents necessary to submit.
Fifth Step: Attend to the scheduled appointments. Yes po, ako na taga Gensan, lipad po tayo to Manila on the dates, and mindful tayo sa timeslot assigned.
Photo and Biometrics Address: US Visa Application Center (VAC). Third Floor, Parqal Mall Building 8, Parañaque, Metro Manila. Phone: (02) 7792 8988. Pretty straight-forward transaction here.
Interview: Embassy of the United States of America. 1201 Roxas Blvd, Ermita, Manila, 1000 Metro Manila.
My interview was scheduled at 8 am, but I was already outside the embassy as early as 5:30 am. Mainit po around 6:30 na. FYI. Pipila po tayo sa labas tlga under the harsh environment. Madaming checking at stages before makapasok sa building mismo.
Essential Documents na dinala ko, as specified in the confirmation letter:
- Current-valid passport
- previous passports with travel history.
- DS-160 Confirmation Letter: (DS-160). Color-printed. US Letter-sized paper
- Appointment Confirmation Slips. Color-printed. US Letter-sized paper
- Photographs: Dalawang 2×2.
- Visa Fee Payment Receipt: Deposit Slip. Photocopy and original.
Supporting Documents na Dinala ko din: PSA Birth Certificate, Valid PRC IDs, Latest ITR ko, at latest bank statement with average daily balance; pero itong bank statement, hindi na po ito hinanap ng interviewer.
If you are employed, needed po to bring your company id and certificate of employment. As per my case, practicing professional po ako. So i brought my PRC ID and the ITR.
I highly suggest you place all your documents in a clear plastic envelope.
Nagdala din po ako black ballpen. I noticed madami nagbebenta ballpen sa labas for 50 pesos.
Hindi po ako nagdala ng Cellphone. Bawal po. Iniwan ko po sa hotel. Bawal din water or food.
The procedure inside the embassy: may initial validation with a filipino employee ng embassy. Parang front desk. Then after this, pasok po sa isang bigger room with windows for the interview proper.
– If your application is approved, they will take your passport.
– If your application is rejected or denied, they will tell you right away.
The Interview proper took only five (5) minutes sa case ko, o less pa. It’s very quick because most probably, applications have been evaluated even before the interview. Likely, they already have a tentative decision prior to your appointment, and the interview is just for validation/consistency of declared details as per your DS 160 form. As per my experience, I was only asked what my job is and the purpose of my travel to the US, which I answered “just for vacation/holiday”, and done!
So yun po ang process ng application ko. I clearly remember na generous yata sila sa pag-grant during our date. Lahat kami sa line, magkasunod na approved.
Formula to get an approval? Prove your ties with the PH. As per my case, I feel that my job as a Licensed Architect here for several years already, gave them an impression that I have no plans of finding work in the US, and that my job is stable. My travel history probably gave a good impression as well. Financial situation? I don’t think so, as the officer never asked me to show any document pertaining to that. Baka lucky day ko lang din gid.
In doubt with your chances? I say again, go get an agency to assist you.