

 Hey,hey,hey! I just got my Australian Tourist Visa approval a few weeks ago. The process is relatively easy and is very much DIY-able. Aside from rejoicing for the approval, I am also thankful that the Aussie Immig was generous enough to grant a multiple entry ’til 2020. Cool, diba? As such, I will be sharing here the step by step DIY guide I did for this application, para naman sabay sabay tayo mag selfie duon with the Koala Bears!
This blog guide however, shall focus solely on Tourist Visa – Online Application for Filipinos living in the Philippines. If you are looking for Business, Study or Fiance Visa, I reco you visit the main Australian Immigration Website at https://www.homeaffairs.gov.au/ for the specific process.
Yes po, Australian Immigration now accepts visa application online. Meaning, no more personal interview. You only need to prepare and properly scan your valid requirements, submit online and pay by credit card. If accepted and approved,the grant certificate shall be emailed to you. No more submission of passport to the embassy for verification and stamping. Easy breezy!
If opted, you can still submit your traditional application personally at the Australian Embassy via VFS Agency. But since I reside in a city that is 2 hours away by plane from the capital, it is more practical for me to do all transactions via online.
The difference between personal and online application? Walang Visa Sticker when applied online. In lieu, a grant certificate shall be issued via email, which you have to print and carry with throughout the trip. The traditional sticker eklavu on the passport are only given when documents are personally submitted.
Online application however, may still be required a personal interview if the evaluators find your documents questionable. That being said, let me just cite na din my travel blogger idol Aileen Adalid’s disclaimer, “NO ONE can give you a guarantee on your approval — not even a lawyer, a consultant, a travel agent, or an embassy employee. Anyone who says otherwise is most likely going to be a scammer.”
So without dragging this further, here is the DIY step by step process I did,
- Prepare basic visa requirements.
–Photograph file – Passport sized with very light gray background 500 KB Max. (Alam ng studio ang size, Raw file straight from camera, unedited, scanned photo not allowed )
–Evidence of Family Composition -Scanned Copy NSO Birth Certificate in Colored Paper
–Evidence of Employment – Current – Scanned Copy Employment Certificate with Salary Details and approved date of leave, signed by your boss.
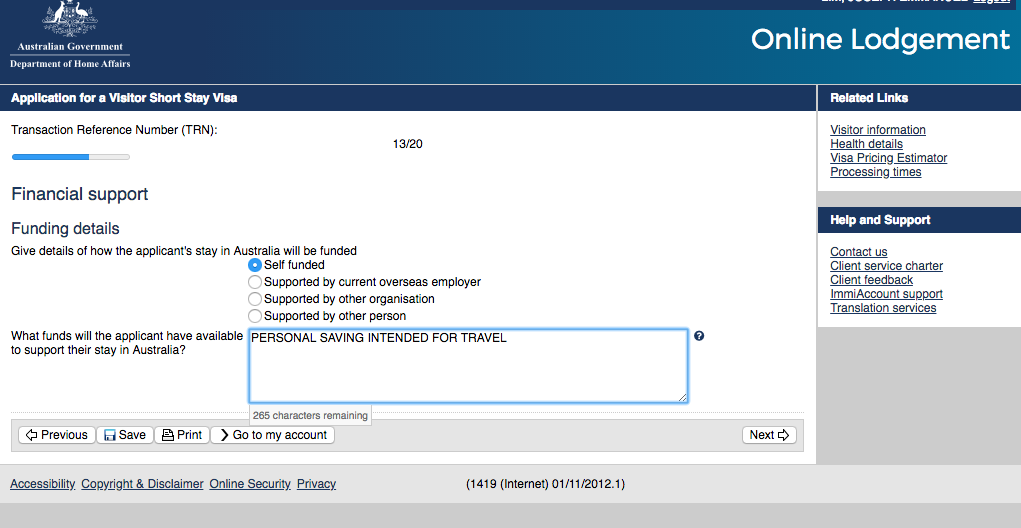
–Evidence of Financial Capacity – Scanned Copy Current Bank Cert, Bank account statement, Credit Card statement , ITR or Business Permit (If available, but I did not submit. Instead, I scanned property titles under my name. Insurance policy and bonds may also count. I submitted my PRU Policy. This is optional)
–Evidence of Previous Travel – Scanned Copy of Past and Current Passport showing all stamps and visas.
–Evidence of Planned Tourism Activity – I made a mock up day to day itinerary. Hotel Reservation is optional, but may help. Don’t pay for this muna.
When scanning, only file formats .JPG, .PDF or .PNG are accepted. Each document must be of good quality but must not exceed 5MB in size. Except for the Passport photo which is ideally 500 KB size and of Jpg format. It i advised that filenames shall contain your name in it (example ” LIM,JOSE PASSPORT PHOTO.jpg”) . If this preparation is too difficult, then I recommend you rather apply though an agency than doing a DIY.
Lastly, as you noticed, AIRLINE TICKET OR EVEN A RESERVATION is NOT REQUIRED.
- Log on to Australian Embassy Official Home Affairs Website
https://www.homeaffairs.gov.au/Trav/Visa-1/600-/Visitor-e600-visa-online-applications . As a Tourist Visa applicant, your application shall be under “VISITOR e600” Category, no other! Website will look like this.


2. The “start application” with then prompt you to create an ImmiAccount. ImmiAccount is the main portal for accessing the online services of the Australian government’s Department of Immigration and Border Protection. Parang facebook lang ito that you have to provide basic information, contacts, a valid email add and a strong password. An email verification will be done. This Immi account shall become your official access and monitor this application and for future transaction with AU immigration.


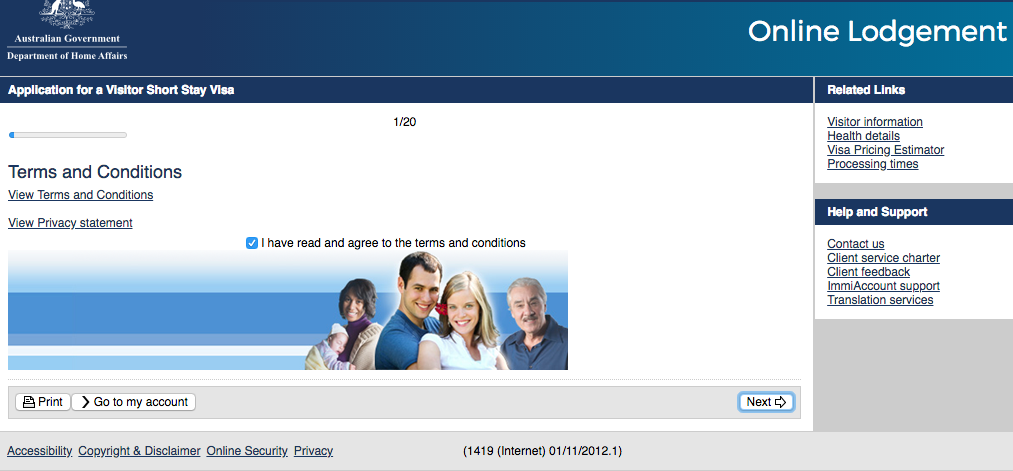
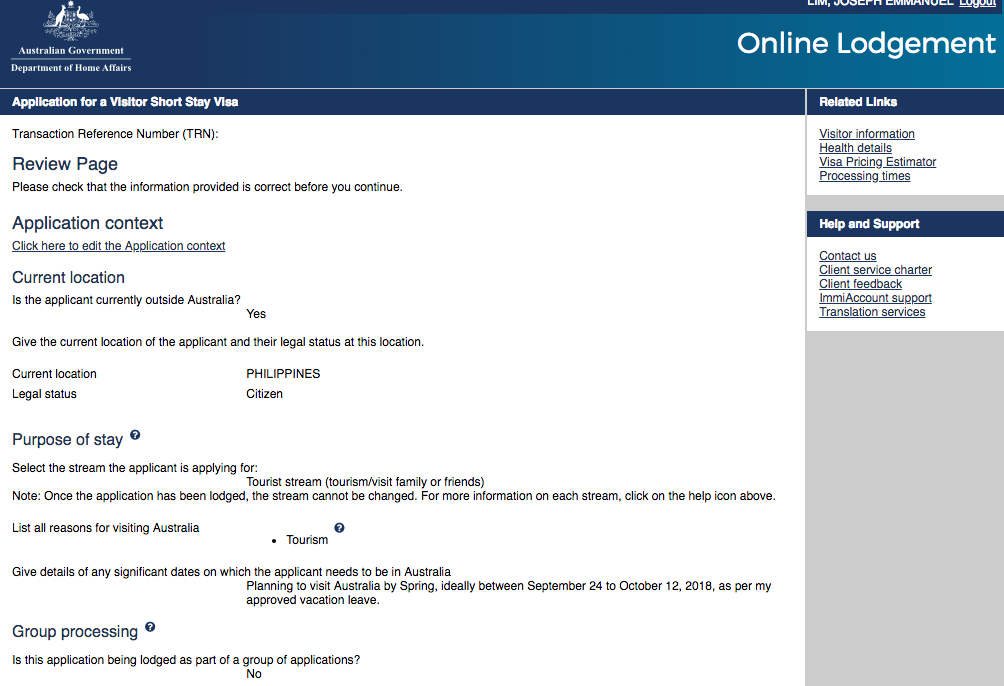
3. Start filling up your e600 form. Here is what you will likely see. Easy to understand.


4. After filling up,you will be led to a document uploading interface which looks like this. inappropriate file type and size will be prompted. refer to requirements given above.

5. After all scanned files have been accepted by the online interface, you will be prompted to the payment page. I I paid mine via credit card for AUD 140 (Around 5,500 Pesos)

6. Submit and wait for Confirmation Email “Received”. This is the waiting time that your scanned documents will be evaluated. Also the perfect time for novena and pa-misa sa church for grace.
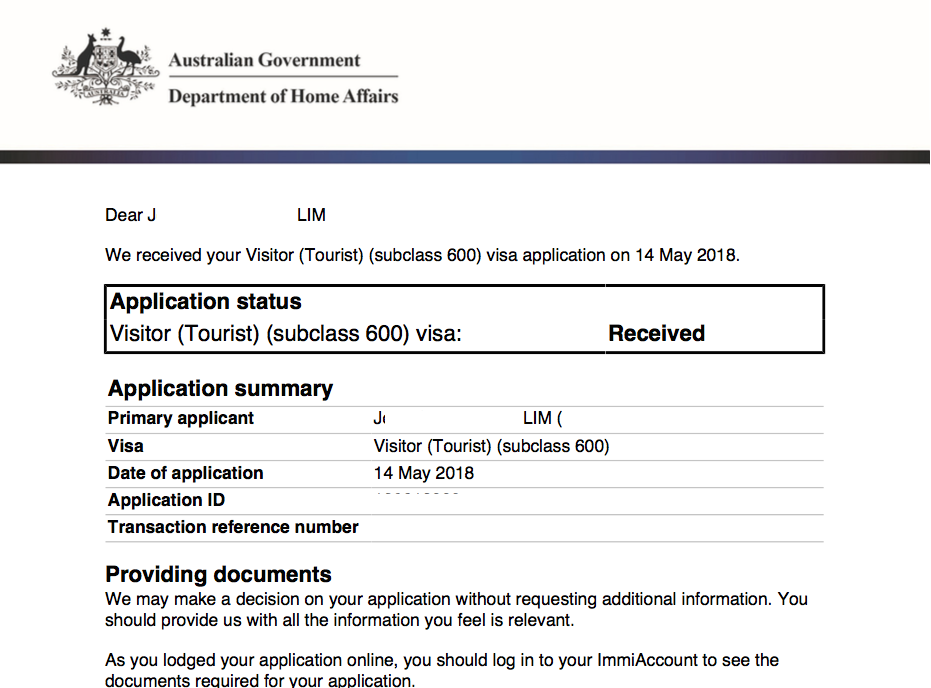
7. Receive decision via Email. I got mine after 10 days. The grant certificate will look like this. No need to submit your passport na to the embassy in Manila for verification and stamping. This certificate will suffice.

And that’s it! You have approval na and you’re ready to sell your kidney for travel funds.
Points to remember:
As per website, results are released 30 to 60 days after the submission. However, most of the recent applicants got their results earlier; provided, complete at valid ang scanned documents. I got mine after 10 days.
Since this is an online application, no need to print and submit paper requirements. Unless your uploads are not clear, then they may ask for those, or require you a personal appearance.
Bank account: As per usual travel blogs, bank accounts are ideally at 100 dollars x number of days stay x 2. better if more.
You can apply as early as 6 months before the trip.
Again, walang assurance ng approval. I feel that I got approved mainly because of the stamps I collected from my previous trips.
Lastly, IF UNSURE, WAG MAG DIY APPLICATION. Seek assistance from a reputable travel agency. PM me for recommendations. Chos! =)

OMG! this is the first time I encountered na 2 years ang grant! Wow! Any special step you did? I applied last August 16 and how I wish they’ll grant me 2 years too! I had an oz visa na last 2016 and a valid JP, US, and CA visas. I really hope I’d be as lucky as you!
LikeLike
OMG! this is the first time I encountered na 2 years ang grant! Wow! Any special step you did? I applied last August 16 and how I wish they’ll grant me 2 years too! I had an oz visa na last 2016 and a valid JP, US, and CA visas. I really hope I’d be as lucky as you!
LikeLike
Hi! No special step. It was probably just a lucky day for me. How about you po? What was the result? I hope all is well =)
LikeLike
Bro, going on a crusie on march 2020 sydney to sydney 14 days, for sure kelngn ko ng aussie visitors visa tama po b? Panu po sa mga port of calls sa NZ, require dn po ba visitors visa? Pag yung cruise line kse ang ask ko visa notification waiver lng sagot nila eh. Link sa VFS site binibigay nila. Pls help, tnx!
LikeLike